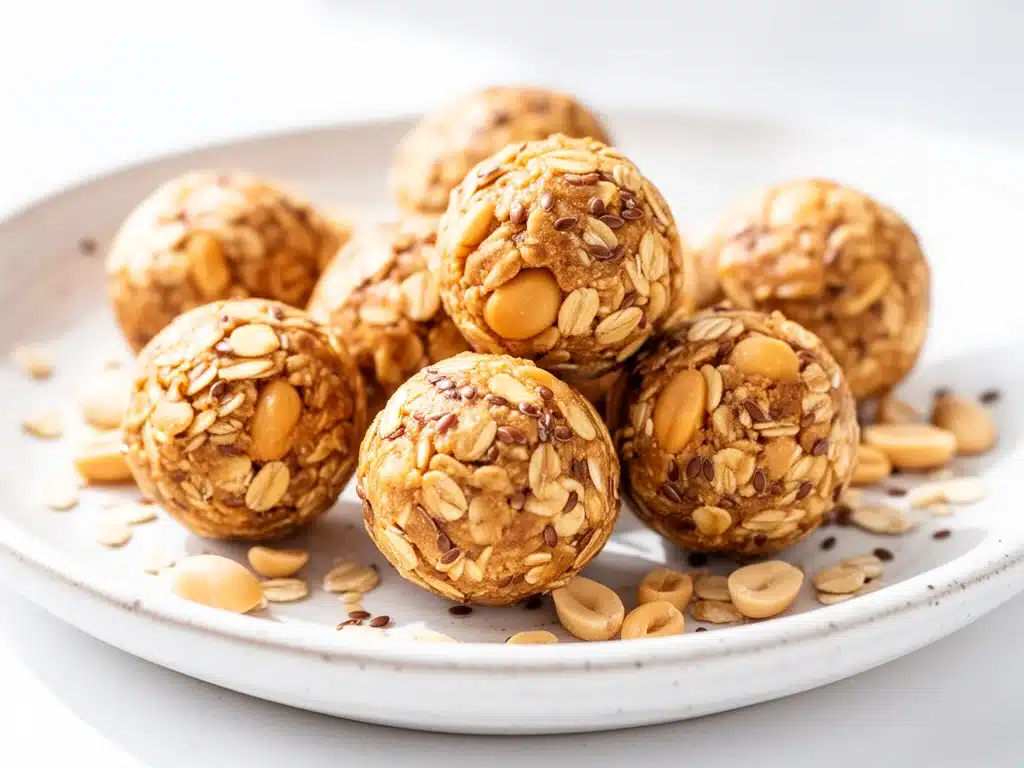
One rainy Saturday afternoon last fall, I found myself staring blankly into the pantry, hunting for a snack that wouldn’t involve turning on the oven or making a mess. The kids were bouncing off the walls, and I needed something quick, wholesome, and—most importantly—easy to grab on the go. That’s when I threw together what I now call my no-bake peanut butter energy balls. They were an instant hit, disappearing faster than I could roll them. I’ve made this recipe at least a dozen times since, tweaking it just enough to get the perfect balance of chewy, nutty, and sweet.
These energy balls are genuinely a lifesaver—five simple ingredients, no baking required, and so versatile you’ll find yourself making them on repeat. Whether it’s a mid-morning pick-me-up, a post-workout bite, or a lunchbox addition, these little bites pack a punch of flavor and energy that keeps everyone happy. Plus, they come together in under 10 minutes, which is basically magic when your day is already packed.
After a few rounds of trial and error (spoiler: too sticky or too dry were common pitfalls), I finally nailed the texture and flavor. The best part? You probably already have all the ingredients on hand. So, if you’re ready to ditch those pre-packaged snacks and whip up something homemade that actually tastes amazing, let’s get rolling.
Why You’ll Love This Recipe
Real talk: there are so many reasons I keep coming back to these no-bake peanut butter energy balls. Here are the biggies that make this recipe a snack-time superstar:
- Ridiculously Simple — Just five ingredients and no oven. I’ve made these with my kids, my busiest mornings, and even while juggling a conference call.
- Super Quick — From start to finish, you’re looking at less than 10 minutes. Perfect for those moments when you need something fast but wholesome.
- Portable and Mess-Free — Toss these in lunchboxes, gym bags, or even your purse. No crumb trail, no sticky fingers (well, maybe a little), just pure snack joy.
- Customizable — I’ll share my favorite twists below, but you can easily swap ingredients to suit your taste or dietary needs.
- Keeps You Fueled — Packed with protein, fiber, and healthy fats, these little balls keep hunger at bay longer than your average cookie or granola bar.
- Kid-Approved — My picky eaters ask for these regularly, which feels like a small parenting victory.
If you’re anything like me, snacks that are easy, tasty, and actually good for you are a rare find. These energy balls hit all those marks and then some. They’ve become my secret weapon for busy afternoons, back-to-school days, and even quick breakfast fixes.
Ingredients You’ll Need
Here’s the best part: most of these are pantry staples or ingredients you can find easily at any grocery store. I’m pretty particular about keeping the peanut butter natural (no added sugar or hydrogenated oils) because it makes a huge difference in flavor and nutrition.
- Natural Peanut Butter (1 cup / 240g) — Creamy or chunky, your call. I prefer creamy for smoother energy balls, but chunky adds great texture.
- Old-Fashioned Rolled Oats (1 cup / 90g) — Not quick oats. The larger flakes hold up better and give a nice chew.
- Honey (⅓ cup / 113g) — Acts as the natural sweetener and binder. You can swap with maple syrup if you want a vegan option.
- Ground Flaxseed (¼ cup / 30g) — Adds fiber, omega-3s, and helps with binding. If you don’t have it, you can use chia seeds instead.
- Mini Chocolate Chips (½ cup / 90g) — Optional but highly recommended for little bursts of sweetness. Dark or semi-sweet work best.
Pro tip: If you want to boost protein even more, add a scoop of your favorite protein powder or substitute some oats with chopped nuts. For that extra crunch, I sometimes throw in sunflower seeds or shredded coconut.
Equipment Needed
No fancy gadgets here—just a few kitchen basics you probably already own:
- Mixing Bowl — A large bowl to combine everything comfortably. I use a glass one because it’s easy to clean.
- Spoon or Spatula — For mixing. A sturdy silicone spatula works wonders for scraping the sides.
- Measuring Cups and Spoons — Accuracy helps, especially with sticky ingredients like honey and peanut butter.
- Baking Sheet or Plate — To place your rolled energy balls on while they firm up.
- Refrigerator — Not equipment per se, but essential for chilling the balls so they hold their shape.
If you want to get fancy, a small cookie scoop makes portioning the balls faster and more uniform, but your hands work just fine (and honestly, rolling is oddly satisfying).
How to Make No-Bake Peanut Butter Energy Balls: Step-by-Step
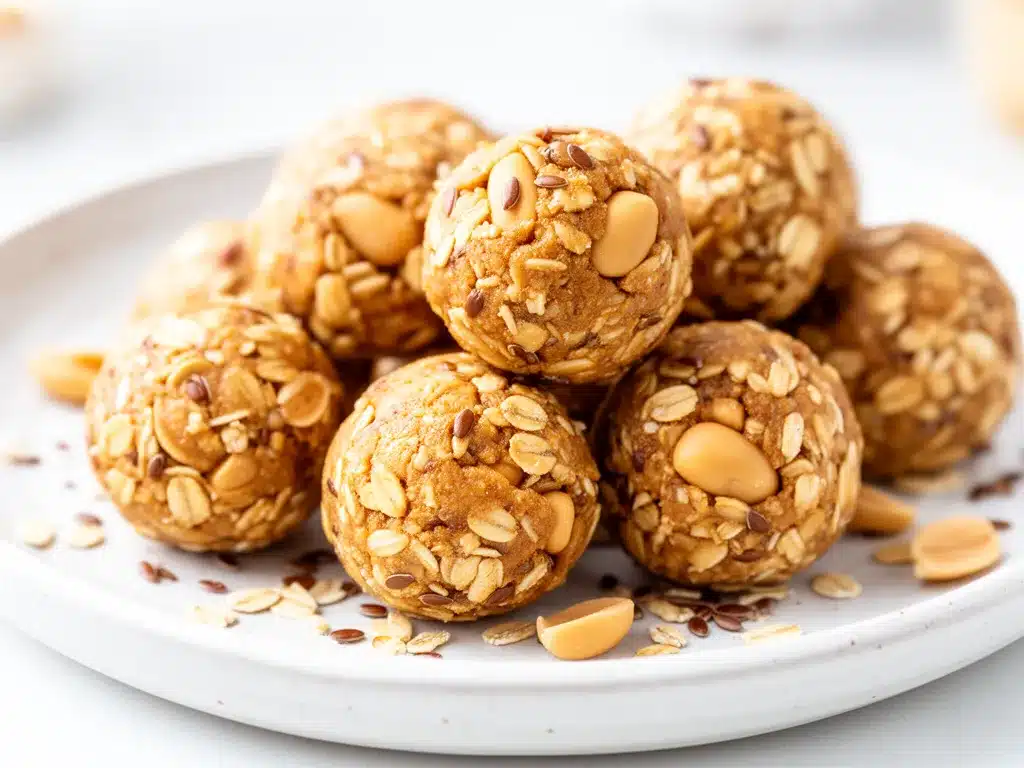
Alright, here’s where the magic happens. I’m going to walk you through exactly how I make these no-bake peanut butter energy balls, including the little tips that ensure they never fall apart or turn out too sticky.
Step 1: Combine the Wet Ingredients (2 minutes)
In your mixing bowl, spoon in the natural peanut butter and drizzle the honey over it. Stir these together until smooth and well combined. It might look thick and sticky, but that’s exactly what you want.
Step 2: Add the Dry Ingredients (3 minutes)
Sprinkle in the rolled oats, ground flaxseed, and mini chocolate chips. Mix everything thoroughly until all the oats are coated in the peanut butter mixture. The dough should be sticky but manageable.
Step 3: Form the Balls (3-5 minutes)
Using your hands or a cookie scoop, grab about 1 tablespoon of the mixture and roll it into a ball. Place each ball on a baking sheet or plate lined with parchment paper for easy cleanup. If the mixture feels too sticky, pop it in the fridge for 10 minutes before rolling.
Step 4: Chill and Set (at least 30 minutes)
Pop the tray in the refrigerator for at least 30 minutes to firm up. This step is key—it helps the balls hold their shape and makes them easier to eat (plus, they taste better cold, trust me).
Step 5: Enjoy!
Once chilled, these energy balls are ready to fuel your day. Store leftovers in an airtight container in the fridge for up to a week (if they last that long!).
Quick tip: If you want to skip chilling, roll the mixture into smaller bites and pop them in the freezer for 15 minutes. Instant snack ready to go!
Expert Tips & Tricks
I’ve made these energy balls so many times that I’ve learned what works—and what doesn’t. Here’s everything I wish I knew from the start:
- Measure Peanut Butter by Weight — Some brands are thicker or thinner, which can mess with the texture. Weighing helps keep it consistent.
- Don’t Use Instant Oats — They get mushy and don’t hold the balls together well. Old-fashioned rolled oats are the way to go.
- Adjust Sweetness to Taste — If you prefer less sweet snacks, cut back on honey to ¼ cup. You can always add a sprinkle of cinnamon for extra flavor without sugar.
- Rolling Tips — If your hands get sticky, wet them slightly or dust with a bit of oats to make rolling easier.
- Mix-Ins to Try — Toss in dried cranberries, chopped nuts, or shredded coconut for variety.
- Storage Hack — Freeze extras in a sealed bag. Grab a couple and thaw in the fridge overnight for a ready-made snack.
Variations & Substitutions
Once you’ve mastered the basic no-bake peanut butter energy balls, feel free to experiment. I’ve tried all these variations and they’re all winners:
- Almond Butter Swap — Use almond butter instead of peanut butter for a different nutty flavor.
- Chocolate Lover’s — Add 2 tablespoons of cocoa powder to the mix and swap mini chocolate chips for regular-sized ones.
- Vegan Version — Replace honey with maple syrup or agave nectar.
- Protein Boost — Stir in ¼ cup of your favorite protein powder. I like vanilla-flavored whey for a little extra sweetness.
- Seed Power — Swap flaxseed for chia seeds or add a mix of both.
- Spiced Up — Add ½ teaspoon cinnamon or a pinch of nutmeg for warmth.
- No Chocolate — Replace chocolate chips with dried fruit like raisins, chopped dates, or apricots.
Serving & Storage
These energy balls are best served cold straight from the fridge. They make excellent grab-and-go snacks for busy mornings or afternoon slumps.
When I pack these for school lunches, I like pairing them with a fresh fruit cup or a small yogurt. They also travel well in a thermos mac and cheese lunchbox combo for a balanced meal that kids actually enjoy.
Storage:
- Keep them in an airtight container in the fridge for up to one week.
- For longer storage, freeze in a sealed bag or container for up to three months. Thaw overnight in the fridge before eating.
- Leftovers sometimes get a bit harder in the fridge; just let them sit at room temperature for 10 minutes before serving to soften.
Nutrition Information
I’m not a nutritionist, but here’s a rough breakdown per energy ball (based on 20 balls):
| Calories | 90 |
|---|---|
| Protein | 3g |
| Carbohydrates | 10g |
| Fiber | 2g |
| Sugar | 5g |
| Fat | 5g |
| Saturated Fat | 1g |
| Sodium | 40mg |
What’s good? These energy balls have a nice balance of protein, fiber, and healthy fats. They’re satisfying without being a sugar bomb. Adding in the flaxseed boosts omega-3s, which is a nice bonus.
What to note? They do contain natural sugars from honey and chocolate chips, so moderation is key. Also, they’re not gluten-free unless you use certified gluten-free oats.
Final Thoughts
So there you have it: my no-bake peanut butter energy balls recipe that’s become a staple in my kitchen. I realize I’ve probably babbled on about these little snacks more than necessary, but when something this simple and reliable shows up in your day-to-day, you want to shout about it.
They’ve saved me from hangry moments, made school mornings less hectic, and even doubled as a quick breakfast when I’m running late. If you’re juggling busy schedules (and who isn’t?), these energy balls are your new best friend.
Make them your own. Add your favorite mix-ins, adjust the sweetness, or swap ingredients. I’ve found that the best recipes are the ones you customize to suit your family’s tastes.
If you give these a try, drop a comment below and tell me how they turned out! And if you hit any snags, I’m here to help troubleshoot. Happy rolling—and I hope your kitchen smells as good as mine does right now.
Frequently Asked Questions
Q: Can I use peanut butter with added sugar or salt?
A: You can, but I prefer natural peanut butter because it lets you control the sweetness and saltiness. Added sugar can make the balls too sweet and affect texture, and salt can throw off the balance. If you only have sweetened peanut butter, reduce the honey a bit.
Q: My mixture is too sticky to roll. What should I do?
A: Chill the mixture in the fridge for 10-15 minutes to firm it up. If it’s still sticky, dust your hands with a little oat flour or rolled oats. Adding a bit more oats or ground flaxseed can also help, but don’t add too much or the balls get dry.
Q: Can I make these energy balls without chocolate chips?
A: Absolutely! Swap chocolate chips for dried fruit like raisins, chopped dates, or cranberries. You can even leave them out entirely if you prefer a less sweet snack.
Q: How long do these energy balls last? Can I freeze them?
A: They keep well in the fridge for up to a week. For longer storage, freeze them in a sealed container for up to three months. Just thaw them overnight in the fridge before eating.
Q: Can I substitute the flaxseed with something else?
A: Yes! Chia seeds are a great substitute and provide similar binding and nutrition. You can also omit them, but the texture might be a little less firm.
Q: Are these energy balls suitable for kids’ lunchboxes?
A: Definitely. They’re the perfect size, mess-free, and full of energy-boosting ingredients. I often pack them alongside a turkey and cheese pinwheel or some honey garlic pretzel bites for a well-rounded lunch.
Q: Can I double or triple this recipe?
A: Yes! Just multiply the ingredients and mix in a bigger bowl. Rolling might take a bit longer, but the recipe scales perfectly.
Pin This Recipe!
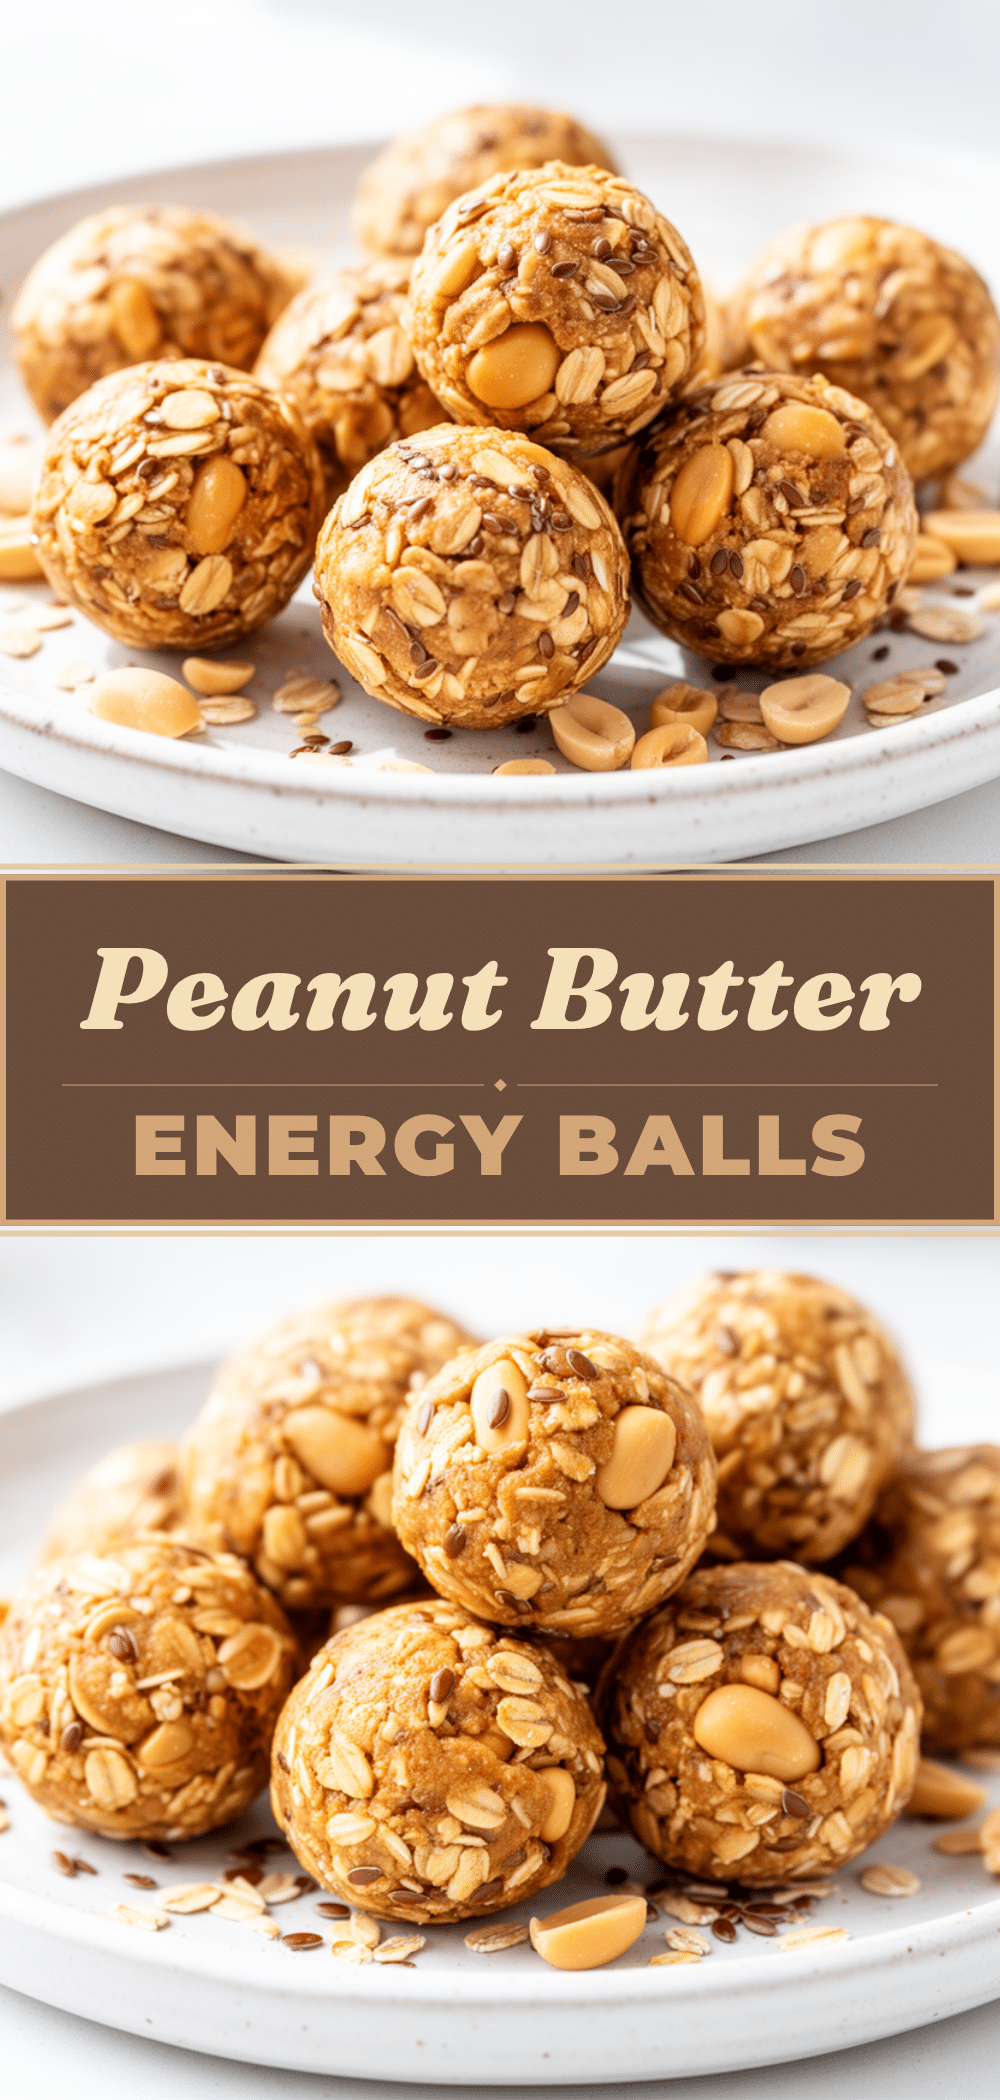
No-Bake Peanut Butter Energy Balls
- Total Time: 38 minutes
- Yield: 20 balls 1x
Description
Quick and easy no-bake peanut butter energy balls made with five simple ingredients, perfect for a wholesome snack on the go.
Ingredients
- 1 cup (240g) natural peanut butter (creamy or chunky)
- 1 cup (90g) old-fashioned rolled oats
- ⅓ cup (113g) honey (or maple syrup for vegan option)
- ¼ cup (30g) ground flaxseed (or chia seeds)
- ½ cup (90g) mini chocolate chips (optional)
Instructions
- Combine the natural peanut butter and honey in a mixing bowl and stir until smooth and well combined.
- Add the rolled oats, ground flaxseed, and mini chocolate chips to the bowl and mix thoroughly until all oats are coated and the dough is sticky but manageable.
- Using your hands or a cookie scoop, roll about 1 tablespoon of the mixture into balls and place them on a baking sheet or plate lined with parchment paper. If the mixture is too sticky, chill in the fridge for 10 minutes before rolling.
- Refrigerate the energy balls for at least 30 minutes to firm up and hold their shape.
- Enjoy chilled. Store leftovers in an airtight container in the fridge for up to one week.
Notes
If mixture is too sticky to roll, chill for 10-15 minutes or dust hands with oats. For vegan version, substitute honey with maple syrup or agave nectar. Add protein powder or nuts for extra protein and crunch. Freeze leftovers for up to three months.
- Prep Time: 8 minutes
- Cook Time: 0 minutes
- Category: Snack
- Cuisine: American
Nutrition
- Serving Size: 1 energy ball
- Calories: 90
- Sugar: 5
- Sodium: 40
- Fat: 5
- Saturated Fat: 1
- Carbohydrates: 10
- Fiber: 2
- Protein: 3
Keywords: no-bake, peanut butter, energy balls, snack, healthy, quick, easy, protein, fiber, kid-friendly