Last Friday night, I was staring at my delivery app, thumb hovering over the “Place Order” button for my favorite Chinese spot. The takeout chicken thighs were the ones I always ordered—crispy skin, tender meat, and that addictive garlic-soy glaze. But I was also trying to eat a little cleaner, and the guilt of another $25 delivery fee was kicking in. So, I did what I always do when I want something good but don’t want to compromise on quality: I went into the kitchen and improvised.
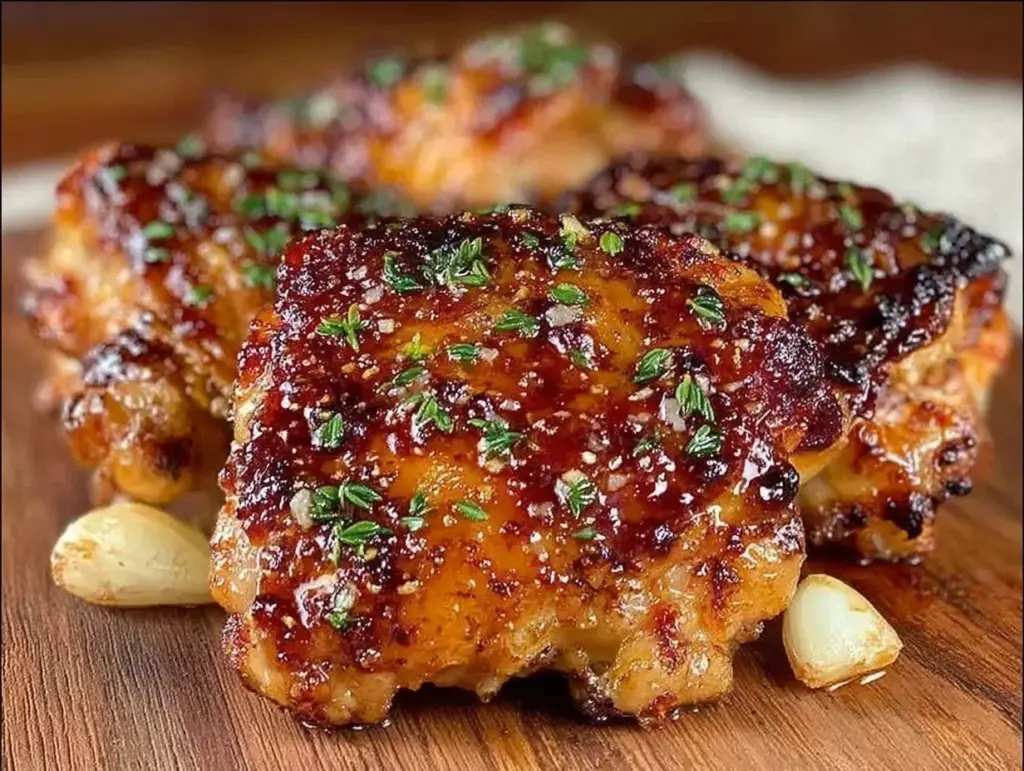
I pulled out some bone-in, skin-on chicken thighs (because boneless just doesn’t give you that juicy interior), seasoned them with a blend of garlic, herbs, and a touch of cayenne, and slathered them in a compound butter made from roasted garlic and fresh parsley. I threw them in the oven at a screaming hot 425°F. Thirty minutes later, the smell hitting my kitchen wasn’t just “dinner”—it was a full-blown aroma attack. Crispy, golden-brown, glistening with herb butter, and smelling like a fancy restaurant.
I plated them up, added some roasted broccoli, and sat down to eat. And you know what? I didn’t miss the takeout at all. In fact, I preferred mine. The skin was shatteringly crisp, the meat was so tender it fell off the bone, and that garlic herb butter pooled at the bottom of the plate, begging to be soaked up with crusty bread. This crispy baked chicken thighs with garlic herb butter recipe has since become my go-to for everything from lazy Tuesday nights to impressing guests on a date night. It’s the perfect balance of comfort food richness and weeknight simplicity.
I’ve tested this method at least a dozen times, tweaking the herb ratios and temperature settings, and I’ve finally landed on the perfect version. It’s not just “good for baked chicken.” It’s genuinely better than the takeout version, and it takes less effort than calling a driver. Let me show you how to make it.
Why You’ll Love This Garlic Herb Chicken
There are a million chicken recipes out there, but this one sticks with you. Here’s why it’s earned a permanent spot in my weekly rotation:
- Zero Prep Stress — Seriously, the hardest part is melting the butter. You don’t need to marinate for hours or brine overnight. You season, you butter, you bake. Done.
- Crispy Skin, Every Time — The secret isn’t frying; it’s high heat and space. These thighs come out with skin so crisp it sounds like it when you cut it. No soggy middle, no rubbery texture.
- Flavor Bomb — That garlic herb butter isn’t just a topping; it bastes the chicken as it roasts, infusing every layer of meat with savory, herby goodness. It’s rich, but in a good way.
- Impressive But Simple — If you serve this to guests, they will ask for the recipe. It looks like something from a high-end bistro, but it’s literally just chicken, butter, and herbs. Perfect for weekend dinner parties where you want to look like a pro chef without actually being one.
- Leftovers That Are Better — Cold or reheated, this chicken stays juicy. I meal-prep these on Sundays, and they’re still tender and flavorful by Wednesday.
This is my answer to “what’s for dinner” when I want something that feels special but doesn’t require a chef’s hat. It’s indulgent, it’s savory, and it’s incredibly satisfying.
Ingredients You’ll Need
The beauty of this recipe is that you likely have almost everything in your pantry already. Here’s what you need to make the best crispy baked chicken thighs with garlic herb butter:
For the Chicken
Chicken Thighs (2.5 lbs / 1.1 kg) — Bone-in, skin-on is non-negotiable here. The bone keeps the meat moist, and the skin is what gets crispy. I buy the family pack from Costco and freeze them individually. Thaw them in the fridge overnight before cooking.
Vegetable Oil or Avocado Oil (1 tablespoon) — I use a neutral oil to help the skin crisp up before the butter burns. Olive oil works too, but extra virgin can smoke at high heat.
Garlic Powder (1 teaspoon) — Adds a concentrated garlic flavor that sticks to the skin. Don’t skip this; fresh garlic alone won’t give you that crusty flavor.
Onion Powder (½ teaspoon) — Adds a subtle sweetness and depth. It balances the sharpness of the fresh garlic in the butter.
Dried Oregano (1 teaspoon) — Earthy and classic. It pairs perfectly with the richness of the chicken. If you don’t have it, dried thyme works too.
Fresh Thyme (4-5 sprigs) — I use fresh thyme because the leaves are tiny and get crispy in the oven. Dried thyme is okay, but fresh tastes brighter.
Salt and Black Pepper (to taste) — Use kosher salt. It adheres better to the skin than table salt. Be generous with the pepper; it adds a nice bite.
For the Garlic Herb Butter
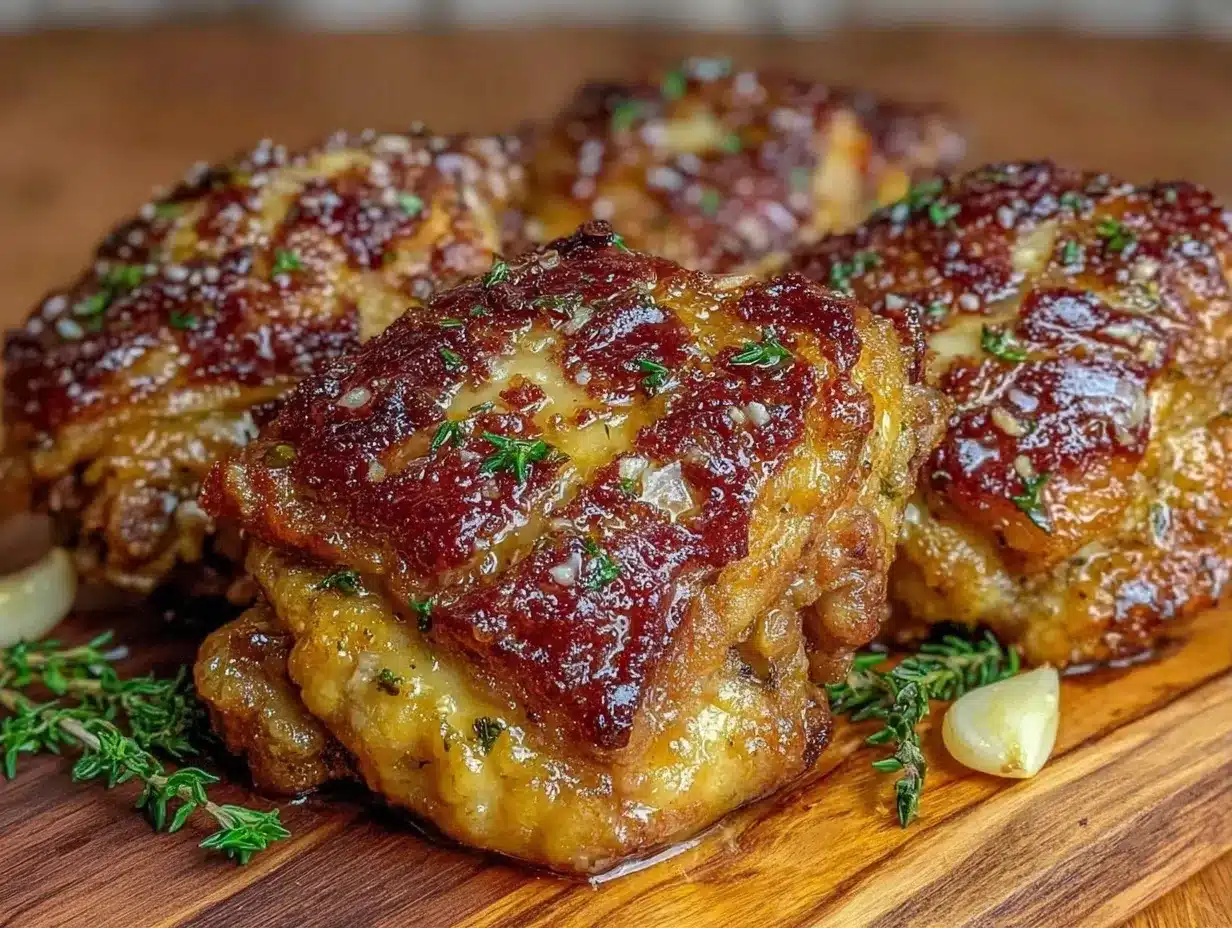
Unsalted Butter (4 tablespoons / ½ stick) — Room temperature is best so it mixes easily. Use high-quality butter if you can; you’re tasting it directly.
Fresh Garlic (4 cloves, minced) — Yes, four cloves. This is a garlic herb butter, after all. Mince it finely so it distributes evenly.
Fresh Parsley (2 tablespoons, chopped) — Flat-leaf parsley is best. It adds a fresh, grassy note that cuts through the richness of the butter and chicken fat.
Lemon Zest (½ teaspoon) — Optional but highly recommended. The citrus oils brighten up the heavy garlic and butter flavors. It makes the dish feel lighter.
Red Pepper Flakes (¼ teaspoon) — Just a pinch. It adds a tiny warmth that you won’t even taste but will notice in the back of your throat. Great for balance.
Equipment Needed
You don’t need fancy gear for this. Here’s what I actually use:
Rimmed Baking Sheet — I use a half-sheet pan (18×13 inches). It needs to be big enough to hold all the thighs in a single layer. If they’re touching, they steam instead of roast. I line it with parchment paper for easy cleanup, but a bare, oiled sheet works too for extra crispiness.
Wire Rack — This is my secret weapon. Placing the chicken on a wire rack set inside the baking sheet allows air to circulate underneath the thighs. This prevents the bottom skin from getting soggy. If you don’t have a rack, just flip the chicken halfway through cooking.
Small Mixing Bowl — For mixing the compound butter. A ramekin works too.
Pastry Brush or Spoon — To spread the butter over the chicken. I prefer a spoon for control.
Chef’s Knife and Cutting Board — For mincing the garlic and chopping parsley.
How to Make It: Step-by-Step
Alright, let’s get cooking! This process is straightforward, but the details matter if you want that restaurant-quality finish.
Step 1: Prep the Chicken (5 minutes)
Preheat your oven to 425°F (220°C). This high heat is crucial for rendering the fat and crisping the skin. Pat the chicken thighs completely dry with paper towels. Moisture is the enemy of crispiness. If the skin is wet, it won’t brown. Be thorough.
Step 2: Season the Thighs (3 minutes)
Place the dried thighs on the wire rack. Drizzle with the vegetable oil and rub it all over, making sure to get under the skin if possible. Sprinkle evenly with garlic powder, onion powder, oregano, salt, and black pepper. Rub the seasoning in firmly so it sticks. The oil acts as a glue for the spices.
Step 3: Make the Garlic Herb Butter (3 minutes)
In a small bowl, mash together the softened unsalted butter, minced fresh garlic, chopped parsley, lemon zest, and red pepper flakes until it forms a paste. It should smell amazing. If the butter is too cold, microwave it for 10 seconds to soften it up.
Step 4: Butter the Chicken (2 minutes)
Take generous dollops of the garlic herb butter and spread them over the top of each chicken thigh. Try to get some of the butter under the skin as well, if you can gently loosen it with your fingers. This ensures the meat itself is flavored, not just the top. Place a sprig of fresh thyme on top of each thigh for garnish and extra aroma.
Step 5: Bake Until Golden (30-35 minutes)
Slide the rack into the oven. Bake for 30-35 minutes. You want the skin to be deep golden brown and crispy, and the internal temperature to reach 165°F (74°C). About halfway through (around 15 minutes), rotate the pan if your oven has hot spots. If you’re not using a wire rack, flip the chicken over at this point to crisp both sides.
Step 6: Rest and Serve (5 minutes)
Remove the chicken from the oven. Let it rest on the rack for at least 5 minutes before serving. This allows the juices to redistribute. If you cut into it immediately, all the flavorful juices will run out, leaving you with dry chicken. The resting time also lets the butter settle into the crispy skin, making it even more delicious.
Total Time: About 45 minutes (10 active, 35 baking)
Expert Tips for Perfectly Crispy Skin
Here’s everything I’ve learned from making this dozens of times. These tips will save you from my early mistakes.
Don’t Skip the Drying
I know it’s tedious, but patting the chicken dry is the single most important step. Wet skin = steamed skin. Crispy skin = dry skin. Use fresh paper towels. If you have time, leave the uncovered chicken in the fridge for an hour before cooking to air-dry the skin further.
Use a Wire Rack
I cannot stress this enough. If you put chicken directly on a pan, the bottom steams in its own juices. A wire rack elevates the chicken, letting the heat hit every side. It makes a huge difference in texture.
Room Temperature Butter
Don’t use cold, hard butter for the topping. It won’t spread or melt properly. Let it sit out for 15-20 minutes before you start. If you forget, microwave it in 5-second bursts until it’s soft but not liquid.
Don’t Crowd the Pan
If your pan is too small, the chicken will steam. Use two pans or cook in batches. Each thigh needs space around it for the hot air to circulate.
Check the Temperature
Chicken thighs are forgiving, but they can get tough if overcooked. Use a meat thermometer. Pull them at 165°F. They will continue to cook slightly as they rest, reaching a perfect 170°F-175°F, which is ideal for thighs because the connective tissue breaks down at higher temps.
Variations & Substitutions
Once you’ve nailed the basic version, here’s how you can mix it up. I’ve tried all of these, and they’re all winners.
Spicy Kick
Add ½ teaspoon of cayenne pepper or smoked paprika to the dry rub. Or, swap the red pepper flakes in the butter for a dash of hot sauce. Great if you like heat.
Herb Swap
Not a parsley fan? Use cilantro for a Mexican twist, or chives for a milder, oniony flavor. Rosemary also works well with garlic, but use it sparingly as it’s strong.
Lemon Garlic Variation
Double the lemon zest and add 1 tablespoon of lemon juice to the butter. This version is brighter and tangier. Perfect for serving with summer salads or grilled vegetables.
Honey Glaze Finish
Brush the chicken with a mixture of honey and soy sauce during the last 5 minutes of baking. It creates a sticky, sweet-and-savory glaze. This is closer to the takeout style I mentioned at the start.
Gluten-Free
This recipe is naturally gluten-free! Just double-check your spices and butter to ensure no cross-contamination. Serve with rice or roasted potatoes.
Dairy-Free
Swap the butter for olive oil or avocado oil. Mix the herbs and garlic into the oil instead. It won’t have the same rich mouthfeel, but it’s still delicious.
Serving & Storage
How to Serve
I serve these straight from the rack, with the crispy skin facing up. They look stunning on a platter. Pair them with:
- Roasted Vegetables — Broccoli, asparagus, or green beans tossed in olive oil.
- Mashed Potatoes — To soak up that garlic herb butter.
- Simple Green Salad — A light vinaigrette cuts through the richness.
- Crusty Bread — Essential for dipping.
Storage
Store leftovers in an airtight container in the fridge for up to 4 days. The skin will soften in the fridge, but the flavor remains strong.
Reheating
Do not microwave these. It will make the skin rubbery. Instead, reheat in a 350°F oven for 10-15 minutes, or in an air fryer for 3-4 minutes. This restores the crispiness. If you’re meal prepping, the chicken is best enjoyed cold or at room temperature, which is actually my favorite way to eat it.
Freezing
You can freeze the cooked chicken for up to 3 months. Thaw in the fridge overnight and reheat in the oven. I don’t recommend freezing the raw chicken with the butter topping, as the texture of the butter can change upon thawing.
Nutrition Information
I’m not a nutritionist, but here’s the breakdown if you’re tracking. This is per serving (based on 4 servings, 2 thighs each).
Calories: 450 | Protein: 35g | Carbs: 2g | Fiber: 0g | Sugar: 0g | Fat: 32g | Saturated Fat: 12g | Cholesterol: 150mg | Sodium: 300mg
What’s Good: High protein, low carb (keto-friendly), rich in B vitamins.
What to Know: Higher in fat due to the skin and butter, but it’s mostly saturated and monounsaturated fats. Use less butter or remove the skin if you’re watching calories strictly.
Final Thoughts
So that’s my go-to crispy baked chicken thighs with garlic herb butter! I’ve probably talked your ear off at this point, but when you make a recipe this often, you have a lot to say about it.
This has saved weeknight dinners more times than I can count. It’s my answer to “what’s for dinner” when I’m tired, don’t want takeout, and still want something that tastes really good. My family is happy, my guests are impressed, and I’m happy because I’m not stressed about cooking.
Make it yours! Try different herbs, add some chili flakes, or serve it with your favorite side dish. The best recipes are the ones you adapt to your family’s tastes.
If you make this, drop a comment and let me know what you think! I love hearing how recipes turn out in your kitchen. And if something doesn’t work, tell me that too—I’m here to help troubleshoot.
Happy cooking! And I hope your kitchen smells half as good as mine does right now.
Frequently Asked Questions
Can I use boneless chicken thighs?
You can, but the cooking time will be shorter—probably 20-25 minutes. Boneless thighs also lack the crisp skin, so you won’t get the same texture. If you must use boneless, sear them in a pan first to get some color, then finish in the oven.
Why did my chicken skin get soggy?
Usually, this happens because the skin wasn’t dry enough before seasoning, or the chicken was crowded on the pan. Make sure to pat it dry thoroughly and give each piece room to breathe. Also, ensure your oven is fully preheated to 425°F.
Can I make the garlic herb butter ahead?
Yes! Make the butter up to 3 days ahead and store it in the fridge in an airtight container. Let it come to room temperature before spreading it on the chicken. You can also freeze it for up to 3 months.
Is this recipe keto-friendly?
Absolutely. Chicken thighs, butter, garlic, and herbs are all low-carb. Just avoid serving it with high-carb sides like rice or potatoes. Stick to roasted veggies or cauliflower mash.
Can I substitute fresh thyme with dried?
You can, but use only ½ teaspoon of dried thyme. Dried herbs are more potent, and you don’t want the flavor to overwhelm the garlic. Fresh thyme leaves are better because they get crispy in the oven.
How do I know when the chicken is done?
Use a meat thermometer. Insert it into the thickest part of the thigh, avoiding the bone. It should read 165°F. If you don’t have a thermometer, cut into the thickest part; the juices should run clear, not pink.
Can I air fry these instead of baking?
Yes! Air fry at 380°F for 15-18 minutes, flipping halfway. The air fryer circulates heat very well, so the skin gets incredibly crispy. Just make sure not to overcrowd the basket.
Pin This Recipe!
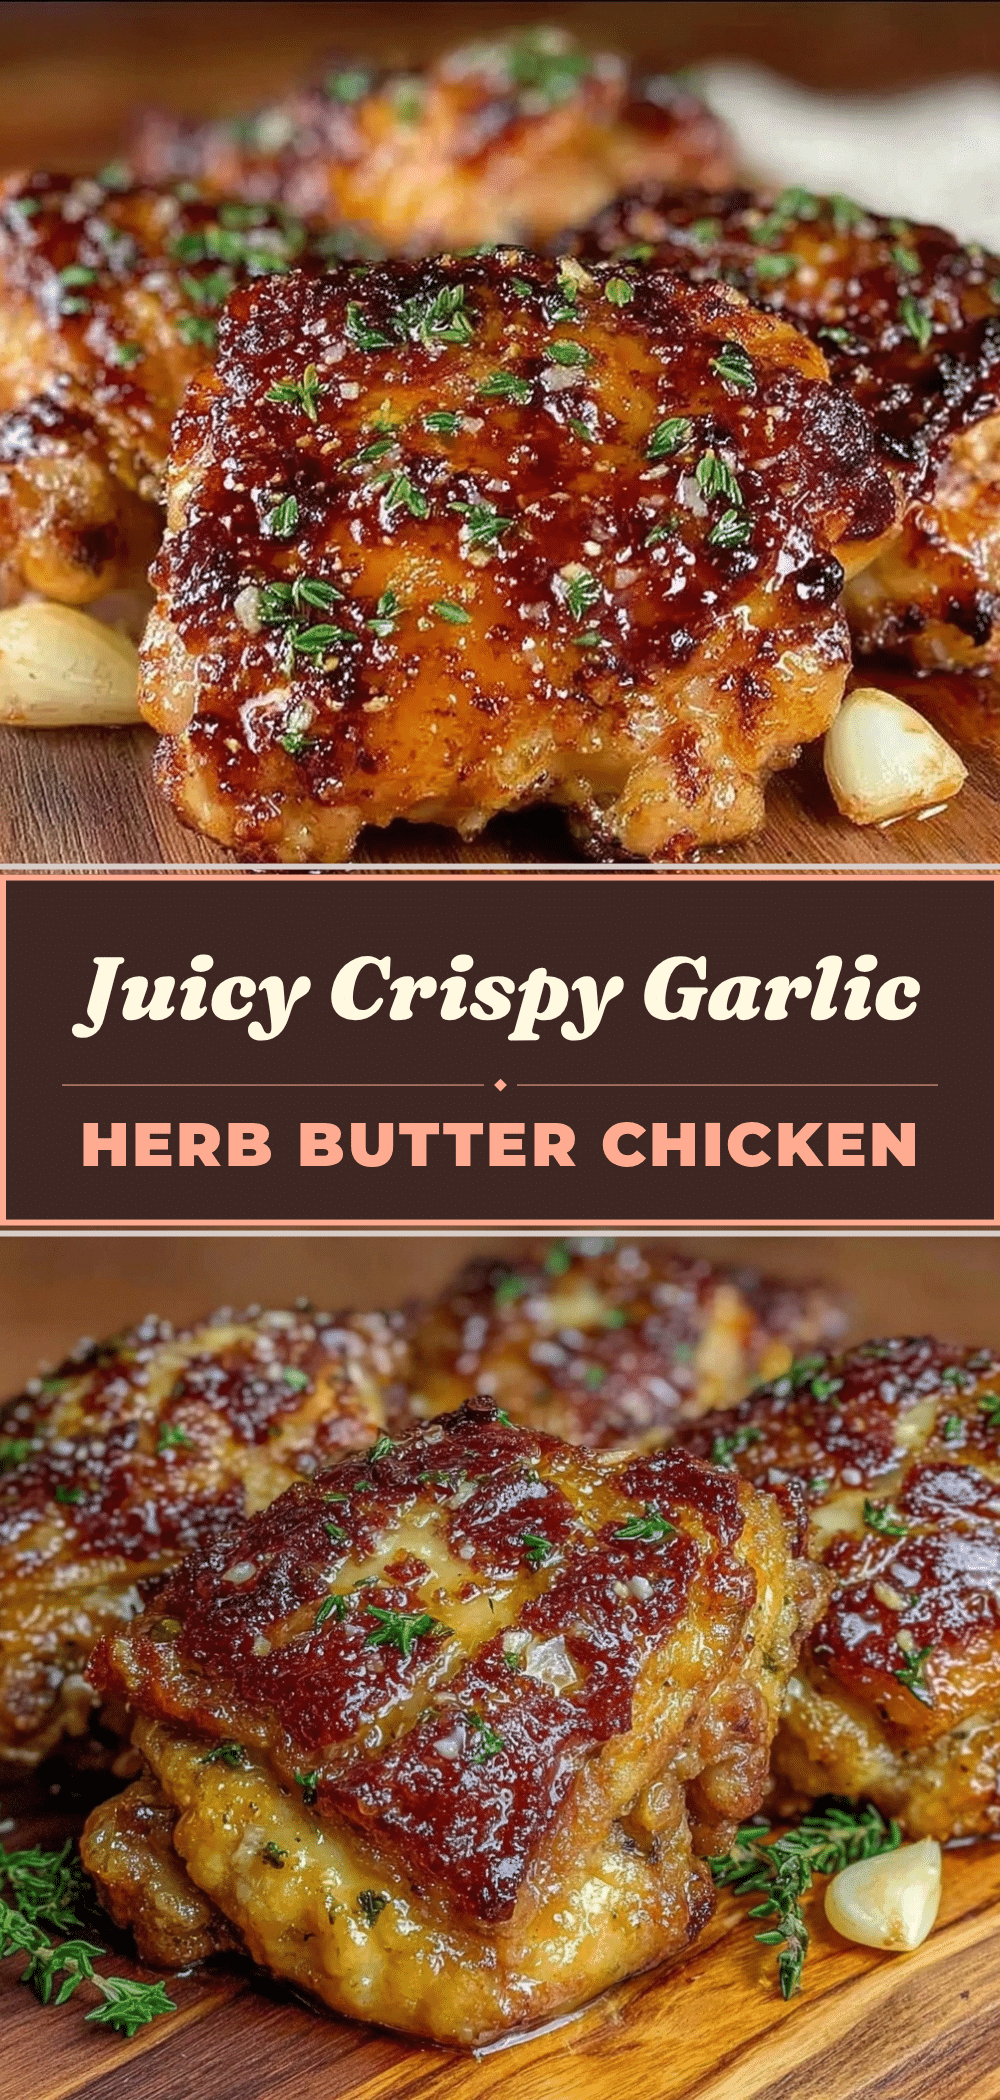

Crispy Baked Chicken Thighs with Garlic Herb Butter
- Total Time: 45 minutes
- Yield: 4 servings 1x
Description
These crispy baked chicken thighs are seasoned with garlic and herbs, topped with a rich garlic herb butter, and roasted at high heat for shatteringly crisp skin and tender meat. It’s a quick, impressive weeknight dinner that beats takeout.
Ingredients
- 2.5 lbs bone-in, skin-on chicken thighs
- 1 tablespoon vegetable oil or avocado oil
- 1 teaspoon garlic powder
- 1/2 teaspoon onion powder
- 1 teaspoon dried oregano
- 4–5 sprigs fresh thyme
- Salt and black pepper to taste
- 4 tablespoons unsalted butter (room temperature)
- 4 cloves fresh garlic (minced)
- 2 tablespoons fresh parsley (chopped)
- 1/2 teaspoon lemon zest
- 1/4 teaspoon red pepper flakes
Instructions
- Preheat oven to 425°F (220°C). Pat chicken thighs completely dry with paper towels.
- Place chicken on a wire rack set inside a rimmed baking sheet. Drizzle with oil and rub all over, getting under the skin if possible.
- Sprinkle with garlic powder, onion powder, oregano, salt, and pepper. Rub seasoning in firmly.
- In a small bowl, mash together softened butter, minced garlic, parsley, lemon zest, and red pepper flakes until a paste forms.
- Spread the garlic herb butter over the top of each thigh, pushing some under the skin. Place a sprig of fresh thyme on top of each thigh.
- Bake for 30-35 minutes until skin is deep golden brown and internal temperature reaches 165°F. Rotate pan halfway through if needed.
- Remove from oven and let rest for 5 minutes before serving.
Notes
Patting the chicken dry is crucial for crispy skin. Use a wire rack to allow air circulation and prevent soggy bottoms. Do not crowd the pan. Chicken thighs are forgiving but should be pulled at 165°F. Resting allows juices to redistribute.
- Prep Time: 10 minutes
- Cook Time: 35 minutes
- Category: Main Course
- Cuisine: American
Nutrition
- Serving Size: 2 thighs per serving
- Calories: 450
- Sodium: 300
- Fat: 32
- Saturated Fat: 12
- Carbohydrates: 2
- Protein: 35
Keywords: crispy baked chicken thighs, garlic herb butter, weeknight dinner, keto friendly, high protein, easy chicken recipe