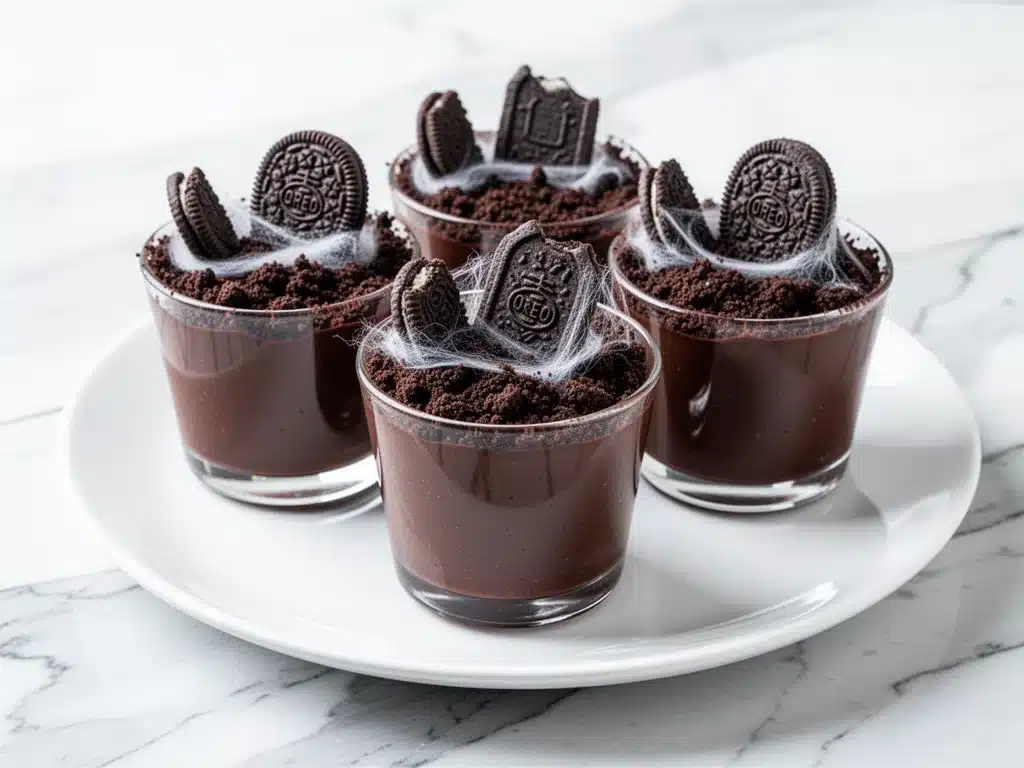
It was 7:15 PM on Halloween, and I was standing in my kitchen holding a plastic bag of crushed cookies, staring at a bowl of chocolate pudding like it owed me money. My friends were supposed to be at the door in forty-five minutes for our annual “Haunted House” party. I had planned to make these Halloween graveyard chocolate pudding cups weeks ago. But life happens. Between work, laundry, and that one time I tried to make homemade caramel and set off the smoke alarm, I had forgotten. Completely.
I was panic-cooking. I had two choices: run to the store for expensive pre-made cupcakes (which would be soggy by the time they got home) or improvise. I looked at my counter. I had instant pudding mix. I had heavy cream. I had chocolate chip cookies (because I’d bought them for my nephew, who apparently doesn’t celebrate Halloween but loves chocolate). And I had gummy worms from last year’s stash.
I dumped the pudding into a bowl. I whipped up some cream to make it richer than the box instructions allowed. I crushed the cookies with a rolling pin until my arm hurt. I layered it all into little mason jars I’d dug out of the back of the cupboard. I used a spoon handle to poke “tombstones” into the cookie crumb layer and stuck gummy worms out of the “dirt” like they were wriggling their way out of a grave.
When my friends walked in, the first thing they said wasn’t “Happy Halloween.” It was “What is that smell? And can I have a jar?”
That night, these no-bake graveyard pudding cups became the star of the party. They were creepy, they were delicious, and they were easy enough to make while wearing a witch costume. I’ve made them at least a dozen times since then—usually when I need a dessert that looks impressive but requires zero oven time. It’s become my go-to for Halloween, but honestly? I make them whenever I need a chocolate fix that feels like a treat without the effort.
This recipe is all about texture and presentation. The contrast between the silky, rich chocolate pudding and the crunchy, sandy cookie “dirt” is what makes it addictive. Plus, the visual factor? Off the charts. If you’re looking for a dessert that stops people in their tracks, this is it. It’s better than those chocolate crinkle cookies because it’s cooler, creamier, and way easier to serve to a crowd.
Why You’ll Love This Graveyard Pudding Recipe
There are about ten reasons I keep making these pudding cups, but here are the big ones. This isn’t just a snack; it’s a strategy for stress-free entertaining.
Zero Baking Required — Seriously. If you can pour milk into a bowl and whisk, you can make this. I’ve made this while babysitting, while watching TV, and once while my dog was barking at the mailman. No oven, no timers, no preheating. Just mix, layer, and chill.
Looks Like You Tried Hard — The “graveyard” aesthetic is instant. You don’t need any artistic talent. Just a spoon and some gummy worms. It looks like something you’d buy at a fancy dessert shop for $8, but it costs about $3 to make. The contrast of the dark cookie crumbs against the white/marshmallow “tombstones” is surprisingly photogenic.
Perfect Texture Contrast — This is the secret weapon. Smooth pudding, crunchy cookie crumbs, chewy gummy worms. It hits every sensory note. It’s similar to the texture profile of those churro cheesecake bars, but without the frying or the baking. It’s lighter, cooler, and feels more like a party treat.
Make-Ahead Friendly — You can make these the night before. In fact, I prefer it. The flavors meld together, the pudding sets up nicely, and the cookies soften just a tiny bit (but not too much). I can make six of these in 15 minutes on Sunday, stash them in the fridge, and grab one on Wednesday night when I need a pick-me-up.
Customizable for Any Age — My niece loves the gummy worms. My husband loves the chocolate. My gluten-free friend can use gluten-free cookies. It’s a dessert that pleases everyone at the table. Plus, it’s individual portions, so no fighting over the last slice of cake.
This is my answer to “what’s for dessert?” when I’m tired, don’t want to bake, and still want something that looks festive. No complicated techniques, no weird ingredients, just reliable, delicious food that makes everyone happy.
Ingredients You’ll Need
Here’s the best part: you probably have most of this already. This recipe relies on pantry staples and a few fun Halloween additions. I’m particular about the cookies, and I’ll tell you exactly why.
Instant Chocolate Pudding Mix (1 box / 3.4 oz or 96g) — I use the Jell-O brand, but any brand works. Don’t get the “fat-free” version if you can help it—the texture is weird. The regular instant mix (not the “cook and serve” kind) is what you need. It sets up fast and tastes sweet and chocolatey.
Whole Milk (2 cups / 480ml) — Cold milk is best. Use whole milk for the creamiest pudding. Skim milk will make it taste watery and thin. Trust me on this. If you’re dairy-free, use a chocolate plant-based pudding mix with almond or oat milk.
Heavy Cream (1 cup / 240ml) — This is the game-changer. The box says to use milk only, but adding whipped heavy cream makes the pudding light, airy, and rich. It’s like upgrading from a sedan to a luxury car. Don’t skip it.
Chocolate Chip Cookies (1 package / about 12 oz or 340g) — I use store-bought chocolate chip cookies for the “dirt.” Why? Because they have chocolate chips that melt slightly into the crumbs, adding extra chocolate flavor. Oreos work too, but they make it more like a dessert pizza. For a graveyard look, chocolate chip cookies give that “soil” vibe better. I buy the soft ones if I can—they crush easier.
Butter (2 tablespoons / 30g) — Melted. This helps the cookie crumbs stick together slightly so they don’t just float to the top. It also adds a rich flavor.
White Chocolate or Marshmallow Fluff — For the “tombstones.” I use white chocolate chips melted with a little coconut oil, but marshmallow fluff or even white frosting works. White chocolate looks more realistic for stone.
Gummy Worms (1 pack) — The classic. Any brand works. I like the ones that are slightly chewy, not too hard. They add the “spooky” factor.
Optional Add-ins:
Mini Marshmallows — For little “ghosts” floating in the pudding.
Cookie Crumble — Crushed Oreos for a darker “dirt” look.
Edible Glitter — For a magical graveyard vibe.
Personal Tips:
– I always crush my cookies in a zip-top bag with a rolling pin. It’s quieter than a food processor and less messy.
– If you’re making these for kids, use fruit gummy worms (no gelatin) if you’re worried about dye.
– The pudding mix box usually says to mix for 2 minutes. I mix for 2 minutes, then fold in the whipped cream. That’s the secret to the fluffy texture.
Equipment Needed
You don’t need fancy equipment for this. Here’s what I actually use.
Two Large Mixing Bowls — One for the pudding, one for the whipped cream. I use stainless steel bowls because they’re easy to clean and don’t slip.
Whisk or Electric Mixer — For whipping the cream. Hand whisking takes about 3-4 minutes of arm work. Electric takes 30 seconds. Your choice.
Zip-top Bags — For crushing cookies. Heavy-duty bags work best so they don’t rip.
Rolling Pin or Heavy Pan — For crushing the cookies. I use a rolling pin because it gives even pressure.
Small Saucepan — For melting white chocolate. Or a microwave-safe bowl if you’re in a hurry.
Serving Cups — I use small mason jars (8oz), ramekins, or even shot glasses for a fancy touch. Clear cups are best so people can see the layers.
Spoons — For layering. I use a regular tablespoon for the pudding and a teaspoon for the crumbs.
Optional but nice:
– Piping Bag — For putting the white chocolate “tombstones” on neatly.
– Kitchen Shears — For cutting the gummy worms if they’re too long.
How to Make It: Step-by-Step
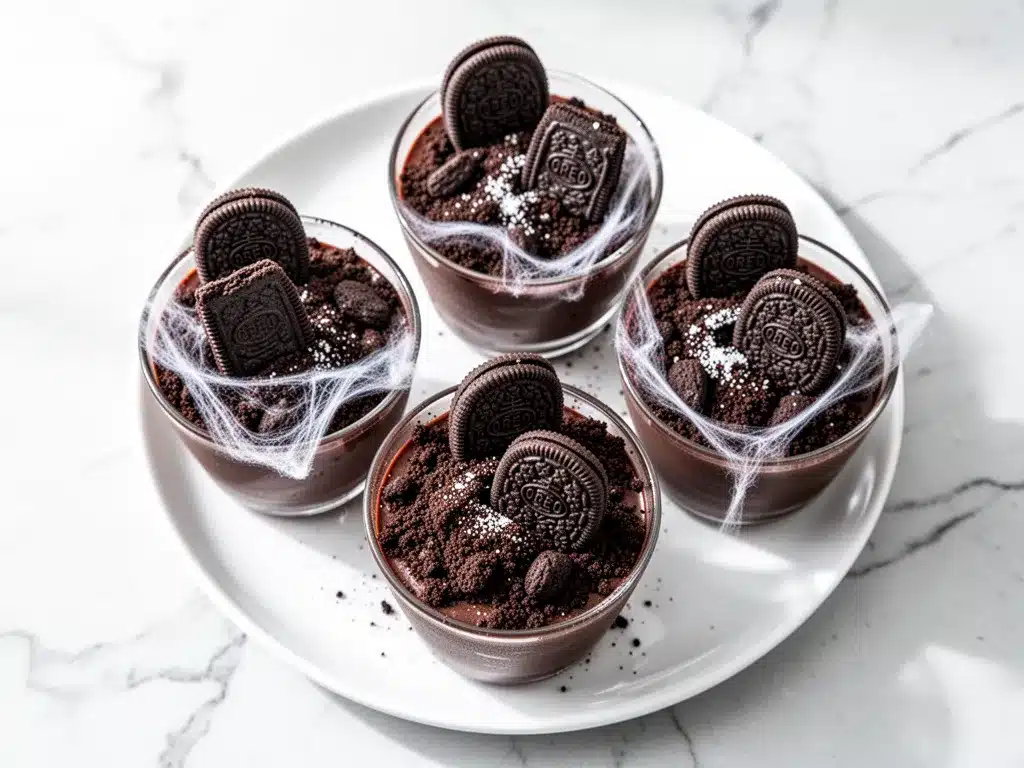
Alright, let’s make this! I’m walking you through exactly how I do it, including the little tricks I’ve picked up.
Step 1: Crush the Cookie “Dirt” (5 minutes)
Take your chocolate chip cookies and put them in a zip-top bag. Squeeze out as much air as possible. Use your rolling pin to crush them into fine crumbs. You want them small, like sand or dirt. Don’t worry about getting every crumb tiny—some chunks are fine, they add texture. If you have a food processor, pulse it 5-6 times. Transfer the crumbs to a small bowl. Melt the 2 tablespoons of butter and stir it into the crumbs. This helps them stick together slightly. Set aside.
Step 2: Make the Pudding Base (3 minutes)
In a large bowl, whisk together the instant chocolate pudding mix and the cold milk. Whisk vigorously for about 2 minutes until it thickens and starts to look like pudding. The box says to let it sit for 5 minutes, but I find that if I whisk hard enough, it’s ready sooner. Taste it. It should be sweet and chocolatey. If it’s too thick, add a splash more milk.
Step 3: Whip the Cream (3 minutes)
In a separate bowl, whip the heavy cream until you have soft peaks. You don’t need stiff peaks—just fluffy. If you over-whip it, it’ll turn into butter. Stop when it looks like thick yogurt. This step is crucial for the light texture.
Step 4: Fold It Together (2 minutes)
Gently fold the whipped cream into the chocolate pudding. Use a spatula and fold slowly, like you’re folding a blanket. You want to keep the air in the cream. The mixture will become light, fluffy, and a lighter shade of brown. It should look like chocolate mousse now. Do not overmix or it will deflate.
Step 5: Layer the Cups (5 minutes)
Take your serving cups. Spoon a layer of the chocolate pudding into the bottom—about 1/3 of the cup. Then, sprinkle a layer of the cookie crumb mixture on top. It should look like dirt on top of mud. Repeat: another layer of pudding, then another layer of crumbs. Finish with a final layer of pudding. It should look like a little mound of dirt.
Step 6: Add the Tombstones and Worms (5 minutes)
Melt the white chocolate (or use marshmallow fluff). Spoon small dollops onto the top of the pudding to look like tombstones. You can use a knife to shape them into rectangles if you want. Stick the gummy worms into the “dirt” so they look like they’re wriggling out. Add extra crumbs on top if you want it to look messier (which is more realistic).
Step 7: Chill and Serve
Place the cups in the fridge for at least 1 hour. This lets the pudding set and the flavors meld. Serve cold. They look best when the lighting is dim—perfect for a Halloween party.
Total Time: About 20 minutes active, plus 1 hour chilling.
Built-in Troubleshooting:
– Pudding too thin? You didn’t whisk enough. Whisk harder or add a little more pudding mix.
– Crumbs too big? They’ll sink. Crush them finer.
– White chocolate too thick? Add a teaspoon of coconut oil or vegetable shortening to thin it out.
Expert Tips & Tricks
Here’s everything I’ve learned from making this dozens of times. These tips will save you from my mistakes.
Use Cold Ingredients
The heavier the cream and the milk, the better the texture. If your cream is warm, it won’t whip. Take it out of the fridge 10 minutes before you start, but keep it cold.
Don’t Skip the Butter in the Crumbs
I used to just use dry crumbs. They floated to the top and looked messy. The melted butter acts like a binder, making the “dirt” stay in place. It’s a small step that makes a big difference.
Layering is Key
Make sure you have distinct layers. If you just dump everything in, it’s just chocolate mush. The visual appeal is half the fun. Think of it like a parfait.
White Chocolate vs. Marshmallow
White chocolate sets hard, so it looks like real stone. Marshmallow fluff stays soft, so it looks like a ghost. I prefer white chocolate for tombstones because it holds its shape. If you use marshmallow, add it right before serving so it doesn’t dissolve.
Common Mistakes:
– Mistake: Pudding is lumpy
Fix: Whisk the dry mix with a little milk first to make a paste, then add the rest of the milk. This prevents clumps.
– Mistake: Cream is grainy
Fix: You over-whipped it. If it’s starting to look curdled, stop. It’s too late to fix, but next time, whip slower.
– Mistake: Crumbs are too sweet
Fix: Use dark chocolate cookies or add a pinch of sea salt to the crumbs to balance the sweetness.
Pro Tricks:
– For Extra Flavor Add a teaspoon of vanilla extract to the pudding mixture. It enhances the chocolate flavor.
– For Better Texture Chill your bowls before whipping the cream. It whips faster and holds peaks better.
– Make-Ahead Strategy Make these up to 2 days ahead. They actually get better as they sit. The cookies soften slightly, making it more like a trifle.
Variations & Substitutions
Once you’ve nailed the basic version, here’s how you can mix it up. I’ve tried all of these.
Peanut Butter Graveyard
Swap the chocolate pudding for vanilla pudding. Use peanut butter cookies for the crumbs. Drizzle melted peanut butter on top. This is my husband’s favorite version.
Red Velvet Graveyard
Use red velvet cake mix instead of pudding. Use chocolate cake crumbs. It looks like bloody dirt. Very Halloween.
Cookie Dough Graveyard
Instead of cookie crumbs, use edible cookie dough balls. Top with chocolate chips. It’s sweeter and richer.
Dairy-Free Version
Use chocolate plant-based pudding mix (like Silk or Almond Breeze) with coconut milk. Use dairy-free cookies (like Keebler or homemade). Use coconut cream for whipping. It’s surprisingly good.
Gluten-Free Version
Use gluten-free instant pudding mix and gluten-free cookies. Everything else is naturally gluten-free. I use gluten-free chocolate chip cookies, and they crush just as well.
Alcohol-Infused
Add a tablespoon of Kahlua or Baileys to the pudding mixture. For adults only. It makes it a fancy dessert.
Other Toppings:
– Mini Cupcakes Use mini cupcakes as “tombstones” instead of white chocolate.
– Gummy Ghosts Float marshmallow ghosts on top.
– Spiderwebs Use white chocolate to draw spiderwebs on the pudding.
Serving & Storage
How to Serve:
I usually serve these straight from the fridge. They look best in clear glass cups so people can see the layers. I put them on a black platter with some fake spiderwebs around them for extra effect.
Side Dishes:
These are desserts, so they stand alone. But if you’re serving them at a party, pair them with something savory like spinach artichoke dip or buffalo chicken dip to balance the sweetness.
Storage Instructions:
Refrigerator: Store in an airtight container for up to 3 days. The crumbs will soften over time, which is fine. They’ll still be delicious.
Freezing: Don’t freeze these. The pudding will separate, and the cookies will get soggy when thawed. Make them fresh or store in the fridge.
Reheating: No reheating. Eat them cold.
Pro tip: If the crumbs look dry after a day, sprinkle a tiny bit of milk on top before serving. It refreshes them.
Nutrition Information
I’m not a nutritionist, but here’s the breakdown if you’re tracking. This is a dessert, so it’s rich.
Per Serving (based on 8 cups):
– Calories: 320
– Protein: 4g
– Carbs: 42g
– Fiber: 2g
– Sugar: 28g
– Fat: 16g
– Saturated Fat: 9g
– Cholesterol: 45mg
– Sodium: 280mg
– Calcium: 120mg
What’s Good:
– Calcium from the milk and cheese
– Protein from the dairy
– Can be made gluten-free or dairy-free
What to Know:
– High in sugar from the pudding and cookies
– Contains dairy
– Moderate fat from the cream and butter
My Take:
Look, this is a fun, festive dessert. It’s not health food. But it’s better than buying expensive Halloween treats at the store. When I want to make it lighter, I use low-fat milk and less cream. But usually? I just eat one cup and enjoy it.
Final Thoughts
So that’s my go-to Halloween graveyard pudding cups! I’ve probably talked your ear off at this point, but when you make a recipe this often, you have a lot to say about it.
This has saved Halloween parties more times than I can count. It’s my answer to “what’s for dessert?” when I’m tired, don’t want to bake, and still want something that looks really good. My friends are happy, my family’s happy, and I’m happy because I’m not stressed about cooking.
Make it yours! Try different cookies, swap the worms for spiders, adjust the sweetness. The best recipes are the ones you adapt to your family’s tastes.
If you make this, drop a comment and let me know what you think! I love hearing how recipes turn out in your kitchen. And if something doesn’t work, tell me that too—I’m here to help troubleshoot.
Happy cooking! And I hope your kitchen smells half as good as mine does right now.
Frequently Asked Questions
Can I use cook-and-serve pudding instead of instant?
You can, but the texture will be different. Cook-and-serve pudding is thicker and gelatinous. Instant pudding is lighter and airier, which pairs better with the whipped cream. If you must use cook-and-serve, let it cool completely before folding in the cream. It will still be good, just denser.
Why did my pudding turn out watery?
Usually means you didn’t use enough milk or you didn’t whisk it enough. Instant pudding needs vigorous whisking to activate the thickeners. Also, if your milk was warm, it won’t set as well. Use cold milk and whisk for at least 2 minutes.
Can I make this ahead for a party?
Absolutely. In fact, I recommend it. Make them up to 2 days ahead. Store them in the fridge covered with plastic wrap. The flavors will meld, and the pudding will set up nicely. Just add the gummy worms right before serving so they don’t get too soft.
Can I use Oreos instead of chocolate chip cookies?
Yes! Oreos make the “dirt” darker and more uniform. It looks more like actual soil. Just crush them finely. You can also mix Oreos and chocolate chip cookies for a varied texture.
How do I store the white chocolate tombstones?
If you use white chocolate, let it harden completely on a parchment-lined tray before placing it on the pudding. Store the cups in the fridge. The chocolate will stay hard. If you use marshmallow fluff, add it right before serving.
Can I double this recipe?
Yes! Double all the ingredients. Use a larger bowl for the pudding and cream. You’ll need more serving cups. I usually make 12-16 cups for a party. It scales up easily.
What if I don’t have heavy cream?
You can use whipped topping (like Cool Whip) instead. It’s sweeter and less rich, but it works. Or, you can skip the cream and just use the pudding alone, but it will be denser. For a lighter texture without cream, you can fold in some whipped egg whites, but that’s more advanced.
Can I make these vegan?
Yes. Use a plant-based pudding mix (like Silk or Almond Breeze) with coconut milk. Use vegan cookies (like MadeGood or homemade). Use coconut cream for whipping. It’s surprisingly delicious and holds up well.
Pin This Recipe!
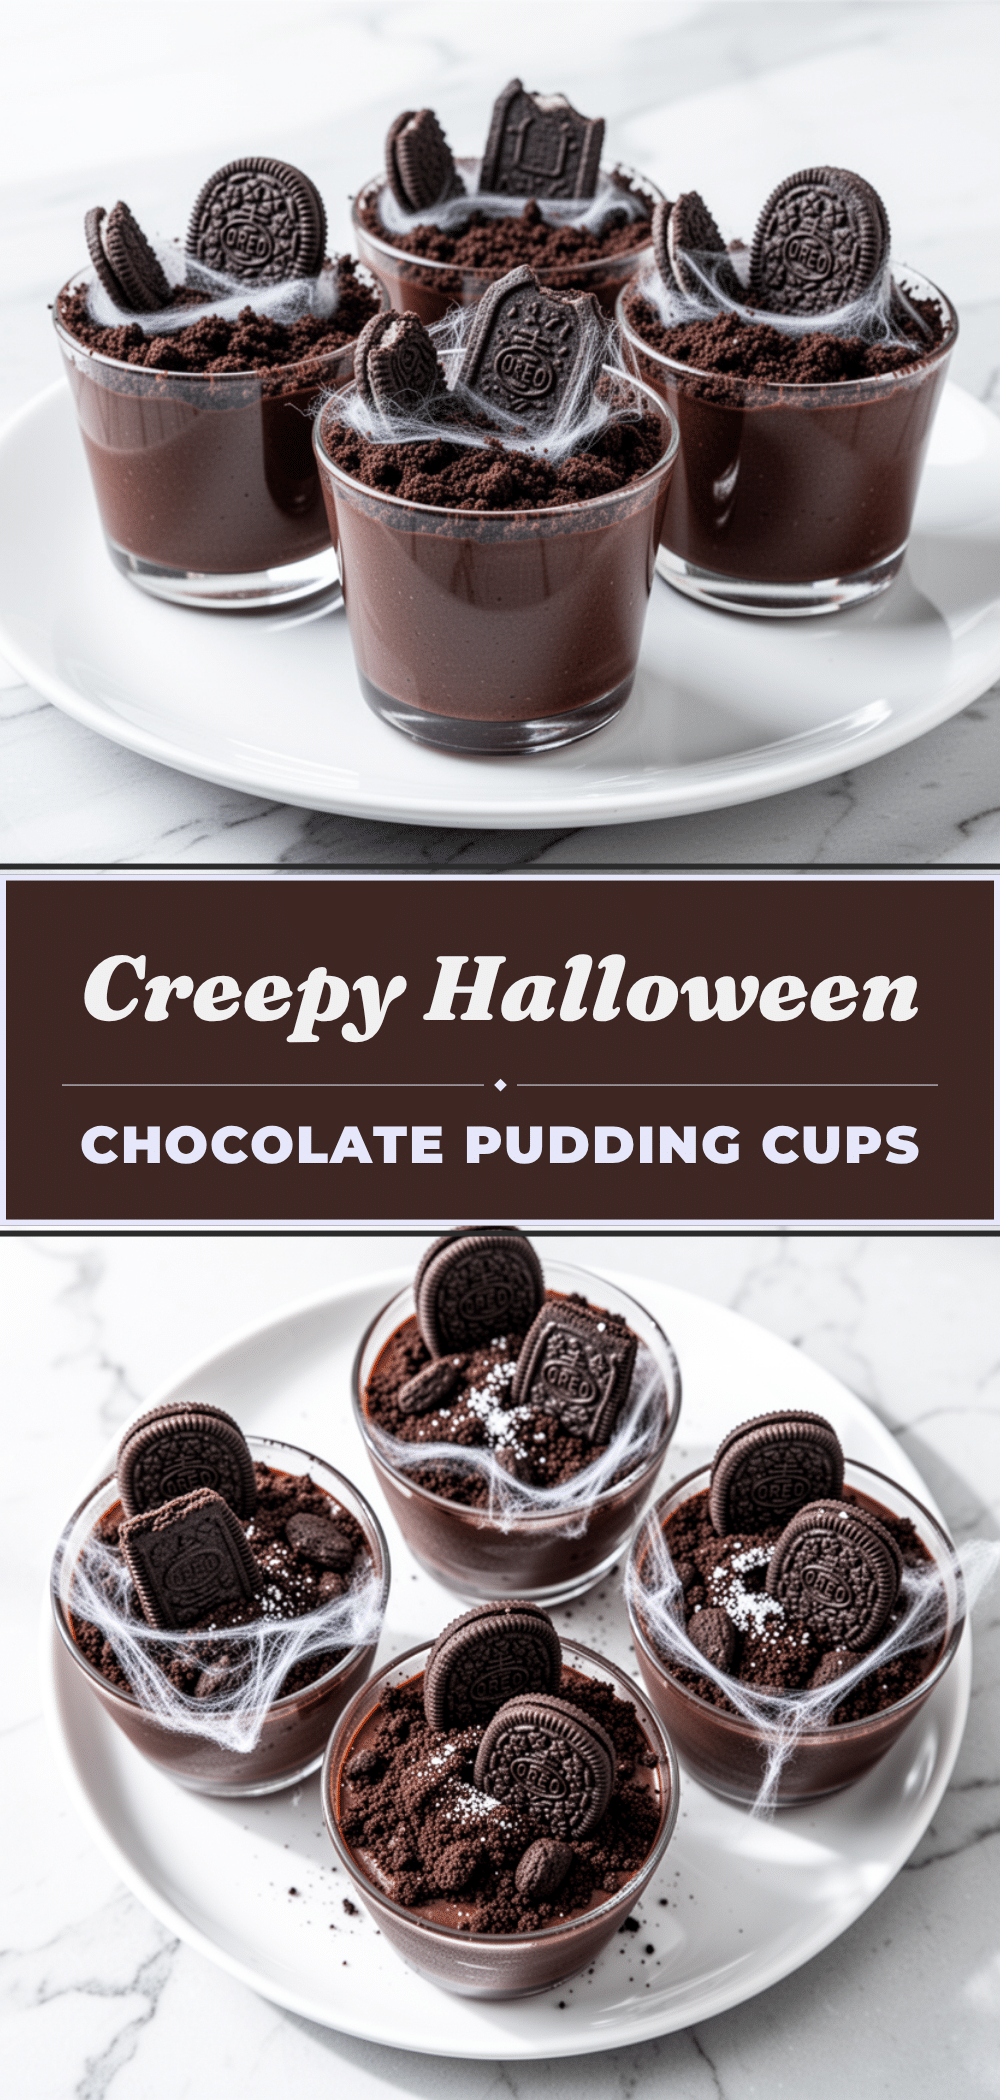
Halloween Graveyard Chocolate Pudding Cups: Easy No-Bake Recipe
- Total Time: 1 hour 20 minutes
- Yield: 8 servings 1x
Description
A spooky, no-bake dessert featuring layers of rich chocolate pudding, crunchy cookie ‘dirt,’ and gummy worms, perfect for Halloween parties or any chocolate craving.
Ingredients
- 1 box (3.4 oz / 96g) instant chocolate pudding mix
- 2 cups (480ml) cold whole milk
- 1 cup (240ml) heavy cream
- 1 package (12 oz / 340g) chocolate chip cookies
- 2 tablespoons (30g) butter, melted
- White chocolate chips or marshmallow fluff (for tombstones)
- 1 pack gummy worms
- Optional: Mini marshmallows, edible glitter, or vanilla extract
Instructions
- Crush the chocolate chip cookies into fine crumbs using a rolling pin inside a zip-top bag. Mix the crumbs with melted butter and set aside.
- In a large bowl, whisk the instant pudding mix and cold milk vigorously for 2 minutes until thickened.
- In a separate bowl, whip the heavy cream until soft peaks form.
- Gently fold the whipped cream into the chocolate pudding mixture until combined and airy.
- Layer the pudding and cookie crumbs in serving cups (mason jars or ramekins), finishing with a top layer of pudding.
- Melt white chocolate or use marshmallow fluff to create ‘tombstones’ on top. Insert gummy worms into the crumbs.
- Refrigerate for at least 1 hour to set before serving.
Notes
Use cold ingredients for best whipping results. The pudding can be made up to 2 days ahead. Do not freeze as the texture will suffer. For a gluten-free version, use gluten-free pudding mix and cookies. For dairy-free, use plant-based pudding and coconut cream.
- Prep Time: 20 minutes
- Cook Time: 0 minutes
- Category: Dessert
- Cuisine: American
Nutrition
- Serving Size: 1 cup
- Calories: 320
- Sugar: 28
- Sodium: 280
- Fat: 16
- Saturated Fat: 9
- Carbohydrates: 42
- Fiber: 2
- Protein: 4
Keywords: Halloween dessert, no-bake pudding, graveyard pudding, chocolate pudding cups, easy party dessert, spooky treats


