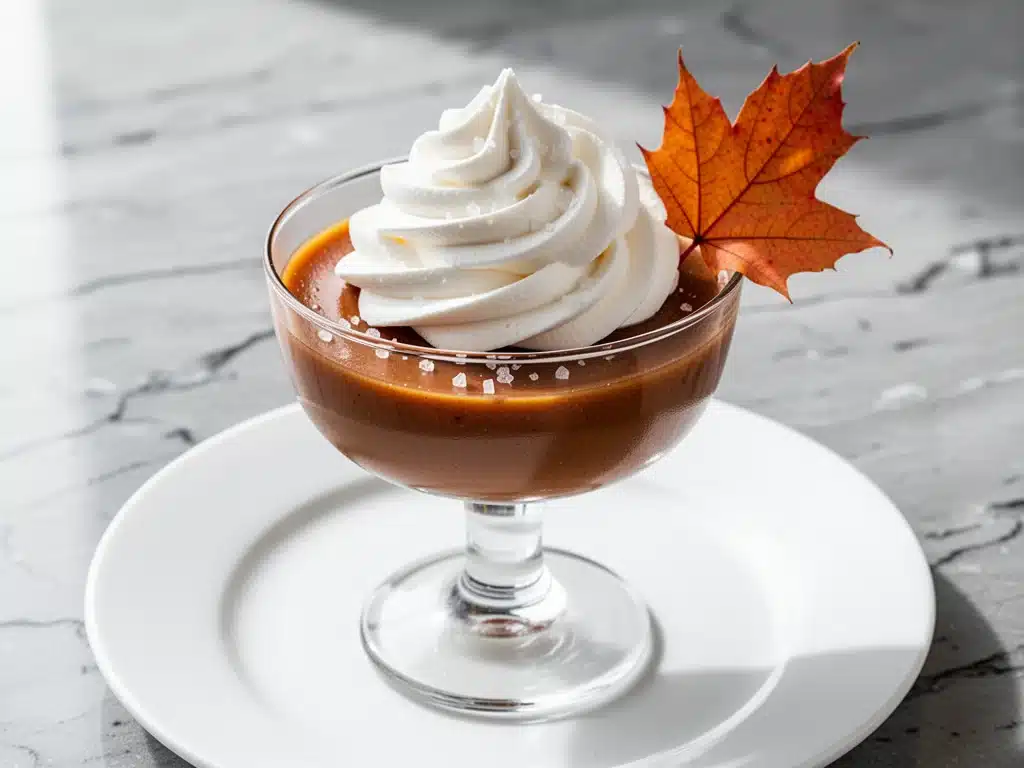
It was late October, and the kind of cold, damp rain was hitting the windows that makes you want to cancel all plans and stay in bed. I had just come home from a long week of work, my feet were throbbing, and the last thing I wanted to do was cook. Actually, the last thing I wanted to do was wash a single dish. But my daughter had a friend over who was coming for a study session, and I knew I needed to have something sweet ready. Something that looked fancy enough to impress a teenager but required zero effort on my part.
I opened the fridge and stared at a carton of heavy cream, a jar of pure maple syrup, and a tub of vanilla. That’s it. That was my pantry. I didn’t have time to bake a pie (who has time for pie?), and I definitely didn’t want to deal with a complicated mousse that might collapse. So I threw together what I now call my fall salted maple pot de creme. I mixed the cream, the syrup, and the vanilla, poured it into whatever ramekins I could find, and popped them in the oven. I went to take a nap. I woke up to the smell of maple and vanilla filling the house.
When I finally dug in, I nearly cried. It was silky, rich, and perfectly balanced with just a pinch of flaky sea salt. It tasted like autumn in a bowl. My daughter’s friend actually asked for the recipe before she left. Since that rainy Tuesday, I’ve made this fall salted maple pot de creme with vanilla whipped cream at least a dozen times. It’s become my secret weapon for last-minute guests, my go-to comfort dessert on gloomy days, and honestly, the easiest way to feel like a fancy pastry chef without actually doing any work. If you’re tired of complicated desserts that require tempering eggs or chopping nuts, this is the one you need.
Why You’ll Love This Recipe
There are about ten reasons I keep making this dessert, but here are the big ones that have it on a permanent rotation in my kitchen.
Four Ingredients, Maximum Impact — Seriously, four ingredients. Heavy cream, pure maple syrup, vanilla extract, and salt. That’s it. You don’t need flour, you don’t need sugar, you don’t need gelatin. It’s just pure, unadulterated flavor. I’ve tried more complex custards that fell flat, but this simple combo just works. It’s the culinary equivalent of a perfect t-shirt: basic, comfortable, and always right.
Make-Ahead Magic — This is the ultimate stress-buster. I can make these in the morning, put them in the fridge, and forget about them until dinner is over. They actually taste better after chilling for a few hours because the flavors meld together. I’ve served this at dinner parties where I was running around like a maniac, and my guests had no idea I didn’t start cooking until I was putting on my shoes. It’s that reliable.
No Special Equipment Needed — You don’t need a food processor, a stand mixer, or a water bath (though I’ll get to that). Just a whisk, a measuring cup, and some ramekins. If you can whisk, you can make this. I’ve made this while watching TV, while talking on the phone, and while my kids were screaming in the background. It’s foolproof.
The Salted Maple Combo — Sweet maple with salty crunch? It’s a flavor profile that hits every spot in your brain. The salt cuts through the richness of the cream so it doesn’t feel heavy. It’s addictive. I’ve had people eat three bowls because they couldn’t stop at one. It’s not just a dessert; it’s a mood.
Gluten-Free Friendly — Since this is naturally gluten-free, I can make it for everyone at the table without worrying about cross-contamination or separate dishes. It’s inclusive, easy, and delicious. No one feels left out.
This is my go-to when I need dessert to just work. No complicated techniques, no weird ingredients, just reliable, delicious food that makes everyone happy. It’s the kind of recipe that saves your evening.
Ingredients You’ll Need
Here’s the best part: you probably have most of this already. This isn’t a recipe that requires a special trip to a specialty store. It’s pantry-friendly and fridge-staple friendly.
Heavy Cream (2 cups / 480ml) — This is the base. Do not substitute with half-and-half or milk unless you want a watery, sad dessert. You need the fat content for that rich, custard-like texture. I use whatever brand is on sale, but it must be heavy cream (35% fat or higher). If you’re worried about the richness, just remember you’re only eating a small bowl.
Pure Maple Syrup (½ cup / 120ml) — And by “pure,” I mean pure. Not “pancake syrup” or “maple-flavored syrup.” Check the label. It should say “100% Pure Maple Syrup.” The flavor difference is night and day. I use Grade A Dark or Grade B if I can find it because it has a stronger maple taste, but Grade A Amber works too. Don’t skimp on quality here; this is the star of the show.
Vanilla Extract (2 teaspoons) — Again, use the real stuff. I know it’s expensive, but vanilla bean paste or high-quality extract makes a huge difference in a recipe with so few ingredients. If you use imitation vanilla, it’ll taste chemical. I keep a bottle of Nielsen-Massey or McCormick’s Pure on my counter. If you’re feeling fancy, scrape half a vanilla bean into the mix, but extract works perfectly fine.
Flaky Sea Salt (½ teaspoon + extra for topping) — I use Maldon sea salt for the topping because those little flakes look beautiful and crunch nicely. For mixing into the cream, regular kosher salt works fine. The salt is crucial—it balances the sweetness and enhances the maple flavor. Without it, it’s just sweet cream. With it, it’s sophisticated.
Optional: Vanilla Whipped Cream — For serving, I like to whip up a little extra heavy cream with a touch of sugar and vanilla. It adds height and a lighter texture to contrast the dense custard. If you’re short on time, skip it. The pot de creme is rich enough on its own.
Equipment Needed
You don’t need fancy equipment for this. Here’s what I actually use.
Ramekins (6 ramekins, about 6 oz each) — I use ceramic ramekins because they look rustic and hold heat well. Glass ramekins work too, but you might need to check them a bit more carefully since glass conducts heat differently. If you don’t have ramekins, you can use small mason jars or even a single large baking dish, but ramekins make for beautiful individual portions.
Mixing Bowl — A medium-sized bowl is perfect for whisking the cream, syrup, and vanilla together. I use a glass bowl because I can see how well it’s mixed.
Whisk — A simple balloon whisk is all you need. You’re not incorporating air; you’re just combining ingredients. So don’t over-whisk it.
Baking Dish Large Enough for Ramekins — This is for the water bath. I use a 9×13 inch baking dish. It needs to be deep enough that the water can come halfway up the sides of the ramekins without overflowing into them.
Kettle or Pot for Hot Water — You’ll need hot water for the bath. I just boil water in a kettle or a small pot. Be careful when pouring it into the baking dish!
How to Make It: Step-by-Step
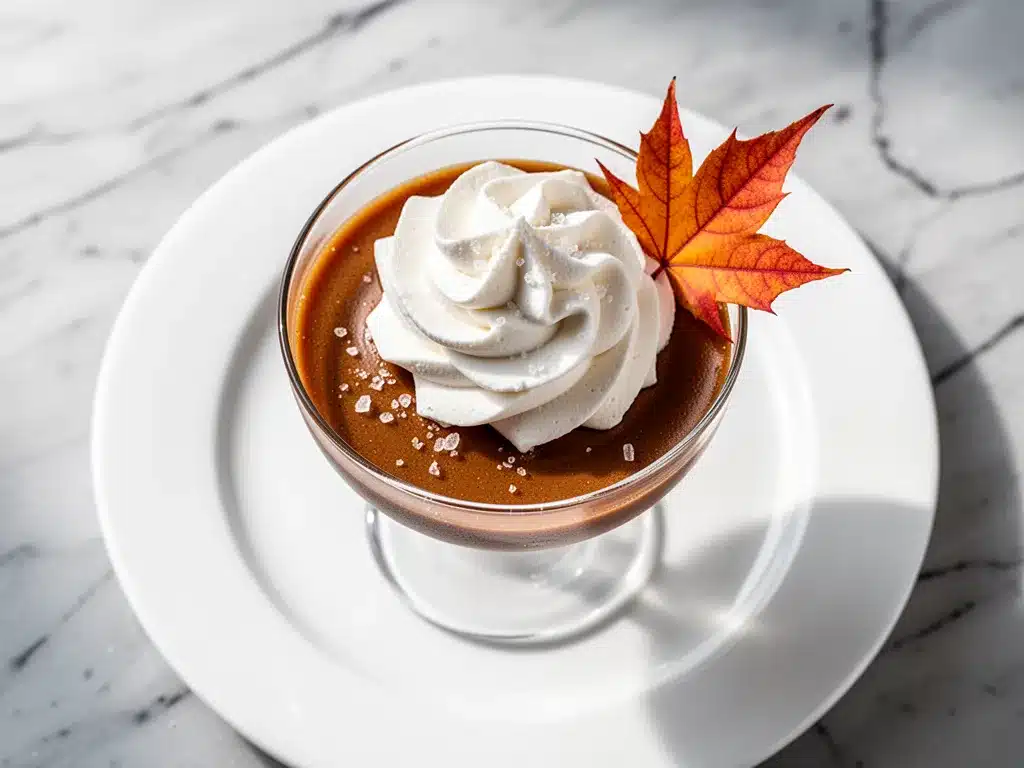
Alright, let’s make this! I’m walking you through exactly how I do it, including the little tricks I’ve picked up over the years.
Step 1: Prep Your Ramekins (5 minutes)
Preheat your oven to 325°F (160°C). This is a low and slow bake, which is key for a smooth custard. Place your ramekins in the baking dish now, so they’re ready to go. If you want to be extra fancy, you can lightly butter the inside of the ramekins, but it’s not strictly necessary since the cream is so rich. I usually skip this to save time.
Step 2: Whisk the Base (3 minutes)
In your mixing bowl, combine the heavy cream, pure maple syrup, vanilla extract, and ½ teaspoon of salt. Whisk them together gently but thoroughly. You want to make sure the syrup is fully incorporated into the cream. It should look uniform and slightly thickened. Don’t whip air into it; you’re not making mousse. Just combine.
Step 3: Pour into Ramekins
Divide the mixture evenly among your ramekins. You want them to be filled about ¾ full to leave room for any slight expansion, though custards don’t rise much. Use a ladle or a measuring cup with a spout to make this easy and mess-free.
Step 4: The Water Bath (Critical Step)
This is the part that scares people, but it’s actually the easiest part. Boil some water. Carefully pour the hot water into the baking dish, around the ramekins, until the water reaches about halfway up the sides of the ramekins. Be gentle! You don’t want the water sloshing into the custard. The water bath creates a gentle, even heat that prevents the eggs (if you were using them) or the cream from curdling. It keeps the texture silky smooth.
Step 5: Bake
Place the baking dish in the preheated oven. Bake for 30-35 minutes. The pot de creme is done when the edges are set but the center still has a slight jiggle when you gently shake the dish. It should look like jiggly gelatin, not liquid. If it’s liquid in the center, give it another 5-10 minutes. Overbaking will make it grainy.
Step 6: Cool and Chill
Remove the ramekins from the water bath carefully. Use tongs or a towel. Let them cool on the counter for about 20 minutes. Then, cover them with plastic wrap and refrigerate for at least 4 hours, preferably overnight. This chilling time is non-negotiable. The texture transforms from a warm custard to a thick, spoonable dessert. I know it’s hard to wait, but trust me.
Step 7: Serve
When you’re ready to serve, top each ramekin with a pinch of flaky sea salt. If you’re making the vanilla whipped cream, dollop a spoonful on top. Garnish with a few maple syrup drizzles if you want extra sweetness. Dig in with a spoon. It’s that simple.
Expert Tips & Tricks
Here’s everything I’ve learned from making this dozens of times. These tips will save you from my mistakes.
Don’t Skip the Water Bath
I tried making these without a water bath once because I was lazy. The result? A skin formed on top, and the edges were slightly overcooked while the center was underdone. The water bath ensures even cooking. It’s worth the extra five minutes of setup.
Use Pure Maple Syrup
I cannot stress this enough. “Maple-flavored syrup” is basically sugar water with artificial flavoring. It will taste flat and chemical. Pure maple syrup has complex flavors that develop when baked. It’s worth the extra cost.
Chill Thoroughly
You can eat this warm, but it’s really meant to be cold. The cold temperature thickens the cream and firms up the custard. If you eat it warm, it’s more like a thin pudding. For the true fall salted maple pot de creme experience, let it chill overnight.
Adjust Salt to Taste
Maple syrups vary in sweetness. Taste your syrup before you start. If it’s very sweet, you might want to increase the salt slightly. If it’s less sweet, reduce the salt a bit. Taste is your guide.
Common Mistakes (and how to avoid them):
- Mistake: Curdled texture — Fix: You probably baked it too hot or too long. Keep the oven at 325°F and pull it when it still jiggles slightly in the center.
- Mistake: Watery consistency — Fix: You didn’t chill it long enough. Or you used a lower-fat cream. Stick to heavy cream and chill for at least 4 hours.
- Mistake: Burnt edges — Fix: Your oven might be running hot. Use an oven thermometer to check. Or cover the ramekins with foil if the tops are browning too quickly.
Pro Trick: The Vanilla Whipped Cream
For the whipped cream topping, whip ½ cup of cold heavy cream with 1 tablespoon of sugar and ½ teaspoon of vanilla until soft peaks form. Don’t over-whip it into butter. Keep it light and fluffy. It contrasts beautifully with the dense custard.
Variations & Substitutions
Once you’ve nailed the basic version, here’s how you can mix it up. I’ve tried all of these.
Pumpkin Spice Version
Add 1 teaspoon of pumpkin pie spice to the cream mixture. It’s perfect for November. The spice complements the maple beautifully.
Bourbon Maple
Add 1 tablespoon of bourbon to the mixture. It adds a warm, boozy depth that’s great for adult gatherings. Skip the alcohol if serving kids.
Chocolate Maple
Stir in 2 tablespoons of cocoa powder. It creates a maple-chocolate combo that’s rich and indulgent. Good for when you want something closer to a brownie.
Dairy-Free
Use full-fat coconut cream instead of heavy cream. It will be slightly thicker and have a coconut flavor, which pairs well with maple. Use coconut sugar or maple syrup as usual.
Gluten-Free
This recipe is naturally gluten-free. Just ensure your vanilla extract and maple syrup are certified gluten-free if you have celiac disease.
Serving & Storage
How to Serve:
I usually serve this straight from the ramekin. It looks elegant and rustic. Pair it with a simple green salad or some roasted apples if you want a more substantial dessert. It’s also great alongside a cup of coffee. Speaking of coffee, if you’re a fan of creamy coffee drinks, this dessert has a similar vibe to a homemade vanilla sweet cream cold foam, just baked and chilled.
Side Dishes:
Roasted pecans, fresh berries, or a slice of Mediterranean orange olive oil cake if you want something citrusy to balance the richness.
Storage Instructions:
Refrigerator: Store covered in the fridge for up to 5 days. The flavors actually get better after a couple of days.
Freezing: I don’t recommend freezing this. The texture of the cream can change when thawed, becoming grainy. It’s best enjoyed fresh from the fridge.
Pro tip: If you’re making this for a party, make it the day before. It saves you so much stress on the day of. I’ve made this for Thanksgiving, and it was a huge hit. It’s also a great alternative to heavier desserts like fudgy sea salt caramel brownies if you want something lighter but still indulgent.
Nutrition Information
I’m not a nutritionist, but here’s the breakdown if you’re tracking. Keep in mind this is a rich, calorie-dense dessert.
Per Serving (based on 6 servings):**
– Calories: 280
– Protein: 2g
– Carbs: 22g
– Fiber: 0g
– Sugar: 18g
– Fat: 20g
– Saturated Fat: 12g
– Cholesterol: 65mg
– Sodium: 150mg
– Calcium: 60mg
What’s Good:
– Simple ingredients
– No refined sugar (just maple syrup)
– Small portion size helps control intake
What to Know:
– High in saturated fat from heavy cream
– High in sugar from maple syrup
– Not suitable for low-fat or low-sugar diets
My Take:
“Look, this is a dessert. It’s meant to be enjoyed. It’s made with real ingredients, no artificial junk. When I make this, I serve a small bowl and savor it. It’s not a health food, but it’s better than processed candy bars.”
Final Thoughts
So that’s my go-to fall salted maple pot de creme! I’ve probably talked your ear off at this point, but when you make a recipe this often, you have a lot to say about it. This has saved me more times than I can count. It’s my answer to “what’s for dessert” when I’m tired, don’t want to bake, and still want something that tastes really good. My family is happy, my guests are impressed, and I’m happy because I’m not stressed about cooking.
Make it yours! Try different spices, add a boozy kick, or keep it simple. The best recipes are the ones you adapt to your family’s tastes. If you make this, drop a comment and let me know what you think! I love hearing how recipes turn out in your kitchen. And if something doesn’t work, tell me that too—I’m here to help troubleshoot.
Happy cooking! And I hope your kitchen smells half as good as mine does right now. If you’re looking for more easy dessert ideas, you might also like these homemade churro cheesecake bars for a fun twist, or these chocolate crinkle cookies for a festive treat.
Frequently Asked Questions
Can I use light cream instead of heavy cream?
Not really. Light cream doesn’t have enough fat to create that thick, custard-like texture. You’ll end up with a thin, soup-like dessert. Heavy cream is essential for the structure. If you want a lighter option, you can try using half-and-half, but it will still be quite loose. Stick to heavy cream for the best results.
Why did my pot de creme turn out watery?
This usually happens for two reasons: you didn’t chill it long enough, or you didn’t bake it long enough. Custards continue to set as they cool. If it’s still liquid after chilling for 4 hours, it might not have been baked sufficiently. Make sure the center still has a slight jiggle when you take it out, but don’t leave it in until it’s firm.
Can I make this in a large dish instead of ramekins?
Yes! You can use a 9×9 inch baking dish. The baking time will be longer, probably 45-50 minutes. Check it with a knife or toothpick—if it comes out clean, it’s done. Let it cool and chill in the same way. It’s a great option if you don’t have individual ramekins.
Is this recipe gluten-free?
Yes, this recipe is naturally gluten-free. Heavy cream, maple syrup, vanilla, and salt are all gluten-free. Just double-check your vanilla extract and maple syrup to ensure they’re processed in a gluten-free facility if you have celiac disease.
Can I freeze this dessert?
I don’t recommend freezing it. The high fat content in the heavy cream can separate and become grainy when thawed. It’s best enjoyed fresh from the fridge. If you need to make it ahead, refrigerate it for up to 5 days.
What kind of salt should I use?
For mixing into the cream, use regular kosher salt or sea salt. For topping, use flaky sea salt like Maldon. The flakes add a nice crunch and visual appeal. Regular table salt will dissolve completely and won’t give you that textural contrast.
Pin This Recipe!
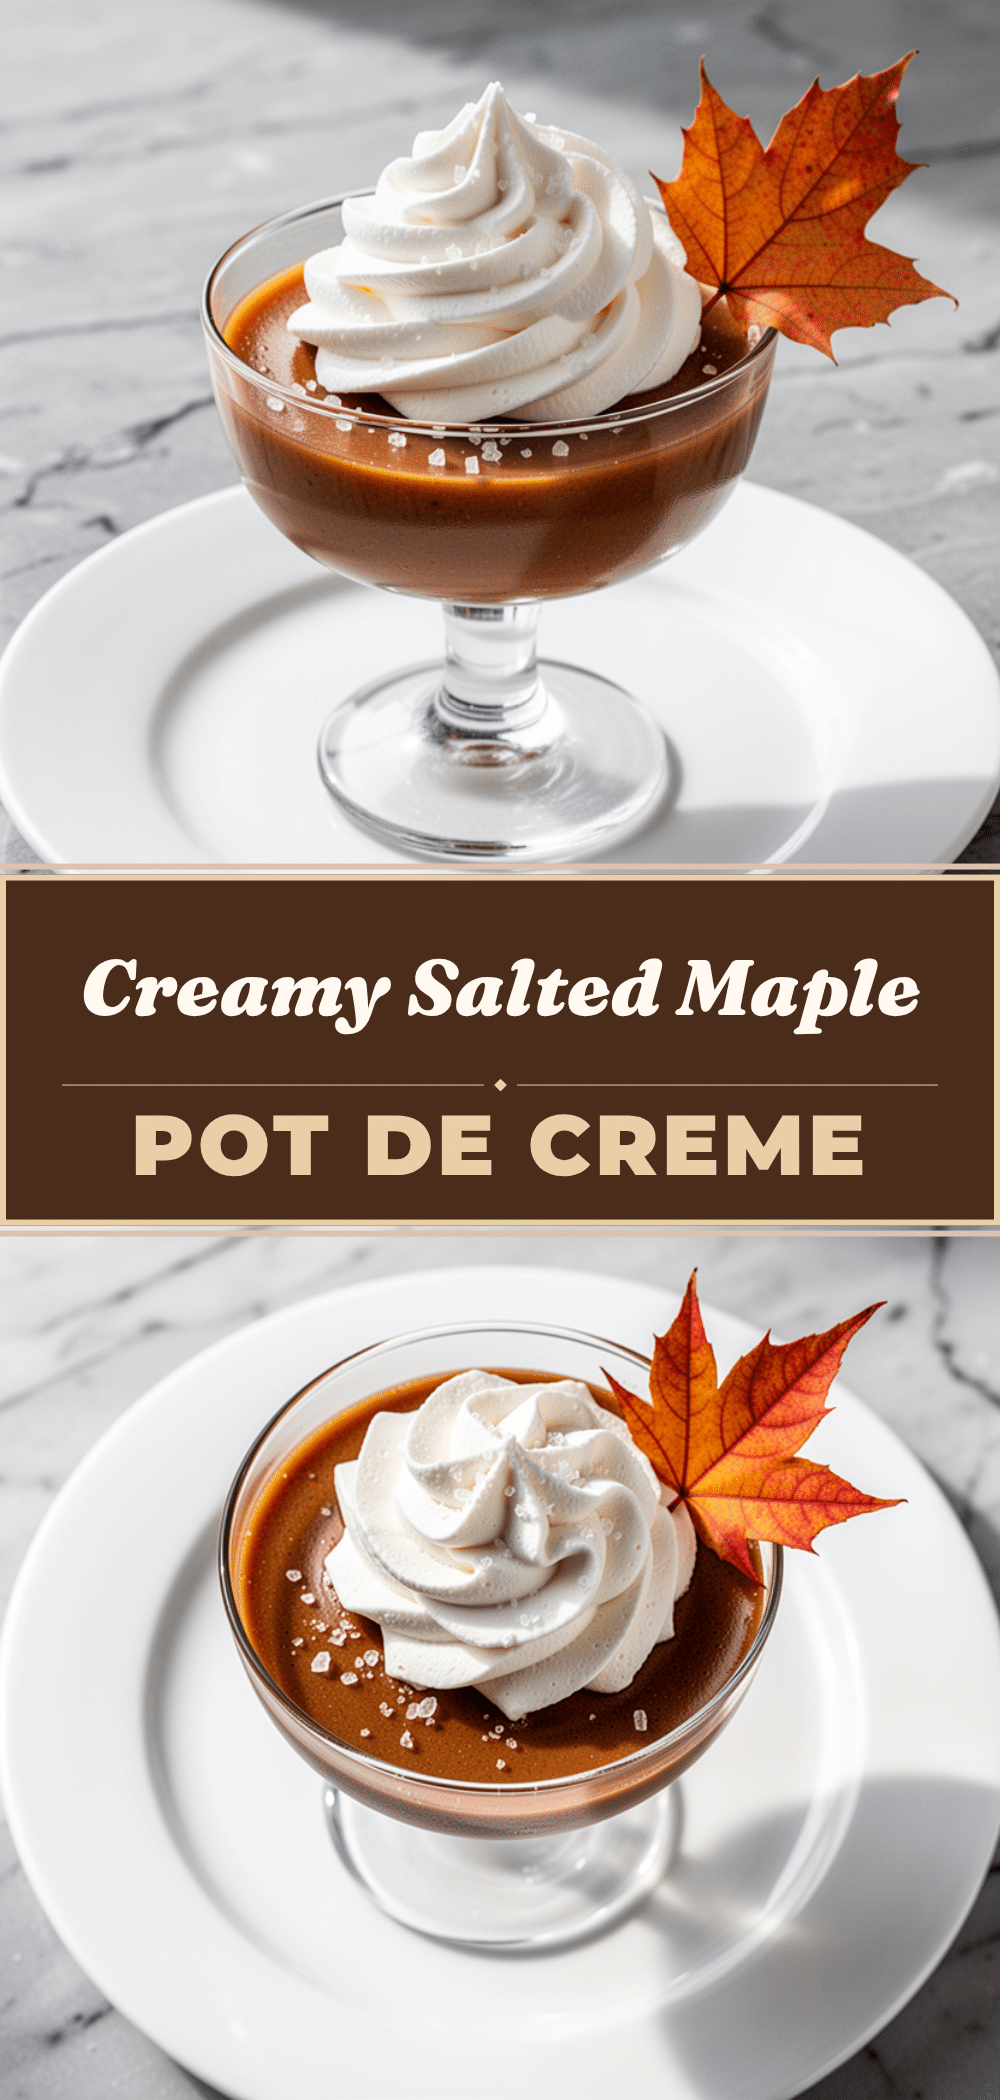

Fall Salted Maple Pot de Creme: Easy 4-Ingredient Dessert
- Total Time: 4 hours 43 minutes
- Yield: 6 servings 1x
Description
A silky, rich, and gluten-free custard made with just four ingredients: heavy cream, pure maple syrup, vanilla, and salt. This make-ahead dessert is perfect for last-minute guests and requires minimal effort.
Ingredients
- 2 cups heavy cream
- 1/2 cup pure maple syrup
- 2 teaspoons vanilla extract
- 1/2 teaspoon salt (plus extra for topping)
- Optional: Vanilla whipped cream (1/2 cup heavy cream, 1 tablespoon sugar, 1/2 teaspoon vanilla)
Instructions
- Preheat oven to 325°F (160°C). Place 6 ramekins (about 6 oz each) in a large baking dish (9×13 inch).
- In a mixing bowl, whisk together heavy cream, pure maple syrup, vanilla extract, and 1/2 teaspoon salt until fully combined and uniform.
- Divide the mixture evenly among the ramekins, filling them about 3/4 full.
- Boil water and carefully pour it into the baking dish around the ramekins until the water reaches halfway up the sides of the ramekins (water bath).
- Bake for 30-35 minutes until the edges are set but the center still has a slight jiggle.
- Remove ramekins from the water bath and let cool on the counter for 20 minutes.
- Cover with plastic wrap and refrigerate for at least 4 hours, preferably overnight.
- Serve topped with a pinch of flaky sea salt and optional vanilla whipped cream.
Notes
Use pure maple syrup, not pancake syrup. Do not skip the water bath to ensure even cooking and prevent curdling. Chill thoroughly for the best texture. This recipe is naturally gluten-free.
- Prep Time: 8 minutes
- Cook Time: 35 minutes
- Category: Dessert
- Cuisine: American
Nutrition
- Serving Size: 1 ramekin
- Calories: 280
- Sugar: 18
- Sodium: 150
- Fat: 20
- Saturated Fat: 12
- Carbohydrates: 22
- Protein: 2
Keywords: pot de creme, maple dessert, gluten-free dessert, easy dessert, fall recipes, salted maple, custard, make-ahead dessert


