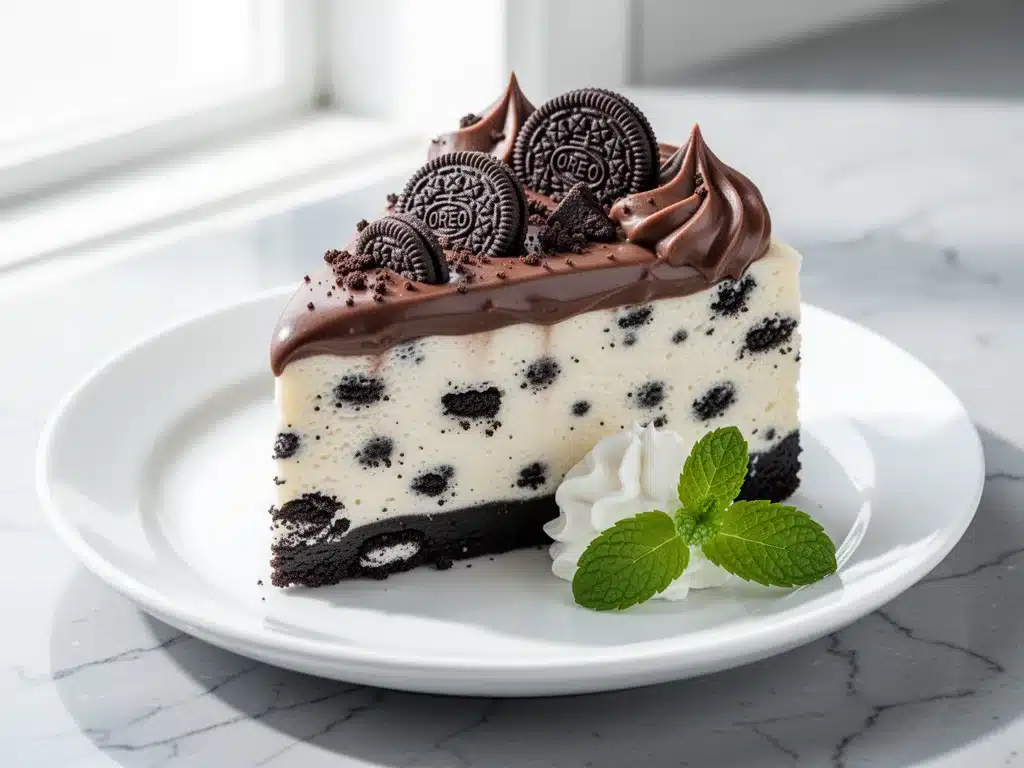
It was 11:45 PM on a Friday, and my kitchen looked like a flour bomb had gone off inside a cookie factory. I had promised my nephew’s birthday party that I’d bring a “fancy dessert” that wasn’t store-bought, but also didn’t require me to actually cook. You know the vibe. You want to look like you spent hours in the kitchen, but you also want to spend those hours watching TV instead of standing over a hot oven.
I had tried three different no-bake cheesecake recipes that evening. The first one was too runny and collapsed in the fridge. The second one tasted like cardboard because I didn’t use enough cream cheese. The third? Well, let’s just say my nephew politely took one bite and went back to his chips. I was about to give up and buy a sheet cake from the grocery store when I remembered my aunt’s secret trick: whipped cream folded into the cheesecake mixture, plus a rich chocolate ganache on top.
I threw together what I thought would be a mediocre, quick fix. But when I pulled it out of the fridge the next morning? It was perfect. Dense, creamy, and utterly decadent. My nephew asked if I bought it from a fancy bakery. I didn’t correct him. That night, I discovered that the ultra-creamy no-bake Oreo cheesecake with whipped ganache wasn’t just a backup plan—it was going to become my go-to party dessert for years to come.
This isn’t just a cookie crust with cream cheese slapped on top. It’s a layered masterpiece of texture and flavor. The crunch of the crushed Oreos, the silky smoothness of the no-bake filling, and the glossy, rich whipped ganache on top create a dessert that feels like it came from a high-end patisserie. And the best part? You don’t need to turn on your oven. It’s cold, it’s easy, and it’s hands-down the best way to impress a crowd without breaking a sweat.
Why You’ll Love This No-Bake Oreo Cheesecake
I’ve made this cheesecake for everything from birthday parties to holiday dinners, and it never fails to get asked for the recipe. Here’s why it’s become my absolute favorite no-bake dessert:
- Zero Oven Required — Seriously, you don’t need to heat up your kitchen. This is perfect for summer parties or when you’re trying to save energy. I make this in under 30 minutes of active time, then just let the fridge do the work.
- Make-Ahead Magic — This is the ultimate stress-buster for hosts. You can make it 24 to 48 hours in advance. In fact, I’ve found it tastes even better the next day because the flavors have time to meld together. I’ve never had a last-minute panic because I made this too early.
- Restaurant-Quality Texture — Most no-bake cheesecakes are airy and fluffy, but I like mine dense and rich. By using full-fat cream cheese and folding in stabilized whipped cream, I get that heavy, creamy mouthfeel that rivals any baked version. It’s not light and fluffy; it’s luxurious.
- Visual Wow Factor — The whipped ganache topping gives it a professional, glossy finish that looks incredible on a plate. Plus, the contrast of the dark chocolate ganache against the white cream cheese and black cookie crumbs is stunning. Guests always think you spent hours on the presentation.
- Universal Crowd-Pleaser — I’ve served this to kids who love Oreos and adults who are picky about desserts. Everyone loves it. It’s sweet but not cloying, rich but not overwhelming. It’s the kind of dessert that disappears fast.
This is my go-to when I need a dessert that feels special but requires minimal effort. No complicated techniques, no weird ingredients, just reliable, delicious food that makes everyone happy. If you’re looking for another easy no-bake treat, check out these no-bake peanut butter energy balls for a lighter snack option.
Ingredients You’ll Need
Here’s the best part: you probably have most of this already in your pantry and fridge. I’m particular about three ingredients here, and I’ll tell you exactly why.
For the Crust
Chocolate sandwich cookies (Oreos) (30 cookies / about 350g) — Yes, you need a lot of cookies. This makes a thick, sturdy crust that won’t fall apart. Use regular Oreos, not the thin ones or the golden ones. You want that dark color and vanilla flavor.
Unsalted butter (6 tablespoons / 85g) — Melted. I use unsalted so I can control the saltiness. If you only have salted, reduce the added salt in the recipe slightly. Don’t skip the butter; it’s what holds the crumbs together.
For the Cheesecake Filling
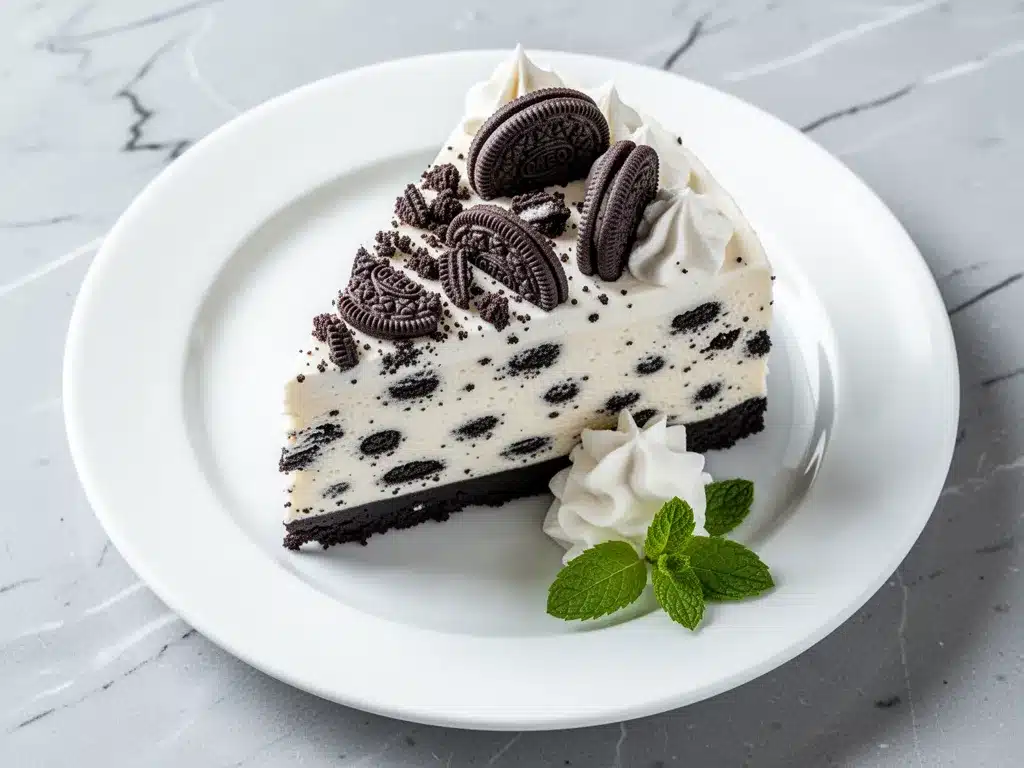
Full-fat cream cheese (32 ounces / 900g) — This is non-negotiable. I use 4 blocks of 8 ounces each. Low-fat cream cheese has too much water and won’t set properly. It needs to be room temperature. Cold cream cheese leads to lumps, and nobody wants lumpy cheesecake. I take it out of the fridge at least an hour before starting.
Granulated sugar (1 cup / 200g) — I use regular white sugar. It dissolves easily in the cream cheese mixture. Some people use powdered sugar, but I find it can make the texture slightly grainy if not mixed thoroughly.
Heavy whipping cream (2 cups / 480ml) — Cold! This is crucial. It needs to be very cold to whip up properly. I keep my cream in the fridge until the last minute. This is what gives the cheesecake its airy yet creamy texture.
Vanilla extract (2 teaspoons) — Pure vanilla, not imitation. It adds warmth and depth to the simple cream cheese flavor.
Confectioners’ sugar (½ cup / 60g) — Used to sweeten the whipped cream. It also helps stabilize the whipped cream a bit.
For the Whipped Ganache Topping
Semi-sweet chocolate chips (1 cup / 170g) — I use Ghirardelli or Lindt. Avoid cheap chocolate chips that have wax; they don’t melt smoothly. You want a rich, smooth ganache.
Heavy cream (½ cup / 120ml) — To melt the chocolate. This creates the ganache base.
Whipped cream (1 cup / 240ml) — Cold whipped cream folded into the ganache makes it light and fluffy, like a mousse. This is the secret to the “whipped” ganache.
Pinch of sea salt — Just a tiny pinch to enhance the chocolate flavor. It makes the chocolate taste more intense.
Optional Garnish: Crushed Oreos for sprinkling on top. It adds extra crunch and looks beautiful.
If you’re a fan of rich chocolate desserts, you might also enjoy these fudgy sea salt caramel brownies for a different chocolate experience.
Equipment Needed
You don’t need fancy equipment for this. Here’s what I actually use.
9-inch Springform Pan — This is essential. The springform pan allows you to release the sides easily so the cheesecake comes out in one perfect piece. Make sure it’s in good condition so the bottom doesn’t leak.
Food Processor or Blender — For crushing the Oreos. It’s fast and gives you even crumbs. If you don’t have one, put the cookies in a zip-top bag and crush them with a rolling pin. It takes longer but works fine.
Electric Mixer — Handheld or stand mixer. You need this to whip the cream and beat the cream cheese smoothly. Doing this by hand is possible but requires serious arm strength and time.
Large Mixing Bowls — You’ll need at least two large bowls. One for the cream cheese mixture and one for whipping the cream.
Spatula — A silicone spatula is best for folding. It helps you mix gently without deflating the whipped cream.
Piping Bags (Optional) — If you want to make the topping look fancy, use a piping bag with a star tip. But honestly, a spoon works just fine if you’re keeping it rustic.
How to Make It: Step-by-Step
Alright, let’s make this! I’m walking you through exactly how I do it, including the little tricks I’ve picked up.
Step 1: Prepare the Crust (5 minutes)
Crush the Oreos into fine crumbs. Remove the white filling if you prefer a darker crust, but I leave it in for extra sweetness and texture. Place the crumbs in a bowl and add the melted butter. Mix until it looks like wet sand. Press this mixture firmly into the bottom of your springform pan. Use the bottom of a glass to pack it down tight. This step is crucial for a sturdy base.
Step 2: Beat the Cream Cheese (5 minutes)
In a large bowl, beat the room-temperature cream cheese and granulated sugar on medium-high speed until completely smooth and creamy. This takes about 3-4 minutes. Scrape down the sides of the bowl with a spatula to ensure there are no lumps. The mixture should be silky and pale yellow.
Step 3: Whip the Cream (3 minutes)
In a separate cold bowl, whip the heavy cream and confectioners’ sugar on high speed until stiff peaks form. This means when you lift the beaters, the cream stands up straight. Be careful not to over-whip it into butter, but stiff peaks are necessary for stability.
Step 4: Fold It Together (5 minutes)
Add the vanilla extract to the cream cheese mixture. Then, gently fold in half of the whipped cream to lighten the cheese mixture. Once combined, add the remaining whipped cream and fold gently until just combined. You want to keep as much air in the mixture as possible. Do not stir vigorously!
Step 5: Chill (4 hours minimum)
Pour the filling into the prepared crust. Smooth the top with a spatula. Cover with plastic wrap and refrigerate for at least 4 hours, preferably overnight. This is the hardest part—waiting! But it’s necessary for the cheesecake to set properly.
Step 6: Make the Whipped Ganache (10 minutes)
While the cheesecake chills, make the topping. Heat the heavy cream in a small saucepan until it just starts to simmer. Pour it over the semi-sweet chocolate chips in a heatproof bowl. Let it sit for 2 minutes, then stir until smooth. Let the ganache cool to room temperature. Once cooled, whip it until it thickens slightly. Then, fold in 1 cup of cold whipped cream to make it light and airy.
Step 7: Assemble and Serve
Spread the whipped ganache over the chilled cheesecake. Smooth it out with a spatula. Sprinkle crushed Oreos on top for garnish. Slice with a sharp knife dipped in hot water for clean cuts. Serve chilled.
Total active time is about 30 minutes, but most of it is hands-off chilling.
Expert Tips & Tricks
Here’s everything I’ve learned from making this dozens of times. These tips will save you from my mistakes.
Cream Cheese Temperature
This is the #1 mistake people make. If your cream cheese is cold, you’ll get lumps. If it’s too warm, it becomes runny. Room temperature is the sweet spot. I usually leave it on the counter for 1-2 hours. If you’re in a hurry, you can microwave it in 10-second bursts, but watch it closely.
Don’t Overmix
When folding the whipped cream into the cream cheese, be gentle. Overmixing deflates the cream, resulting in a dense, heavy cheesecake instead of a light, creamy one. Use a spatula and fold slowly.
Stabilize the Whipped Cream
Confectioners’ sugar helps stabilize the whipped cream, but if you’re in a hot kitchen, you might want to add a little gelatin. Dissolve 1 teaspoon of gelatin in 1 tablespoon of cold water, microwave for 10 seconds, and mix it into the whipped cream before folding.
Cool the Ganache Properly
If you spread hot ganache on the cheesecake, it will melt the filling. Let the ganache cool to room temperature and thicken slightly before spreading. It should be spreadable, not liquid.
Sharp Knife for Slicing
Wipe your knife clean between each cut. Dip it in hot water and dry it before each slice. This ensures clean, professional-looking slices.
Common Mistakes (and how to avoid them):
- Mistake: Crust falls apart Fix: Press it down firmly and use enough butter. The crust should hold together when you squeeze it.
- Mistake: Cheesecake is too soft Fix: It needs more time in the fridge. 4 hours is the minimum, but overnight is best.
- Mistake: Ganache is too hard Fix: You didn’t fold in enough whipped cream. Add more cold whipped cream to lighten it.
Variations & Substitutions
Once you’ve nailed the basic version, here’s how you can mix it up. I’ve tried all of these.
Strawberry Oreo Cheesecake
Add 1 cup of crushed freeze-dried strawberries to the whipped cream before folding. It adds a beautiful pink color and a tart strawberry flavor that cuts the sweetness.
Cookie Butter Version
Add 2 tablespoons of Biscoff spread to the cream cheese mixture. It adds a warm, spiced flavor that pairs perfectly with Oreos.
Gluten-Free Option
Use gluten-free chocolate sandwich cookies. Most major brands make GF Oreos now. The rest of the recipe is naturally gluten-free.
Dairy-Free Option
Use dairy-free cream cheese and coconut cream instead of heavy cream. The texture will be slightly different but still delicious. I use Kite Hill cream cheese for this.
Mini Cheesecakes
Divide the mixture into a muffin tin lined with cupcake liners. Bake time doesn’t apply here, so just chill for 3-4 hours. Perfect for parties!
If you’re looking for another easy dessert to serve at parties, these cheesy ground beef goulash is a great savory option to balance out the sweets.
Serving & Storage
How to Serve
I usually serve this straight from the fridge. It tastes best cold and firm. Slice it into 12-16 pieces depending on how hungry your guests are. It’s rich, so smaller slices go a long way.
Storage Instructions
Refrigerator: Store in an airtight container or cover tightly with plastic wrap for up to 5 days. It actually tastes better on day 2.
Freezing: Yes, you can freeze it! Wrap the whole cheesecake (or individual slices) in plastic wrap and then foil. Freeze for up to 1 month. Thaw in the fridge overnight before serving.
Reheating: Do not reheat this cheesecake. It’s a no-bake dessert and should be served cold.
Wine Pairing
Not a wine expert, but my wine-snob friend says a sweet Moscato or a Port pairs well with this. It cuts through the richness of the cream cheese and chocolate.
Nutrition Information
I’m not a nutritionist, but here’s the breakdown if you’re tracking.
| Per Serving (1/12th of cake) | Amount |
|---|---|
| Calories | 450 |
| Protein | 6g |
| Carbs | 42g |
| Fiber | 2g |
| Sugar | 32g |
| Fat | 28g |
| Saturated Fat | 16g |
| Cholesterol | 75mg |
| Sodium | 280mg |
Look, this is a rich, indulgent dessert with cream cheese, heavy cream, and chocolate. It’s not a diet food. But it’s way better than store-bought, costs less, and you know exactly what’s in it. When I want to make it lighter, I use the dairy-free version and reduce the sugar. But usually? I just enjoy a small slice and savor it.
Final Thoughts
So that’s my ultra-creamy no-bake Oreo cheesecake with whipped ganache! I’ve probably talked your ear off at this point, but when you make a recipe this often, you have a lot to say about it.
This has saved my social life more times than I can count. It’s my answer to “what dessert should I bring?” when I’m tired, don’t want to bake, and still want to impress. My family is happy, my friends are happy, and I’m happy because I’m not stressed about cooking.
Make it yours! Try different garnishes, swap in your favorite cookies, or adjust the sweetness. The best recipes are the ones you adapt to your family’s tastes.
If you make this, drop a comment and let me know what you think! I love hearing how recipes turn out in your kitchen. And if something doesn’t work, tell me that too—I’m here to help troubleshoot.
Happy cooking! And I hope your kitchen smells half as good as mine does right now.
Frequently Asked Questions
Can I use low-fat cream cheese?
You can, but the texture won’t be as creamy and it might not set as firmly. Low-fat cream cheese has more water, which can make the cheesecake runny. For the best results, stick with full-fat cream cheese.
Why did my ganache turn out grainy?
This usually happens if the chocolate wasn’t melted properly or if the cream was too hot. Make sure you let the hot cream sit on the chocolate for 2 minutes before stirring. Stir gently until smooth. If it’s grainy, you can strain it through a sieve to remove lumps.
Can I make this ahead for a dinner party?
Absolutely! This is the perfect make-ahead dessert. You can make it 1-2 days in advance. In fact, it tastes better the next day because the flavors have time to meld. Just keep it covered in the fridge.
Why did my cheesecake collapse?
This usually happens if the whipped cream was overmixed or if the cheesecake wasn’t chilled long enough. Make sure you fold the whipped cream gently and chill for at least 4 hours. Also, ensure your springform pan is sealed well to prevent leaks.
Can I use golden Oreos instead of regular Oreos?
Yes! Golden Oreos will give you a milder chocolate flavor and a lighter color. It’s a great option if you want a less intense chocolate taste. The texture will be the same.
How do I store leftovers?
Store leftovers in an airtight container in the fridge for up to 5 days. You can also freeze individual slices for up to 1 month. Thaw in the fridge overnight before serving.
Can I use a different pan?
A springform pan is ideal because it releases the sides easily. If you don’t have one, you can use a regular 9-inch round pan lined with parchment paper. Just be careful when removing the cheesecake.
Pin This Recipe!
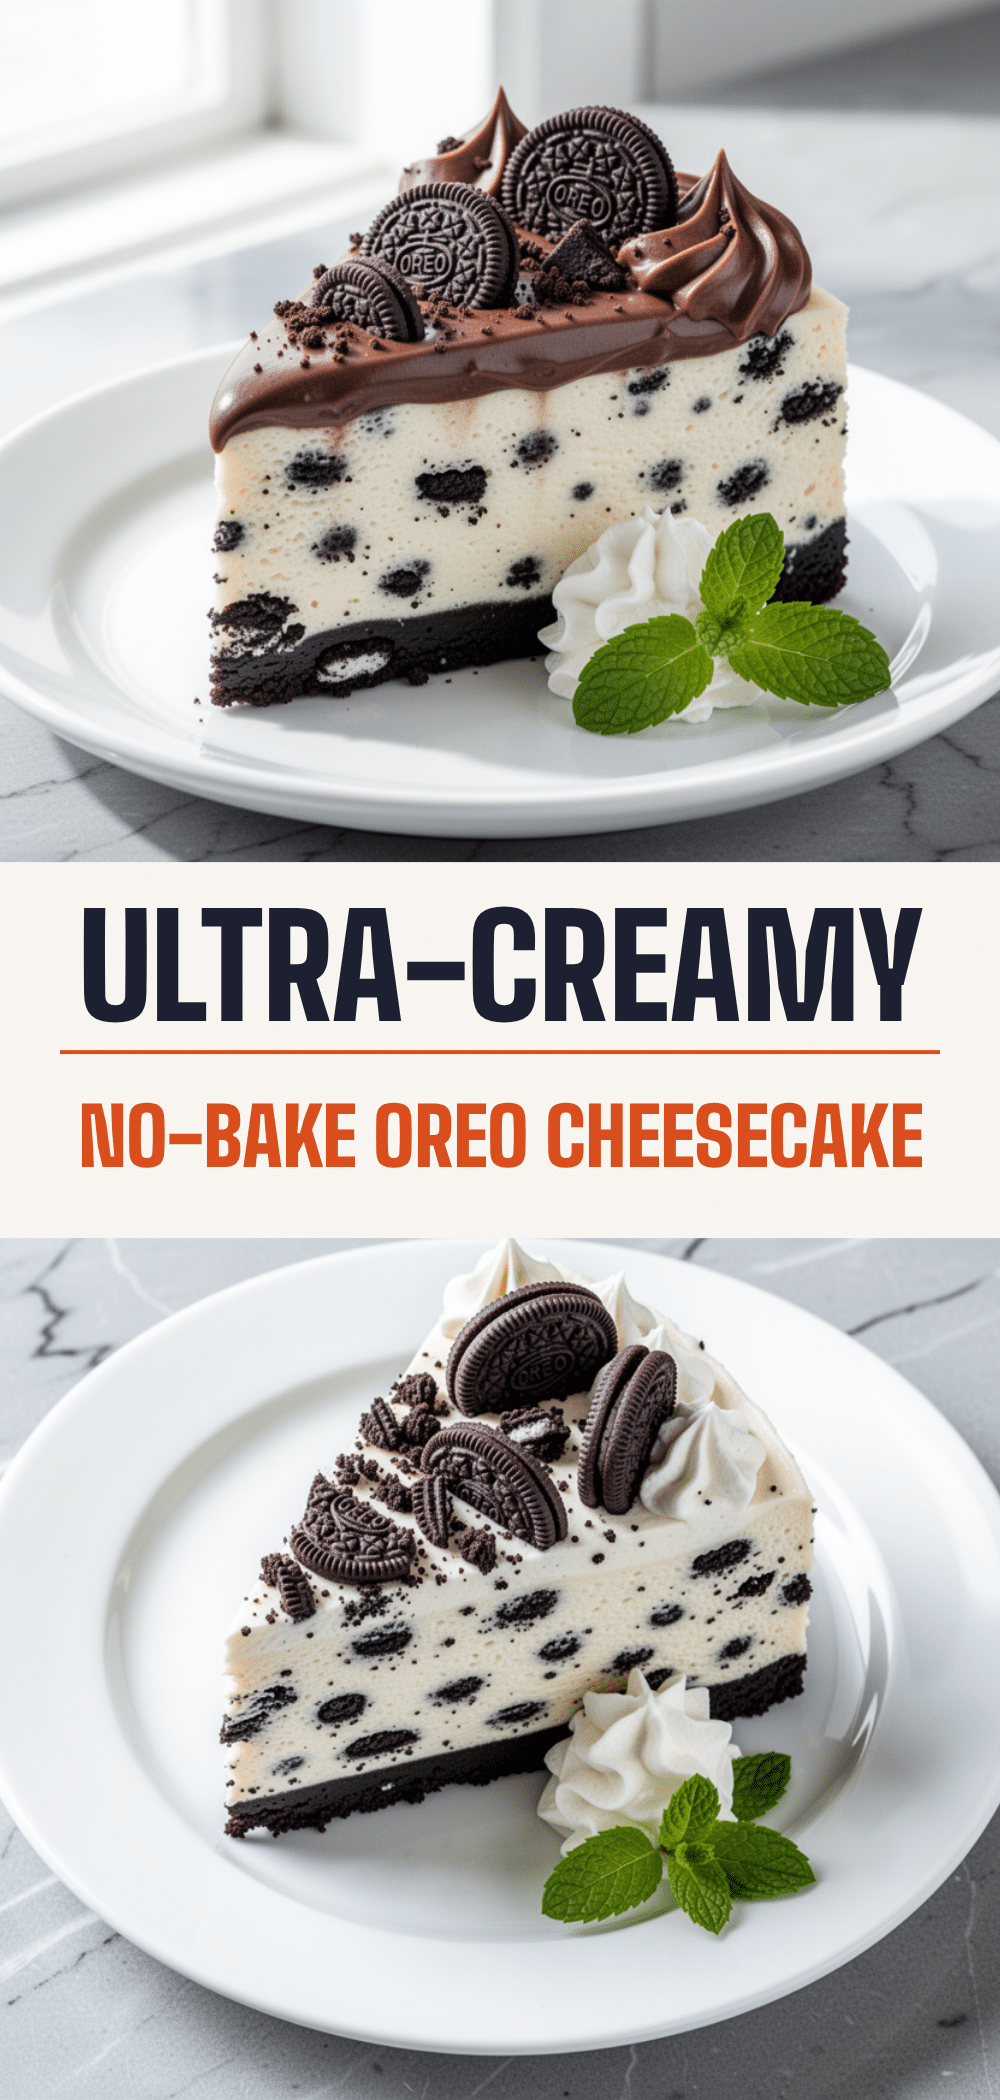
Ultra-Creamy No-Bake Oreo Cheesecake with Whipped Ganache
- Total Time: 4 hours 30 minutes
- Yield: 12 servings 1x
Description
A dense, ultra-creamy no-bake Oreo cheesecake featuring a sturdy chocolate cookie crust, a rich cream cheese filling stabilized with whipped cream, and a luxurious whipped chocolate ganache topping. This make-ahead dessert requires no oven and is perfect for impressing crowds.
Ingredients
- 30 regular chocolate sandwich cookies (Oreos), about 350g
- 6 tablespoons unsalted butter, melted
- 32 ounces full-fat cream cheese, room temperature (4 blocks of 8 oz)
- 1 cup granulated sugar
- 2 cups heavy whipping cream, cold
- 2 teaspoons pure vanilla extract
- 1/2 cup confectioners’ sugar
- 1 cup semi-sweet chocolate chips
- 1/2 cup heavy cream
- 1 cup cold whipped cream
- Pinch of sea salt
- Crushed Oreos for garnish (optional)
Instructions
- Crush the Oreos into fine crumbs. Mix with melted butter until it resembles wet sand. Press firmly into the bottom of a 9-inch springform pan and pack down tight.
- In a large bowl, beat the room-temperature cream cheese and granulated sugar on medium-high speed until smooth and creamy (3-4 minutes). Scrape down sides.
- In a separate cold bowl, whip the 2 cups of heavy cream and confectioners’ sugar on high speed until stiff peaks form.
- Add vanilla extract to the cream cheese mixture. Gently fold in half of the whipped cream to lighten the mixture, then fold in the remaining whipped cream until just combined. Do not overmix.
- Pour the filling into the prepared crust and smooth the top. Cover with plastic wrap and refrigerate for at least 4 hours, preferably overnight.
- While the cheesecake chills, heat the 1/2 cup heavy cream in a saucepan until it simmers. Pour over chocolate chips in a heatproof bowl, let sit for 2 minutes, then stir until smooth.
- Let the ganache cool to room temperature and thicken slightly. Whip it until it thickens, then fold in 1 cup of cold whipped cream to create a light, airy mousse-like topping.
- Spread the whipped ganache over the chilled cheesecake. Sprinkle with crushed Oreos for garnish if desired.
- Slice with a sharp knife dipped in hot water for clean cuts. Serve chilled.
Notes
Ensure cream cheese is at room temperature to avoid lumps. Do not overmix the whipped cream into the cheesecake base to maintain airiness. The cheesecake must chill for at least 4 hours to set properly. For a gluten-free version, use gluten-free chocolate sandwich cookies. For a dairy-free version, use dairy-free cream cheese and coconut cream.
- Prep Time: 30 minutes
- Cook Time: 0 minutes
- Category: Dessert
- Cuisine: American
Nutrition
- Serving Size: 1/12th of cake
- Calories: 450
- Sugar: 32
- Sodium: 280
- Fat: 28
- Saturated Fat: 16
- Carbohydrates: 42
- Fiber: 2
- Protein: 6
Keywords: no-bake cheesecake, Oreo cheesecake, whipped ganache, party dessert, make-ahead dessert, easy dessert, chocolate dessert, cream cheese dessert


