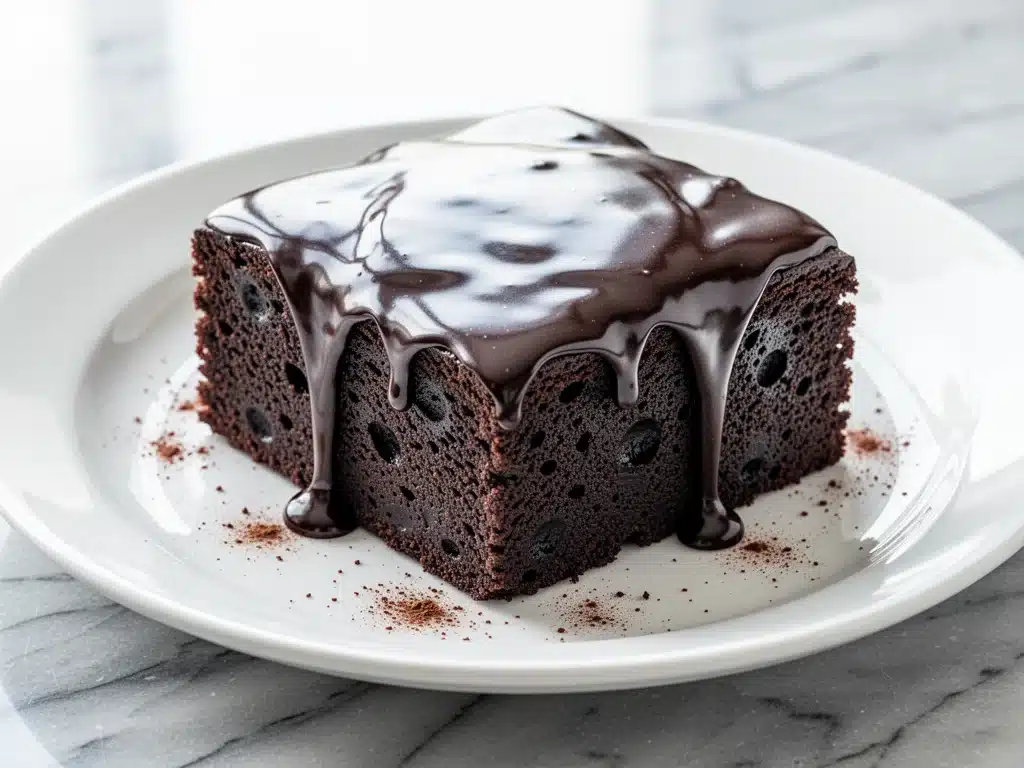
I have a confession to make. For years, I was the person who rolled my eyes at “dairy-free” desserts. You know the type. The ones that tasted like sawdust, had a weird aftertaste, or looked like they’d been baked in a lab rather than a kitchen. I loved chocolate. I loved fudge. I loved that dense, heavy, melt-in-your-mouth texture that makes you close your eyes and just breathe. But I assumed that if you took out the butter and the milk, you lost the soul of the cake.
Then, about three years ago, I made a mistake. I was hosting a dinner party for my in-laws—my husband’s side, who are notoriously picky about sweets—and I ran out of butter. Panic set in. I had guests arriving in two hours. I didn’t have time to run to the store, so I grabbed a can of full-fat coconut milk and some cocoa powder and threw together what I thought would be a desperate, mediocre backup plan. I called it my “oops cake.” It was supposed to be a stopgap. It was supposed to be fine.
It wasn’t fine. It was incredible.
My father-in-law, a man who has eaten a slice of chocolate cake at every birthday for the last forty years, took one bite, paused, and asked, “Where did you get this? The bakery on Main Street?” I had to tell him I made it with coconut milk and coffee. He looked at me like I’d just performed magic. Since then, this dairy-free chocolate fudge cake with silky coconut ganache has become my secret weapon. I make it for birthdays, for potlucks, for when I need to comfort someone, and honestly, for Tuesday nights when I just want something sweet. People who are dairy-free, vegan, or just lactose-sensitive ask me for the recipe constantly. And people who aren’t dairy-free beg me to make it because they swear it tastes better than regular cake.
I’ve tested this recipe at least fifteen times. I’ve tried different brands of cocoa powder, played with the sweetness levels, and even experimented with different plant milks. This is the version that works. It’s moist, it’s deeply chocolatey, and that ganache? It’s the kind of silky, glossy topping that makes you feel like a professional baker, even if you’re just throwing it together after work.
Why You’ll Love This Dairy-Free Chocolate Fudge Cake
Let’s be real. Baking dairy-free used to mean sacrificing texture. But this cake changes the game. It’s not just “good for a vegan cake”—it’s just a damn good chocolate cake. Here’s why it’s become a staple in my rotation:
It’s Actually Moist — Seriously. I’ve made cakes that stayed dry for days. This one stays tender and soft for up to four days, covered. The coconut milk adds fat and moisture without that coconut flavor dominating. You just get rich, dark chocolate.
One-Bowl Simplicity — If you can mix batter for banana bread, you can make this. I’m talking one large bowl, a whisk, and maybe a fork. No creaming butter, no separate bowls for eggs and sugar. Just dump, whisk, bake. It’s perfect for those nights when you’re tired and don’t want a mountain of dishes.
The Ganache is Mind-Blowing — Most dairy-free ganaches are grainy or too firm. This one, made with just coconut cream and dark chocolate, sets up with a beautiful snap but melts instantly on your tongue. It’s rich, luxurious, and tastes like it came from a high-end patisserie.
It Hides the Dairy-Free Aspect — I’ve served this to friends who are strict about dairy and they’ve never guessed. I’ve also served it to friends who are vegan, and they’ve said it’s the best chocolate cake they’ve ever had. It bridges the gap perfectly.
It’s Budget-Friendly — You don’t need fancy dairy-free butter substitutes or expensive chocolate chips. Just good cocoa powder, coconut milk, and pantry staples. It costs less than half the price of a bakery slice and tastes way fresher.
So basically, if you’re looking for a dessert that is easy to make, impossible to resist, and safe for almost everyone at the table, this is it. It’s my go-to when I want to impress without stressing.
Ingredients You’ll Need
Here’s the thing about this recipe: the ingredient list looks short, but every item plays a specific role. I’m particular about a few of these, so pay attention to the notes below. You don’t need fancy substitutes; you just need the right basics.
For the Cake Base
All-purpose flour (2 cups / 250g) — The structure. Don’t try to swap this for almond flour unless you want a completely different texture. I use regular flour because it gives that classic cake crumb.
Granulated sugar (1 ½ cups / 300g) — Yes, that’s a lot of sugar, but it’s balanced by the bitterness of the cocoa. Don’t reduce it too much or the cake will be dry. If you prefer less sweet, cut it to 1 cup, but expect a denser result.
Unsweetened cocoa powder (¾ cup / 75g) — This is the star. Use good quality Dutch-process cocoa if you can find it. It’s darker and less acidic. I always keep a tin of Valrhona or Hershey’s Special Dark on hand. Natural cocoa works too, but the flavor will be slightly lighter.
Baking soda (2 teaspoons) — And baking powder (1 teaspoon). The baking soda reacts with the acidity in the cocoa and the buttermilk (or yogurt) to give it lift. Don’t skip it.
Salt (1 teaspoon) — Enhances the chocolate flavor. Use fine sea salt or table salt.
Large eggs (2) — Yes, this recipe uses eggs. If you need it fully vegan, see the substitutions section below. Eggs provide structure and richness. Room temperature is best so they incorporate evenly.
Vegetable oil (½ cup / 120ml) — Or any neutral oil like canola or sunflower. Oil keeps the cake moister than butter does, which is crucial since we aren’t using dairy butter here.
Vanilla extract (2 teaspoons) — Real vanilla, please. It rounds out the chocolate flavor. Pure extract makes a huge difference over imitation.
Brown buttermilk (1 cup / 240ml) — Or plain yogurt (full fat). Buttermilk adds tang and tenderness. If you don’t have buttermilk, mix 1 cup of milk with 1 tablespoon of vinegar or lemon juice and let it sit for 5 minutes. Plain yogurt works too and adds extra moisture.
Boiling water (1 cup / 240ml) — This is the secret weapon. Pouring boiling water into the batter “blooms” the cocoa powder, releasing a deeper, more intense chocolate flavor. It makes the batter look thin, but that’s normal. Trust the process.
For the Silky Coconut Ganache
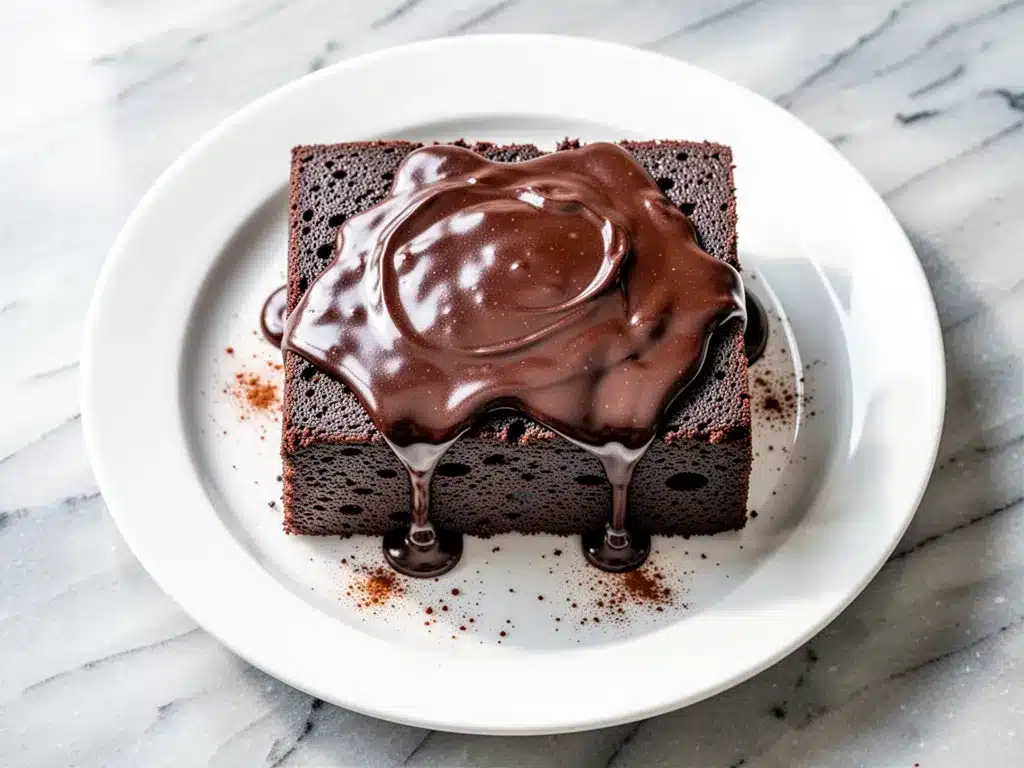
Full-fat coconut milk (1 can, 13.5 oz / 400ml) — You need the thick cream that rises to the top. Shake the can well before opening, or scoop out the solid cream and use that. Light coconut milk won’t work; it’s too watery.
Dark chocolate chips (12 oz / 340g) — Use high-quality semi-sweet or dark chocolate chips (60-70% cocoa). Chocolate chips are easier to work with than bars because they melt evenly. Don’t use milk chocolate chips; they’ll be too sweet.
Vanilla extract (1 teaspoon) — Just a splash to finish the ganache.
Pinch of sea salt — To balance the sweetness.
Equipment Needed
You don’t need fancy gadgets for this. Here’s what I actually use:
Two 8-inch round cake pans — Or one 9×13 inch pan if you want a sheet cake. I prefer two round layers for stacking. Grease them well and line the bottoms with parchment paper for easy removal.
Large mixing bowl — Something sturdy with a wide mouth. A 5-quart bowl works perfectly.
Whisk — A balloon whisk is best for breaking up lumps in the cocoa.
Small saucepan — For heating the coconut milk for the ganache. A non-stick one is easiest.
Spatula — Silicone is great for scraping the bowl clean.
Wire cooling rack — Essential for cooling the cake before frosting. If you frost a warm cake, the ganache will melt and slide off.
How to Make It: Step-by-Step
Alright, let’s make this! I’m walking you through exactly how I do it, including the little tricks I’ve picked up over the years.
Step 1: Prep Your Pans and Oven (5 minutes)
Preheat your oven to 350°F (175°C). Grease your cake pans with a little oil or non-stick spray. Line the bottoms with parchment circles. This is the one step you don’t want to skip, or you’ll be fighting with your cake later. Dust the pans with a little flour or cocoa powder for extra insurance.
Step 2: Mix the Dry Ingredients (2 minutes)
In your large bowl, whisk together the flour, sugar, cocoa powder, baking soda, baking powder, and salt. Make sure there are no lumps of cocoa. If you have big clumps, use a fork or your fingers to break them up. It’s tedious but worth it for a smooth batter.
Step 3: Add the Wet Ingredients (2 minutes)
Add the eggs, oil, vanilla, and buttermilk (or yogurt) to the dry mix. Whisk everything together until it’s smooth and combined. The batter will be thick at this stage. Don’t worry, the water is coming.
Step 4: The Boiling Water Trick (1 minute)
Slowly pour in the boiling water while whisking gently. The batter will become very thin and watery. I know this looks wrong, but it’s right. The hot water hydrates the flour and blooms the cocoa. Pour it into your prepared pans evenly.
Step 5: Bake (30-35 minutes)
Place the pans in the oven and bake for 30-35 minutes. Insert a toothpick into the center of the cake. If it comes out clean or with just a few moist crumbs, it’s done. If it’s wet batter, give it 2-3 more minutes. Do not overbake, or the cake will be dry.
Step 6: Cool Completely (1 hour)
Let the cakes cool in the pans for 10 minutes, then turn them out onto a wire rack. Let them cool completely before frosting. This is the hardest part, I know. But if you rush this, your ganache will melt. Patience pays off.
Step 7: Make the Ganache (10 minutes)
While the cakes cool, make the ganache. In a small saucepan, heat the coconut milk over medium heat until it just starts to simmer (small bubbles around the edges). Do not boil it vigorously. Pour the hot coconut milk over the chocolate chips in a heatproof bowl. Let it sit for 5 minutes without touching it. Then, gently stir from the center outwards until smooth and glossy. Stir in the vanilla and salt.
Step 8: Assemble and Frost
Place one cake layer on your serving plate. Spoon half the ganache over the top, letting it drip down the sides. Place the second layer on top. Pour the remaining ganache over the top, letting it cascade down the sides. Use a spatula to smooth the top if you want a neat look, or let it be rustic.
Expert Tips & Tricks
Here’s everything I’ve learned from making this dozens of times. These tips will save you from my mistakes.
Don’t Skip the Boiling Water
I tried this recipe with hot water instead of boiling, and the chocolate flavor was dull. The boiling water is non-negotiable for that deep, dark chocolate taste. It’s safe to pour into the batter; it won’t cook the eggs because the batter volume is large.
Room Temperature Ingredients
Make sure your eggs and buttermilk are at room temperature. Cold ingredients can cause the batter to seize up slightly when you add the hot water. It’s a small thing, but it helps the emulsion.
Check Your Oven Temperature
Ovens are notoriously inaccurate. I keep an oven thermometer in mine. If your oven runs hot, your cake might dry out. If it runs cold, it might not rise. Adjust accordingly.
The Ganache Consistency
If the ganache is too thin to coat the cake, chill it in the fridge for 10-15 minutes, then whip it with a hand mixer for 2 minutes. It will thicken and become lighter. If it’s too thick, warm it slightly by microwaving for 10-second intervals.
Storage is Key
This cake is best stored in an airtight container at room temperature for up to 3 days. In the fridge, it lasts up to 5 days, but it will firm up. Bring it to room temperature before serving for the best texture.
Variations & Substitutions
Once you’ve nailed the basic version, here’s how you can mix it up. I’ve tried all of these.
Fully Vegan Version
To make this completely vegan, swap the eggs for “flax eggs” (2 tablespoons ground flaxseed mixed with 6 tablespoons water, let sit for 10 minutes). Use dairy-free chocolate chips and ensure your cocoa powder is vegan (most are, but check). The cake will be slightly denser but still delicious.
Gluten-Free Option
Use a 1:1 gluten-free flour blend. I’ve used Bob’s Red Mill and Cup4Cup with great results. The texture will be slightly more tender.
Coffee Cake Variation
Replace the boiling water with hot brewed coffee. This intensifies the chocolate flavor even more without making it taste like coffee. My husband prefers this version.
Strawberry Swirl
Before baking, dollop strawberry jam on top of the batter and swirl it with a knife. It creates beautiful red ribbons and adds a fruity contrast.
Dairy-Free Buttercream
If you prefer frosting over ganache, use a dairy-free buttercream made with coconut oil or vegan butter. It’s lighter and less rich than the ganache.
Serving & Storage
How to Serve:
I usually serve this cake at room temperature. It’s softer and the flavors are more pronounced. Slice it with a sharp knife dipped in hot water for clean cuts. Pair it with a glass of red wine or a cup of black coffee.
Side Dishes:
Fresh berries (raspberries or strawberries) cut the richness. A dollop of whipped coconut cream is also amazing if you want extra creaminess.
Refrigerator:
Store in an airtight container for up to 5 days. The ganache will harden in the fridge, so let it sit out for 20 minutes before eating.
Freezing:
You can freeze the unfrosted cake layers for up to 3 months. Wrap them tightly in plastic wrap and then foil. Thaw overnight in the fridge. The ganache does not freeze well; make it fresh.
Nutrition Information
I’m not a nutritionist, but here’s the breakdown if you’re tracking. This is a rich dessert, so portion control is key.
Per Slice (1/12th of cake):
- Calories: 380
- Protein: 4g
- Carbs: 45g
- Fat: 22g
- Sugar: 32g
- Fiber: 3g
What’s Good:
It’s dairy-free, so it’s easier on digestion for some people. The dark chocolate provides antioxidants. It’s satisfying, so you likely won’t need a huge slice.
What to Know:
It’s high in sugar and fat due to the chocolate and coconut cream. Enjoy it as a special treat rather than an everyday snack.
Final Thoughts
So that’s my dairy-free chocolate fudge cake with silky coconut ganache! I’ve probably talked your ear off at this point, but when you make a recipe this often, you have a lot to say about it. This cake has saved me more times than I can count. It’s my answer to “what’s for dessert” when I want something indulgent but inclusive. My family is happy, my guests are happy, and I’m happy because I’m not stressed about ingredients.
Make it yours! Try the coffee variation, add some sprinkles, or just eat it with a spoon straight from the bowl. The best recipes are the ones you adapt to your tastes.
If you make this, drop a comment and let me know what you think! I love hearing how recipes turn out in your kitchen. And if something doesn’t work, tell me that too—I’m here to help troubleshoot.
Happy baking! And I hope your kitchen smells half as good as mine does right now.
Frequently Asked Questions
Can I use light coconut milk instead of full-fat?
No, I don’t recommend it. Light coconut milk has too much water and not enough fat. The ganache needs the fat to emulsify with the chocolate. If you use light milk, the ganache will be runny and won’t set properly. Stick to full-fat canned coconut milk.
Why did my cake sink in the middle?
Usually, this means it was underbaked or the oven door was opened too early. Check the toothpick test again. Also, make sure your baking soda is fresh. Old baking soda won’t create enough lift, and the cake will collapse.
Can I make this cake ahead of time?
Yes! Bake the cake layers a day ahead. Wrap them tightly in plastic wrap and store at room temperature. Make the ganache the day of or the night before. Assemble the cake a few hours before serving so the ganache can set slightly.
Is this cake really dairy-free?
Yes, as long as you use dairy-free chocolate chips. Some chocolate chips contain milk solids. Check the label. The cake batter itself contains no dairy ingredients. If you need it vegan, swap the eggs as noted above.
Can I use a 9×13 pan instead of round pans?
Yes, but the baking time will be shorter. Start checking at 25 minutes. The cake will be thinner, so it might bake faster. Keep an eye on it to avoid drying it out.
Why is my ganache grainy?
This usually happens if the chocolate wasn’t fully melted or if the coconut milk was too hot and separated. Make sure you let the coconut milk sit on the chocolate for 5 minutes before stirring. Stir gently until smooth. If it’s still grainy, you can strain it through a sieve.
Pin This Recipe!
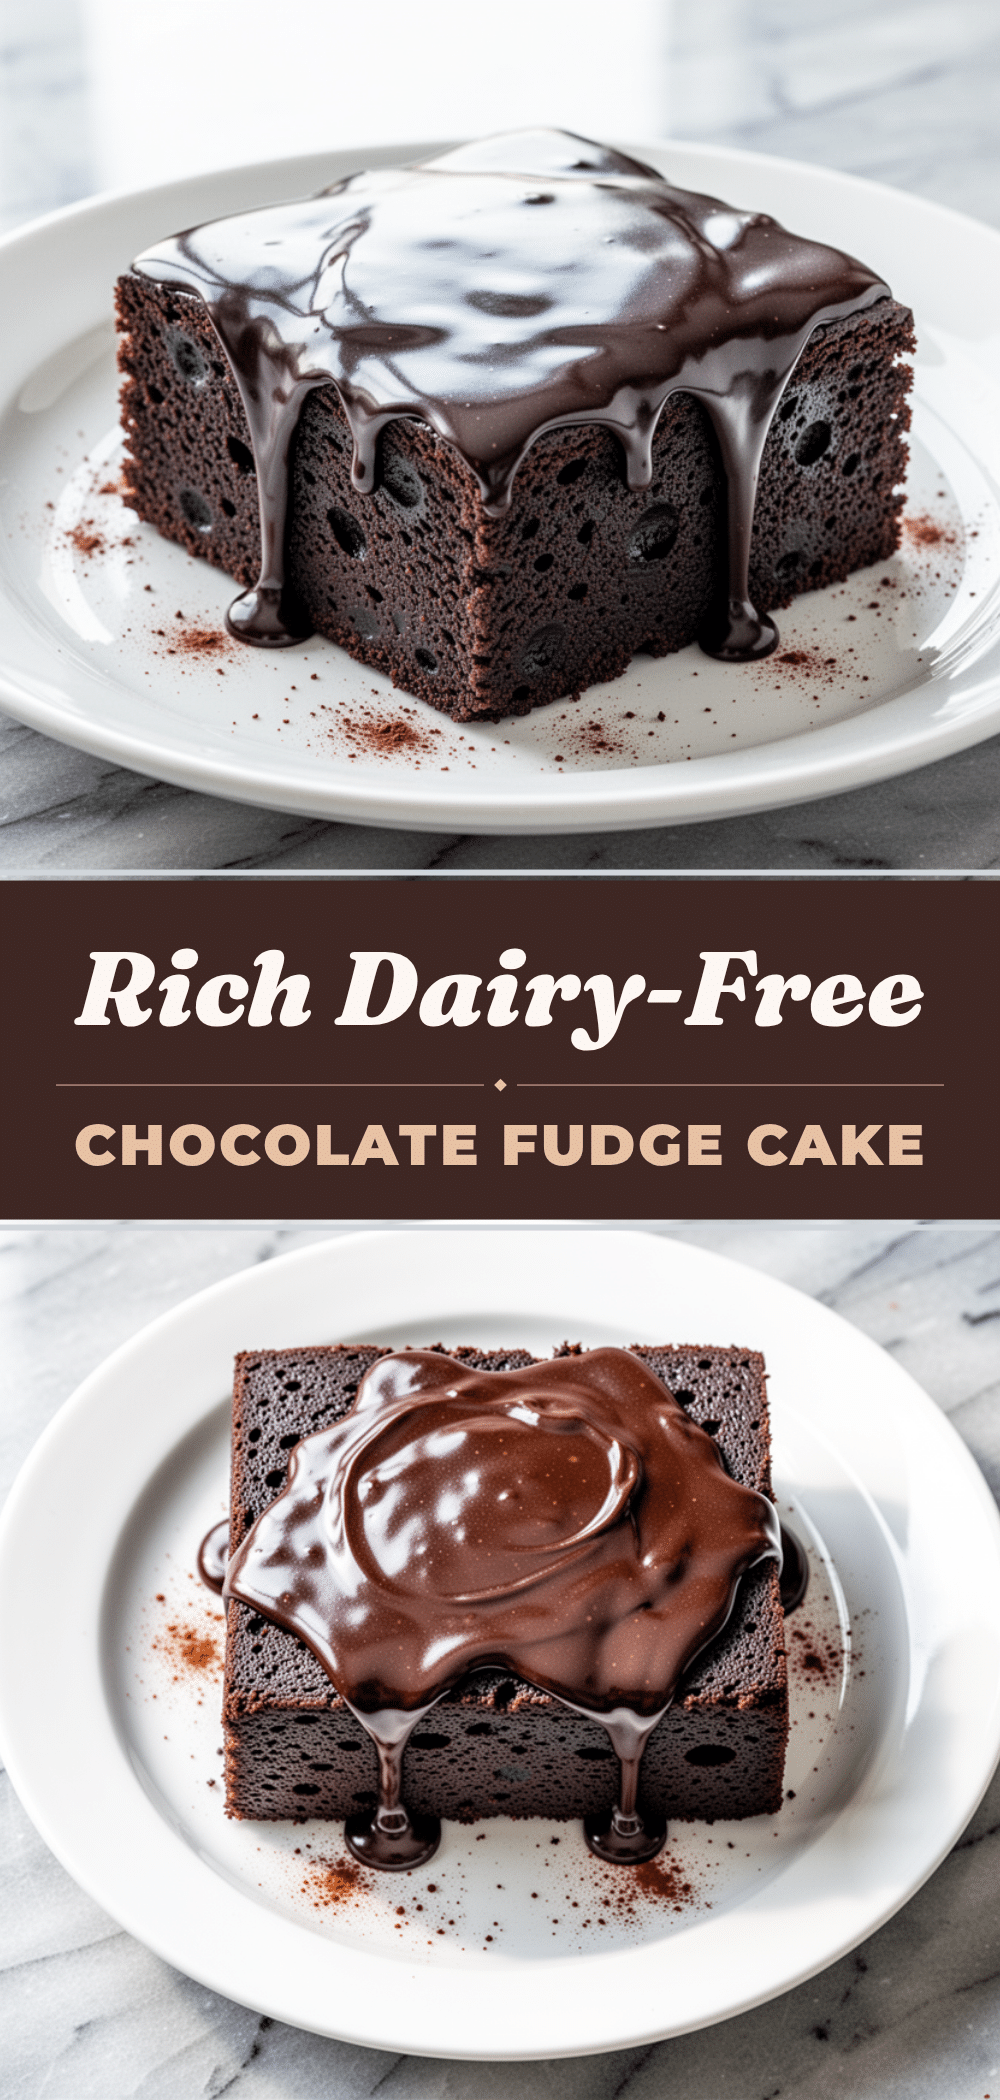
Dairy-Free Chocolate Fudge Cake: Easy Vegan Recipe
- Total Time: 1 hour 45 minutes
- Yield: 12 servings 1x
Description
A moist, deeply chocolatey dairy-free cake made with coconut milk and bloomed cocoa, topped with a silky dark chocolate coconut ganache. It is easy to make in one bowl and suitable for vegans or those avoiding dairy.
Ingredients
- 2 cups (250g) all-purpose flour
- 1 ½ cups (300g) granulated sugar
- ¾ cup (75g) unsweetened cocoa powder
- 2 teaspoons baking soda
- 1 teaspoon baking powder
- 1 teaspoon salt
- 2 large eggs
- ½ cup (120ml) vegetable oil
- 2 teaspoons vanilla extract
- 1 cup (240ml) buttermilk or plain full-fat yogurt
- 1 cup (240ml) boiling water
- 1 can (13.5 oz / 400ml) full-fat coconut milk
- 12 oz (340g) dark chocolate chips
- 1 teaspoon vanilla extract (for ganache)
- Pinch of sea salt (for ganache)
Instructions
- Preheat oven to 350°F (175°C). Grease two 8-inch round cake pans and line bottoms with parchment paper.
- In a large bowl, whisk together flour, sugar, cocoa powder, baking soda, baking powder, and salt until no lumps remain.
- Add eggs, oil, vanilla, and buttermilk (or yogurt) to the dry ingredients. Whisk until smooth and combined.
- Slowly pour in boiling water while whisking gently. The batter will be thin; this is normal.
- Divide batter evenly between prepared pans.
- Bake for 30-35 minutes, or until a toothpick inserted into the center comes out clean or with moist crumbs.
- Cool cakes in pans for 10 minutes, then turn out onto a wire rack to cool completely.
- While cakes cool, heat coconut milk in a small saucepan over medium heat until it just starts to simmer.
- Pour hot coconut milk over dark chocolate chips in a heatproof bowl. Let sit for 5 minutes.
- Stir gently from the center outwards until smooth and glossy. Stir in vanilla and salt.
- Place one cake layer on a serving plate. Spoon half the ganache over the top, letting it drip down the sides.
- Place the second layer on top. Pour remaining ganache over the top, letting it cascade down the sides.
- Smooth the top with a spatula if desired, or leave rustic.
Notes
Use full-fat canned coconut milk for the ganache; light milk will not set properly. Boiling water is essential to bloom the cocoa powder for deep flavor. Ensure eggs and buttermilk are at room temperature. For a vegan version, substitute eggs with flax eggs and use dairy-free chocolate chips. Store in an airtight container at room temperature for up to 3 days or in the fridge for up to 5 days.
- Prep Time: 15 minutes
- Cook Time: 30-35 minutes
- Category: Dessert
- Cuisine: American
Nutrition
- Serving Size: 1 slice (1/12th of c
- Calories: 380
- Sugar: 32
- Sodium: 350
- Fat: 22
- Saturated Fat: 12
- Carbohydrates: 45
- Fiber: 3
- Protein: 4
Keywords: dairy-free, vegan, chocolate cake, fudge cake, coconut ganache, gluten-free option, easy baking, one-bowl cake


