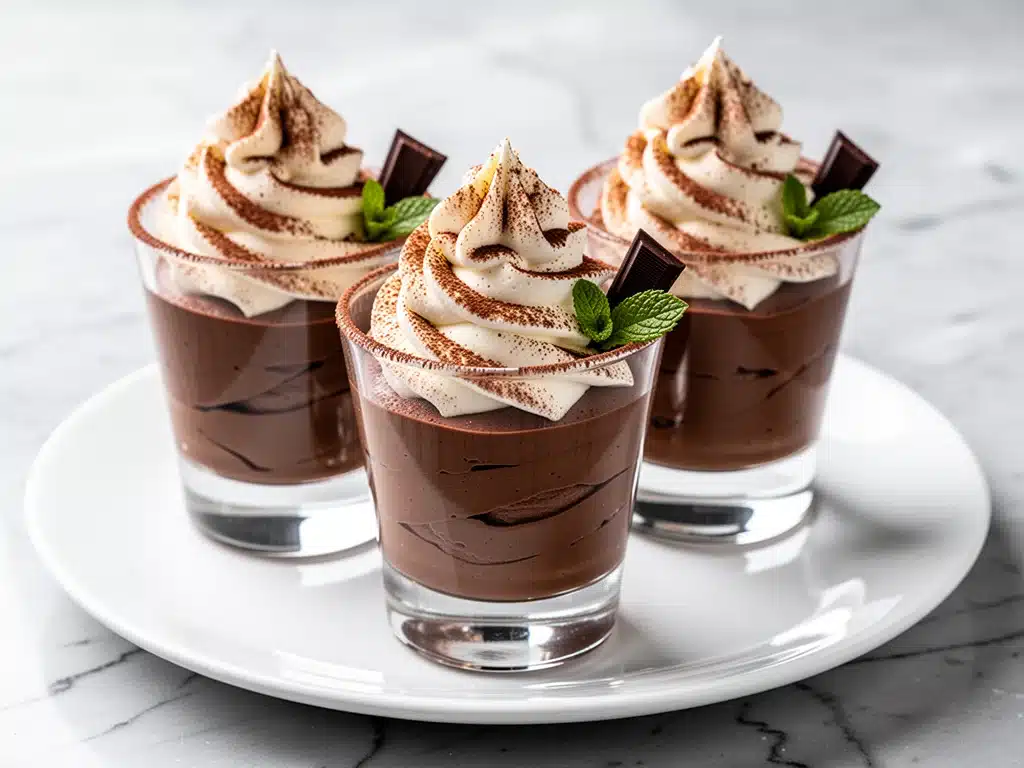
Last Tuesday, I was staring into the fridge like it held the secrets of the universe, hoping it would whisper a solution to my dinner-and-dessert dilemma. I had cooked a decent meal, but my soul was craving something rich, something chocolatey, something that felt like a hug in a bowl. But here’s the thing about chocolate mousse: it’s either the best thing you’ve ever tasted, or it’s a grainy, dense, chocolate pudding disaster that makes you question your life choices.
I’ve tried every shortcut out there. The egg-white foam method? Too much work for a Tuesday. The melted chocolate and butter blend? Good, but heavy. The “just whisk cocoa powder into milk” trick? Please. That’s not mousse; that’s a disappointment.
Then I stumbled upon this specific combination: a silky chocolate mousse base paired with an espresso-infused whipped cream topping. I made it once, half-asleep, and served it to my partner. He took one bite, closed his eyes, and said, “This tastes like it came from a high-end Parisian patisserie.” I was skeptical. It had taken me 15 minutes of active time and zero baking. But that night, the silky chocolate mousse cups with espresso whipped cream became a revelation. It wasn’t just dessert; it was a moment of pure, unadulterated indulgence without the guilt of a heavy, flour-based cake.
Since then, I’ve made this no-bake dessert at least a dozen times. I’ve served it to dinner parties where people asked for the recipe before they even finished their plates. I’ve made it when I was hosting friends who didn’t know I could cook. And I’ve made it on rainy Sundays when I just needed something sweet to make the day feel special. The secret isn’t in fancy equipment or rare ingredients. It’s in the ratio of chocolate to cream and the bold kick of espresso that wakes up the cocoa flavor without making it taste like coffee.
If you’ve ever been intimidated by mousse, or if you’ve tried it before and ended up with a lumpy mess, this is your reset button. This version is foolproof, incredibly elegant, and honestly, better than most store-bought desserts. Let me walk you through exactly how to make it, why the espresso matters, and how to get that restaurant-quality texture every single time.
Why You’ll Love This No-Bake Chocolate Mousse
There are about ten reasons I keep making this, but let’s be real: you’re probably looking for a dessert that feels fancy but doesn’t require a degree in pastry arts. Here’s why this recipe has earned a permanent spot in my rotation.
Zero Baking Required — Seriously, you don’t need to turn on your oven. If you can whisk heavy cream and melt chocolate, you can make this. I’ve made it in my pajamas at 10 PM when the craving hit. No heat, no mess in the oven, no waiting for a cake to cool.
The Espresso Secret — This is the game-changer. A little bit of espresso powder or strong brewed coffee doesn’t make the mousse taste like coffee. It amplifies the chocolate. It’s the same reason we put a pinch of salt in brownies. It makes the chocolate taste more like chocolate. Trust me on this one.
Lighter Than Air — A lot of chocolate desserts are dense and heavy, leaving you feeling sluggish. This mousse is airy and delicate. The whipped cream folded into the chocolate creates a texture that melts on your tongue. You can eat a whole cup and still feel light enough to go for a walk.
Make-Ahead Friendly — This is actually better the next day. The flavors meld together, and the texture sets up perfectly. I love making these on Saturday morning so they’re ready for Saturday night dinner guests. It takes the stress out of hosting.
Impressively Elegant — Serving these in little glasses or ramekins looks incredibly sophisticated. It’s the kind of dessert that makes you look like a pro host, even if you’re just making it for yourself. It pairs beautifully with the homemade vanilla sweet cream cold foam if you want to lean into the coffee theme, or just stand alone as a pure chocolate experience.
Budget-Smart — You don’t need expensive Belgian chocolate or fancy liqueurs. Good quality semi-sweet chocolate and heavy cream are all you need. It’s a cheap way to feel like you’re dining at a five-star restaurant.
This is my go-to when I need dinner to just work. No complicated techniques, no weird ingredients, just reliable, delicious food that makes everyone happy.
Ingredients You’ll Need
Here’s the best part: you probably have most of this already. This recipe relies on pantry staples, but the quality of your chocolate and cream will determine the final texture. I’m particular about a few things here, and I’ll tell you exactly why.
Semi-Sweet Chocolate (8 ounces / 225g) — Use a good quality bar, not chips. Chips have stabilizers that keep them from melting smoothly, which can leave your mousse grainy. I love Ghirardelli or Lindt bars. Melt them down for a silky, uniform base. If you’re a dark chocolate lover, go for 60-70% cocoa. If you prefer sweeter, stick to standard semi-sweet.
Unsalted Butter (2 tablespoons / 28g) — This adds richness and helps set the mousse slightly. It’s not strictly necessary, but it gives that velvety mouthfeel. Use room temperature butter for easier incorporation.
Heavy Whipping Cream (2 cups / 480ml, cold) — This is the engine of the recipe. You need full-fat heavy cream with at least 35% milk fat. Light cream won’t whip up stiff peaks, and your mousse will be runny. Keep it cold until the moment you whip it. Warm cream = flat cream.
Espresso Powder (1-2 teaspoons) — Instant espresso powder dissolves completely and gives a intense coffee flavor without adding liquid. If you don’t have this, you can use 2 tablespoons of very strong brewed coffee that has been cooled to room temperature. Do not use hot coffee; it will melt the chocolate in a weird way.
Granulated Sugar (2-3 tablespoons / 25-35g) — Adjust based on how sweet your chocolate is. If your chocolate is very dark, use 3 tablespoons. If it’s sweeter, 2 tablespoons is plenty. Taste your melted chocolate before adding sugar.
Vanilla Extract (1 teaspoon) — Pure vanilla extract, not imitation. It rounds out the chocolate flavor and adds a subtle floral note.
Salt (a pinch) — Never skip this. Salt balances the sweetness and enhances the chocolate depth. It’s the secret ingredient you can’t taste directly, but you’ll miss it if it’s gone.
Optional Garnishes — Chocolate shavings, fresh raspberries, crushed pistachios, or a drizzle of caramel. These add texture and visual appeal, making the cups look extra special.
Pro Tip: I always buy my chocolate in bars from the baking aisle, not the candy aisle. Candy bars often contain vegetable oils that change the melting point and texture. Baking chocolate is pure cocoa mass and butter, which melts cleanly.
Equipment Needed
You don’t need fancy equipment for this. Here’s what I actually use.
Double Boiler or Heatproof Bowl — I use a glass bowl set over a pot of simmering water. Make sure the bottom of the bowl doesn’t touch the water. If you don’t have a double boiler, you can melt chocolate in short bursts in the microwave, stirring every 15 seconds. But the double boiler gives you more control and prevents scorching.
Mixing Bowls — Two medium bowls. One for the chocolate mixture, one for the whipped cream. Make sure they’re clean and dry. Any grease or water in the bowl will prevent the cream from whipping properly.
Electric Hand Mixer or Stand Mixer — Hand-mixing heavy cream to stiff peaks is possible, but it takes about 10 minutes of arm workout. An electric mixer takes 2-3 minutes and saves your arms. I use my hand mixer for this.
Spatula — A silicone spatula is essential for folding the cream into the chocolate. You need to be gentle to keep the air in the cream. A wooden spoon will deflate the mixture.
Serving Glasses or Ramekins — I love using small glass dessert cups, martini glasses, or even mason jars. The clear glass shows off the layers and looks beautiful. Size them however you like; I usually make 4-6 servings.
Whisk — For beating the egg yolks if you choose the egg-yolk version (see variations), but for this basic recipe, the mixer does the work.
Microplane or Grater — For chocolate shavings. If you have a good microplane, you can shave chocolate curls that melt instantly in your mouth. It’s a nice touch for presentation.
How to Make It: Step-by-Step
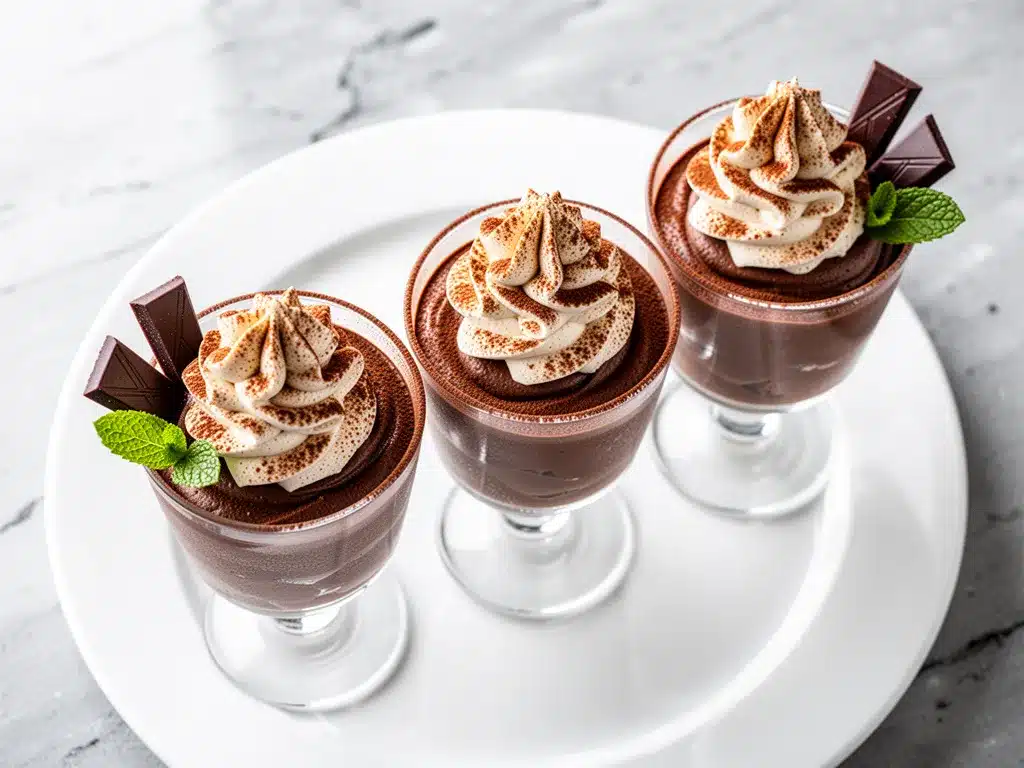
Alright, let’s make this! I’m walking you through exactly how I do it, including the little tricks I’ve picked up over years of making mousse.
Step 1: Melt the Chocolate (5 minutes)
Break your chocolate into small chunks and place them in a heatproof bowl. Set it over a pot of barely simmering water. Stir gently and constantly until the chocolate is completely melted and smooth. This should take about 3-5 minutes. Do not let the bowl touch the water, or the steam will get in and seize the chocolate. Once melted, remove from heat and stir in the butter until dissolved. Stir in the espresso powder (or cooled coffee) and vanilla. Let this mixture cool to room temperature. It should be thick but still pourable. If it’s too hot, it will melt the whipped cream later.
Step 2: Whip the Cream (3 minutes)
Pour the cold heavy cream into a large, clean mixing bowl. Start whipping on medium speed. As it thickens, add the sugar and salt. Continue whipping until you form stiff peaks. This means when you lift the beaters, the cream stands up straight without drooping. Be careful not to over-whip, or you’ll turn it into butter. It should look glossy and hold its shape firmly.
Step 3: Fold the Chocolate and Cream (2 minutes)
This is the most important step. Add about one-third of the whipped cream to the cooled chocolate mixture. Whisk it vigorously to lighten the chocolate. This makes it easier to incorporate the rest without deflating the air. Then, add the remaining whipped cream. Using your spatula, gently fold the mixture. Cut down through the center, scoop from the bottom, and turn over. Rotate the bowl and repeat. Stop when you see no more white streaks, but the mixture is still airy. Do not overmix!
Step 4: Chill and Set (2-4 hours)
Divide the mousse into your serving glasses or ramekins. Tap the bottom of each glass gently on the counter to remove any air bubbles. Cover with plastic wrap or lids. Place in the refrigerator for at least 2 hours, but ideally 4 hours or overnight. This allows the mousse to set and the flavors to meld.
Step 5: Top and Serve
Just before serving, whip a small amount of extra cream (if desired) or simply garnish with chocolate shavings, fresh berries, or a dusting of cocoa powder. Serve chilled. The contrast between the cold, airy mousse and the garnish is what makes it special.
Expert Tips & Tricks
Here’s everything I’ve learned from making this dozens of times. These tips will save you from my mistakes.
Temperature Control is Key
The chocolate mixture must be cool, not warm, before you fold in the cream. If it’s too warm, it will melt the air out of the whipped cream, resulting in a dense, soupy mess. I usually let the chocolate sit on the counter for 10-15 minutes while I whip the cream. If you’re in a hurry, you can put the chocolate bowl in the fridge for 5 minutes, but watch it closely so it doesn’t start to set.
Cold Cream, Cold Bowl
For the best whipping results, chill your mixing bowl and beaters in the freezer for 15 minutes before starting. Cold cream whips faster and holds more volume. If your kitchen is hot, this step is non-negotiable.
Don’t Skimp on the Espresso
I know some people are afraid of coffee in chocolate. But a little bit of espresso powder is the secret to deep chocolate flavor. It doesn’t make it taste like a latte. It just makes the chocolate taste more intense. If you’re sensitive to caffeine, you can reduce the amount, but don’t eliminate it entirely.
Fold, Don’t Stir
When combining the cream and chocolate, use a folding motion. Stirring in circles will knock the air out of your mousse. You want to keep as much air as possible. The goal is a light, fluffy texture, not a dense pudding.
Chill Your Glasses
If you want an extra-special touch, put your serving glasses in the freezer for 10 minutes before filling them. The cold glass helps keep the mousse firm and enhances the eating experience.
Variations & Substitutions
Once you’ve nailed the basic version, here’s how you can mix it up. I’ve tried all of these.
Egg-Yolk Mousse (Richer Version)
For a denser, more custard-like mousse, whisk 3 large egg yolks with 2 tablespoons of sugar until pale. Add this to the melted chocolate before folding in the whipped cream. This version is richer and sets firmer. Note: If you’re concerned about raw eggs, use pasteurized eggs or cook the yolks with sugar over a double boiler first.
White Chocolate Mousse
Swap the semi-sweet chocolate for high-quality white chocolate. The flavor will be sweeter and creamier. You might want to reduce the sugar in the whipped cream since white chocolate is very sweet.
Mint Chocolate Mousse
Add 1 teaspoon of peppermint extract to the chocolate mixture. Top with crushed peppermint candies or a dollop of whipped cream. This is perfect for the holidays.
Coffee-Lovers Version
Increase the espresso powder to 2 teaspoons. Or, replace the heavy cream in the topping with a coffee-infused cream. Brew strong coffee, let it cool, and use it to whip the cream instead of plain cream. This creates a mocha mousse.
Dairy-Free Option
Use dairy-free chocolate and coconut cream (the thick part from a can of full-fat coconut milk, chilled overnight). Whip the coconut cream like regular cream. The flavor will be slightly coconutty, which pairs well with chocolate.
Gluten-Free
This recipe is naturally gluten-free! Just ensure your chocolate and espresso powder are certified gluten-free if you have celiac disease.
Serving & Storage
How to Serve:
I usually serve these straight from the fridge in small glasses. They look stunning with a dusting of cocoa powder or a few fresh raspberries on top. They pair beautifully with a cup of copycat starbucks iced brown sugar oatmilk espresso if you want a full coffee-and-dessert pairing. They’re also great alongside a slice of homemade churro cheesecake bars if you’re making a dessert platter.
Side Dishes:
These mousse cups are rich, so they don’t need much else. But if you want a light side, try a simple green salad or some fresh fruit. They also go well with cookies like bakery style blueberry muffins if you’re doing a brunch or afternoon tea.
Storage Instructions:
Refrigerator: Store covered in the refrigerator for up to 3 days. The texture may firm up slightly, which is normal. Bring to room temperature for 10 minutes before serving for the best texture.
Freezing: Mousse doesn’t freeze well. The texture can become grainy or watery when thawed. It’s best enjoyed fresh.
Make-Ahead: This is the best part. You can make this up to 24 hours in advance. In fact, it tastes better the next day because the flavors have had time to meld. Plan ahead and save yourself stress on party day.
Nutrition Information
I’m not a nutritionist, but here’s the breakdown if you’re tracking. Keep in mind that these are estimates based on standard ingredients.
Per Serving (based on 6 servings):
- Calories: 320
- Protein: 4g
- Carbs: 22g
- Fiber: 2g
- Sugar: 18g
- Fat: 24g
- Saturated Fat: 14g
What’s Good:
- High in antioxidants from the dark chocolate.
- Gluten-free naturally.
- Provides a quick energy boost from the sugar and caffeine.
What to Know:
- High in saturated fat due to the cream and chocolate.
- High in sugar, so portion control is key.
- Contains dairy.
My Take:
Look, this is a dessert. It’s meant to be indulgent. It’s not a health food. But it’s made with real ingredients, no artificial additives, and it’s far better for you than a processed candy bar. When I eat this, I savor it. I don’t eat three cups. I enjoy one beautiful cup and feel satisfied. That’s the key to enjoying rich desserts without guilt.
Final Thoughts
So that’s my go-to silky chocolate mousse cups with espresso whipped cream! I’ve probably talked your ear off at this point, but when you make a recipe this often, you have a lot to say about it. This has saved me more times than I can count when I needed a dessert that felt special but didn’t require hours of work. It’s my answer to “what’s for dessert” when I’m tired, don’t want takeout, and still want something that tastes really good.
This recipe has become a staple in my home. My kids love it, my friends ask for it, and I love making it because it’s so forgiving. It’s hard to mess up if you follow the steps. And when it turns out right, it’s pure magic. The contrast between the dark, bitter chocolate and the sweet, airy cream is just perfect.
Make it yours! Try different garnishes, swap in your favorite chocolate, or adjust the espresso strength to your liking. The best recipes are the ones you adapt to your family’s tastes. If you make this, drop a comment and let me know what you think! I love hearing how recipes turn out in your kitchen. And if something doesn’t work, tell me that too—I’m here to help troubleshoot.
Happy cooking! And I hope your kitchen smells half as good as mine does right now.
Frequently Asked Questions
Can I use milk instead of heavy cream?
You can, but the texture will be very different. Milk doesn’t have enough fat to whip into stiff peaks, so you won’t get the airy mousse texture. You’d end up with a chocolate pudding. If you want a lighter version, try using half-and-half, but it still won’t whip as well as heavy cream. For the authentic mousse experience, heavy cream is non-negotiable.
Why did my mousse turn out watery?
This usually happens if the chocolate was too warm when you folded in the cream, or if the cream wasn’t whipped stiff enough. Make sure your chocolate is cool to the touch, and whip the cream until it holds stiff peaks. Also, don’t overmix when folding. If it’s already watery, you can try whipping a little more cream and folding it in, but it might not save it completely.
Can I make this ahead for a dinner party?
Absolutely! This is one of the best make-ahead desserts. You can make it up to 24 hours in advance. In fact, it tastes better the next day because the flavors meld together. Just keep it covered in the fridge until you’re ready to serve. It’s perfect for reducing stress on party day.
Can I use instant coffee instead of espresso powder?
Yes, you can. Instant coffee works fine, but espresso powder has a more concentrated flavor and dissolves more easily. If you use instant coffee, use about twice the amount. Just make sure it’s completely dissolved in the chocolate before you proceed.
How do I store leftovers?
Store leftovers in an airtight container in the refrigerator for up to 3 days. The mousse will firm up in the fridge, which is normal. Let it sit at room temperature for 10-15 minutes before serving to soften slightly. Do not freeze it, as the texture will suffer.
Can I make this dairy-free?
Yes! Use dairy-free chocolate and full-fat coconut cream (the thick part from a chilled can of coconut milk). Whip the coconut cream like regular cream. The flavor will be slightly coconutty, which pairs well with chocolate. You can also add a little vanilla extract to mask the coconut flavor if you prefer.
Can I double this recipe?
Yes, you can easily double or triple the recipe. Just use a larger bowl for whipping the cream and a larger bowl for the chocolate. The folding technique remains the same. This is great if you’re feeding a crowd.
Pin This Recipe!
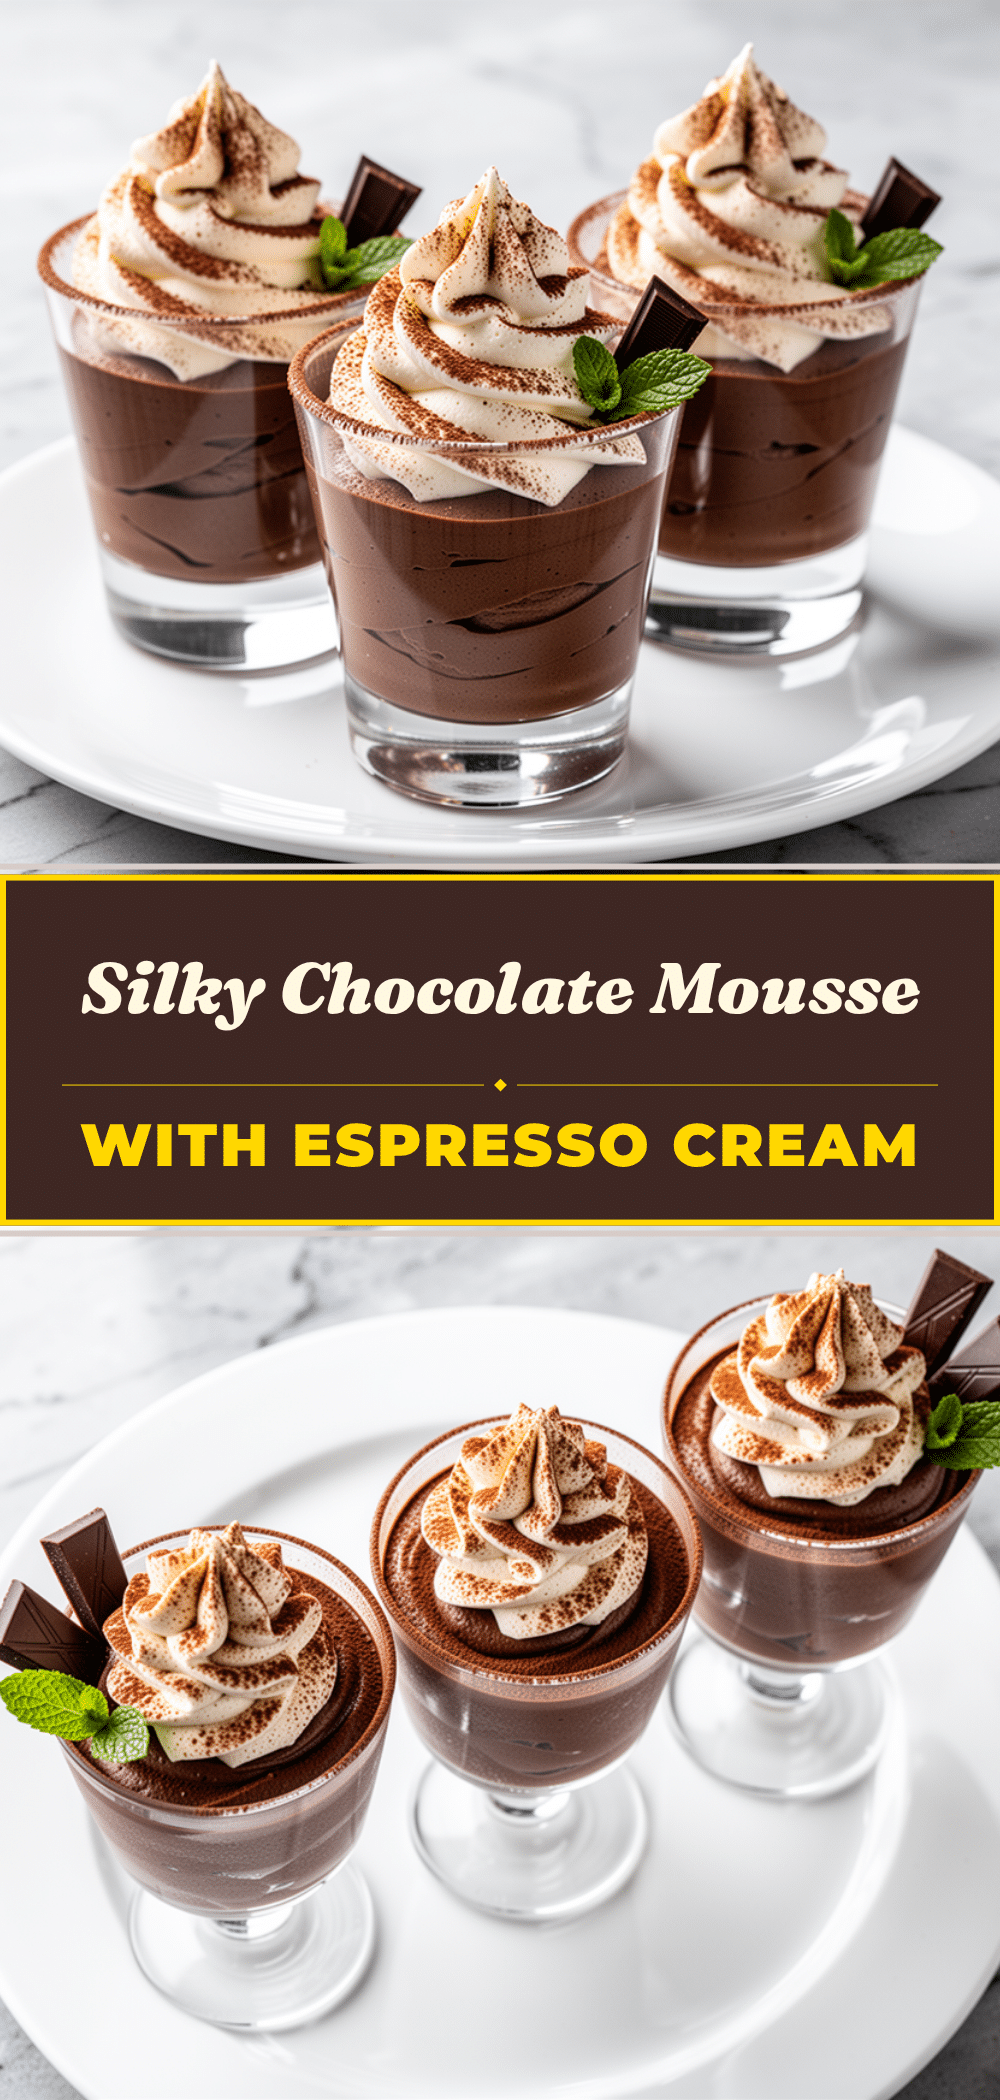
Silky Chocolate Mousse Cups: Easy No-Bake Dessert
- Total Time: 2 hours 15 minutes
- Yield: 4-6 servings 1x
Description
A foolproof, no-bake chocolate mousse made with semi-sweet chocolate, heavy cream, and a hint of espresso powder for enhanced flavor. This airy, elegant dessert is ready in minutes and can be made ahead for any occasion.
Ingredients
- 8 ounces (225g) high-quality semi-sweet chocolate bar, broken into chunks
- 2 tablespoons (28g) unsalted butter, room temperature
- 2 cups (480ml) heavy whipping cream, cold
- 1–2 teaspoons espresso powder
- 2–3 tablespoons granulated sugar
- 1 teaspoon pure vanilla extract
- 1 pinch salt
- Optional garnishes: chocolate shavings, fresh raspberries, crushed pistachios, or caramel drizzle
Instructions
- Melt the chocolate in a heatproof bowl set over a pot of barely simmering water, ensuring the bowl does not touch the water. Stir until smooth (3-5 minutes).
- Remove from heat and stir in the butter, espresso powder, and vanilla extract until fully combined. Let the mixture cool to room temperature.
- In a separate large, clean, cold mixing bowl, whip the cold heavy cream on medium speed. Add sugar and salt, and whip until stiff peaks form.
- Add one-third of the whipped cream to the cooled chocolate mixture and whisk vigorously to lighten the chocolate.
- Gently fold the remaining whipped cream into the chocolate mixture using a spatula. Cut down through the center, scoop from the bottom, and turn over until just combined and no white streaks remain.
- Divide the mousse into serving glasses or ramekins. Tap gently to remove air bubbles.
- Cover and refrigerate for at least 2 hours, ideally 4 hours or overnight, to set.
- Garnish with chocolate shavings, berries, or cocoa powder just before serving.
Notes
Ensure the chocolate mixture is completely cool before folding in the whipped cream to prevent melting the air out of the cream. For best whipping results, chill your mixing bowl and beaters in the freezer for 15 minutes beforehand. This dessert is naturally gluten-free but ensure your chocolate and espresso powder are certified gluten-free if necessary. It does not freeze well; store in the refrigerator for up to 3 days.
- Prep Time: 15 minutes
- Cook Time: 0 minutes
- Category: Dessert
- Cuisine: French
Nutrition
- Serving Size: 1 cup
- Calories: 320
- Sugar: 18
- Sodium: 15
- Fat: 24
- Saturated Fat: 14
- Carbohydrates: 22
- Fiber: 2
- Protein: 4
Keywords: chocolate mousse, no-bake dessert, espresso chocolate, silky mousse, make-ahead dessert, gluten-free dessert, easy dessert


