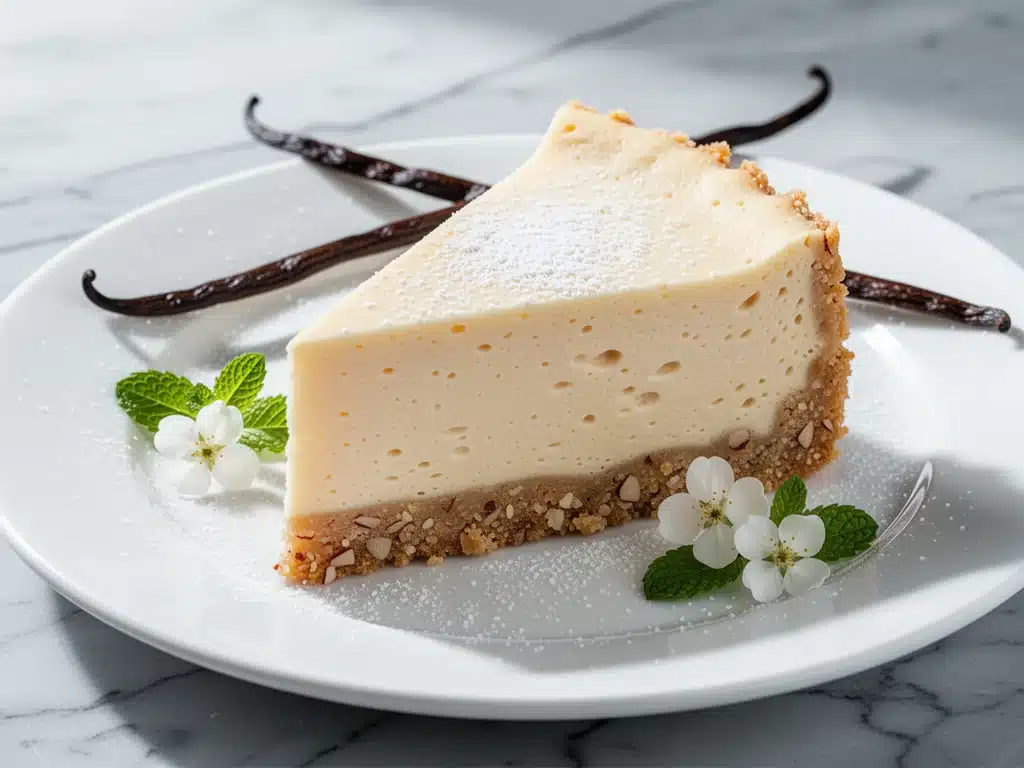
I have a confession to make. For years, I treated “sugar-free” desserts like a punishment. You know the kind. Dense, chalky, and tasting faintly of chemical sweeteners and disappointment. I’d cut a slice, take one bite, and immediately feel like I was denying myself the one joy in life that actually mattered. I’d end up eating the “real” cake my husband ordered for his birthday while he wasn’t looking, hiding in the pantry like a dessert thief.
That changed last month when I decided I was done with the fake stuff. I wanted something creamy, rich, and genuinely delicious—something I could serve at a dinner party without feeling guilty or having to explain why it was “diet food.” I wanted the texture of a classic New York cheesecake but with ingredients my body actually liked. So, I spent three weekends testing, tweaking, and failing. I tried stevia (too bitter). I tried erythritol (too crunchy). I tried almond flour crusts that turned into sand.
But then, I hit on the right combination. This Sugar-Free Vanilla Cheesecake with Almond Flour Crust is the real deal. It’s got that dense, luxurious mouthfeel you crave. It’s got a crust that’s buttery and nutty, not crumbly and dry. And the best part? It only uses five ingredients. Five. That’s it.
I made this for a small gathering last week. My friends are not “keto” or “low-carb” or anything like that. They’re just people who love good food. When they took a bite, I held my breath. My friend Sarah asked, “Is this the sugar-free one?” I nodded. She took another bite. “Well, it’s really good. I don’t even care if it’s sugar-free.” That was the moment I knew I’d nailed it. This is the kind of dessert you’ll make on repeat, whether you’re watching your sugar intake or just want a fancy treat that doesn’t require a degree in baking science.
Why You’ll Love This 5-Ingredient Vanilla Cheesecake
There are about a dozen reasons I keep coming back to this recipe, but let’s be honest—you don’t need a reason to love cheesecake. You just need to know that this version doesn’t compromise. Here’s why this sugar-free vanilla cheesecake has replaced every other dessert in my rotation:
- Actually Creamy, Not Chalky — The secret is in the ratio of cream cheese to sweetener. I’ve tested this with so many low-carb sweeteners, and this specific blend creates a smooth, velvety texture that melts in your mouth. No grit. No aftertaste. Just pure vanilla cheesecake goodness.
- Five Ingredients. Seriously. — You don’t need a pantry full of obscure gums and stabilizers. You need cream cheese, eggs, sweetener, vanilla, and almond flour for the crust. If you can find those, you can make this. It’s stupid simple.
- Almond Flour Crust That Stays Put — Most low-carb crusts fall apart or get soggy. This one uses butter and almond flour, pressed firmly into the pan. It stays crisp on the bottom and provides that perfect nutty contrast to the soft filling. It’s the kind of crust that makes you feel like a pro baker.
- Perfect for Meal Prep — This cheesecake gets better the next day. And the day after that. I make this on Sunday, and I have perfect dessert portions ready to grab for the rest of the week. It stores beautifully in the fridge, making it the ultimate lazy-girl dessert hack.
- Gluten-Free by Default — Because it uses almond flour instead of graham crackers or regular flour, this is naturally gluten-free. I’ve made this for my celiac sister, and she says it’s indistinguishable from the “real” thing. No one is left out of the fun.
Real talk: This is my go-to when I need to impress guests or satisfy a sweet tooth without the sugar crash. It’s elegant enough for a holiday table but simple enough for a Tuesday night craving. Once you try it, you’ll wonder why you ever bothered with complicated recipes.
Ingredients You’ll Need
Here’s the best part: you probably have most of these already. This isn’t a recipe that requires a special trip to three different specialty stores. It’s pantry-friendly, low-carb friendly, and incredibly straightforward.
For the Almond Flour Crust
Almond Flour (1 cup / 100g) — This is the foundation. Use super-fine blanched almond flour. Coarse almond meal will make the crust gritty. I buy mine in bulk because I use it for everything, but if you’re just making this, a small bag works fine. Make sure it’s not oily or rancid.
Unsalted Butter (3 tablespoons / 42g) — Melted. This binds the almond flour together. Use good quality butter here—it adds flavor. If you’re dairy-free, you can try coconut oil, but the flavor will be different. I stick with butter for that classic cheesecake taste.
Granulated Erythritol or Monk Fruit Blend (2 tablespoons / 20g) — You need a bit of sweetness in the crust to balance the savory almond. I prefer a monk fruit/erythritol blend because it measures like sugar and doesn’t have the cooling aftertaste that pure erythritol sometimes has. Any granulated zero-calorie sweetener works.
Pinch of Salt — Just a tiny pinch to enhance the nutty flavor of the almonds.
For the Vanilla Cheesecake Filling
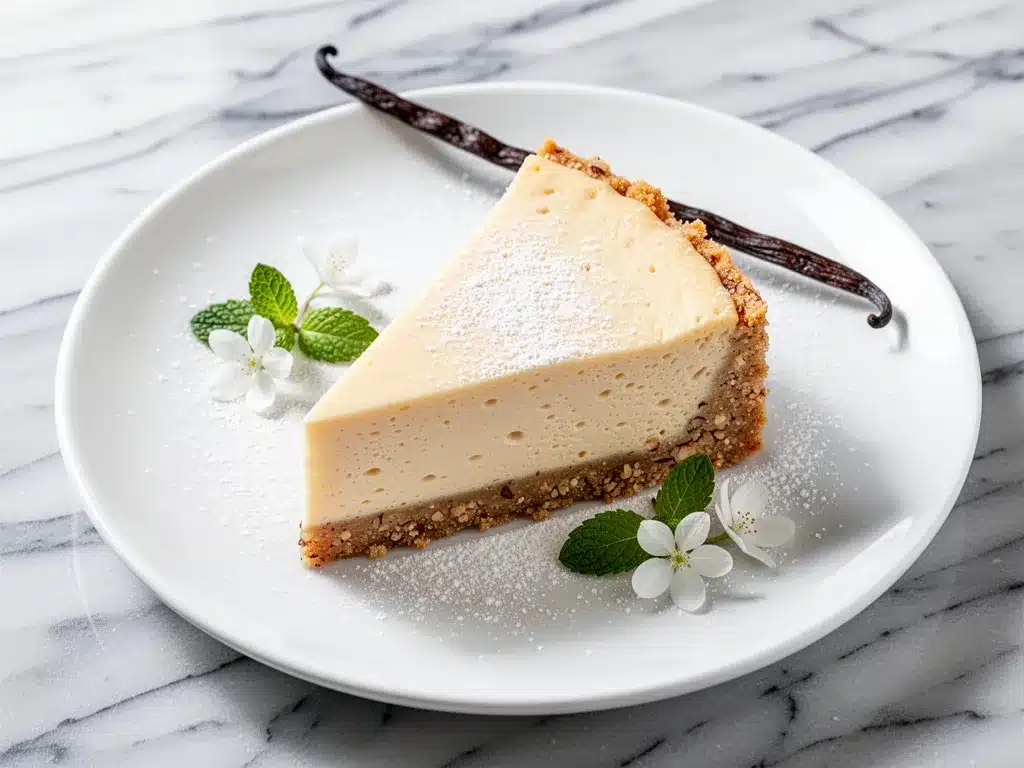
Full-Fat Cream Cheese (16 oz / 450g) — This is non-negotiable. Use block cream cheese, not the spread in the tub. Let it sit out for 30 minutes before you start. If it’s cold, you’ll get lumps. I’ve ruined batches because I was too impatient. Plan ahead.
Granulated Sweetener (½ cup / 100g) — Same type as the crust. I use about half a cup of monk fruit blend. If you’re using pure erythritol, you might want to add a teaspoon of allulose to help with the texture, but it’s not strictly necessary. Taste your sweetener first—some are sweeter than others.
Eggs (3 large) — Room temperature. Cold eggs can cause the cheesecake to crack or bake unevenly. Just throw them in a bowl of warm water for 10 minutes if you forget.
Vanilla Extract (2 teaspoons) — Use real vanilla extract, not imitation. The vanilla flavor is the star of this show, so don’t cheap out. I love using a high-quality bourbon vanilla extract for a deeper flavor.
Heavy Cream (2 tablespoons / 30ml) — This adds richness and helps create that silky, smooth texture. It also prevents the cheesecake from becoming too dense. Don’t skip it.
Equipment Needed
You don’t need fancy equipment for this. Here’s what I actually use:
9-Inch Springform Pan — Essential for cheesecakes. It allows you to release the sides without damaging the cake. Make sure it’s high-quality so it doesn’t leak. I line the bottom with parchment paper for easy removal.
Stand Mixer or Hand Mixer — You need to beat the cream cheese until it’s completely smooth. A stand mixer with the paddle attachment is best, but a hand mixer works fine too. You’ll be mixing for a few minutes, so an electric mixer saves your arm.
Large Mixing Bowl — Big enough to hold all the ingredients without splattering.
Fork or Pastry Cutter — For mixing the crust. A fork works perfectly fine.
Whisk — For gently incorporating the eggs and vanilla. You don’t want to beat too much air into the filling, or it might crack in the oven.
Aluminum Foil — To wrap the bottom of the springform pan if you’re using a water bath (optional, but recommended for extra creaminess).
How to Make It: Step-by-Step
Alright, let’s make this! I’m walking you through exactly how I do it, including the little tricks I’ve picked up to ensure a crack-free, creamy result.
Step 1: Prep Your Pan and Oven (5 minutes)
Preheat your oven to 325°F (160°C). Grease the bottom and sides of your 9-inch springform pan. For extra insurance against leaks, wrap the outside bottom of the pan with a double layer of heavy-duty aluminum foil. This is crucial if you’re using a water bath, which I recommend for this sugar-free vanilla cheesecake.
Step 2: Make the Almond Flour Crust (5 minutes)
In a medium bowl, mix the almond flour, melted butter, sweetener, and salt. It should look like wet sand. Press this mixture firmly into the bottom of the springform pan. Use the bottom of a measuring cup to pack it down tight. You want an even layer. Bake this crust for 8-10 minutes until it’s lightly golden and smells nutty. Remove from the oven and let it cool while you make the filling. You can leave the oven on.
Step 3: Beat the Cream Cheese (3-4 minutes)
In your large mixing bowl, beat the room-temperature cream cheese on medium-high speed until it is completely smooth and creamy. This is the most important step. Scrape down the sides and bottom of the bowl. If there are any lumps, your cheesecake will be grainy. I usually beat it for about 3 minutes. It should look like frosting.
Step 4: Add Sweetener and Vanilla (1 minute)
Reduce the mixer speed to low. Add the sweetener and vanilla extract. Mix until just combined. Don’t overmix here. You just want it incorporated. Scrape the bowl again.
Step 5: Incorporate the Eggs and Cream (2 minutes)
Add the eggs one at a time, mixing on low speed just until blended. Add each egg, wait for it to disappear, then add the next. Overmixing eggs adds air, which leads to cracks. Finally, stir in the heavy cream by hand with a spatula. It’s gentle and ensures everything is smooth.
Step 6: Pour and Bake (50-60 minutes)
Pour the filling over the cooled crust. Smooth the top with a spatula. Place the springform pan in a large roasting pan. Pour hot water into the roasting pan until it reaches halfway up the sides of the springform pan. This water bath creates steam, which keeps the cheesecake moist and prevents cracking.
Bake at 325°F for 50-60 minutes. The edges should be set, but the center should still jiggle slightly like Jell-O when you shake the pan. It will firm up as it cools. Do not overbake, or it will become dry.
Step 7: Cool and Chill (4 hours minimum)
Turn off the oven and crack the door open. Let the cheesecake sit in the oven for 1 hour. This gradual cooling prevents cracking. Then, remove it from the water bath and let it cool completely on a wire rack. Once cool, cover it tightly with plastic wrap and refrigerate for at least 4 hours, preferably overnight. This chilling time is what sets the texture and allows the flavors to meld.
Expert Tips & Tricks
Here’s everything I’ve learned from making this dozens of times. These tips will save you from my mistakes.
Room Temperature is Key
I can’t stress this enough. Cold cream cheese and cold eggs will result in a lumpy, uneven batter. Take your cream cheese out of the fridge 30-60 minutes before you start. If you’re short on time, cut it into cubes and microwave in 10-second bursts until slightly soft.
Don’t Overmix
Once you add the eggs, mix on low speed and only until combined. Air bubbles are the enemy of a smooth cheesecake. They expand in the oven and then collapse, causing cracks. If you want extra insurance, you can strain the batter through a fine-mesh sieve before pouring it into the pan.
The Water Bath Matters
I know it seems like extra work, but the water bath makes a huge difference. It creates a humid environment that bakes the cheesecake gently. If you’re worried about leaks, make sure your foil wrap is tight. Alternatively, you can bake it without a water bath, but keep a close eye on it and remove it as soon as the center is set.
Use a Quality Sweetener
Not all sugar-free sweeteners are created equal. Some have a strong aftertaste or don’t dissolve well. I prefer a monk fruit blend because it dissolves easily and has a clean taste. If you use pure erythritol, you might notice a slight cooling sensation. Allulose is another great option because it caramelizes and doesn’t crystallize.
Patience Pays Off
I know you want to eat it immediately. But the cheesecake needs to chill for at least 4 hours to set properly. Overnight is best. The texture improves dramatically after a full night in the fridge. Trust the process.
Variations & Substitutions
Once you’ve nailed the basic version, here’s how you can mix it up. I’ve tried all of these, and they work great.
Berry Swirl
After pouring the batter, drop spoonfuls of sugar-free raspberry or strawberry jam on top. Use a knife to swirl it in. It adds a beautiful marbled effect and a burst of fruity flavor. Just make sure the jam is sugar-free.
Chocolate Chip
Stir in ¼ cup of sugar-free chocolate chips into the batter before pouring. It’s like a dessert within a dessert. My kids love this version.
Lemon Vanilla
Add the zest of one lemon to the batter along with the vanilla. It brightens up the flavor and makes it perfect for spring. It pairs beautifully with the almond crust.
Dairy-Free Option
You can use dairy-free cream cheese blocks (like Kite Hill) and coconut oil instead of butter. The texture might be slightly softer, but it’s still delicious. Just make sure the cream cheese is vegan and block-style, not the tub kind.
Nut-Free Crust
If you’re allergic to nuts, you can use crushed gluten-free graham crackers or almond flour substitute like sunflower seed meal. The flavor will be different, but the texture will still work.
Serving & Storage
How to Serve:
I usually serve this straight from the fridge. It’s best when it’s cold and firm. I slice it with a sharp knife dipped in hot water for clean cuts. It pairs beautifully with a cup of homemade vanilla sweet cream cold foam iced coffee for a complete treat. You can also top it with fresh berries or a dollop of whipped cream.
Storage:
Store leftovers in an airtight container in the refrigerator for up to 5 days. It actually gets better after a couple of days as the flavors meld. Do not freeze it, as the texture can become grainy when thawed. If you must freeze, wrap it tightly in plastic and foil, but consume within 2 months.
Nutrition Information
I’m not a nutritionist, but here’s the breakdown if you’re tracking. This is per slice (1/8th of the cake).
| Nutrient | Amount |
|---|---|
| Calories | 280 |
| Total Fat | 24g |
| Carbohydrates | 4g |
| Fiber | 2g |
| Sugar | 1g |
| Sugar Alcohols | 2g |
| Net Carbs | 2g |
| Protein | 7g |
This is a high-fat, low-carb dessert. It’s filling, so a small slice is satisfying. If you’re watching calories, keep an eye on the portion size. The almond flour and cream cheese are calorie-dense, but the macros are much better than traditional cheesecake.
Final Thoughts
So that’s my sugar-free vanilla cheesecake with almond flour crust. I’ve probably talked your ear off at this point, but when you make a recipe this often, you have a lot to say about it. This has saved my dessert routine. It’s my answer to “what’s for dessert” when I want something special but don’t want to derail my health goals. My family is happy, my friends are impressed, and I’m happy because I know exactly what’s in it.
Make it yours! Try different extracts, add berries, or swap the sweetener. The best recipes are the ones you adapt to your tastes. If you make this, drop a comment and let me know what you think! I love hearing how recipes turn out in your kitchen. And if something doesn’t work, tell me that too—I’m here to help troubleshoot.
Happy baking! And I hope your kitchen smells as good as mine does right now.
Frequently Asked Questions
Can I use a different sweetener?
Yes, but the taste and texture might vary. I recommend a monk fruit blend or a mix of erythritol and allulose. Pure stevia can be very potent and bitter, so use it sparingly. Avoid liquid stevia as it changes the liquid ratio. Always taste your sweetener first to gauge its sweetness level.
Why did my cheesecake crack?
Cracking is usually caused by overmixing (too much air), overbaking (too much heat), or rapid cooling. Make sure you mix on low speed after adding eggs, use a water bath, and let the cheesecake cool gradually in the turned-off oven. If it cracks slightly, it’s still delicious. You can cover it with whipped cream or fruit to hide it.
Can I make this ahead of time?
Absolutely. This cheesecake is even better the next day. You can make it up to 3 days in advance. Just keep it covered in the fridge. If you need to store it longer, you can freeze it, but the texture may change slightly upon thawing.
Is this recipe keto-friendly?
Yes, this recipe is naturally keto-friendly. It’s low in carbs, high in healthy fats, and moderate in protein. Just make sure your sweetener is keto-approved (like monk fruit or erythritol) and that your almond flour is pure almond flour without added sugars.
Can I use a regular pan instead of a springform pan?
You can, but it will be harder to remove. If you use a regular 9-inch round pan, line it with parchment paper that extends over the edges. This will allow you to lift the cheesecake out. However, a springform pan is much easier for clean removal and presentation.
How do I know when the cheesecake is done?
The edges should be set and slightly puffed, but the center should still jiggle slightly when you gently shake the pan. It will firm up as it cools. If the center is completely firm while it’s in the oven, it’s likely overbaked. Aim for that slight jiggle.
Pin This Recipe!
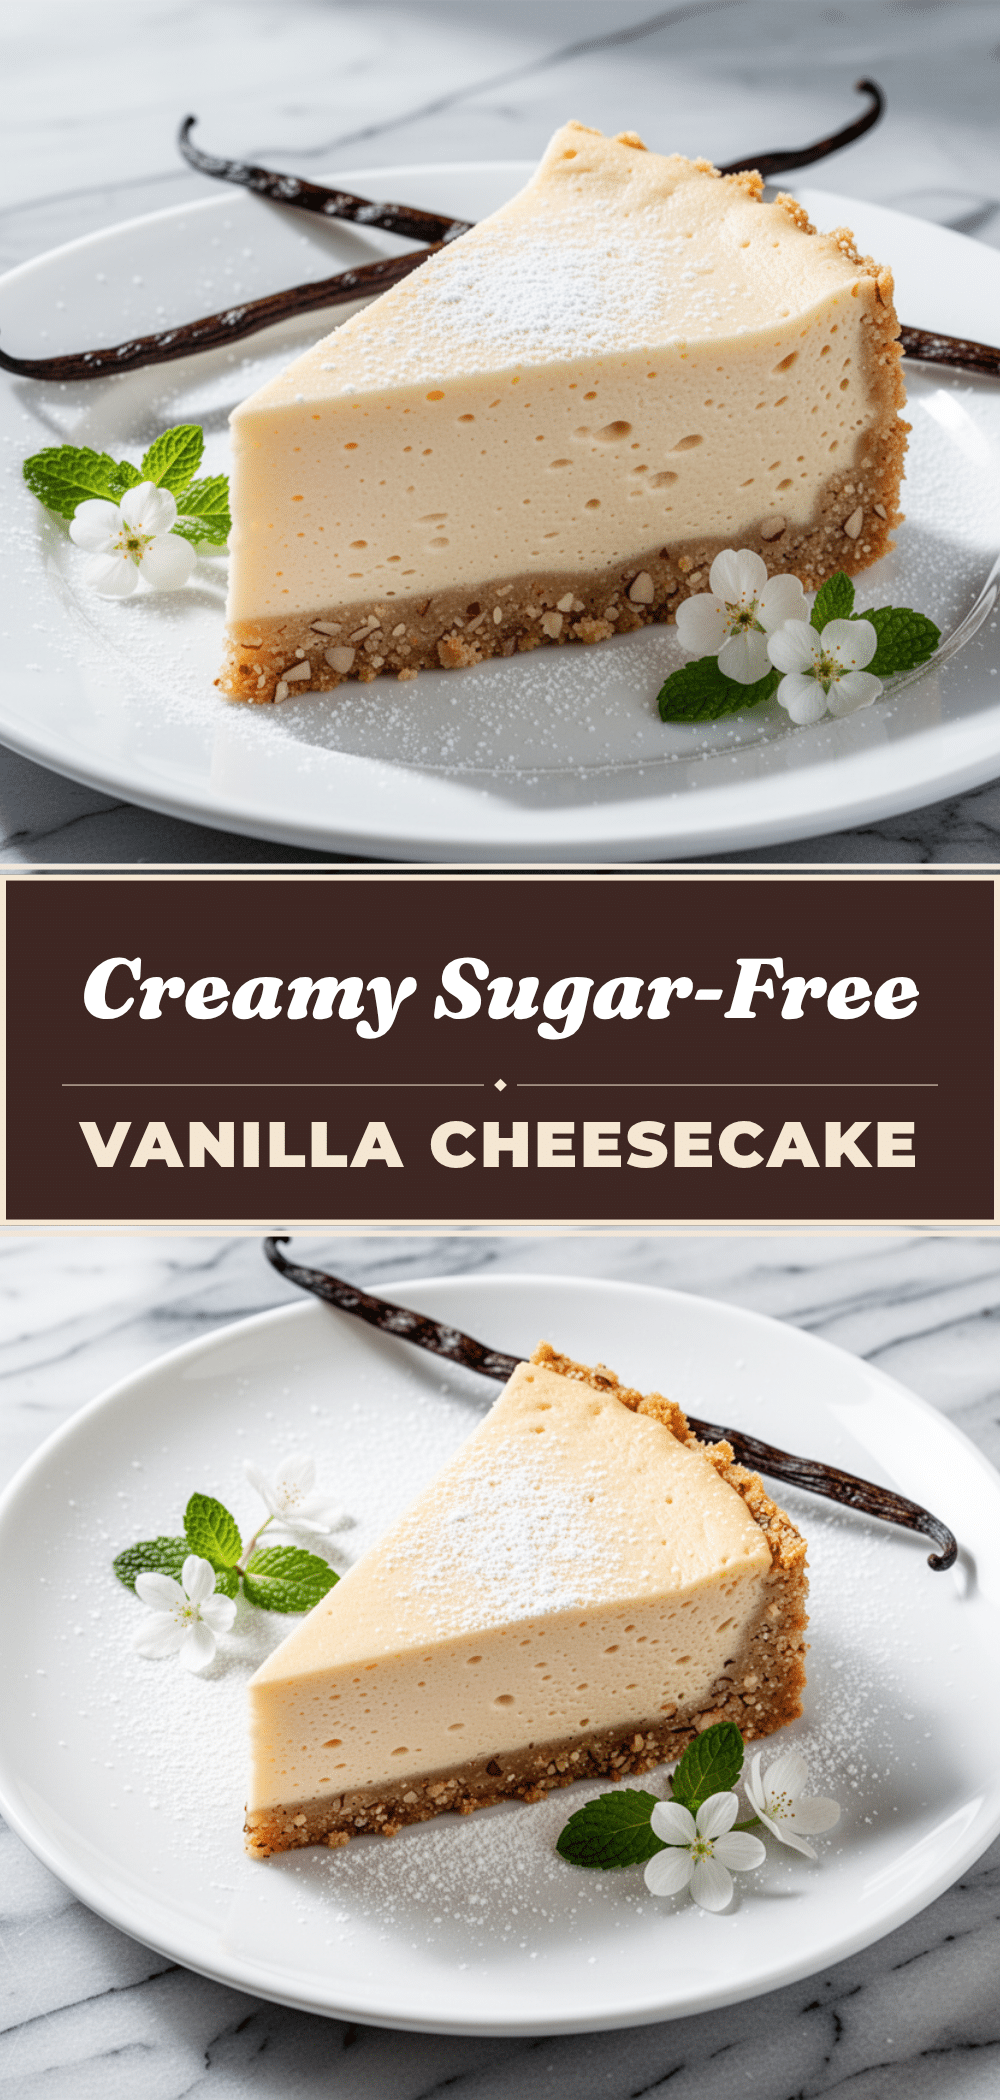
Sugar-Free Vanilla Cheesecake: 5-Ingredient Low-Carb Dessert
- Total Time: 4 hours 90 minutes
- Yield: 8 servings 1x
Description
A creamy, rich, and genuinely delicious sugar-free vanilla cheesecake with an almond flour crust. This low-carb, gluten-free dessert uses only five simple ingredients and delivers a dense, luxurious texture without the sugar crash.
Ingredients
- 1 cup (100g) super-fine blanched almond flour
- 3 tablespoons (42g) unsalted butter, melted
- 2 tablespoons (20g) granulated erythritol or monk fruit blend
- Pinch of salt
- 16 oz (450g) full-fat block cream cheese, room temperature
- 1/2 cup (100g) granulated sweetener (monk fruit blend or erythritol)
- 3 large eggs, room temperature
- 2 teaspoons vanilla extract
- 2 tablespoons (30ml) heavy cream
Instructions
- Preheat oven to 325°F (160°C). Grease a 9-inch springform pan and wrap the outside bottom with double-layered aluminum foil.
- In a medium bowl, mix almond flour, melted butter, sweetener, and salt until it resembles wet sand. Press firmly into the bottom of the pan. Bake for 8-10 minutes until lightly golden, then remove and let cool.
- In a large mixing bowl, beat the room-temperature cream cheese on medium-high speed until completely smooth and creamy (about 3 minutes). Scrape down the sides and bottom.
- Reduce mixer speed to low. Add the sweetener and vanilla extract, mixing just until combined. Scrape the bowl again.
- Add eggs one at a time, mixing on low speed just until blended after each addition. Do not overmix. Stir in heavy cream by hand with a spatula.
- Pour filling over the cooled crust and smooth the top. Place the springform pan in a large roasting pan and pour hot water into the roasting pan until it reaches halfway up the sides of the springform pan (water bath).
- Bake at 325°F for 50-60 minutes. The edges should be set, but the center should jiggle slightly like Jell-O when shaken.
- Turn off the oven and crack the door open. Let the cheesecake sit in the oven for 1 hour to cool gradually.
- Remove from the water bath and let cool completely on a wire rack. Cover tightly with plastic wrap and refrigerate for at least 4 hours, preferably overnight, before serving.
Notes
Ensure all ingredients, especially cream cheese and eggs, are at room temperature to prevent lumps and cracking. Do not overmix the batter after adding eggs to avoid incorporating air, which causes cracks. A water bath is recommended for a creamy texture and to prevent cracking. The cheesecake improves in flavor and texture after chilling overnight.
- Prep Time: 20 minutes
- Cook Time: 70 minutes
- Category: Dessert
- Cuisine: American
Nutrition
- Serving Size: 1 slice (1/8th of th
- Calories: 280
- Sugar: 1
- Sodium: 150
- Fat: 24
- Saturated Fat: 12
- Carbohydrates: 4
- Fiber: 2
- Protein: 7
Keywords: sugar-free cheesecake, low-carb dessert, keto cheesecake, almond flour crust, gluten-free dessert, vanilla cheesecake, 5-ingredient recipe


