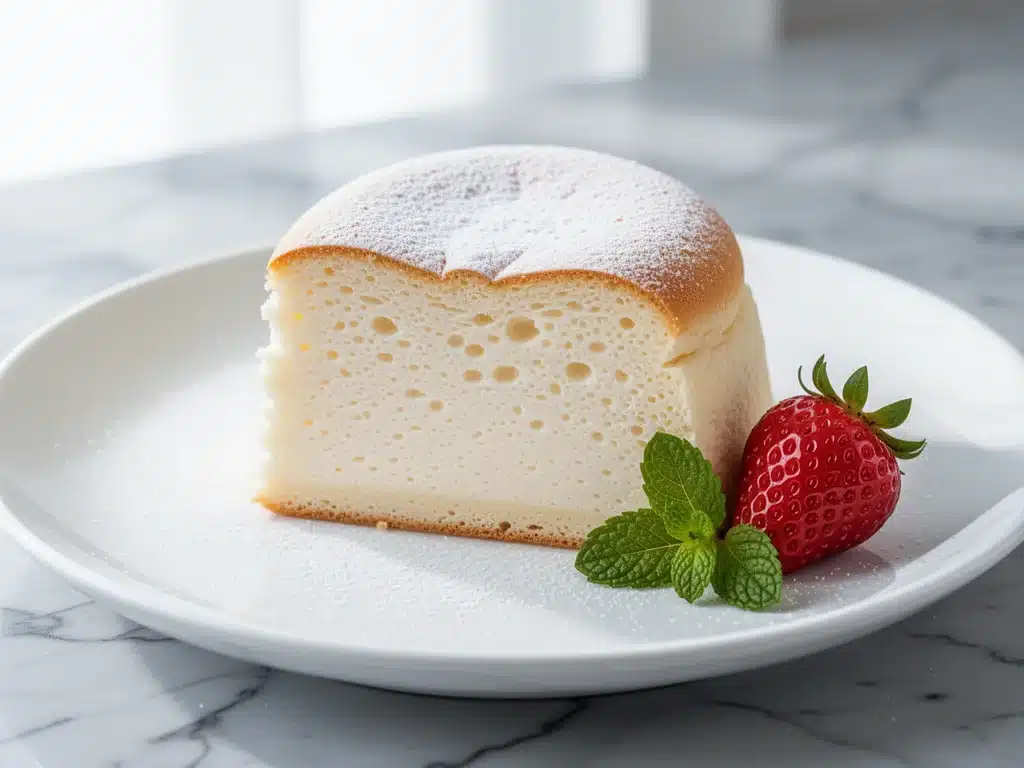
I still remember the exact moment I fell in love with Japanese cotton cheesecake. It wasn’t in a fancy Parisian patisserie or a high-end Tokyo bakery. It was 2 AM on a Tuesday, and I was standing over my kitchen sink, staring at a baking pan that looked like it had lost a fight with a volcano.
My first attempt at this fluffy Japanese cotton cheesecake was a disaster. I’d followed a recipe that promised “light as air” texture, but what I got was a dense, rubbery disc that sounded like a wet sponge when I pressed it. I was ready to give up. I was ready to accept that baking was just harder than it looked and stick to store-bought cookies. Then I remembered seeing a video of a baker gently swirling a water bath in a roasting pan. Something clicked.
I tried again. And again. And for the next six months, my kitchen smelled like vanilla and baked meringue almost every weekend. I learned that this isn’t just a cheesecake. It’s a science experiment disguised as a dessert. It’s a soufflé and a cheesecake having a baby, and that baby is the most delicate, jiggly, cloud-like treat you will ever eat.
This isn’t about fancy equipment or expensive ingredients. You don’t need a stand mixer (though it helps), and you definitely don’t need to be a professional pastry chef. What you need is patience, a willingness to be gentle, and the right technique. Once you get the hang of the water bath and the stiff peaks, you’ll never look at a dense American-style cheesecake the same way again. This fluffy Japanese cotton cheesecake has become my ultimate stress-reliever. There is something deeply satisfying about watching that batter rise in the oven, turning from a pale yellow puddle into a towering, golden cloud.
If you’ve ever wanted to make a dessert that makes people stop mid-bite and say, “Wait, what is this?”, this is it. It’s the kind of recipe that turns a regular Tuesday into a celebration. Let me walk you through exactly how to get that perfect, jiggly texture without the heartbreak of my first few attempts.
Why You’ll Love This Recipe
Okay, real talk: why spend two hours making a cheesecake when you can buy one in 10 minutes? Because this fluffy Japanese cotton cheesecake is in a completely different universe than anything you’ll find at the grocery store. Here’s why it’s worth the effort:
- Texture Like No Other — It’s not creamy in the traditional sense. It’s airy, moist, and melts on your tongue. Think of the difference between a heavy cloud and a cotton ball. That’s the texture you’re chasing. I’ve made regular cheesecake for years, but this stuff? It’s addictive.
- It’s Not Too Sweet — One of the biggest complaints about American cheesecakes is that they’re cloyingly sweet. This version is delicately sweetened, letting the tang of the cream cheese and the vanilla shine through. It’s sophisticated without being pretentious.
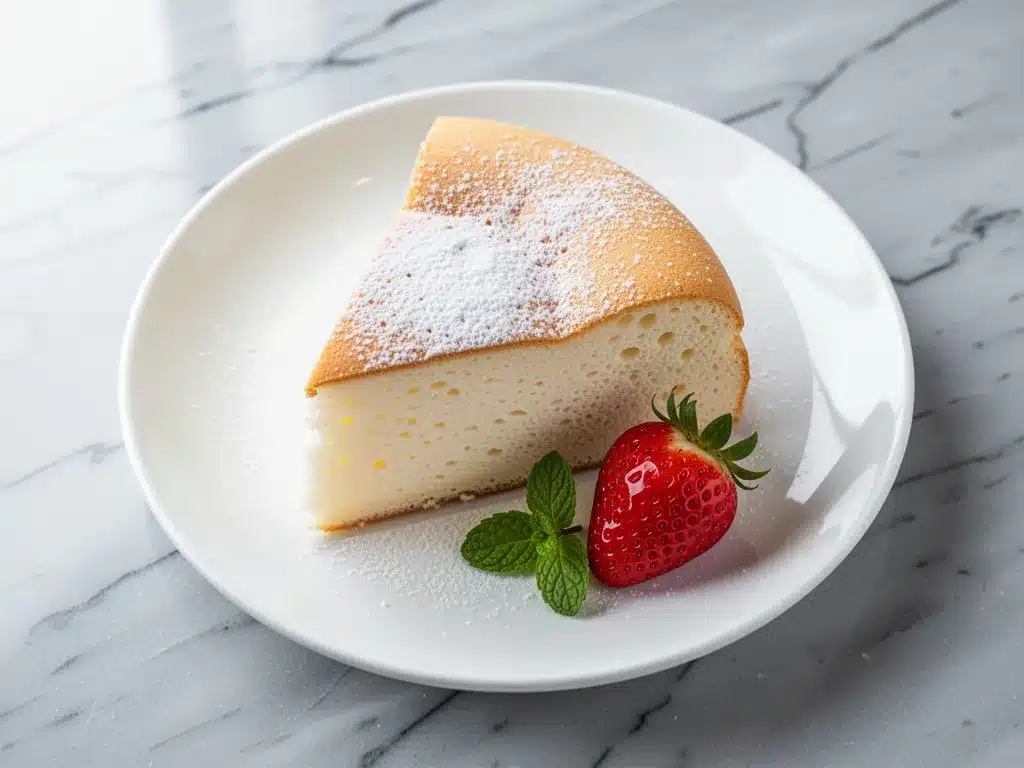
- Impressive Factor — You walk into a room with this cake, and people assume you bought it from a high-end bakery. The visual of that tall, golden dome with the cracked top is iconic. It’s perfect for birthdays, dinner parties, or just treating yourself on a hard day.
- Surprisingly Simple Ingredients — You don’t need exotic flours or hard-to-find spices. Just cream cheese, eggs, sugar, butter, and a little flour. If you can make scrambled eggs, you can make this. (Okay, maybe slightly more delicate than scrambled eggs, but you get the point.)
- Perfect with Coffee or Tea — This cake is delicate enough to pair beautifully with a strong black coffee or a floral green tea. It’s not a heavy dessert that weighs you down; it’s a light finish to a meal. It pairs wonderfully if you’re serving it alongside something like homemade vanilla sweet cream cold foam for a complete café experience at home.
This recipe has saved me more times than I can count. When I need to impress in-laws, or when I just need a hug in dessert form, this is the one I pull out. It’s reliable, it’s beautiful, and it tastes like heaven.
Ingredients You’ll Need
Here’s the good news: you probably have most of these items already. This isn’t a recipe that requires a special trip to three different specialty stores. I’m particular about a few things, though, so pay attention to the details.
For the Cheesecake Base
Cream Cheese (8 ounces / 225g) — This is the star. Use full-fat, brick-style cream cheese. The tub stuff? Skip it. It has too much water and air, and your cake will collapse. Let it sit on the counter for an hour before you start so it’s soft enough to whip.
Unsalted Butter (2 tablespoons / 30g) — Adds richness and helps bind the structure. I use high-quality butter like Kerrygold or Plugra. If it’s not salted, you can control the salt level better.
Heavy Cream (2 tablespoons / 30ml) — Just a splash. It keeps the cake moist and tender. Don’t skip it, but don’t add more, or you’ll throw off the ratio.
Egg Yolks (2 large / about 35g) — These provide richness and structure. I separate my eggs carefully. If you get even a tiny drop of white in the yolk, it won’t whip properly later. (I’ve ruined batches before, so I’m picky.)
Cornstarch (1 tablespoon / 8g) — This is the secret weapon. Cornstarch stabilizes the delicate meringue and helps the cake hold its shape without being dense. All-purpose flour works too, but cornstarch gives that signature “cotton” softness.
For the Meringue
Egg Whites (2 large / about 60g) — These create the lift. They need to be at room temperature to reach maximum volume. Cold egg whites will never whip up stiff.
Caster Sugar (3 tablespoons / 36g) — Superfine sugar dissolves faster in the whites. If you don’t have caster sugar, you can pulse granulated sugar in a blender for a few seconds. Do not skip the sugar; it stabilizes the meringue.
Vanilla Extract (1/2 teaspoon) — Use real vanilla, not imitation. The flavor needs to be clean and aromatic.
Lemon Juice (1/2 teaspoon) — A tiny bit of acid helps stabilize the egg whites and cuts through the richness of the cheese. It’s subtle but necessary.
For the Water Bath
Boiling Water — Enough to fill your roasting pan about an inch deep. This creates steam, which keeps the cake from drying out and cracking too much.
Aluminum Foil — Heavy-duty foil. You’ll wrap the bottom of your springform pan to keep water out. If you’re using a glass dish, you can skip this, but a springform is easier for removal.
Equipment Needed
You don’t need fancy gadgets, but you do need the right tools to get that professional result.
6-Inch Springform Pan — This is the traditional size for Japanese cotton cheesecake. It’s tall and narrow, which helps the cake rise high. A 7-inch pan works too, but the baking time will be shorter, so watch it closely. Do not use a regular round cake pan; the sides will stick and it won’t rise properly.
Large Roasting Pan — You need something big enough to hold your cheesecake pan and allow water to be poured around it. A standard 9×13 roasting pan is perfect.
Electric Hand Mixer or Stand Mixer — You need to whip the egg whites to stiff peaks. Doing this by hand is possible but exhausting and likely to fail. I use a hand mixer because it’s faster to clean.
Fine-Mesh Sieve — Sifting the cornstarch (and flour if you use it) is crucial. Lumps in the batter will ruin the smooth texture. I sieve twice just to be safe.
Offset Spatula — For smoothing the top of the batter. A regular spoon works in a pinch, but an offset spatula gives you better control.
Kitchen Scale — Baking is chemistry. Measuring by weight (grams) is much more accurate than volume (cups), especially for the cream cheese and sugar. If you don’t have a scale, be very careful with your measuring cups.
How to Make It: Step-by-Step
Alright, let’s make this! I’m walking you through exactly how I do it. The key here is gentleness. You’re folding air into a mixture, and if you’re rough, you’ll pop all those bubbles.
Step 1: Prep Your Oven and Pan (10 minutes)
Preheat your oven to 320°F (160°C). This is a low temperature. High heat will make the cake rise too fast and then collapse. Line the bottom of your 6-inch springform pan with parchment paper. Wrap the outside bottom and sides tightly with heavy-duty aluminum foil. This is non-negotiable for a water bath; you don’t want water seeping in and making a mess.
Step 2: Make the Cream Cheese Base (5 minutes)
In a medium bowl, combine the softened cream cheese, butter, and heavy cream. Use your hand mixer on medium speed to beat them together until smooth and creamy. There should be no lumps. Scrape down the sides of the bowl. Add the egg yolks one at a time, beating well after each addition. The mixture will look like thick frosting.
Step 3: Add the Dry Ingredients (2 minutes)
Sift the cornstarch into the cream cheese mixture. Gently fold it in with a spatula until just combined. Do not overmix. You want to keep the air in the mixture. Set this aside.
Step 4: Whip the Egg Whites (3 minutes)
In a clean, dry bowl (any grease will prevent whipping), beat the egg whites and lemon juice on medium-high speed. Once they start to foam, gradually add the sugar, about a tablespoon at a time. Continue beating until you have stiff, glossy peaks. When you lift the beater, the peaks should stand straight up without drooping. This is called “stiff peaks.” If they droop, keep whipping. This step takes about 2-3 minutes with a mixer.
Step 5: Fold the Meringue (5 minutes)
This is the most important step. Take about one-third of the egg whites and fold them into the cream cheese mixture. This lightens the dense cheese batter. Then, gently fold in the rest of the egg whites. Use a spatula and cut down the middle, scrape the bottom, and fold over. Rotate the bowl. Stop as soon as there are no more white streaks. The batter should look like a fluffy, pale yellow mousse. Do not overmix, or you’ll lose the air.
Step 6: Bake with a Water Bath (45-50 minutes)
Pour the batter into the prepared springform pan. Smooth the top. Place the springform pan inside the large roasting pan. Carefully pour boiling water into the roasting pan until it reaches about an inch up the side of the springform pan. Place the roasting pan in the oven on the middle rack. Bake for 45-50 minutes. The cake should be puffed and golden on top, but the center should still jiggle slightly like Jell-O when you shake the pan. It will firm up as it cools.
Step 7: The Cool Down (1-2 hours)
Turn off the oven and crack the door open slightly (use a wooden spoon to hold it ajar). Let the cake stay in the oven for another hour. This gradual cooling prevents cracking and collapse. After an hour, remove it from the water bath and let it cool completely on a wire rack. Then, refrigerate for at least 4 hours, preferably overnight. This resting time is crucial for the texture to set.
Expert Tips & Tricks
Here’s everything I’ve learned from making this dozens of times. These tips will save you from my mistakes.
Room Temperature is King
Cold cream cheese and cold eggs are the enemies of a smooth batter. If your cream cheese is cold, it won’t blend smoothly, and you’ll get lumps. If your eggs are cold, the whites won’t whip to full volume. Plan ahead and let everything sit out for an hour.
Don’t Skip the Water Bath
I know it sounds messy, but the steam is what keeps the cake moist and prevents the top from cracking too much. Without it, you’ll get a dry, dense cake. The water bath creates a gentle, humid environment that mimics a professional steam oven.
Fold, Don’t Stir
When combining the meringue and the cheese, use a gentle folding motion. Stirring vigorously will deflate the air bubbles you worked so hard to create. Think of it like tucking a blanket around a baby, not wrestling it into bed.
The Jiggle Test
Don’t bake until the center is completely firm. It should still wobble slightly in the middle. It will continue to cook from residual heat as it cools in the turned-off oven. If you bake it until it’s firm, it will be dry.
Patience During Cooling
I know you want to eat it now. But if you take it out of the oven immediately, the temperature change can cause it to sink. The gradual cooling in the turned-off oven is the secret to that tall, perfect dome.
Variations & Substitutions
Once you’ve nailed the basic version, here’s how you can mix it up. I’ve tried all of these.
Matcha Green Tea
Replace the cornstarch with 1 tablespoon of high-quality matcha powder. The color is stunning, and the earthy flavor pairs beautifully with the sweet cream cheese.
Cheesecake Bars
If you don’t have a springform pan, you can make this in a square baking dish. Just grease it well and line it with parchment. The baking time might be slightly shorter, so check it at 40 minutes.
Berry Swirl
Before baking, dollop a few teaspoons of berry jam or fresh pureed berries on top of the batter and swirl gently with a knife. It adds a beautiful marbled effect and a burst of fruity flavor.
Dairy-Free Option
Use vegan cream cheese and coconut milk instead of heavy cream. The texture might be slightly different, but it’s still delicious. I’ve made this for friends with dairy allergies, and they loved it.
Gluten-Free
This recipe is naturally gluten-free since it uses cornstarch. Just ensure your other ingredients are certified gluten-free if you have celiac disease.
Serving & Storage
How to Serve
This cake is delicate, so use a sharp, thin knife. Dip the knife in hot water and wipe it dry between cuts for clean slices. Serve it chilled, as the texture is best cold. It pairs beautifully with fresh berries, a dusting of powdered sugar, or a dollop of whipped cream. I also love it with a cup of bakery-style blueberry muffins on the side for a full brunch spread.
Storage Instructions
Refrigerator: Store in an airtight container or covered with plastic wrap for up to 5 days. It actually tastes better the next day as the flavors meld.
Freezing: You can freeze this cake, but the texture may change slightly upon thawing. Wrap tightly in plastic and foil. Thaw in the fridge overnight. I recommend freezing it before adding any toppings.
Room Temperature: Do not leave this cake out at room temperature for more than 2 hours. It contains eggs and cream cheese, so food safety is important.
Nutrition Information
I’m not a nutritionist, but here’s the breakdown if you’re tracking. Keep in mind this is a rich dessert, so moderation is key.
Per Slice (1/8 of the cake):
- Calories: 180
- Protein: 4g
- Carbs: 14g
- Fat: 12g
- Sugar: 10g
It’s lighter than a traditional New York cheesecake, which can have 400+ calories per slice. This version is indulgent but manageable. It’s a treat, not a staple. Enjoy it mindfully.
Final Thoughts
So that’s my go-to fluffy Japanese cotton cheesecake! I know it seems intimidating at first, but once you see that batter rise in the oven, you’ll realize it’s just gentle cooking. This recipe has become my signature dessert. It’s the one I make when I want to show someone I care. It’s the one I make when I need a creative outlet. And it’s the one that always, without fail, gets asked for at every party.
Don’t be afraid of the water bath. Don’t be afraid of folding. Just take your time, be gentle, and trust the process. The result is worth every minute. If you make this, I’d love to hear how it turns out. Drop a comment below and let me know if your cake jiggled perfectly or if you had any hiccups. I’m here to help!
Happy baking! And I hope your kitchen smells as amazing as mine does right now.
Frequently Asked Questions
Why did my cheesecake crack on top?
Cracking usually happens if the oven temperature was too high or if the cake was cooled too quickly. Make sure you’re using 320°F (160°C) and not higher. Also, ensure you leave the oven door cracked open for the hour of cooling. This gradual cooling prevents the surface from contracting too fast.
Can I use a regular cake pan instead of a springform?
You can, but it’s trickier to remove the cake intact. If you use a regular round pan, grease it thoroughly and line the bottom with parchment. You’ll need to invert the cake onto a plate to remove it. A springform is much easier because you can just unclip the sides.
Why is my cake dense instead of fluffy?
This usually means you overmixed the batter when folding in the egg whites. You popped the air bubbles. Be very gentle. Also, check that your egg whites were whipped to stiff peaks. If they were soft peaks, there wasn’t enough lift.
Can I make this ahead of time?
Yes! This cake actually tastes better after sitting in the fridge for 24 hours. The texture sets, and the flavors deepen. You can make it 2-3 days in advance. Just keep it covered in the fridge.
What if I don’t have a roasting pan?
You can use any large baking dish or even a casserole dish. The goal is to have enough space to pour water around the cheesecake pan. Just make sure the water doesn’t splash into the cheesecake batter itself.
Is this recipe suitable for vegans?
The traditional recipe is not vegan because it uses cream cheese and eggs. However, you can substitute vegan cream cheese and use aquafaba (chickpea water) instead of egg whites. The texture will be different, but it’s a viable option for plant-based diets.
Pin This Recipe!
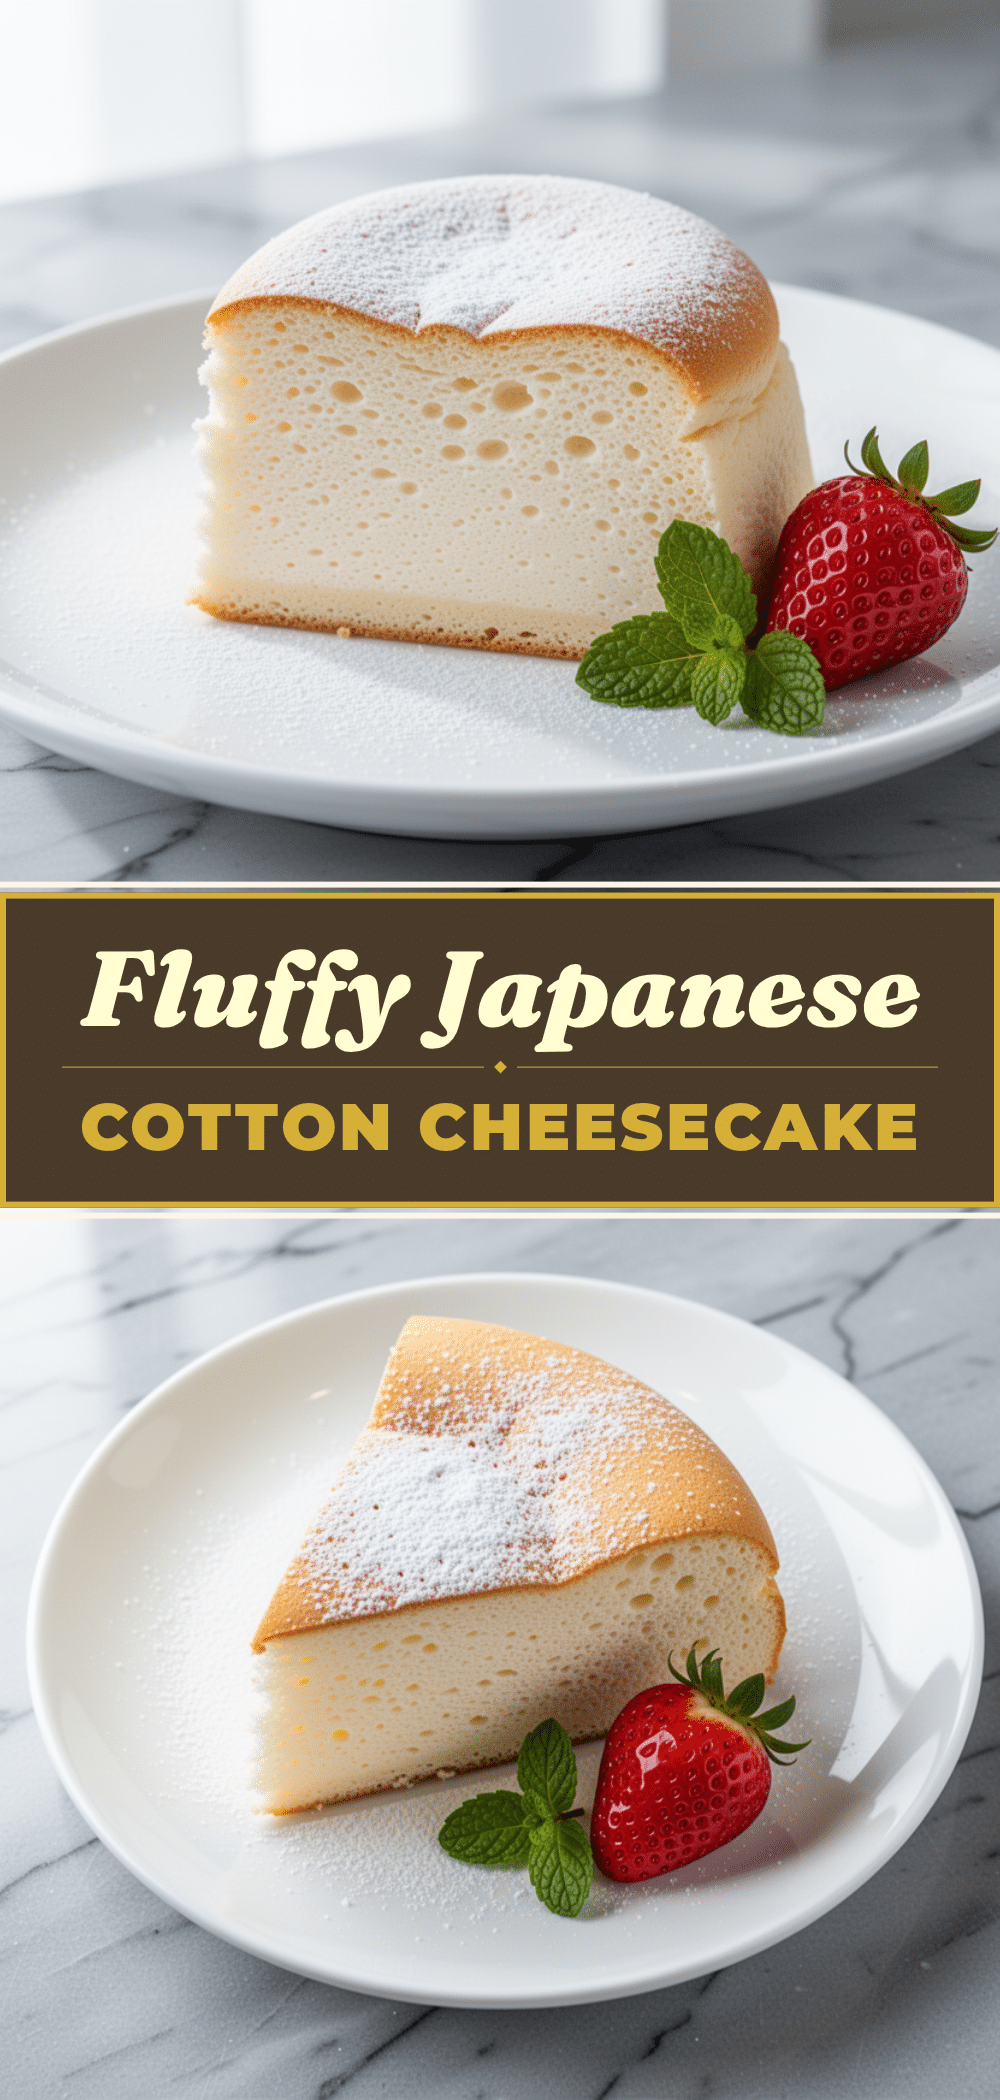
Fluffy Japanese Cotton Cheesecake
- Total Time: 5 hours 15 minutes
- Yield: 8 servings 1x
Description
A delicate, jiggly, and airy dessert that combines the richness of cheesecake with the lightness of a soufflé. This recipe uses a water bath and stiffly whipped egg whites to achieve a cloud-like texture without being overly sweet.
Ingredients
- 8 ounces (225g) full-fat brick-style cream cheese, softened
- 2 tablespoons (30g) unsalted butter
- 2 tablespoons (30ml) heavy cream
- 2 large egg yolks
- 1 tablespoon (8g) cornstarch
- 2 large egg whites, room temperature
- 3 tablespoons (36g) caster sugar
- 1/2 teaspoon vanilla extract
- 1/2 teaspoon lemon juice
- Boiling water (for water bath)
- Heavy-duty aluminum foil
Instructions
- Preheat oven to 320°F (160°C). Line the bottom of a 6-inch springform pan with parchment paper and wrap the outside bottom and sides tightly with heavy-duty aluminum foil.
- In a medium bowl, beat the softened cream cheese, butter, and heavy cream with a hand mixer on medium speed until smooth and creamy.
- Add egg yolks one at a time, beating well after each addition until the mixture resembles thick frosting.
- Sift cornstarch into the cream cheese mixture and gently fold in with a spatula until just combined. Set aside.
- In a clean, dry bowl, beat egg whites and lemon juice on medium-high speed. Once foamy, gradually add sugar. Beat until stiff, glossy peaks form.
- Fold one-third of the egg whites into the cream cheese mixture to lighten it. Gently fold in the remaining egg whites until no white streaks remain. Do not overmix.
- Pour batter into the prepared springform pan and smooth the top.
- Place the springform pan inside a large roasting pan. Pour boiling water into the roasting pan until it reaches about an inch up the side of the springform pan.
- Bake on the middle rack for 45-50 minutes. The cake should be puffed and golden, but the center should still jiggle slightly like Jell-O.
- Turn off the oven and crack the door open slightly (using a wooden spoon). Let the cake cool in the oven for 1 hour.
- Remove from the water bath and cool completely on a wire rack. Refrigerate for at least 4 hours, preferably overnight, before serving.
Notes
Ensure all ingredients are at room temperature for best results. Do not skip the water bath as it prevents cracking and keeps the cake moist. The cake should still jiggle in the center when removed from the oven; it will firm up as it cools. For clean slices, dip a sharp knife in hot water and wipe dry between cuts.
- Prep Time: 15 minutes
- Cook Time: 45-50 minutes
- Category: Dessert
- Cuisine: Japanese
Nutrition
- Serving Size: 1 slice (1/8 of the
- Calories: 180
- Sugar: 10
- Sodium: 60
- Fat: 12
- Saturated Fat: 7
- Carbohydrates: 14
- Protein: 4
Keywords: Japanese cotton cheesecake, fluffy cheesecake, soufflé cheesecake, water bath cheesecake, easy cheesecake recipe, gluten-free dessert


