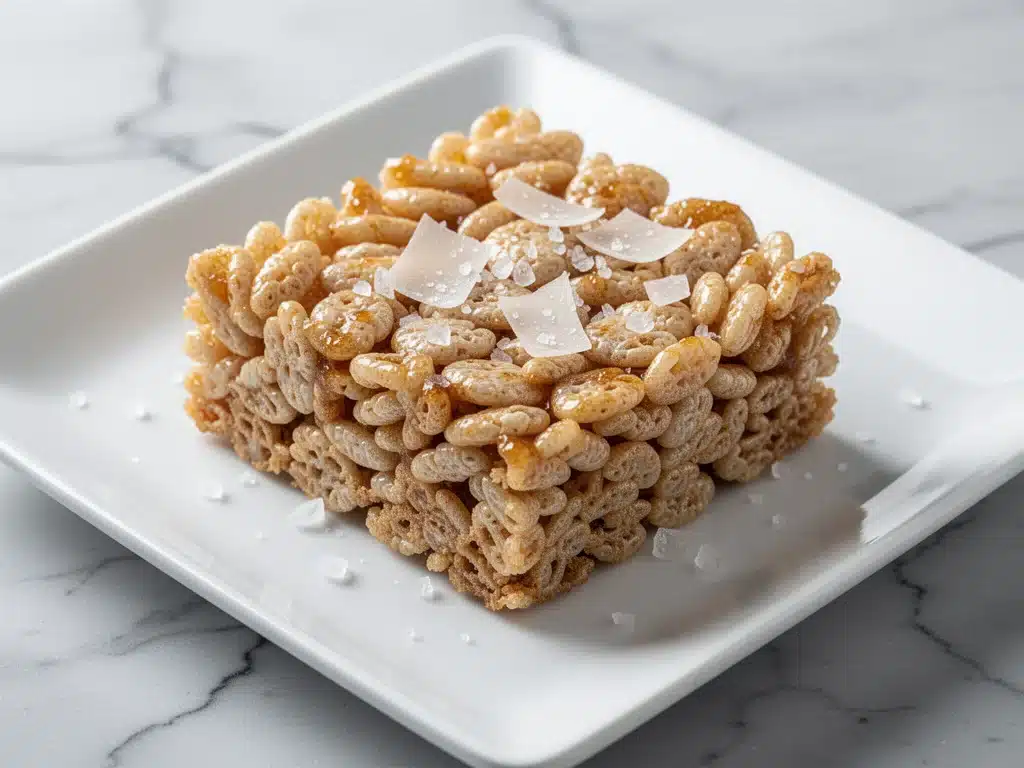
I have a confession to make. Last Saturday, I was trying to impress my in-laws with something “grown-up” and “sophisticated.” I thought brown butter sounded like the answer. It’s fancy, right? It smells like hazelnuts and warm cookies. So, I decided to make brown butter Rice Krispie Treats. The goal was simple: elevate the classic.
It did not go well.
In my enthusiasm, I let the butter go a little too far. I was distracted by a phone call about dinner plans, and when I smelled the nutty aroma, I assumed I was done. I wasn’t. I poured in the marshmallows, stirred frantically, and ended up with a sticky, dark-brown mess that tasted slightly bitter. It looked like a crime scene. My in-laws were still forty minutes away, and I was staring at a pan of culinary disaster.
But here’s the thing about cooking disasters—they’re often just happy accidents waiting to happen. I scraped the worst of it out, started over with fresh butter, and this time, I watched it like a hawk. I pulled it off the heat the *second* it turned that deep amber color. I added the marshmallows off the heat. And then, because I was feeling dramatic, I sprinkled flaky sea salt on top. The contrast? Absolute magic.
When my in-laws tasted it, they didn’t say “nice job on the experiment.” They said, “Can I have the recipe?”
That was three months ago. I’ve made these brown butter Rice Krispie Treats at least a dozen times since then. They’ve become my go-to for last-minute gatherings, after-school snacks, and late-night cravings when I want something sweet but not overly heavy. The nutty depth of the butter changes everything. It’s no longer just a kid’s snack; it’s a dessert that feels intentional, rich, and incredibly comforting. If you’ve ever made my brown butter banana bread, you know I’m obsessed with that toasted nut flavor. These treats take that same concept and turn it into the easiest, most addictive bar you’ll ever eat.
Why You’ll Love This Recipe
Look, I get it. Rice Krispie Treats are usually the dessert you make when you have no ideas left. You grab the box, you melt the butter, you hope for the best. But these brown butter versions? They’re different. They’re better. Here’s why I keep making them on repeat:
It’s the “Adult” Version of a Classic — Regular Rice Krispie Treats are sweet and crunchy. These are nutty, complex, and savory-sweet. The brown butter adds a depth of flavor that makes them taste like they came from a high-end bakery, not a kid’s playdate. It’s sophisticated enough for a dinner party dessert but easy enough for a Tuesday night craving.
Flaky Sea Salt Changes Everything — This isn’t just garnish. Sprinkling flaky sea salt on top creates these incredible bursts of savory flavor that cut through the sugar. It’s the same principle as fudgy sea salt caramel brownies. The salt makes the sweetness pop instead of just being cloying. You’ll never go back to unsalted versions again.
Stupid Simple (But Looks Fancy) — Seriously, if you can melt butter and stir a pot, you can make this. There’s no baking, no cooling racks, no tempering chocolate. You melt, mix, press, and chill. It takes 20 minutes total. I’ve made these while helping my kids with homework, and they’ve turned out perfect every single time.
Perfect for Meal Prep and Gifting — These bars hold their shape incredibly well. I cut them into squares and wrap them in parchment paper for a quick gift for neighbors or teachers. They stay fresh in the fridge for up to a week, and I’ve even frozen them for later. Unlike some delicate desserts, these are sturdy and transport-friendly.
Uses Pantry Staples — You probably have most of this already. Butter, marshmallows, cereal. The only “special” item is the flaky salt, but that’s worth having in your kitchen anyway. It’s budget-friendly and uses ingredients that don’t require a special trip to the store.
This is my answer to “I want dessert but I don’t want to make a whole cake.” It’s reliable, it’s delicious, and it always makes people happy. No complicated techniques, just pure, nutty comfort.
Ingredients You’ll Need
Here’s the best part: this list is short. I’m particular about three ingredients here, and I’ll tell you exactly why they matter. The rest is standard pantry stuff.
Unsalted Butter (6 tablespoons / 85g) — This is the star. You need real butter, not margarine. Unsalted is best so you control the salt level. I use high-quality butter because you’re really tasting the toasted notes. Salted butter can work, but you’ll need to skip the extra sea salt on top.
Marshmallows (10 oz / 280g) — That’s one standard 10-ounce bag. Do not use “jumbo” marshmallows unless you adjust the timing, as they take longer to melt. Regular mini or standard marshmallows melt evenly. I’ve tried generic brands, and they work fine, but the name brand melts slightly smoother. Avoid the toasted marshmallows for this recipe; they have a weird texture when melted.
Rice Krispies Cereal (6 cups / approx. 210g) — Yes, that’s a lot of cereal. It’s what gives the treats their structure. Use the classic Kellogg’s Rice Krispies. Other puffed rice cereals might work, but they can be denser. I stick with the classic because the crunch is exactly right. Don’t skip measuring this out before you start melting the butter.
Flaky Sea Salt (1 teaspoon) — This is non-negotiable for me. I use Maldon sea salt flakes. They’re big, crunchy, and dissolve slowly, giving you those salty bursts. Table salt won’t give you the same texture or visual appeal. If you can’t find flaky salt, kosher salt works, but crush it up a bit first.
Vanilla Extract (1 teaspoon) — Optional, but I always add it. It rounds out the flavor and adds a subtle warmth that pairs beautifully with the nutty butter. Pure vanilla is best here; imitation vanilla can taste chemical.
Butterfly Trick: I always line my 9×13 inch pan with parchment paper, leaving an overhang on the sides. This makes lifting the finished slab out of the pan so much easier. You don’t need to grease the pan if you use parchment, which prevents sticking without adding extra fat.
Equipment Needed
You don’t need fancy equipment for this. Here’s what I actually use:
Large Saucepan (3-4 quart) — I use a heavy-bottomed saucepan. It distributes heat evenly, which is crucial when browning butter. If the pan is too thin, the butter might burn in spots before it browns evenly. My old stainless steel pan is perfect for this.
Wooden Spoon or Heat-Resistant Spatula — You need something sturdy to stir the marshmallows as they melt. A wooden spoon works great, but a silicone spatula is easier for scraping the sides of the pot.
9×13 Inch Baking Pan — Standard size. Make sure it’s not warped. If your pan is warped, your treats might not press evenly.
Parchment Paper — Essential for easy cleanup and removal. Don’t skip this. Greasing the pan alone is risky with sticky marshmallows.
Measuring Cups and Spoons — Standard stuff. Dollar store versions work fine for dry ingredients.
Cooling Rack — Not strictly necessary, but helpful if you’re in a hurry. You can let them cool in the pan on the counter.
Sharp Knife or Pizza Cutter — For slicing. A pizza cutter is actually my secret weapon for cutting these cleanly without squishing them. A sharp chef’s knife works too, just wipe it clean between cuts.
How to Make It: Step-by-Step
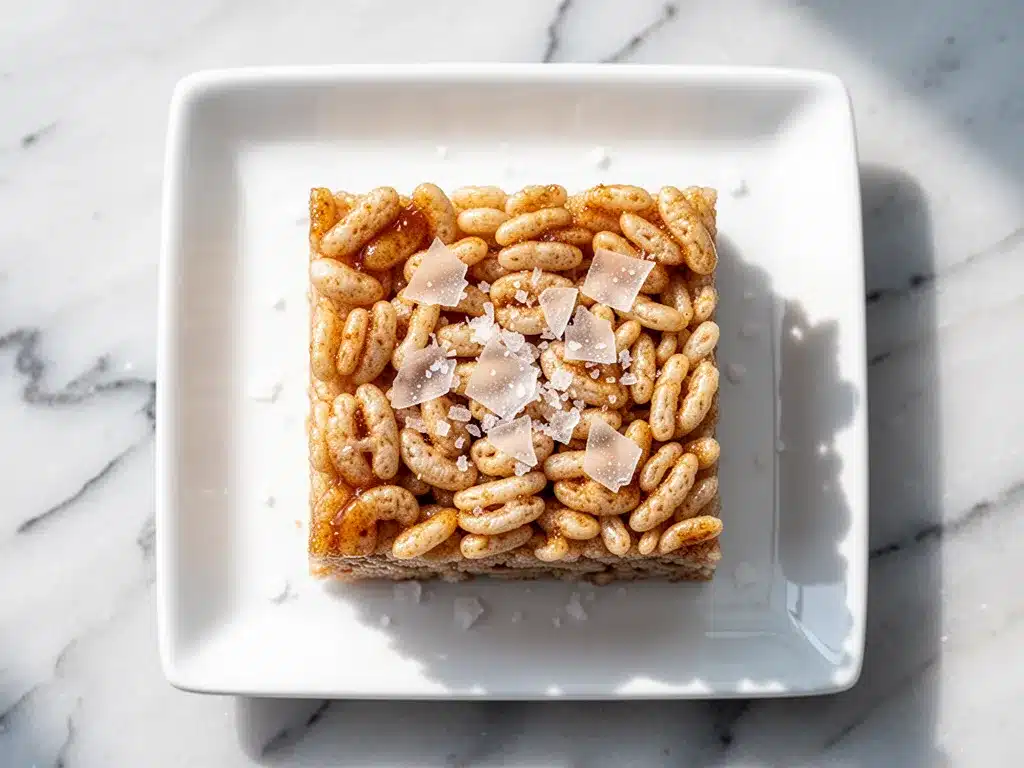
Alright, let’s make this! I’m walking you through exactly how I do it, including the little tricks I’ve picked up over dozens of batches.
Step 1: Prep Your Pan and Ingredients (5 minutes)
Line your 9×13 inch pan with parchment paper. Leave a 2-inch overhang on the long sides so you can lift the treats out later. This is a lifesaver. Measure out your cereal and have it ready in a large bowl. Melt your butter in the saucepan. I like to start with the butter cold so I can watch it change color slowly.
Step 2: Brown the Butter (5-7 minutes)
Place the saucepan over medium heat. Add the butter. As it melts, it will foam up. Stir it constantly with your wooden spoon. You’re looking for two things: sound and smell. First, the foaming will subside. Then, you’ll hear a quiet sizzling sound. Look at the bottom of the pan—you’ll see little brown specks. That’s the milk solids. They should look like sesame seeds. Smell the kitchen. It should smell like toasted hazelnuts or browned butter cookies. This usually takes 5-7 minutes. Do not walk away. Once it hits that deep amber color, remove it from the heat immediately. It will keep cooking from the residual heat of the pan.
Step 3: Melt the Marshmallows (2-3 minutes)
Keep the pot off the heat. Immediately add the marshmallows. Stir gently. The residual heat of the brown butter will melt them. Don’t rush this. If you stir too hard, you’ll deflate the treats. Just keep stirring until the marshmallows are mostly melted and the mixture is smooth and glossy. If there are a few small lumps, that’s okay—they’ll melt as you add the cereal. Stir in the vanilla extract now.
Step 4: Combine with Cereal (2 minutes)
Pour the marshmallow mixture over the measured cereal. Use your spatula to fold it in. Be gentle but thorough. You want every single puff coated. If you’re like me, you’ll scrape the sides of the pot to get all that gooey goodness. The mixture will be sticky. Wet your hands slightly with water or butter to prevent sticking as you work.
Step 5: Press into the Pan (3 minutes)
Transfer the mixture to your prepared pan. Use a buttered spatula or your wet hands to press it down evenly. Don’t press too hard! You want them fluffy and airy. If you pack them down tight, they’ll be dense and chewy like a bar, not light and crispy. Aim for an even layer. It should feel firm but spring back slightly when you touch it.
Step 6: Add the Salt and Chill (30 minutes – 1 hour)
Sprinkle the flaky sea salt evenly over the top. You want to see the flakes, not just have them disappear. Let the treats cool at room temperature for 30 minutes, or put them in the fridge for 20 minutes to set faster. They need to firm up before you cut them. If you cut them warm, they’ll be a mess.
Step 7: Slice and Serve
Once set, lift the slab out of the pan using the parchment overhang. Place it on a cutting board. Cut into squares or rectangles. I usually go for 12-16 squares, depending on how big you want your portions. They’re rich, so a little goes a long way.
Total Time: About 45 minutes (10 minutes active, 30 minutes cooling)
Expert Tips & Tricks
Here’s everything I’ve learned from making this dozens of times. These tips will save you from my mistakes.
Watch the Butter Like a Hawk — Brown butter goes from perfect to burnt in about 30 seconds. If it smells like burnt toast or looks black, start over. Burnt butter cannot be fixed. It will make the entire batch taste bitter. When in doubt, pull it off early. You can always brown it a bit more, but you can’t un-burn it.
Keep the Pot Off the Heat — This is crucial. Once the butter is browned, remove it from the burner before adding marshmallows. If you keep the heat on, the marshmallows can seize up or burn on the bottom of the pot. The residual heat is enough to melt them gently.
Don’t Over-Stir — When you’re folding the cereal in, be gentle. Over-mixing deflates the air bubbles in the marshmallows, resulting in dense, hard treats. You want them light and crisp. Fold until just combined.
Use a Pizza Cutter — I know this sounds weird, but a pizza cutter slices through the sticky marshmallow and cereal without dragging or squishing the bars. Just roll it through. Wipe the blade clean between cuts for neat edges.
Storage is Key — These treats are best stored in an airtight container at room temperature for up to 3 days. If it’s hot outside, keep them in the fridge. They can last up to a week, but they start to lose their crispness after day 4. Never freeze them uncut; cut them first, then freeze in a single layer on a tray before transferring to a bag.
Variations & Substitutions
Once you’ve nailed the basic version, here’s how you can mix it up. I’ve tried all of these.
Peanut Butter Version — Add 2 tablespoons of peanut butter to the brown butter before adding marshmallows. It adds a salty, nutty kick that pairs perfectly with the cereal. This is my husband’s favorite variation.
Chocolate Chip Version — Stir in ½ cup of semi-sweet chocolate chips at the end, after adding the cereal. The heat will melt them slightly, creating little pockets of chocolate. Very indulgent.
Coconut Version — Add ½ cup of shredded coconut to the cereal before mixing. Toast the coconut in a dry pan first for extra flavor. It adds a tropical twist.
Mini Marshmallows — I usually use standard marshmallows, but mini marshmallows melt faster and distribute more evenly. If you use them, you might need slightly less time to melt.
Gluten-Free — Use gluten-free puffed rice cereal. Most major brands make a GF version now. The rest of the ingredients are naturally gluten-free.
Dairy-Free — Replace butter with dairy-free butter sticks (like Miyoko’s or Earth Balance). Use dairy-free marshmallows (many brands are now vegan). It’s not quite the same, but it works.
Serving & Storage
How to Serve:
I usually serve these straight from the pan at parties—they’re easy to grab. But here are other ways I’ve enjoyed them:
Pairing Ideas:
These treats pair wonderfully with a cold glass of milk, obviously. But they also go well with coffee or tea. The salt and butter complement the bitterness of coffee. I’ve even served them alongside a frozen piña colada for a tropical dessert spread.
Toppings Bar:
For a party, I put out extra flaky salt, crushed pretzels, and chopped nuts. Let guests customize their squares. It’s fun and interactive.
Storage Instructions:
Refrigerator:
Store in an airtight container for up to 4 days. Layer them with parchment paper if stacking to prevent sticking. They’ll stay soft and chewy.
Freezing:
Yes, you can freeze them! Cut them first, then place in a single layer on a baking sheet. Freeze for 1 hour, then transfer to a freezer bag. They’ll last for 2-3 months. Thaw at room temperature for 15 minutes before eating.
Pro Tip:
If they start to feel a bit soft, pop them in the fridge for 10 minutes. They’ll firm up right away.
Nutrition Information
I’m not a nutritionist, but here’s the breakdown if you’re tracking. These are treats, so enjoy them in moderation.
Per Serving (based on 16 squares):
- Calories: 140
- Protein: 1g
- Carbs: 22g
- Fiber: 0g
- Sugar: 14g
- Fat: 6g
- Saturated Fat: 4g
- Cholesterol: 15mg
- Sodium: 80mg
What’s Good:
Low in protein and fiber, but the brown butter adds some healthy fats. The flaky salt adds minerals.
What to Know:
High in sugar from the marshmallows. Use this as an occasional treat. If you want a healthier snack, check out my no-bake peanut butter energy balls instead.
Dietary Notes:
Contains: dairy, gluten. Can be made: gluten-free, vegetarian. Not suitable for: vegan (without modifications), dairy-free (without modifications).
Final Thoughts
So that’s my brown butter Rice Krispie Treats! I’ve probably talked your ear off at this point, but when you make a recipe this often, you have a lot to say about it.
This has saved dessert nights more times than I can count. It’s my answer to “I want something sweet but I don’t want to bake a cake.” My kids are happy, my husband’s happy, and I’m happy because I’m not stressed about cooking. Plus, the smell of brown butter while it’s cooking is just heavenly. It makes the whole house feel cozy.
Make it yours! Try different add-ins, swap in your favorite cereal, or adjust the salt. The best recipes are the ones you adapt to your family’s tastes. If you make this, drop a comment and let me know what you think! I love hearing how recipes turn out in your kitchen. And if something doesn’t work, tell me that too—I’m here to help troubleshoot.
Happy cooking! And I hope your kitchen smells half as good as mine does right now.
Frequently Asked Questions
Can I use salted butter instead of unsalted?
You can, but you’ll need to reduce or skip the flaky sea salt on top. Salted butter varies in salt content, so it’s hard to control the final flavor. If you use salted butter, taste the mixture before adding extra salt. I always prefer unsalted so I can control the saltiness myself.
Why did my Rice Krispie Treats turn out hard?
This usually happens if you press them down too tightly into the pan. You want them light and airy. Also, if you overcooked the marshmallows or used too much butter, they can become dense. Make sure to use the correct ratio of butter to marshmallows (6 tbsp butter to 10 oz marshmallows).
Can I make these ahead of time?
Absolutely! These are great for meal prep. Make them up to 3 days ahead and store in an airtight container. They actually taste better the next day as the flavors meld. Just keep them at room temperature, not in the fridge, unless it’s very hot.
What kind of sea salt should I use?
I recommend Maldon sea salt flakes. They’re large, crunchy, and dissolve slowly, giving you those salty bursts. If you can’t find flaky salt, kosher salt works, but crush it up a bit first. Avoid table salt, as it’s too fine and will dissolve completely.
Can I add chocolate chips?
Yes! Stir in ½ cup of semi-sweet chocolate chips at the end, after adding the cereal. The heat will melt them slightly. It’s a delicious variation that adds richness.
How do I store leftovers?
Store in an airtight container at room temperature for up to 3 days. If it’s hot outside, keep them in the fridge. They can last up to a week, but they start to lose their crispness after day 4. Never freeze them uncut; cut them first, then freeze in a single layer on a tray before transferring to a bag.
Can I use a different type of cereal?
You can try puffed wheat or puffed quinoa, but the texture will be different. Rice Krispies are best because they’re light and crisp. Other cereals might make the treats denser or harder to mix. I stick with the classic for a reason!
Pin This Recipe!
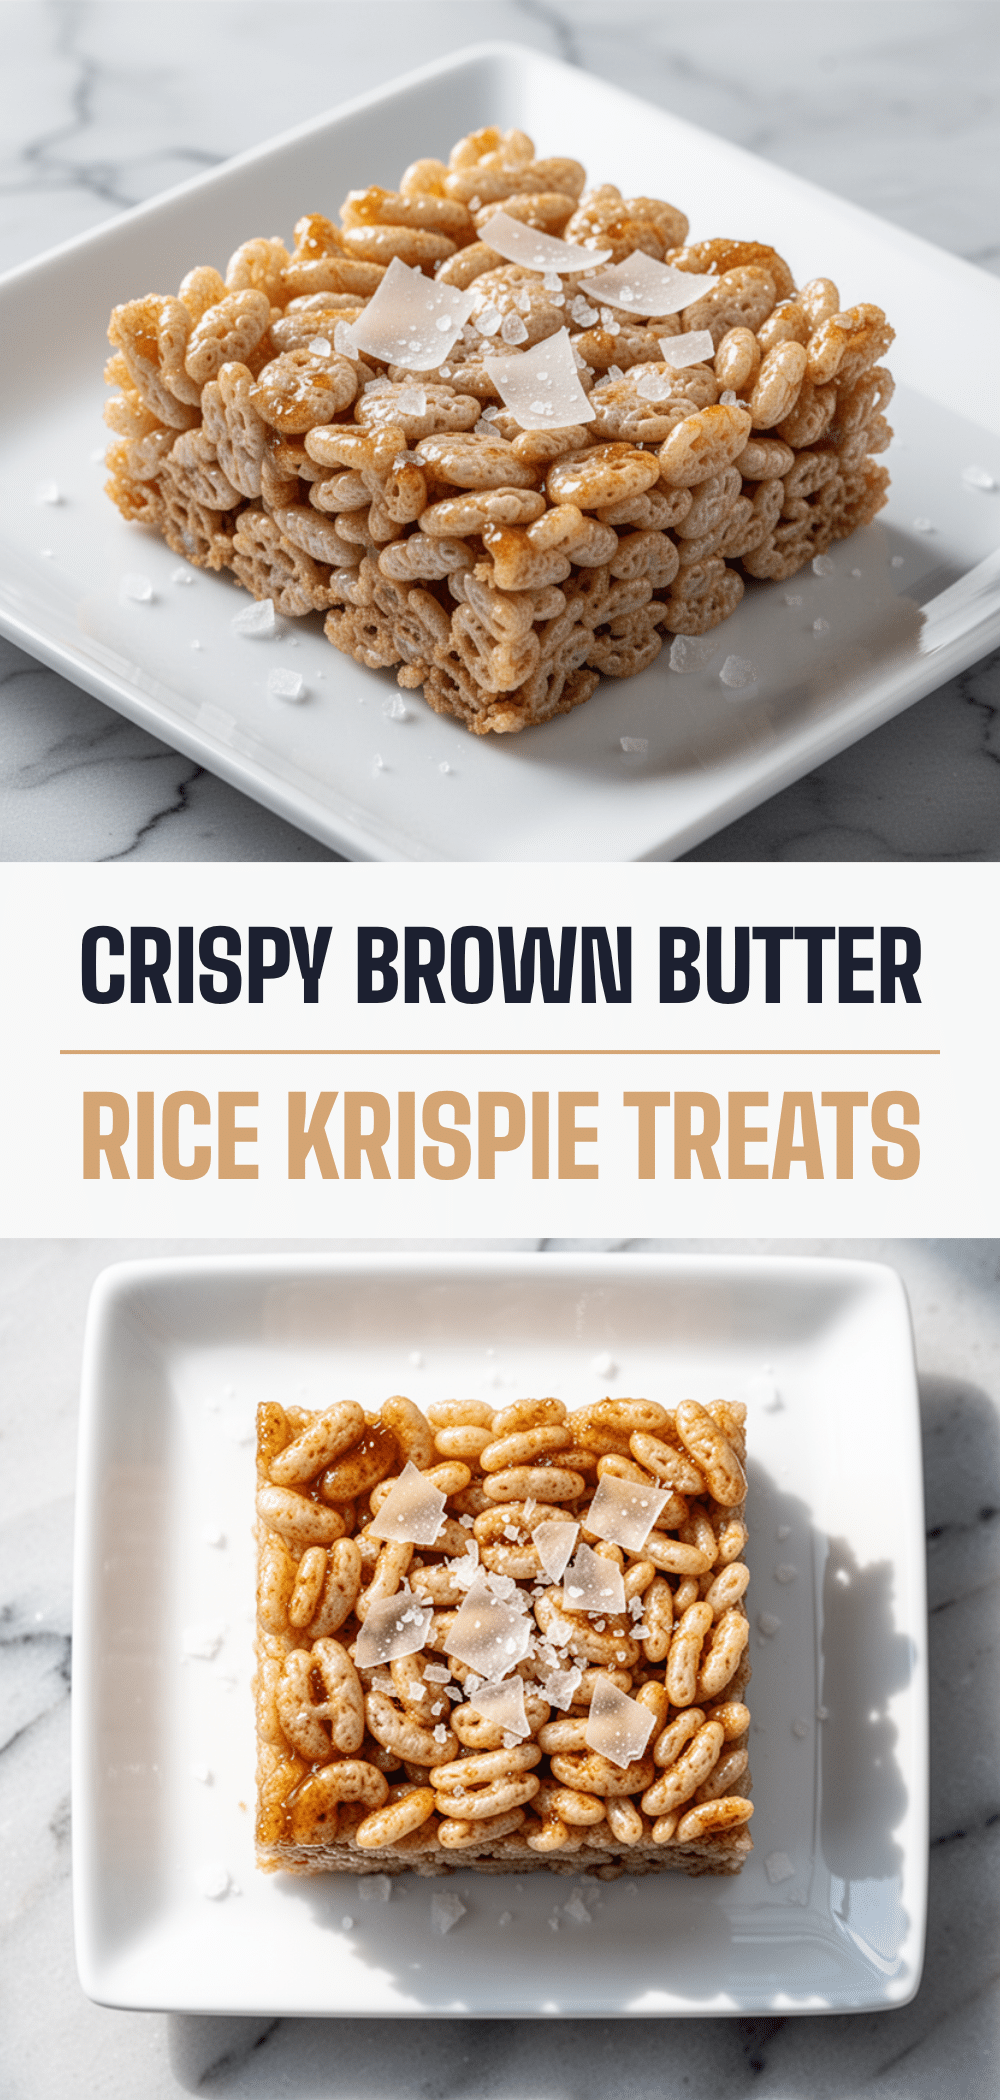
Brown Butter Rice Krispie Treats
- Total Time: 45 minutes
- Yield: 16 servings 1x
Description
Elevate the classic Rice Krispie Treat with nutty, toasted brown butter and a sprinkle of flaky sea salt for a sophisticated yet easy dessert.
Ingredients
- 6 tablespoons (85g) unsalted butter
- 10 oz (280g) marshmallows (standard or mini)
- 6 cups (approx. 210g) Rice Krispies cereal
- 1 teaspoon flaky sea salt (e.g., Maldon)
- 1 teaspoon vanilla extract
Instructions
- Line a 9×13 inch baking pan with parchment paper, leaving an overhang on the sides.
- Measure out the cereal and have it ready in a large bowl.
- Melt the butter in a large, heavy-bottomed saucepan over medium heat.
- Stir constantly until the butter foams, subsides, and turns deep amber with a nutty aroma (5-7 minutes). Remove from heat immediately.
- Keep the pot off the heat and add the marshmallows. Stir gently until mostly melted and smooth.
- Stir in the vanilla extract.
- Pour the marshmallow mixture over the cereal and fold gently until every puff is coated.
- Transfer to the prepared pan and press down evenly but lightly with a buttered spatula or wet hands.
- Sprinkle flaky sea salt evenly over the top.
- Let cool at room temperature for 30 minutes or in the fridge for 20 minutes until firm.
- Lift out using parchment overhang and cut into 12-16 squares.
Notes
Watch the butter closely as it goes from perfect to burnt quickly. Keep the pot off the heat when adding marshmallows to prevent seizing. Do not press the treats too tightly into the pan to keep them light and airy. Store in an airtight container at room temperature for up to 3 days.
- Prep Time: 10 minutes
- Cook Time: 10 minutes
- Category: Dessert
- Cuisine: American
Nutrition
- Serving Size: 1 square
- Calories: 140
- Sugar: 14
- Sodium: 80
- Fat: 6
- Saturated Fat: 4
- Carbohydrates: 22
- Protein: 1
Keywords: brown butter, rice krispie treats, easy dessert, no bake, flaky sea salt, holiday treats, kid friendly


