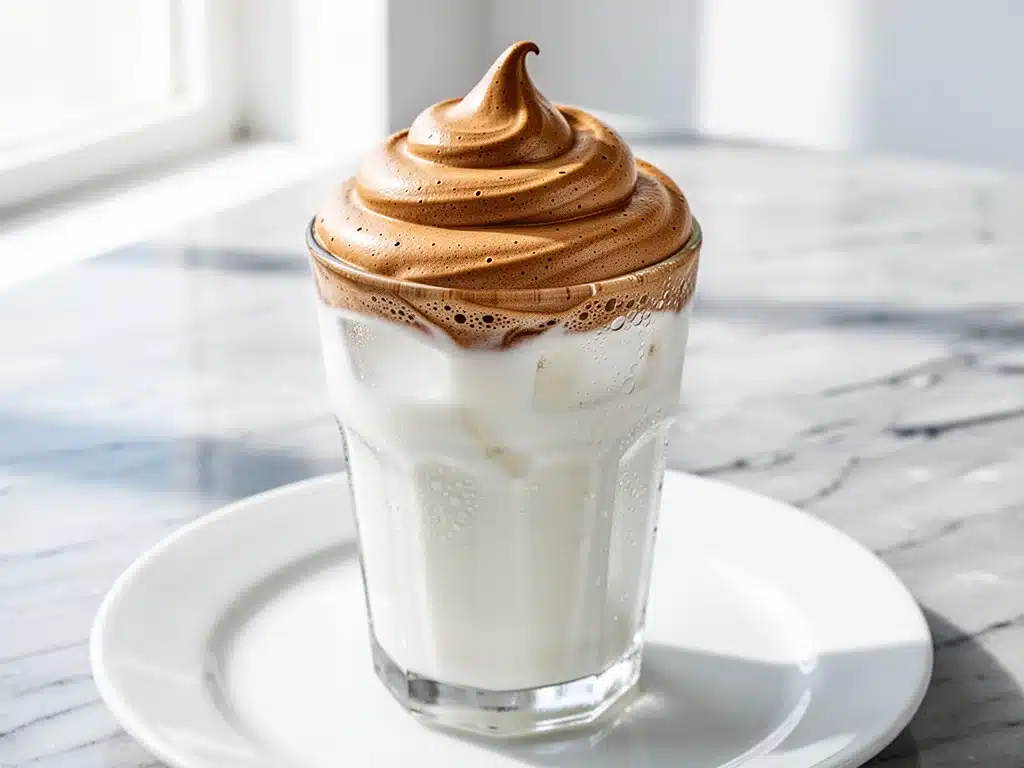
There was a specific Tuesday in late 2020 when my entire world seemed to shrink to the size of my kitchen counter. Like everyone else, I was stuck inside, scrolling through TikTok on my phone, watching videos of people whipping up this bizarre, fluffy coffee foam that looked more like a cloud than a beverage. I remember thinking, “This is just sugar and air. How is this even possible?” But then I saw someone pour cold milk over that golden-brown cloud, and the way it layered—dark espresso at the bottom, creamy milk in the middle, and that airy, caramel-colored foam on top—it looked like something out of a high-end cafe. So, I did what any desperate, bored home cook would do: I grabbed my electric mixer, measured out three ingredients, and prayed to the coffee gods.
I’ll be honest with you. My first attempt was a disaster. I used cold water, whipped it for two minutes, and ended up with a sticky, watery mess that tasted like burnt sugar water. It was gross. I almost threw the whole thing out. But then I remembered the video I’d watched—someone mentioned hot water was key. So, I tried again. This time, I used boiling water. I whipped it longer. And suddenly, magic happened. The mixture lightened in color, thickened into stiff peaks, and tasted like a caramel mousse that just happened to have caffeine in it.
That was the moment I fell in love with creamy dalgona whipped coffee. It wasn’t just a trend anymore; it was a legitimate, delicious, and surprisingly sophisticated drink that required zero barista skills. I’ve made this dalgona whipped coffee recipe dozens of times since then, for myself, for my neighbors who stopped by during lockdown, and even for my picky nephew who claims he “hates coffee.” (He didn’t hate it once he saw the cloud.)
What makes this drink so special isn’t just the nostalgia factor. It’s the texture. That contrast between the hot, bitter espresso and the sweet, airy foam is addictive. It’s also incredibly versatile. You can serve it hot, iced, or even over oat milk if you’re avoiding dairy. I’ve paired it with everything from fluffy buttermilk pancakes on lazy Sunday mornings to quick snacks during busy weeknights. It’s become my go-to when I want to feel fancy without actually spending $8 at a coffee shop. If you’ve been curious about jumping on the whipped coffee bandwagon, this is the version that finally got it right for me.
Why You’ll Love This Recipe
I know, I know. “Another coffee trend?” you might be thinking. But hear me out. This isn’t just a gimmick. The creamy dalgona whipped coffee has earned a permanent spot in my weekly rotation for reasons that go way beyond the viral factor. Here’s why you’re going to keep making this:
- Three Ingredients, Zero Excuses — Seriously. Coffee, sugar, and water. That’s it. You don’t need fancy syrup bottles or a $500 espresso machine. If you have instant coffee (which I highly recommend you stock), you can make this right now. I’ve made this while wearing pajamas at 6 AM, and while dressed up for a Zoom call at 10 AM. It’s that fast.
- Texture That Feels Like Cheating — The foam has this incredible mousse-like quality. It’s light, airy, and melts on your tongue. It’s not just sweet coffee; it’s a dessert experience in a mug. My friends often ask if I’m using whipped cream, and when I tell them it’s just coffee and sugar, their brains short-circuit. It’s the perfect trick to impress guests without doing any actual baking.
- Customizable to Your Mood — Want it hot and cozy? Pour the foam over steamed milk. Want it refreshing and iced? Dump it over cold milk and ice cubes. Feeling fancy? Add a splash of vanilla or swap the milk for oat milk. I’ve even tried it with a drizzle of frozen piña colada style syrup for a summer twist. The base recipe is just the canvas; you’re the artist.
- It’s Actually Good for You (Sort Of) — Compared to a large caramel latte from a big chain, this has way less sugar and no hidden additives. You control the sweetness. I use less sugar than the original viral recipe calls for, and it’s still perfectly sweet. It’s a guilt-free indulgence that tastes like a treat but fits into a balanced lifestyle.
- Nostalgia and Comfort — There’s something deeply comforting about making something that feels like a little escape. When I’m having a stressful day, the ritual of whipping that coffee mixture is therapeutic. Watching it transform from dark sludge to golden clouds is oddly satisfying. Plus, the smell of coffee brewing fills the house with warmth.
Bottom line? This drink is easy, delicious, and visually stunning. It’s the perfect way to start your morning or take a mid-afternoon break. And once you try it, you’ll understand why people went crazy for it. It’s not just a trend; it’s a flavor combination that just works.
Ingredients You’ll Need
Here’s the best part: you probably have everything you need right now. I’m not asking you to go to three different stores for obscure ingredients. This recipe relies on pantry staples that most people already keep on hand. However, the quality of your instant coffee matters more than you think, so pay attention to that one item.
The Core Trio
Instant Coffee (2 tablespoons / 12g) — This is non-negotiable. Do not use ground coffee, and do not use espresso powder if you can avoid it (though it can work in a pinch, it’s more bitter). I prefer granulated instant coffee like Nescafé Gold or Starbucks VIA Refreshers (the coffee packets, not the drink mixes). The granules dissolve easier and create a lighter, fluffier foam. If you use powder, you might get clumps. Trust me, the granules are worth the hunt.
White Sugar (2 tablespoons / 25g) — Standard granulated sugar works best. It creates the structure for the foam. You can use brown sugar for a deeper, caramel-like flavor, but it won’t whip up quite as light or voluminous. I stick to white sugar for that classic golden color. If you’re watching your sugar intake, you can reduce this to 1 tablespoon, but you’ll lose some of that fluffy volume. It’ll still taste good, just less airy.
Hot Water (2 tablespoons / 30ml) — This needs to be boiling. I mean, straight off the boil. The hot water dissolves the coffee and sugar instantly, creating the base for the whipping process. If your water isn’t hot enough, the mixture won’t reach those stiff peaks. I usually just microwave a small cup of water for 30-45 seconds before I start.
The Milk Base
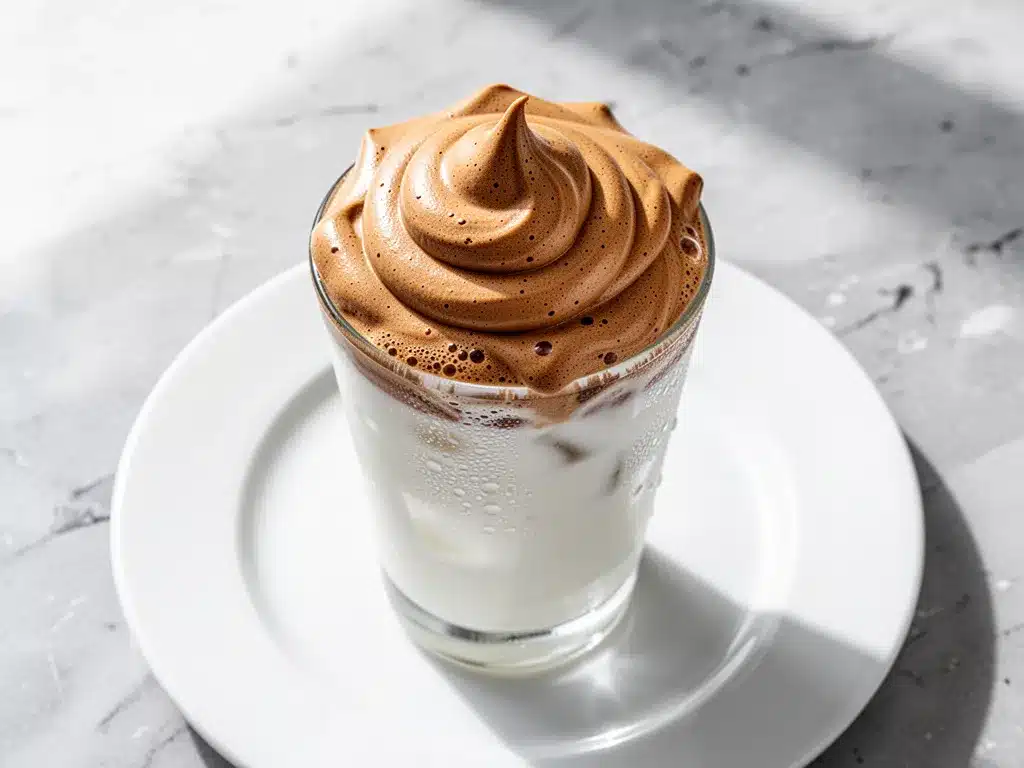
Milk (1 cup / 240ml) — This is where you get creative. Whole milk gives you the richest, creamiest texture. Oat milk is my personal favorite for the iced version because it’s naturally sweet and froths beautifully. Almond milk works too, but it’s thinner. I usually keep a carton of oat milk in the fridge specifically for this. For the hot version, I like to steam my milk or heat it in the microwave until it’s nice and toasty.
Ice Cubes (for iced version) — If you’re making the iced dalgona, you’ll need a glass full of ice. This helps chill the milk quickly and creates that nice temperature contrast with the warm foam. If you don’t have ice, just use very cold milk straight from the fridge.
Optional Add-Ins
Vanilla Extract (½ teaspoon) — Just a splash adds a nice depth of flavor. It makes the coffee taste more like a café drink. I add this to the milk, not the foam.
Cinnamon or Cocoa Powder (for garnish) — A light dusting on top looks pretty and adds a hint of spice. I keep a small shaker of cinnamon next to my coffee maker for this.
Chocolate Syrup (for drizzling) — If you want to go full dessert mode, drizzle some chocolate syrup over the foam before serving. It’s decadent and makes it feel like a special treat.
Equipment Needed
You don’t need any fancy gadgets for this. In fact, the simpler the equipment, the better. Here’s what I actually use:
Electric Hand Mixer — This is the easiest way. It takes about 2-3 minutes of whipping. I use my standard black-and-decker hand mixer, and it works perfectly. If you don’t have one, read on for manual alternatives.
Whisk and a Bowl — If you’re doing this by hand, you’ll need a medium-sized bowl and a sturdy whisk. This takes longer (about 5-7 minutes) and requires some elbow grease, but it’s totally doable. I’ve done it when my mixer broke, and my arms were tired, but the result was worth it.
Small Mixing Bowl — Just a small bowl, maybe 1-2 cups in size. You don’t need a huge mixing bowl because you’re only making a small amount of foam. A small bowl helps concentrate the whipping action.
Mug or Glass — For serving. I like wide-mouth mugs for the hot version so you can see the layers, and tall glasses for the iced version to show off that beautiful foam topping.
Kettle or Microwave — To heat the water. I prefer a kettle because it boils faster, but a microwave works fine too. Just be careful not to overheat the water if you’re using a plastic cup.
How to Make It: Step-by-Step
Alright, let’s make this! I’m walking you through exactly how I do it, including the little tricks I’ve picked up to ensure your foam is perfect every time.
Step 1: Prep Your Coffee Base (2 minutes)
Start by adding the 2 tablespoons of instant coffee and 2 tablespoons of sugar into your small mixing bowl. Make sure the bowl is clean and dry. Then, pour in the 2 tablespoons of boiling water. Stir this mixture vigorously with a spoon for about 30 seconds. You want the coffee and sugar to be fully dissolved. If there are any clumps, you won’t get a smooth foam. The mixture should look dark, glossy, and thick, almost like a syrup.
Step 2: The Whip (2-3 minutes)
Now for the magic. If you’re using an electric hand mixer, start on medium speed and whip the mixture. Initially, it will look dark and liquidy. Don’t worry. Keep going. After about a minute, you’ll start to see bubbles forming. The color will begin to lighten, turning from dark brown to a golden tan. Keep whipping for another 1-2 minutes until the mixture becomes thick, creamy, and holds stiff peaks. This is the crucial step. If you stop too early, the foam will collapse. You want it to look like soft-serve ice cream. If you’re whipping by hand, this will take longer, but the motion is the same: beat the mixture until it lightens in color and doubles in volume.
Step 3: Prepare Your Milk
While you’re whipping, prepare your milk. If you’re making the iced version, fill a glass with ice cubes and pour in your cold milk. If you’re making the hot version, heat your milk in the microwave or on the stove until it’s warm but not boiling. I like to add a splash of vanilla extract to the milk at this stage if I’m using it.
Step 4: Assemble the Drink
Take your whipped coffee foam and spoon it generously over your prepared milk. For the iced version, you want to create layers. Pour the milk over the ice first, then slowly spoon the foam on top so it floats. For the hot version, just dollop the foam on top of the warm milk. The foam should stay distinct from the milk for a while, which is the best part—you get to mix it as you sip.
Step 5: Garnish and Serve
Add a dusting of cinnamon or cocoa powder on top if you like. Serve immediately. The foam starts to dissolve into the milk after about 10-15 minutes, so drink it while it’s fresh and fluffy. Enjoy your homemade dalgona whipped coffee!
Expert Tips & Tricks
Here’s everything I’ve learned from making this dozens of times. These tips will save you from my mistakes.
Use Boiling Water — I cannot stress this enough. If your water isn’t hot enough, the sugar and coffee won’t dissolve properly, and your foam will be grainy and dense. I always test the water temperature with my finger (carefully!) to make sure it’s scalding hot before I add it to the bowl.
Don’t Skimp on Whipping Time — It’s tempting to stop when it looks fluffy, but keep going for another 30 seconds. The foam needs time to stabilize. If you stop too early, it might collapse when you pour it over the milk. I usually whip for a full 3 minutes to be safe.
Room Temperature Milk for Hot Version — If you’re making the hot version, don’t use boiling milk. It will melt the foam too quickly. Warm milk is perfect. For the iced version, make sure your milk is very cold. The temperature contrast is key to the experience.
Instant Coffee Quality Matters — I’ve tried cheap store-brand instant coffee, and it just doesn’t whip as well. It tastes bitter and doesn’t create as much volume. Invest in a good quality instant coffee. It makes a huge difference in the final taste and texture.
Common Mistakes — Mistake: Foam is too thin. Fix: You didn’t whip it long enough, or your water wasn’t hot enough. Try again with hotter water and whip longer. Mistake: Foam is grainy. Fix: The sugar didn’t dissolve. Stir the coffee-sugar-water mixture more thoroughly before whipping.
Variations & Substitutions
Once you’ve nailed the basic version, here’s how you can mix it up. I’ve tried all of these.
Caramel Dalgona — Add 1 teaspoon of caramel syrup to the milk base. It adds a rich, buttery flavor that pairs beautifully with the coffee foam. This is my favorite variation for a weekend treat.
Mocha Dalgona — Add 1 tablespoon of cocoa powder to the coffee mixture before whipping. It turns your foam into a chocolate-coffee mousse. Dust with extra cocoa powder on top for a decadent look.
Vanilla Cloud — Add 1 teaspoon of vanilla extract to the coffee mixture. It makes the foam taste like a vanilla latte. Simple and elegant.
Matcha Dalgona — Swap the instant coffee for high-quality matcha powder. Use 1 tablespoon of matcha, 2 tablespoons of sugar, and 2 tablespoons of hot water. Whip as usual. It’s a green, earthy alternative that’s surprisingly delicious.
Dairy-Free Version — Use oat milk or almond milk instead of dairy milk. The foam itself is naturally dairy-free, so this is an easy swap. I love using oat milk for the creamy texture.
Low-Sugar Version — Use a sugar substitute like erythritol or monk fruit. Note that these don’t whip quite the same way, so you might need to whip longer or add a bit of xanthan gum for stability. It’s still good, just different.
Serving & Storage
How to Serve: I usually serve this straight away, with the foam sitting proudly on top. It’s a visual treat. For guests, I set out a small pitcher of milk and a bowl of foam so they can customize their own drinks. It’s interactive and fun.
Side Dishes: This coffee pairs wonderfully with high protein peanut butter banana oat smoothies for a hearty breakfast, or with some sugar-free strawberry basil lemonade for a refreshing afternoon break. It also goes great with high protein egg and turkey sausage breakfast bowls if you’re keeping things savory and sweet.
Storage Instructions: You can’t really store the foam. It collapses if you let it sit. Make it fresh. The milk can be stored in the fridge for up to 3 days. If you want to prep ahead, measure out your coffee and sugar in small containers, and just add the hot water and whip when you’re ready to drink. This saves about 2 minutes of prep time.
Nutrition Information
I’m not a nutritionist, but here’s the breakdown if you’re tracking. Note that this varies based on the milk you use.
Per Serving (based on 1 mug):**
- Calories: 120-150 (depending on milk)
- Protein: 4-8g
- Carbs: 15-20g
- Fat: 2-8g
- Sugar: 12-18g
What’s Good: It’s a relatively low-calorie treat compared to café drinks. You get a caffeine boost and a mood lift. Using unsweetened almond milk can cut the calories in half.
What to Know: The sugar content is moderate. If you’re watching your sugar, reduce the amount in the foam or use a sugar substitute. The caffeine content depends on the strength of your instant coffee.
Final Thoughts
So that’s my go-to creamy dalgona whipped coffee! I’ve probably talked your ear off at this point, but when you make a recipe this often, you have a lot to say about it. This drink has saved my mornings more times than I can count. It’s my answer to “I need a pick-me-up” when I’m tired, don’t want to leave the house, and still want something that tastes really good. My kids are happy, my husband’s happy, and I’m happy because I’m not stressed about making anything complicated.
Make it yours! Try different milks, add different syrups, adjust the sweetness to your taste. The best recipes are the ones you adapt to your family’s tastes. If you make this, drop a comment and let me know what you think! I love hearing how recipes turn out in your kitchen. And if something doesn’t work, tell me that too—I’m here to help troubleshoot.
Happy brewing! And I hope your kitchen smells half as good as mine does right now.
Frequently Asked Questions
Can I use ground coffee instead of instant coffee?
You can, but it’s not ideal. Ground coffee doesn’t dissolve in hot water the same way, so you’ll end up with a gritty foam. If you must use ground coffee, brew a very strong espresso or concentrate and use that as the liquid base. But for the authentic fluffy texture, instant coffee is the way to go.
Why is my foam not fluffy?
Usually, this means you didn’t whip it long enough, or your water wasn’t hot enough. The heat helps dissolve the sugar and coffee, which creates the structure for the foam. Make sure your water is boiling, and whip for at least 2-3 minutes until it doubles in volume and lightens in color.
Can I make this ahead of time?
You can prep the coffee and sugar mixture and store it in the fridge, but you’ll need to reheat it and whip it fresh before serving. The foam itself won’t hold if you make it and let it sit. So, the best approach is to whip it right before you drink it.
Is this healthy?
It’s a moderate treat. It has less sugar than a typical café latte, but it still has sugar. If you’re looking for a healthier option, use less sugar, use a sugar substitute, or opt for unsweetened almond milk. It’s a great way to satisfy a sweet tooth without overdoing it.
Can I use oat milk?
Yes! Oat milk is actually one of the best milks to use for this drink. It’s naturally creamy and sweet, which complements the coffee foam perfectly. I use it for both hot and iced versions.
How much caffeine is in this?
It depends on the instant coffee you use. A typical serving of instant coffee has about 30-50mg of caffeine. This is less than a cup of brewed coffee (which has 95mg) but more than a cup of tea. It’s a mild kick, perfect for a morning boost or an afternoon pick-me-up.
Can I add flavorings to the foam?
Absolutely. I’ve added vanilla extract, caramel syrup, and even a pinch of cinnamon to the foam mixture before whipping. Just make sure you add them in small amounts so you don’t throw off the balance of the foam. Start with ½ teaspoon and adjust to taste.
Pin This Recipe!
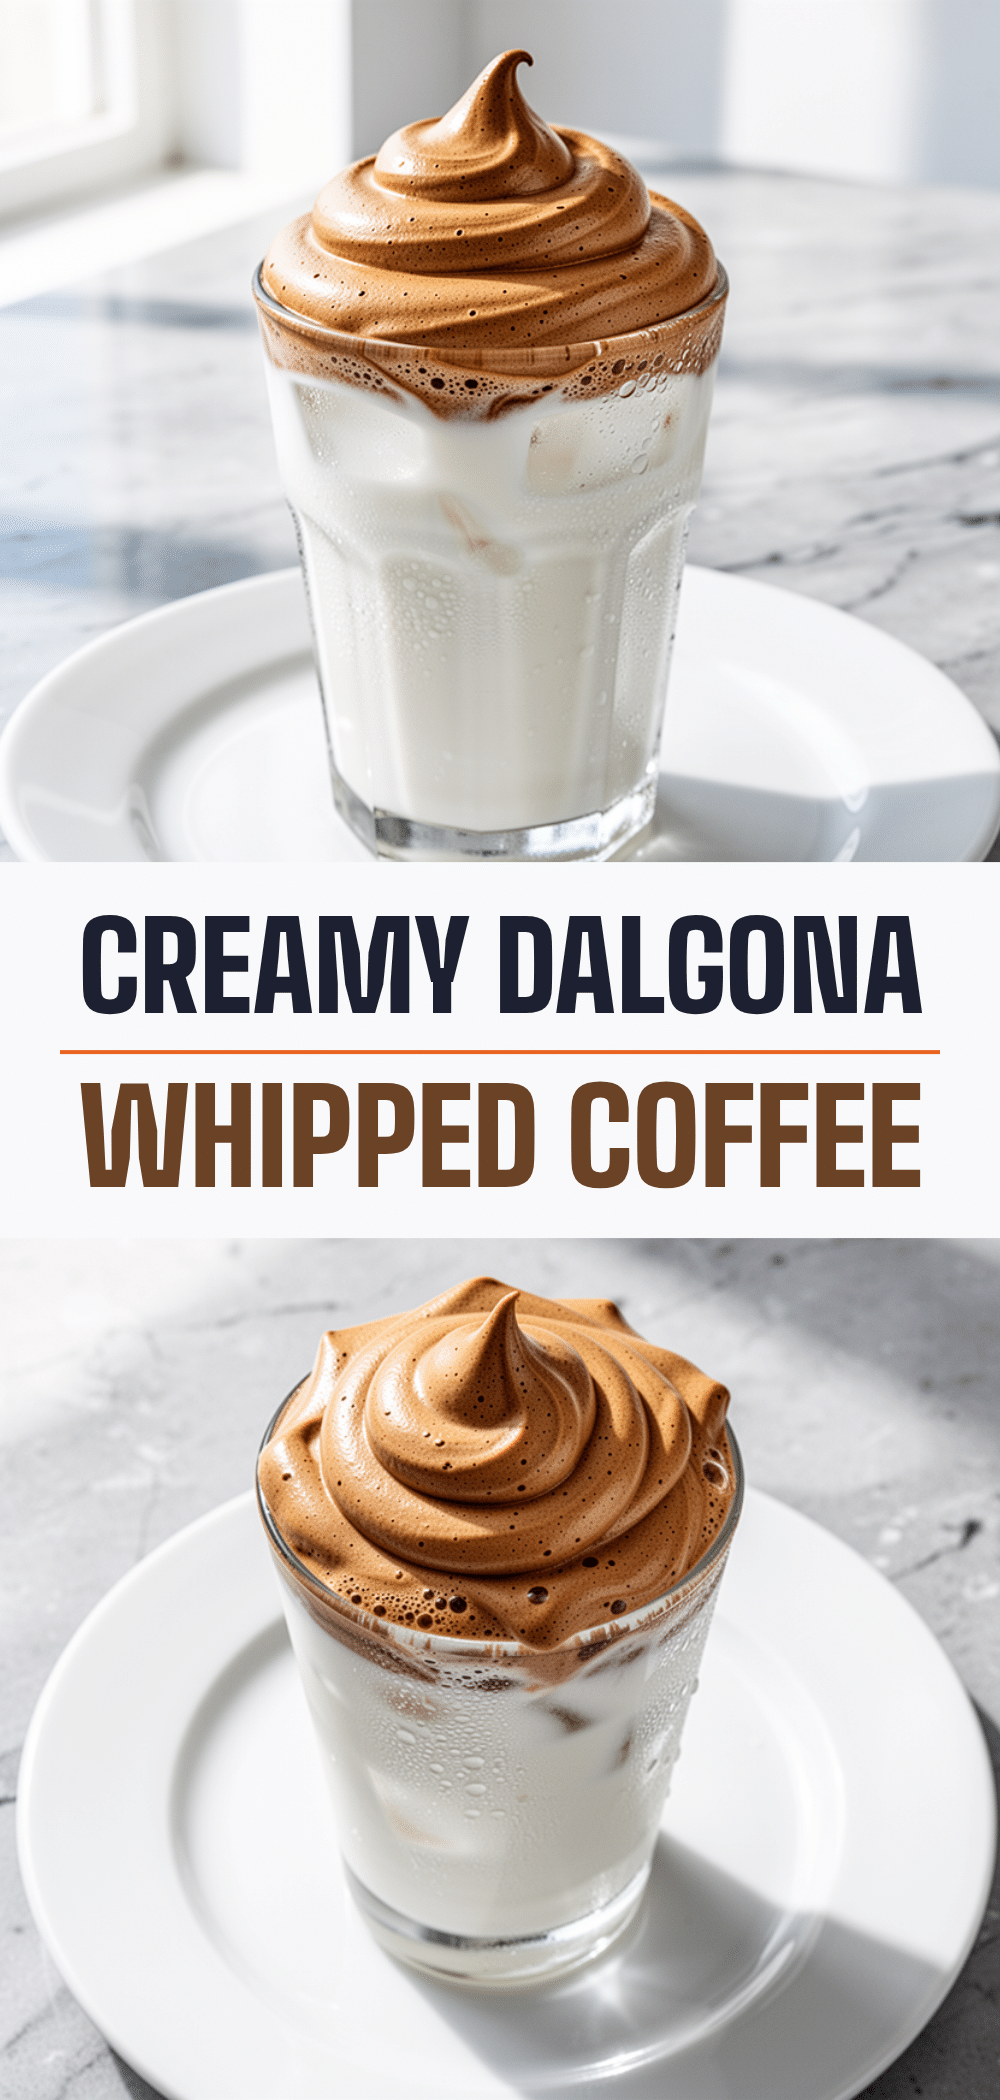

Creamy Dalgona Whipped Coffee: Easy 3-Ingredient Recipe
- Total Time: 5 minutes
- Yield: 1 serving 1x
Description
A viral-inspired, fluffy coffee foam made with just three ingredients, served over hot or iced milk for a cafe-quality drink at home.
Ingredients
- 2 tablespoons instant coffee (granulated)
- 2 tablespoons white sugar
- 2 tablespoons boiling water
- 1 cup milk (dairy or non-dairy like oat or almond)
- Ice cubes (for iced version)
- 1/2 teaspoon vanilla extract (optional)
- Cinnamon or cocoa powder (for garnish, optional)
Instructions
- Add instant coffee and sugar to a small mixing bowl.
- Pour in boiling water and stir vigorously for 30 seconds until fully dissolved.
- Whip the mixture using an electric hand mixer on medium speed for 2-3 minutes until it becomes thick, creamy, and holds stiff peaks (light golden color).
- Prepare your milk: for iced, fill a glass with ice and add cold milk; for hot, warm the milk in the microwave or on the stove.
- Spoon the whipped coffee foam generously over the prepared milk.
- Garnish with cinnamon or cocoa powder if desired and serve immediately.
Notes
Use boiling water to ensure the sugar and coffee dissolve properly. Whip until stiff peaks form to prevent the foam from collapsing. The foam does not store well; make it fresh before serving. For a dairy-free version, use oat or almond milk.
- Prep Time: 5 minutes
- Cook Time: 0 minutes
- Category: Beverage
- Cuisine: Korean-inspired
Nutrition
- Serving Size: 1 mug
- Calories: 120
- Sugar: 12
- Sodium: 35
- Fat: 2
- Saturated Fat: 1
- Carbohydrates: 15
- Protein: 4
Keywords: dalgona coffee, whipped coffee, 3 ingredient recipe, viral coffee, iced coffee, hot coffee, easy breakfast drink


