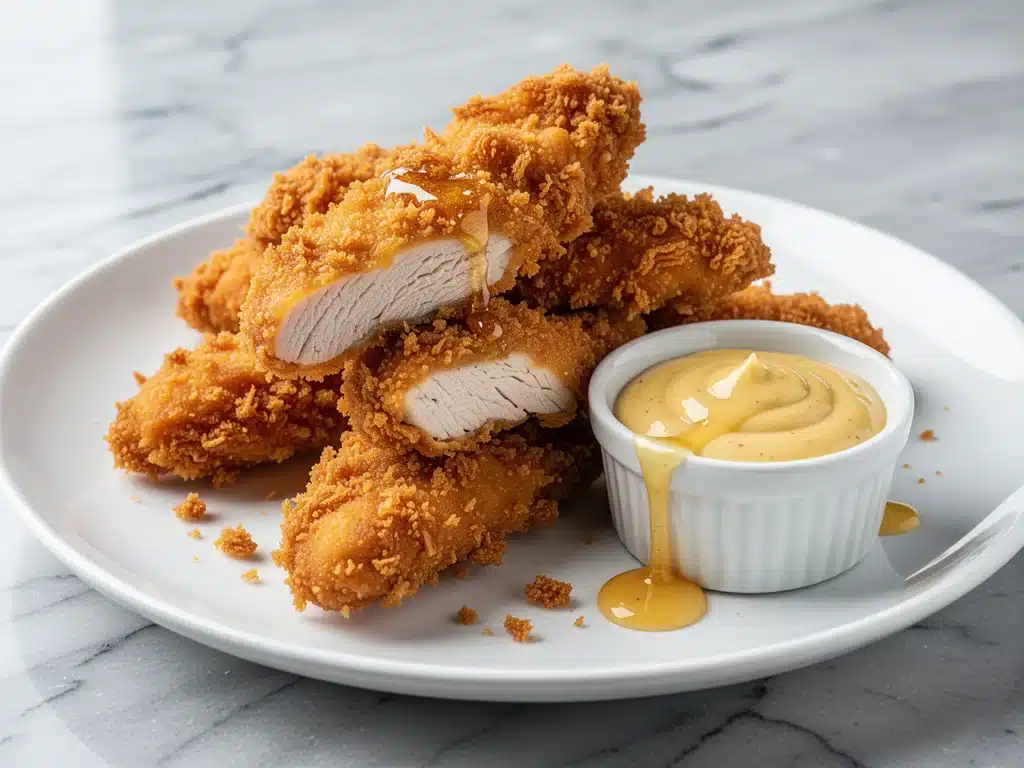
Last Tuesday, I stood in my kitchen staring at a delivery menu, completely defeated. It was one of those evenings where my kids had played so hard they collapsed on the couch, hungry but too lazy to chew on anything healthy. I wanted chicken tenders. Not the sad, soggy, breaded sticks that arrive lukewarm in a cardboard box, but the kind that shatter when you bite them. The kind that smell like a Southern fryer but actually don’t leave you feeling like you just ate a day’s worth of cholesterol.
I tried ordering out, but the delivery app was glitching. So, I did what I always do when I’m stubborn: I decided to make them myself. But I didn’t want to spend 45 minutes standing over a splattering pot of oil. I wanted crispy. I wanted juicy. I wanted it in the oven. And honestly? I was skeptical. Oven-fried chicken usually ends up looking like pale, dry chicken nuggets with a sad dusting of flour.
But then I figured out the trick. It’s not magic. It’s just a little bit of science and a lot of patience. I’ve tested this ultra-crispy oven-fried chicken tenders recipe at least twenty times over the last year. I’ve tweaked the breading, adjusted the temperature, and even argued with my husband about whether two types of flour make a difference (spoiler: they do). The result? Chicken tenders that are genuinely better than takeout. They’re golden, shatteringly crisp on the outside, and so juicy on the inside that you’ll forget you’re eating them from the oven.
If you’ve ever felt guilty about serving fried food or just hate the mess of deep frying, this recipe is your new best friend. It’s easy enough for a weeknight when you’re exhausted but still want to impress your picky eaters. And trust me, once you taste these, you’ll never order delivery chicken tenders again. Let’s get into why this method works and how you can make them yourself.
Why You’ll Love This Recipe
There are a lot of “healthy baked chicken” recipes out there, but most of them are dry and bland. This ultra-crispy oven-fried chicken tenders recipe is different. It’s not just a compromise; it’s an upgrade. Here’s why this has become a staple in our weekly rotation:
- Actually Crispy — Seriously. Most oven recipes use panko or just plain flour, which gets soft in minutes. I use a specific blend of cornstarch and flour that creates a glass-like crunch that stays crisp even after sitting for 10 minutes. My kids say it sounds like “crunchy chips” when they bite into it.
- Zero Oil Splatter — If you hate cleaning grease off your stove or your walls, this is for you. The tenders are baked on a wire rack, so the heat circulates all around. No frying, no mess, no smell that lingers in the house for days.
- Restaurant-Quality Texture — The secret is the double-dip brine and the specific breading ratio. It mimics the texture of pressure-fried chicken without the pressure cooker or the deep fryer. It’s tender, flavorful, and holds together perfectly.
- Family-Friendly — My toddler loves dipping them in ranch. My teenager likes them with hot sauce. My picky eater who usually only eats white bread? He asks for seconds. It’s versatile enough to be a main dish, a snack, or even part of a salad (like my high-protein chicken and quinoa bowl).
- Quick Prep — Yes, it takes a few minutes to set up the breading station, but active time is only about 15 minutes. The rest is hands-off baking. I can prep these while my husband handles dinner salad.
This isn’t just “diet food” that tastes like cardboard. It’s comfort food that feels indulgent but is actually lighter and easier to make than you think. It’s the kind of recipe that makes you feel like a hero in the kitchen.
Ingredients You’ll Need
Here’s the good news: you probably have most of these ingredients in your pantry already. I’m not asking you to buy exotic spices or hard-to-find items. This is about technique and simple, high-quality basics.
For the Brine and Chicken
Chicken breasts (1.5 lbs / 680g) — I use boneless, skinless chicken breasts. They’re lean and cook evenly. Don’t use thighs unless you want a different texture; thighs can get greasy even in the oven. Look for breasts that are relatively uniform in size so they cook at the same rate.
Buttermilk (1 cup / 240ml) — This is non-negotiable for tenderness. The acid in the buttermilk breaks down the protein fibers, making the chicken juicy. If you’re out of buttermilk, you can make a substitute: add 1 tablespoon of lemon juice or white vinegar to 1 cup of milk and let it sit for 10 minutes. It’s not quite the same, but it works in a pinch.
Eggs (2 large) — These help the breading stick. Room temperature eggs work a bit better, but cold ones are fine if you’re in a hurry.
Salt and Black Pepper — Generous amounts. Season your chicken before it hits the flour. This is where the flavor starts.
For the Ultra-Crispy Breading
All-purpose flour (1 cup / 120g) — The base of the crust. It provides structure.
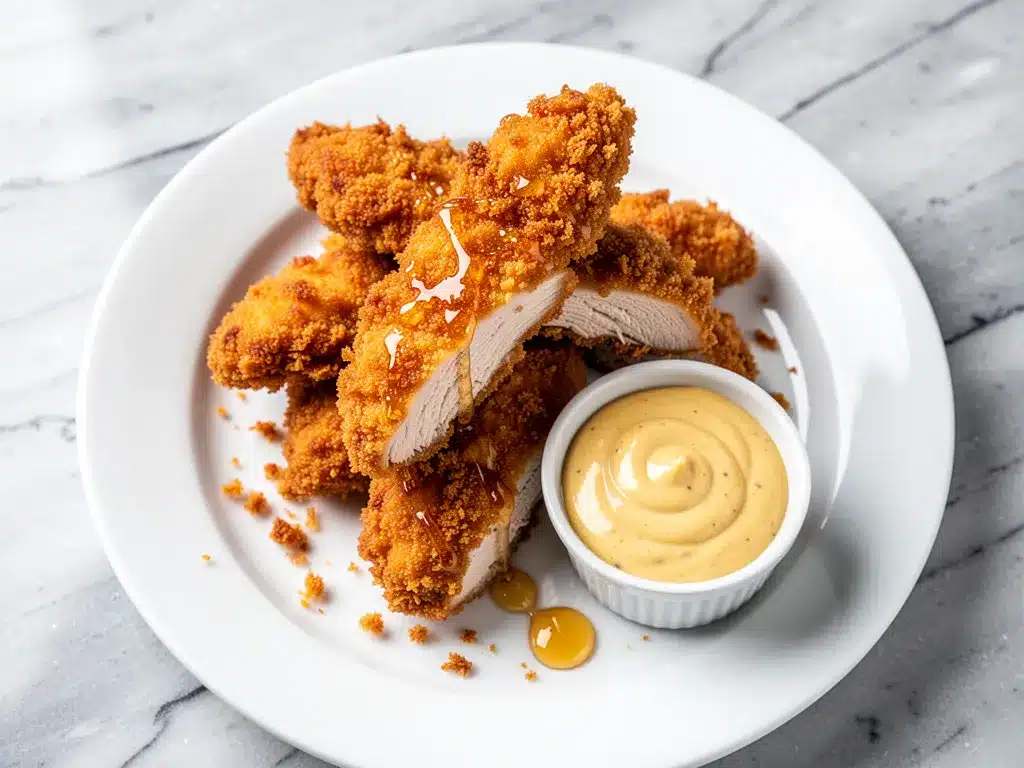
Cornstarch (½ cup / 60g) — This is the secret weapon. Cornstarch absorbs moisture better than flour and creates a lighter, crunchier crust. It’s the same reason fried chicken stays crisp longer. Don’t skip it.
Panko breadcrumbs (1.5 cups / 150g) — Regular breadcrumbs are too fine and get soggy. Panko has larger flakes that create air pockets, resulting in maximum crunch. Look for the Japanese-style panko; it’s fluffier and crispier.
Garlic powder (1 tablespoon) — Not garlic salt. Just powder. It gives that savory depth without adding extra salt that might burn.
Onion powder (1 tablespoon) — Complements the garlic and adds sweetness.
Smoked paprika (1 teaspoon) — This gives it that “fried” flavor profile. Regular paprika works, but smoked adds a nice complexity that mimics the char from a fryer.
Cayenne pepper (½ teaspoon, optional) — For a little kick. If you’re making these for little kids, skip this or reduce to a pinch. For adults, don’t be shy.
Italian seasoning (1 teaspoon) — Adds a hint of herbal notes that balance the richness.
For Baking
Avocado oil or olive oil (2-3 tablespoons) — You need fat to help the breading brown. Avocado oil has a high smoke point, so it’s perfect for the oven. Olive oil works too, but has a stronger flavor. Spray oil is an option, but brushing or drizzling ensures even coverage.
Equipment Needed
You don’t need fancy gadgets for this. Here’s what I actually use:
Wire Rack — This is crucial. Place a wire cooling rack over a baking sheet. The chicken needs to sit on the rack so air circulates underneath. If you put them directly on the pan, the bottoms get soggy. I use a standard 12×17 inch rack.
Baking Sheet — A standard half-sheet pan. Line it with parchment paper for easy cleanup, though it’s not strictly necessary if you have a good rack.
Three Shallow Dishes — I use pie plates or shallow bowls. One for flour, one for egg wash, one for panko. Having three separate containers makes the breading process smooth and fast.
Sharp Knife — For slicing the chicken breasts into tenders. A dull knife will crush the meat. I use my chef’s knife for this.
Cooking Spray or Brush — To coat the tops of the chicken with oil before baking.
How to Make It: Step-by-Step
Alright, let’s make this! I’m walking you through exactly how I do it, including the little tricks I’ve picked up over years of testing.
Step 1: Prep the Chicken (5 minutes)
Take your chicken breasts and place them on a cutting board. If they’re thick in the middle, slice them horizontally to create thinner, even pieces. This ensures they cook at the same rate and don’t dry out. Cut each breast into strips about 1 inch wide and 3-4 inches long. You should get about 12-16 tenders depending on the size of your breasts. Pat them dry with paper towels. Moisture is the enemy of crispiness, so dry them well.
Step 2: Set Up Your Breading Station (5 minutes)
Arrange three shallow dishes in a row. In the first, mix the flour, salt, pepper, garlic powder, onion powder, paprika, cayenne, and Italian seasoning. Whisk it well so the spices are evenly distributed. In the second dish, whisk the eggs with a splash of buttermilk (about 2 tablespoons) to make an egg wash. In the third dish, place the panko breadcrumbs. If you want extra flavor, you can mix a little parmesan cheese into the panko, but it’s not necessary.
Step 3: Dredge the Chicken (10 minutes)
This is where the magic happens. Take a piece of chicken and dredge it in the flour mixture, shaking off any excess. Make sure it’s fully coated. Next, dip it into the egg wash, letting the excess drip off. Finally, press it firmly into the panko breadcrumbs. Use your hands to press the crumbs onto the chicken so they stick. I find that pressing twice helps—dip in panko, press, dip again, press. This double-coating is what makes them ultra-crispy. Place the breaded tender on a clean plate or tray. Repeat with all chicken pieces.
Step 4: Arrange and Oil (2 minutes)
Place a wire rack over a baking sheet. Arrange the chicken tenders on the rack in a single layer, leaving a little space between each one. They shouldn’t touch, or they’ll steam instead of bake. Now, the final step for crispiness: coat the tops lightly with oil. I use an avocado oil spray for even coverage, or you can brush them with a little oil. This helps the panko turn golden brown and crispy.
Step 5: Bake (20-25 minutes)
Preheat your oven to 400°F (200°C). This high heat is important for browning. Place the baking sheet in the middle rack of the oven. Bake for 12 minutes, then flip the tenders over. Bake for another 8-12 minutes, or until the chicken is cooked through (internal temperature of 165°F / 74°C) and the coating is deep golden brown. Ovens vary, so keep an eye on them after 20 minutes. You want them crisp, not burnt.
Step 6: Rest and Serve (5 minutes)
Remove the chicken from the oven and let it rest on the rack for 5 minutes. This allows the juices to redistribute. If you cut into it immediately, the juices will run out and the breading might get soggy. After resting, serve immediately while hot and crispy.
Expert Tips & Tricks
Here’s everything I’ve learned from making this dozens of times. These tips will save you from my mistakes.
Don’t Skip the Cornstarch
I know it seems like an extra ingredient, but cornstarch is the key to that restaurant-style crunch. It creates a barrier that stays crisp longer than flour alone. If you’re gluten-free, you can use a gluten-free flour blend, but cornstarch is still essential for texture.
Keep the Chicken Cold
If your chicken gets warm while you’re breading, the breading can slide off. Keep the breaded tenders in the fridge for 10-15 minutes before baking if you have time. This helps the coating set.
Use a Wire Rack
I cannot stress this enough. If you bake them directly on the pan, the bottoms will be pale and soft. The rack allows hot air to circulate underneath, ensuring even browning on all sides.
Check the Temperature
Use a meat thermometer. Overcooked chicken is dry and tough. Pull them out as soon as they hit 165°F. They’ll continue to cook slightly from residual heat.
Double Dip for Extra Crunch
If you love really thick, crunchy coatings, do a second dip in the egg wash and panko. It adds a bit of time but makes a huge difference in texture.
Variations & Substitutions
Once you’ve nailed the basic version, here’s how you can mix it up. I’ve tried all of these.
Spicy Version
Add 1 teaspoon of cayenne pepper to the flour mixture and sprinkle some extra red pepper flakes on top before baking. Serve with spicy ranch or buffalo sauce.
Herb-Crusted
Mix dried thyme, rosemary, and sage into the panko breadcrumbs. This gives it a more savory, aromatic flavor. Great with honey mustard dipping sauce.
Gluten-Free
Use a gluten-free flour blend for the dredge and certified gluten-free panko breadcrumbs. The texture is slightly different but still very good. I’ve used Panko-style GF breadcrumbs and they work well.
Dairy-Free
Skip the buttermilk and use a dairy-free milk alternative with 1 tablespoon of lemon juice. Use olive oil instead of butter-based sprays. The egg wash is naturally dairy-free, so just ensure your panko doesn’t contain milk solids (most don’t).
Veggie Dippers
You can use this same breading method for zucchini sticks, cauliflower florets, or even mushrooms. Just reduce the baking time since veggies cook faster. I love dipping these into the same sauces as the chicken.
Serving & Storage
How to Serve
I usually serve these with classic dipping sauces: ranch, blue cheese, honey mustard, or spicy mayo. They also go great with fries, coleslaw, or a simple green salad. For a lighter meal, try them on top of a Mediterranean chickpea salad for a fresh, crunchy contrast.
Storage
Store leftovers in an airtight container in the refrigerator for up to 3 days. The breading will soften slightly, but they’re still delicious cold or reheated.
Reheating
To restore crispiness, reheat in an air fryer or conventional oven at 375°F for 5-7 minutes. Do not microwave them, or they’ll become soggy. I’ve tried the toaster oven too, and it works well for single servings.
Freezing
You can freeze the breaded, unbaked tenders. Place them on a baking sheet in the freezer until solid, then transfer to a freezer bag. They’ll keep for up to 3 months. Bake directly from frozen, adding 5-7 minutes to the cooking time.
Nutrition Information
I’m not a nutritionist, but here’s the breakdown if you’re tracking. Keep in mind that nutrition can vary based on specific brands and exact measurements.
Per Serving (based on 4 servings, 4 tenders each):
- Calories: ~280
- Protein: 25g
- Carbs: 22g
- Fiber: 1g
- Fat: 12g
- Sodium: ~400mg
This is significantly lower in fat than deep-fried chicken tenders, which can have 300+ calories and 20g+ of fat per serving. It’s a great high-protein option for a weeknight dinner. If you’re watching carbs, you can reduce the flour and panko slightly or use almond flour for a lower-carb version.
Final Thoughts
So that’s my go-to ultra-crispy oven-fried chicken tenders recipe! I’ve probably talked your ear off at this point, but when you make a recipe this often, you have a lot to say about it. This has saved weeknight dinners more times than I can count. It’s my answer to “what’s for dinner” when I’m tired, don’t want takeout, and still want something that tastes really good. My kids are happy, my husband’s happy, and I’m happy because I’m not stressed about cooking.
Make it yours! Try different spices, swap in your favorite dipping sauces, or add veggies to the side. The best recipes are the ones you adapt to your family’s tastes. If you make this, drop a comment and let me know what you think! I love hearing how recipes turn out in your kitchen. And if something doesn’t work, tell me that too—I’m here to help troubleshoot.
Happy cooking! And I hope your kitchen smells half as good as mine does right now.
Frequently Asked Questions
Can I use chicken thighs instead of breasts?
You can, but the texture will be different. Thighs are juicier and fattier, so they might not get as crispy on the outside unless you bake them longer. If you use thighs, I recommend trimming off excess fat and baking for an additional 5-7 minutes. But for that classic “tender” texture, breasts are better.
Why did my chicken tenders get soggy?
This usually happens if they’re not baked on a wire rack or if they’re crowded on the pan. The chicken needs space to breathe. If they touch, they steam each other. Also, make sure you’re oiling the tops before baking. The oil helps the panko brown and crisp up.
Can I make these in an air fryer?
Yes! Air fryer chicken tenders are amazing. Cook at 375°F for 10-12 minutes, flipping halfway through. They come out incredibly crispy. Just don’t overcrowd the basket.
What’s the best dipping sauce for these?
It’s subjective, but I love spicy ranch, honey mustard, and garlic aioli. For a healthier option, try a Greek yogurt-based dip with lemon and dill. They also go well with classic barbecue sauce.
Can I prep these ahead of time?
Yes. You can bread the tenders and store them in the fridge for up to 24 hours before baking. Cover them loosely with plastic wrap. This is great for meal prep or when you have guests coming over.
Is there a gluten-free option?
Absolutely. Use a gluten-free flour blend for the dredge and certified gluten-free panko breadcrumbs. The result is slightly less crunchy but still very tasty. You can also use crushed gluten-free cornflakes for the breading.
How do I know when they’re done?
The best way is to use a meat thermometer. Insert it into the thickest part of the chicken; it should read 165°F. Visually, the breading should be deep golden brown and crisp. If they’re not browned but the chicken is cooked, you can broil them for 1-2 minutes to crisp up the coating.
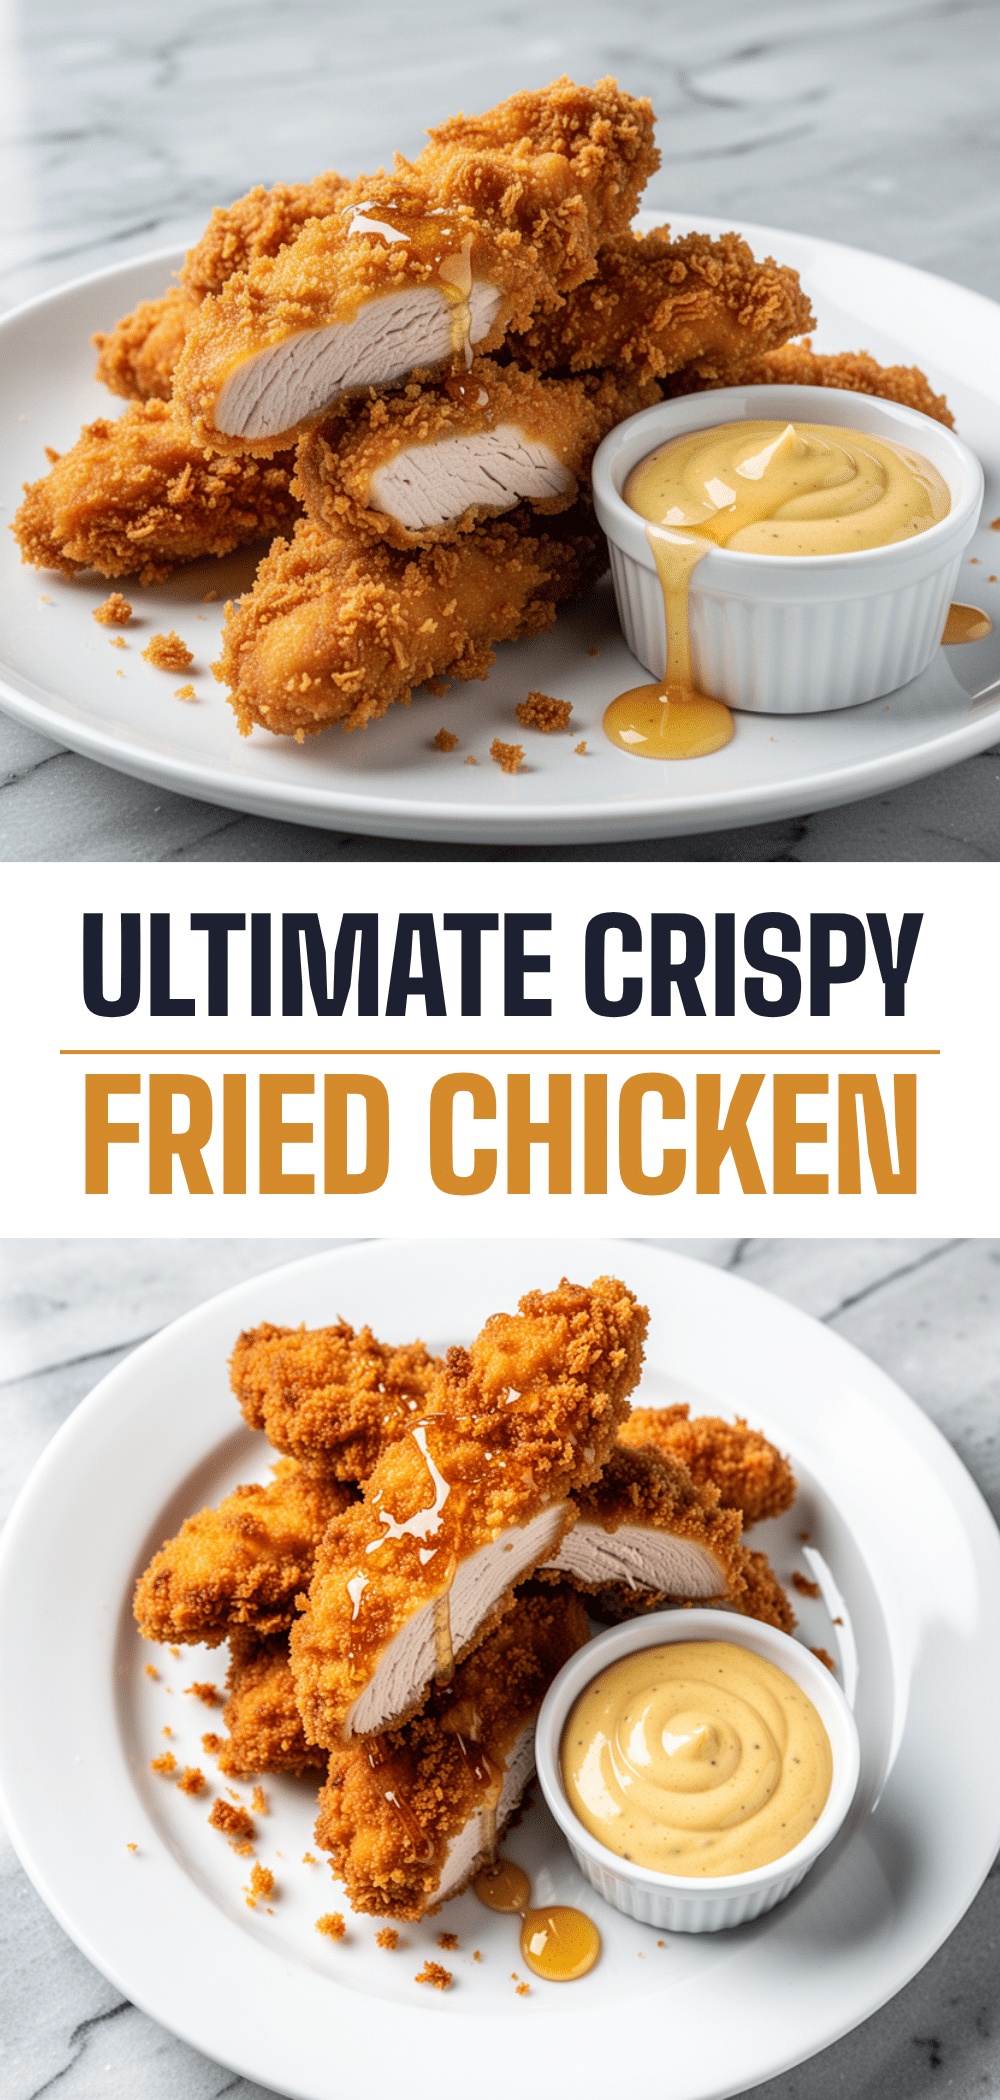
Pin This Recipe!
Ultra-Crispy Oven-Fried Chicken Tenders: Best Healthy Recipe
- Total Time: 40 minutes
- Yield: 4 servings 1x
Description
These ultra-crispy oven-fried chicken tenders offer a healthier alternative to deep-fried takeout without sacrificing texture or flavor. Using a secret blend of cornstarch and panko breadcrumbs, they achieve a restaurant-quality crunch while remaining juicy and easy to prepare.
Ingredients
- 1.5 lbs boneless, skinless chicken breasts
- 1 cup buttermilk
- 2 large eggs
- Salt and black pepper
- 1 cup all-purpose flour
- 1/2 cup cornstarch
- 1.5 cups panko breadcrumbs
- 1 tablespoon garlic powder
- 1 tablespoon onion powder
- 1 teaspoon smoked paprika
- 1/2 teaspoon cayenne pepper (optional)
- 1 teaspoon Italian seasoning
- 2–3 tablespoons avocado oil or olive oil
Instructions
- Preheat oven to 400°F (200°C).
- Slice chicken breasts horizontally into thinner, even pieces, then cut into strips about 1 inch wide and 3-4 inches long. Pat dry with paper towels.
- Set up three shallow dishes: one with flour mixed with salt, pepper, garlic powder, onion powder, paprika, cayenne, and Italian seasoning; one with whisked eggs and a splash of buttermilk; and one with panko breadcrumbs.
- Dredge each chicken tender in the flour mixture, shaking off excess. Dip into the egg wash, letting excess drip off, then press firmly into the panko breadcrumbs. For extra crunch, repeat the panko step.
- Place a wire rack over a baking sheet. Arrange chicken tenders in a single layer on the rack, ensuring they do not touch.
- Lightly coat the tops of the chicken tenders with avocado oil spray or brushed oil.
- Bake for 12 minutes, then flip the tenders. Bake for another 8-12 minutes until the internal temperature reaches 165°F and the coating is deep golden brown.
- Remove from oven and let rest on the rack for 5 minutes before serving.
Notes
For extra crispiness, keep breaded tenders in the fridge for 10-15 minutes before baking. Do not crowd the pan to prevent steaming. To reheat, use an air fryer or oven at 375°F for 5-7 minutes; do not microwave.
- Prep Time: 15 minutes
- Cook Time: 25 minutes
- Category: Main Course
- Cuisine: American
Nutrition
- Serving Size: 4 tenders per servin
- Calories: 280
- Sugar: 1
- Sodium: 400
- Fat: 12
- Saturated Fat: 2
- Carbohydrates: 22
- Fiber: 1
- Protein: 25
Keywords: oven-fried chicken, healthy chicken tenders, crispy chicken, baked chicken, family dinner, weeknight meals, gluten-free option


