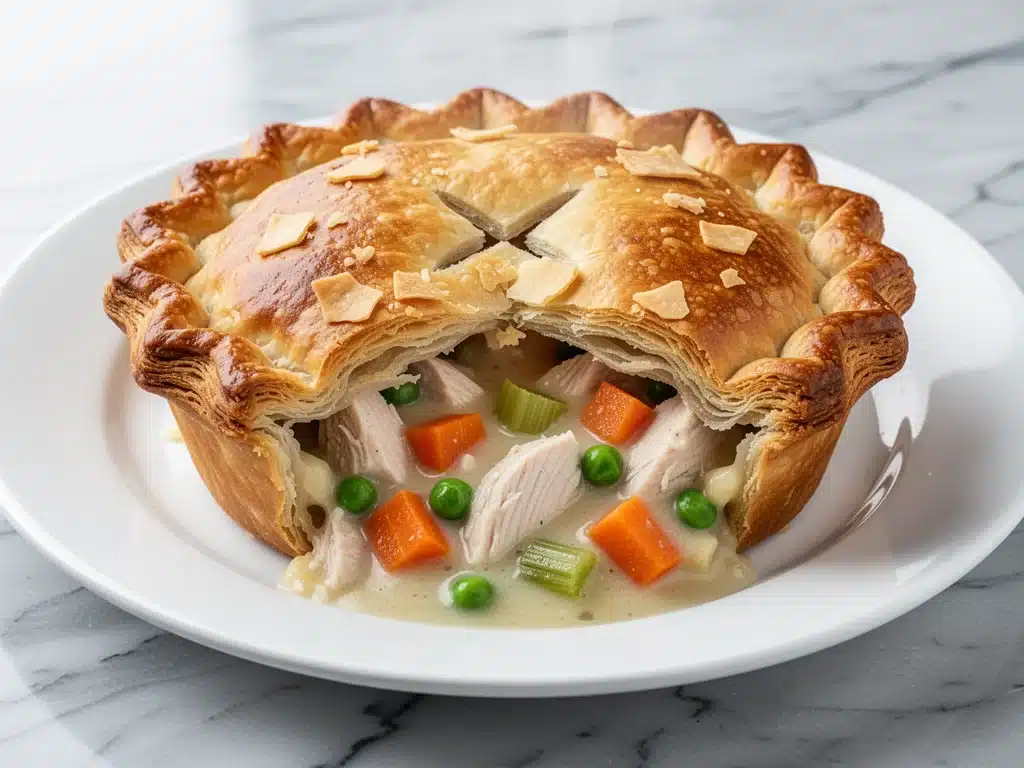
I have a confession to make. For years, I thought chicken pot pie was a dish you bought in the frozen aisle, shoved it in the oven at 7 PM on a Tuesday, and called it dinner. I wasn’t proud of it, but it was easy. And on those nights when I was exhausted, it was perfect.
But then, my mother-in-law visited. She’s a woman who believes that “easy” is just a code word for “lazy,” and she showed up with a Tupperware container that made me question every life choice I’d made up to that point. Inside was her chicken pot pie. The crust wasn’t just flaky; it was dangerously, impossibly flaky. It shattered when you touched it, revealing a creamy, herb-filled filling that tasted like it had been simmering all day (even though she made it in an hour). I took one bite and actually cried. Not dramatically, but those happy, “why did I eat frozen garbage for a decade?” tears.
That was three years ago. Since then, I’ve made this homemade chicken pot pie recipe at least a dozen times. I’ve tweaked the spice blend, tested different butter temperatures, and even argued with my husband about whether to use bone-in or boneless thighs. The result? A dish that is the ultimate comfort food, the kind of meal that makes your house smell like a bakery and your family ask for seconds before the first plate is even empty.
This isn’t just a recipe; it’s a cure for the midweek slump. It’s better than takeout, cheaper than delivery, and honestly? Easier than you think. If you’ve been intimidated by the idea of making pie crust from scratch, stop right now. You don’t need to be a pastry chef. You just need cold butter, a little patience, and this specific method. Let’s get into it.
Why You’ll Love This Chicken Pot Pie
There are a lot of dinner options out there, but few offer the emotional support of a hot, cheesy, flaky pie. Here is why this specific version has earned a permanent spot in our weekly rotation:
- The Crust is Actually Good — I’m serious. Most homemade crusts are tough or soggy. This one uses a secret technique (keeping the butter frozen until the last second) that guarantees layers of shattering, buttery flakes. It’s the kind of crust you want to eat by itself.
- One-Pan Filling — You don’t need to boil chicken separately, then sauté veggies in another pot, then make a roux in a third. I make the entire creamy, savory filling in one large skillet. It saves dishes and time.
- Uses Up Leftovers — Got leftover rotisserie chicken? Perfect. This recipe is basically a glorified cleanup crew for your fridge. It works with roasted chicken, boiled chicken, or even poached chicken.
- Freezer-Friendly — Unlike many pies that turn to mush when reheated, this one holds up surprisingly well. I often make two at once—one to eat today, one to freeze for a busy week later.
- Kid-Approved — My pickiest eater, who usually picks out the carrots and peas, devours this. The creamy sauce masks the vegetables just enough, and the flaky top is a hit.
Real talk? This is my go-to when I need to impress guests without spending hours in the kitchen, or when I just need a hug in dish form. It’s reliable, delicious, and makes everyone happy.
Ingredients You’ll Need
Here’s the best part: you probably have most of these ingredients already. This isn’t a recipe that requires a special trip to a specialty store. Here is what you need to get started.
For the Extra-Flaky Butter Crust
All-purpose flour (2 ½ cups / 315g) — The foundation. Don’t try to swap this for whole wheat unless you want a dense, heavy crust. I use Gold Medal or King Arthur, but any standard AP flour works.
Unsalted butter (1 cup / 2 sticks / 226g, very cold) — This is non-negotiable. I mean it. Cold. If your butter is soft, you’re starting too late. Cube it and throw it in the freezer for 15 minutes before you start. Some people use a mix of butter and shortening, but I prefer 100% butter for flavor. Just keep it freezing cold.
Cream cheese (2 tablespoons / 30g, cold) — This is my secret weapon. It adds a bit of tang and helps bind the crust so it’s easier to roll without cracking. It sounds weird, but trust me.
Ice water (6-8 tablespoons / 90-120ml) — You need ice water. Literally. If your water isn’t cold, it melts the butter. Melted butter = tough crust. Keep a glass of ice in the water while you measure.
Salt (1 teaspoon / 6g) — Just enough to bring out the flavor in the flour.
For the Savory Filling
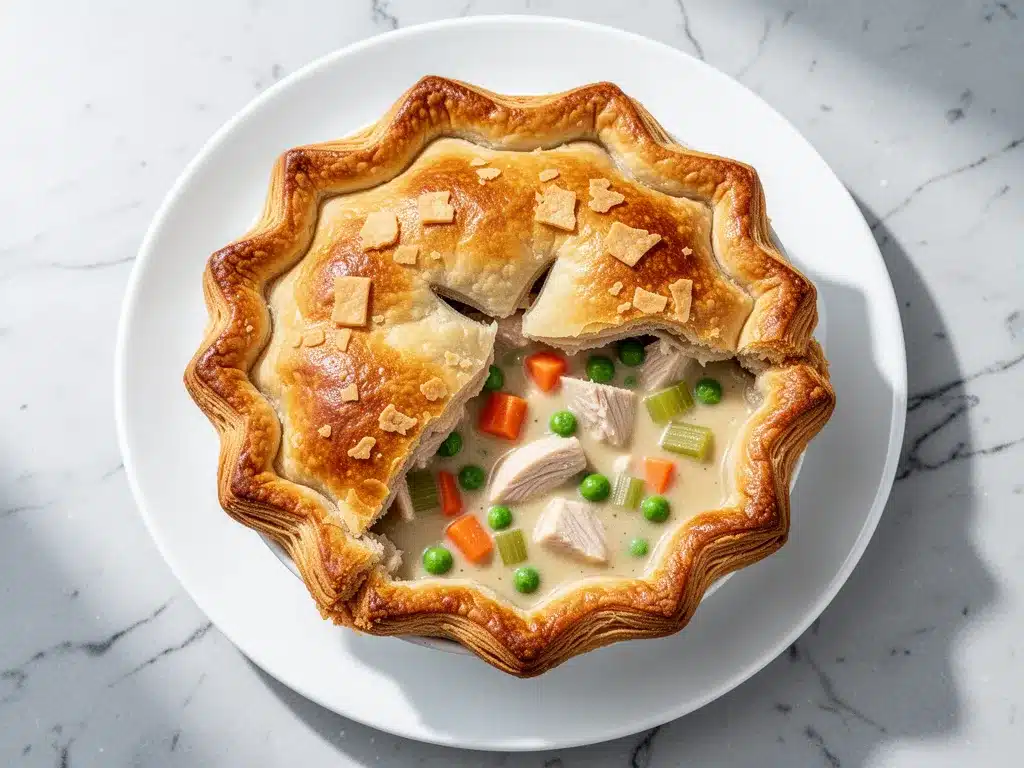
Cooked chicken (3 cups / 450g, shredded or diced) — Rotisserie chicken is my favorite because it’s already seasoned. If you’re boiling your own, use chicken thighs for more flavor and moisture.
Unsalted butter (4 tablespoons / 60g) — For sautéing the veggies.
Yellow onion (1 medium, diced / about 150g) — Sweet and savory base. Yellow onions are perfect here.
Carrots (2 medium, diced / about 150g) — Cut them small so they cook evenly. Large chunks stay crunchy and weird.
Celery (2 stalks, diced / about 100g) — The classic mirepoix trio. Don’t skip the celery; it adds that essential savory depth.
Garlic (3 cloves, minced) — Fresh only. Jarred garlic tastes metallic in a delicate pie filling.
All-purpose flour (3 tablespoons / 25g) — This thickens the sauce. It’s a roux, but easier than it sounds.
Chicken broth (2 cups / 480ml) — Use low-sodium so you can control the saltiness. Good quality broth matters here; it’s the main liquid.
Heavy cream (½ cup / 120ml) — For richness. You can use half-and-half if you want it lighter, but heavy cream makes it luxurious.
Frozen peas (1 cup / 140g) — I use frozen because they’re sweet and tender. Fresh peas are okay, but frozen are convenient and usually picked at peak ripeness.
Dried thyme (1 teaspoon) — Thyme and chicken are best friends. If you don’t have dried, use 1 tablespoon fresh.
Dried parsley (1 teaspoon) — For color and mild flavor.
Salt and black pepper — To taste. Always taste your filling before you put the crust on!
Equipment Needed
You don’t need fancy gadgets, but having the right tools helps.
Large skillet or Dutch oven — I use a 12-inch skillet for the filling. It needs to be big enough to hold all the veggies and chicken without crowding.
Food processor — Optional, but it makes making the crust dough so much faster. You can do it by hand with a pastry cutter, but the food processor keeps the butter cold because you work faster.
Rolling pin — Any standard rolling pin works. I like a wooden one because it doesn’t slip.
Baking dish — A 9×13 inch glass or ceramic baking dish is perfect. I prefer glass because you can see the bottom browning.
Pastry brush — For the egg wash. A silicone one is easy to clean.
Fork — For docking the top crust and fluting the edges.
How to Make It: Step-by-Step
Alright, let’s make this! I’m walking you through exactly how I do it, including the little tricks I’ve picked up over the years.
Step 1: Make the Crust Dough (10 minutes)
If you’re using a food processor, pulse the flour and salt together. Add the cold, cubed butter and the cold cream cheese. Pulse in short bursts until the mixture looks like coarse crumbs with some pea-sized chunks of butter remaining. Those chunks are key—they create steam pockets that make the crust flaky.
Pour in the ice water, one tablespoon at a time, pulsing just until the dough starts to come together. Don’t overmix. If you keep pulsing, it’ll get tough. Dump the dough onto a sheet of plastic wrap, divide into two disks (one slightly larger for the bottom), wrap tightly, and refrigerate for at least 30 minutes. This relaxes the gluten and re-chills the butter.
Step 2: Sauté the Veggies (10 minutes)
While the dough chills, heat the 4 tablespoons of butter in your large skillet over medium heat. Add the diced onions, carrots, and celery. Sauté for about 5-7 minutes until the onions are translucent and the carrots are starting to soften. Add the minced garlic and dried thyme in the last minute so it doesn’t burn. Stir constantly until fragrant.
Step 3: Make the Sauce (5 minutes)
Sprinkle the 3 tablespoons of flour over the cooked vegetables. Stir well to coat everything. This cooks off the raw flour taste. Let it cook for 1 minute, then slowly pour in the chicken broth while stirring constantly to prevent lumps. Bring it to a gentle simmer. Stir in the heavy cream, salt, and pepper. Let it simmer for 2-3 minutes until the sauce thickens enough to coat the back of a spoon. It should look like a thick gravy, not a thin soup.
Step 4: Assemble the Filling (5 minutes)
Remove the skillet from heat. Stir in the cooked chicken and frozen peas. The heat from the sauce will thaw and warm the peas perfectly. Taste the filling! This is your chance to adjust seasoning. Does it need more salt? More pepper? Add it now. Transfer the mixture to your prepared baking dish.
Step 5: Top and Bake (40-45 minutes)
Preheat your oven to 400°F (200°C). Take your larger dough disk out of the fridge. On a lightly floured surface, roll it out into a circle that’s about 12 inches wide. Carefully lay it over the hot filling. Trim the excess dough, leaving about an inch overhang. Tuck the edges under and crimp them with a fork for a pretty, sealed edge.
Cut 4-5 slits in the top of the crust to let steam escape. Whisk one egg with a tablespoon of water (egg wash) and brush it over the top crust. This gives it that gorgeous golden-brown shine. Sprinkle with a little extra coarse salt if you like.
Bake for 40-45 minutes. The crust should be deep golden brown, and the filling should be bubbling through the vents. If the edges start browning too fast, cover them with a strip of aluminum foil.
Step 6: Cool and Serve
This is the hardest part: let it cool for 10-15 minutes before cutting. If you cut it immediately, the filling will run out and it’ll be soupy. Letting it rest allows the sauce to set slightly. Slice into squares and serve warm.
Expert Tips & Tricks
Here’s everything I’ve learned from making this dozens of times. These tips will save you from my mistakes.
Keep Everything Cold
I cannot stress this enough. The temperature of your butter is the single most important factor in flaky crust. If your kitchen is hot, work quickly. If your butter starts to soften, put the dough back in the fridge. Cold butter = flaky layers. Warm butter = tough biscuit.
Don’t Skip the Resting Time
It’s tempting to roll the dough right out of the fridge, but the gluten needs to relax. If you try to roll it immediately, it will shrink back like a rubber band. 30 minutes is the minimum, but an hour is better.
Use a Glass Baking Dish
Glass conducts heat well and allows you to see when the bottom crust is browning. If you use metal, the bottom might burn before the top is golden. If you use ceramic, it might stay soggy. Glass is the sweet spot.
Egg Wash is Your Friend
Many people skip the egg wash, but it makes a huge difference. It gives the crust a bakery-style shine and helps any added seeds (like sesame or poppy) stick. Brush it on generously.
Make It Ahead
You can assemble the entire pie (unbaked) and refrigerate it for up to 24 hours. Just add 5-10 minutes to the baking time if you bake it straight from the fridge. This is great for dinner parties.
Variations & Substitutions
Once you’ve nailed the basic version, here’s how you can mix it up. I’ve tried all of these.
Turkey Pot Pie
Perfect for leftovers after Thanksgiving. Use shredded turkey instead of chicken. The flavor profile is almost identical.
Vegetarian Pot Pie
Skip the chicken and add more veggies. Mushrooms, broccoli, and sweet potatoes work beautifully. Use vegetable broth instead of chicken broth. Add a can of drained cannellini beans for protein.
Herb-Infused Crust
Add 1 tablespoon of dried rosemary or thyme to the flour mixture before adding the butter. It adds a subtle herbal note that pairs well with the savory filling.
Spicy Pot Pie
Add a teaspoon of smoked paprika and a pinch of cayenne pepper to the filling. It adds a nice kick that cuts through the richness of the cream.
Gluten-Free Option
Use a 1:1 gluten-free flour blend for the crust. The texture will be slightly more tender and less flaky, but still delicious. Make sure your broth and thickeners are GF.
Serving & Storage
How to Serve
I usually serve this straight from the baking dish at the dinner table—it looks rustic and stays warm. Pair it with a simple green salad with a vinaigrette to cut through the richness. A glass of crisp white wine, like a Sauvignon Blanc or Pinot Grigio, goes perfectly with this.
Storage
Store leftovers in an airtight container in the refrigerator for up to 4 days. The crust will soften slightly in the fridge, which is normal.
Reheating
Best method: Reheat individual portions in the oven at 350°F (175°C) for 15-20 minutes. This keeps the crust from getting too soggy. Microwave works in a pinch, but the crust will get chewy. Add a splash of broth to the filling if it looks dry after reheating.
Freezing
You can freeze the unbaked pie for up to 3 months. Wrap it tightly in plastic wrap and foil. Bake it straight from frozen, adding 15-20 minutes to the cooking time. You can also freeze the baked pie, but the texture of the crust suffers slightly. I prefer freezing it unbaked.
Nutrition Information
I’m not a nutritionist, but here’s the breakdown if you’re tracking. This is comfort food, so it’s hearty!
Per Serving (based on 8 servings):
- Calories: 480
- Protein: 22g
- Carbs: 38g
- Fiber: 3g
- Sugar: 4g
- Fat: 26g
- Saturated Fat: 12g
It’s higher in calories due to the butter and cream, but it’s also filling and nutritious thanks to the vegetables and protein. When I want to make it lighter, I use half-and-half instead of heavy cream and reduce the butter in the crust slightly. But usually? I just enjoy a reasonable portion and savor every bite.
Final Thoughts
So that’s my go-to homemade chicken pot pie! I’ve probably talked your ear off at this point, but when you make a recipe this often, you have a lot to say about it.
This pie has saved weeknight dinners more times than I can count. It’s my answer to “what’s for dinner” when I’m tired, don’t want takeout, and still want something that tastes really good. My kids are happy, my husband’s happy, and I’m happy because I’m not stressed about cooking.
Make it yours! Try different add-ins, swap in your favorite vegetables, or play with the herbs. The best recipes are the ones you adapt to your family’s tastes. If you make this, drop a comment and let me know what you think! I love hearing how recipes turn out in your kitchen. And if something doesn’t work, tell me that too—I’m here to help troubleshoot.
Happy cooking! And I hope your kitchen smells half as good as mine does right now.
Frequently Asked Questions
Can I use store-bought pie crust?
Absolutely. I’m not here to judge. If you’re short on time, a high-quality store-bought crust (like Pepperidge Farm) works fine. Just blind-bake it for 10 minutes if you’re worried about sogginess. But honestly, homemade is so much better once you try it.
Why did my crust get soggy?
Usually, this happens because the filling was too watery when you put the crust on, or you didn’t let the pie rest after baking. Make sure your filling is thick and creamy before assembling. Also, let it cool for at least 15 minutes so the sauce can set. If you’re worried, brush the bottom crust with a little beaten egg white before adding the filling—it creates a seal.
Can I make this in a skillet?
Yes! You can make individual skillet pot pies. Use cast-iron skillets, fill them with the mixture, top with dough, and bake at 400°F for 25-30 minutes. It’s a fun way to serve it.
What if I don’t have heavy cream?
You can use half-and-half, whole milk, or even evaporated milk. The sauce will be slightly thinner, so you might need to simmer it a bit longer to thicken it. Coconut milk is an option for dairy-free, but it will change the flavor.
Can I freeze the leftover filling?
You can, but the texture of the carrots and potatoes might get a bit mushy when thawed. It’s still tasty, just not as crisp. I recommend using leftovers within 3-4 days.
Why is my crust tough?
Overworking the dough is the usual culprit. Handle it as little as possible. Also, if your butter was too warm, it would have absorbed into the flour instead of staying in chunks. Keep it cold!
Pin This Recipe!
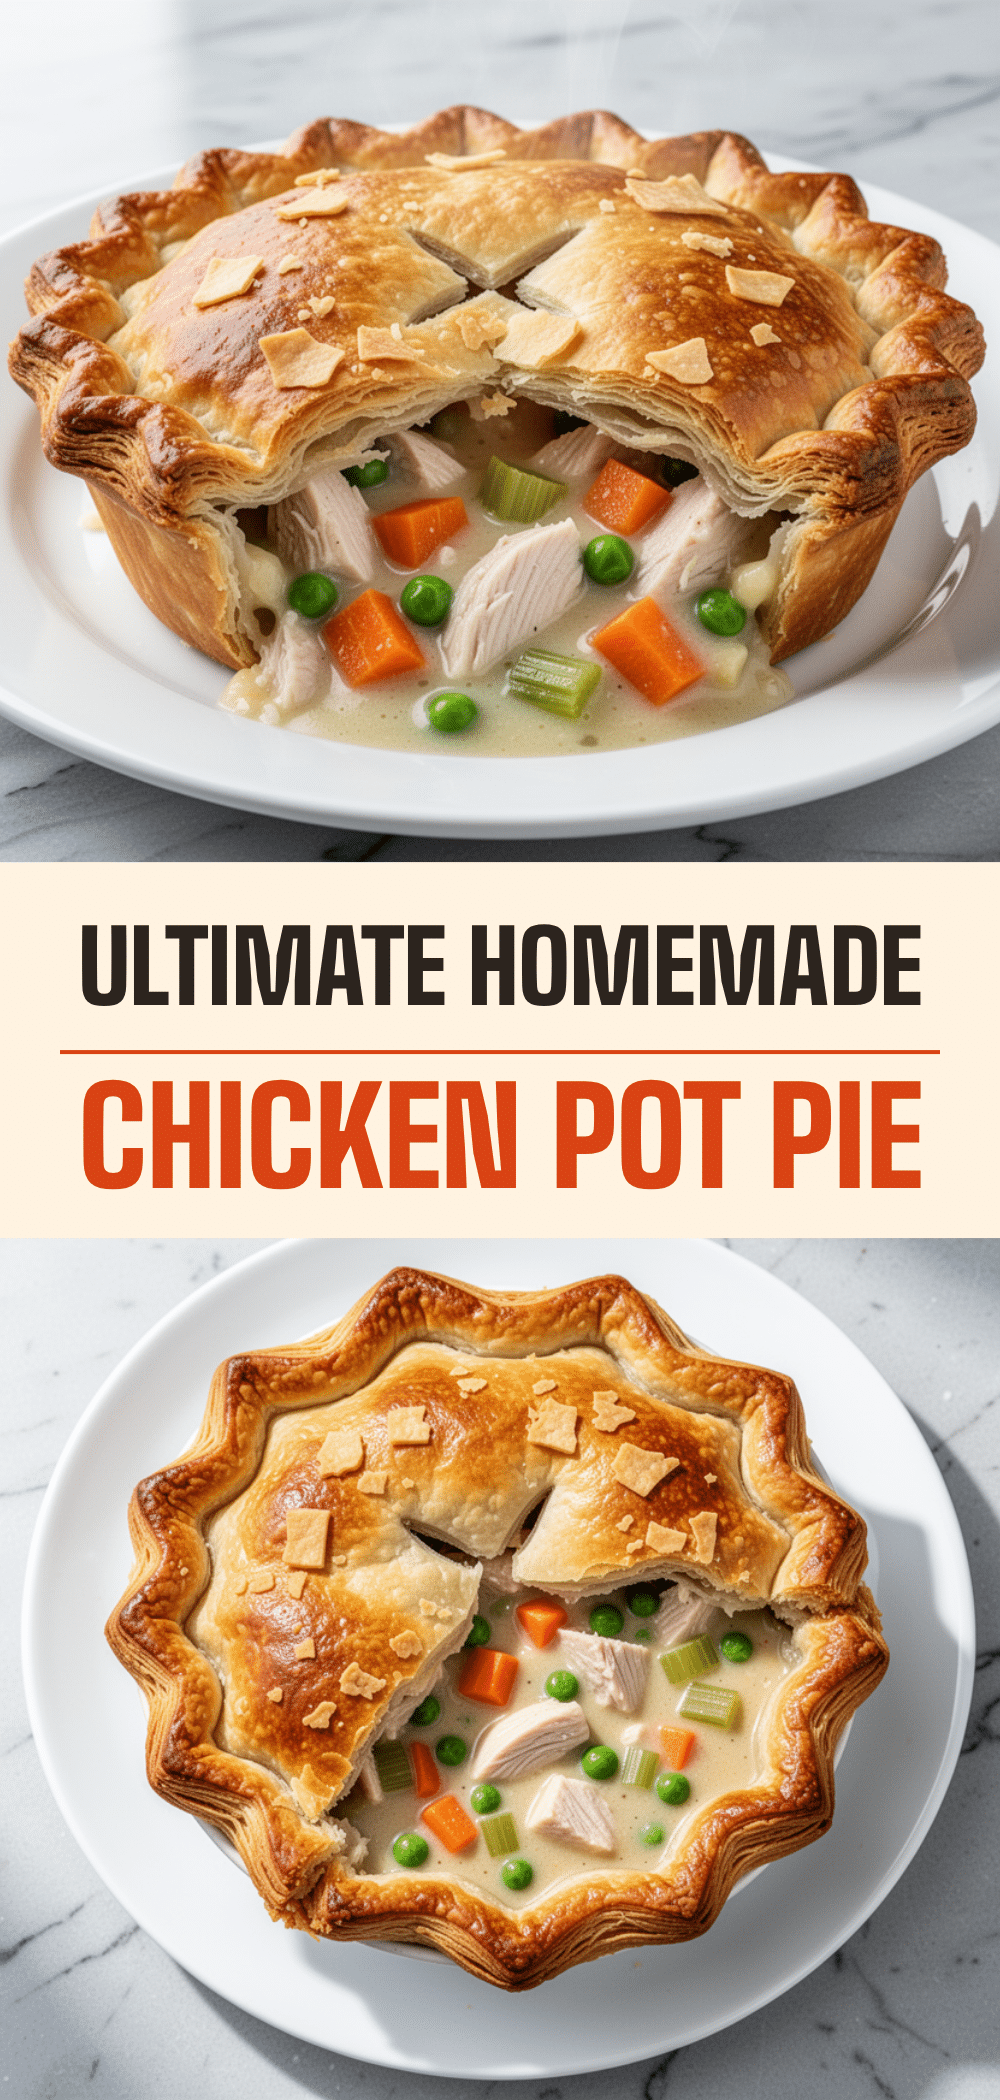
Homemade Chicken Pot Pie: Easy 1-pan Butter Crust
- Total Time: 75 minutes
- Yield: 8 servings 1x
Description
A comforting homemade chicken pot pie featuring an extra-flaky butter crust made with a secret cream cheese technique and a savory, creamy filling cooked entirely in one skillet.
Ingredients
- 2 ½ cups all-purpose flour
- 1 cup unsalted butter, very cold and cubed
- 2 tablespoons cream cheese, cold
- 6–8 tablespoons ice water
- 1 teaspoon salt
- 3 cups cooked chicken, shredded or diced
- 4 tablespoons unsalted butter
- 1 medium yellow onion, diced
- 2 medium carrots, diced
- 2 stalks celery, diced
- 3 cloves garlic, minced
- 3 tablespoons all-purpose flour
- 2 cups chicken broth, low-sodium
- ½ cup heavy cream
- 1 cup frozen peas
- 1 teaspoon dried thyme
- 1 teaspoon dried parsley
- Salt and black pepper to taste
- 1 egg, whisked with 1 tablespoon water (for egg wash)
Instructions
- Pulse flour and salt in a food processor. Add cold cubed butter and cream cheese; pulse until mixture resembles coarse crumbs with pea-sized butter chunks.
- Add ice water one tablespoon at a time, pulsing just until dough comes together. Do not overmix.
- Divide dough into two disks (one slightly larger), wrap in plastic, and refrigerate for at least 30 minutes.
- While dough chills, melt 4 tablespoons butter in a large skillet over medium heat. Sauté onion, carrots, and celery for 5-7 minutes until softened.
- Add garlic and dried thyme; cook for 1 minute until fragrant.
- Sprinkle 3 tablespoons flour over vegetables and stir to coat. Cook for 1 minute.
- Slowly pour in chicken broth while stirring constantly to prevent lumps. Bring to a gentle simmer.
- Stir in heavy cream, salt, and pepper. Simmer for 2-3 minutes until sauce thickens.
- Remove skillet from heat. Stir in cooked chicken and frozen peas. Taste and adjust seasoning.
- Transfer filling to a 9×13 inch baking dish.
- Preheat oven to 400°F (200°C). Roll out the larger dough disk into a 12-inch circle.
- Lay dough over the filling, trim excess, and crimp edges with a fork.
- Cut 4-5 slits in the top for steam vents. Brush with egg wash and sprinkle with coarse salt.
- Bake for 40-45 minutes until crust is deep golden brown and filling is bubbling.
- Let cool for 10-15 minutes before slicing to allow sauce to set.
Notes
Keep all ingredients for the crust very cold to ensure flakiness. Let the pie rest for 10-15 minutes after baking to prevent the filling from being soupy. You can assemble the unbaked pie and refrigerate for up to 24 hours before baking.
- Prep Time: 30 minutes
- Cook Time: 45 minutes
- Category: Main Course
- Cuisine: American
Nutrition
- Serving Size: 1 slice
- Calories: 480
- Sugar: 4
- Fat: 26
- Saturated Fat: 12
- Carbohydrates: 38
- Fiber: 3
- Protein: 22
Keywords: chicken pot pie, homemade pie crust, one pan dinner, comfort food, easy dinner, butter crust, family friendly


