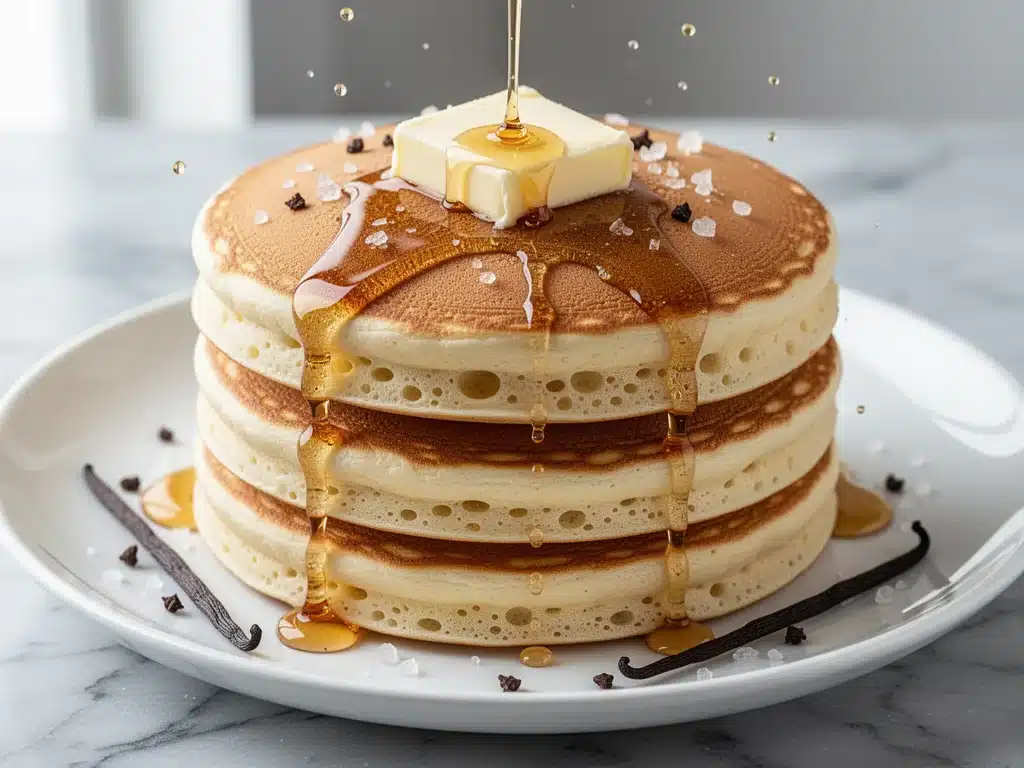
There is a specific kind of magic that happens at 9 AM on a Saturday when the house is quiet, the coffee is brewing, and the kitchen smells like browned butter and vanilla. For years, I treated pancakes as a chore. You know the type: the frantic scramble to mix batter before the kids wake up, the panic when the first batch burns because the pan was too hot, and the disappointment when the final stack comes out flat, dense, and rubbery. I was making pancakes wrong. Badly wrong.
It wasn’t until I stopped trying to rush the process that everything changed. I realized that the secret to Ultra-Fluffy Buttermilk Pancakes isn’t in a fancy gadget or a rare ingredient. It’s in the science of resting the batter and the patience to let the bubbles form. This isn’t just a recipe; it’s a ritual. It’s the difference between a “quick breakfast” and a “weekend brunch experience.” Once you master this method, you’ll find yourself waking up early just to make them. And honestly? The kids will be too busy eating to complain about the alarm.
I’ve tested this recipe dozens of times—sometimes with whole milk because I forgot to buy buttermilk, sometimes with baking powder that was three months old. The results were always mediocre. But when I stick to the core principles: fresh leavening, proper resting time, and gentle folding—the pancakes rise like clouds. They are tender, tangy, and impossibly light. This is the Ultra-Fluffy Buttermilk Pancakes recipe I’ve perfected over five years of weekend experiments. It’s simple, it’s reliable, and it tastes like a hug from your grandmother.
Why You’ll Love This Recipe
Look, I know there are a million pancake recipes out there. Why this one? Because it actually works every single time, even if you’re running on zero sleep. Here’s why this Ultra-Fluffy Buttermilk Pancakes recipe has earned a permanent spot in my weekend rotation:
- Textbook Fluffiness — Seriously, these aren’t just fluffy; they’re cloud-like. The key is the buttermilk reacting with the baking soda, which creates tiny air pockets that expand in the pan. I’ve made these for picky eaters who usually refuse anything “too soft,” and they’ve never turned down a second stack.
- Minimal Cleanup — You only need one large bowl for the wet ingredients and one for the dry. No fancy stand mixer, no dozen small ramekins. Just two bowls, a whisk, and a skillet. If you can wash a bowl, you can make this.
- Make-Ahead Friendly — The batter can sit in the fridge for up to 24 hours. This is a game-changer for lazy weekends. Mix it Friday night, let it rest, and cook them fresh Saturday morning. The flavors actually deepen overnight, making them even tangier and better.
- Consistent Results — I’ve had friends try this recipe and claim it’s “too easy to be good.” But the science holds up. The resting period allows the gluten to relax and the starches to hydrate, ensuring you never get a tough pancake again. It’s foolproof.
- Perfect for Toppings — These pancakes are sturdy enough to hold a mountain of whipped cream but delicate enough that they don’t feel heavy in your stomach. They pair beautifully with everything from classic maple syrup to homemade vanilla sweet cream cold foam drizzled on top.
This recipe takes the stress out of brunch. It’s the kind of meal that makes you feel like a gourmet chef without the gourmet effort. My family thinks I’ve bought them from a fancy hotel now. (Shh, don’t tell them it takes 15 minutes active time.)
Ingredients You’ll Need
Here’s the beauty of this Ultra-Fluffy Buttermilk Pancakes recipe: the ingredient list is short, simple, and likely already in your pantry. You don’t need fancy flours or obscure extracts. You just need quality basics and a little bit of patience. Here’s what you need and why each item matters.
For the Dry Mix
All-Purpose Flour (2 cups / 250g) — This is your structure. Don’t substitute with whole wheat unless you want dense bricks. Spoon the flour into the measuring cup and level it off. Packing it down is the #1 reason pancakes turn out flat.
Baking Powder (2 teaspoons) — This is your first lift. Make sure it’s fresh! If your baking powder has been sitting in the back of the cabinet since last Christmas, toss it. Test it by dropping a teaspoon into hot water—if it doesn’t fizz violently, it’s dead weight.
Baking Soda (½ teaspoon) — This is the second lift, and it’s crucial for fluffiness. It reacts with the acidic buttermilk to create carbon dioxide bubbles. This reaction is what gives these pancakes their signature rise.
Salt (½ teaspoon) — Essential for flavor. It balances the sweetness and enhances the tang of the buttermilk. Don’t skip it, even if you’re watching sodium.
For the Wet Mix
Buttermilk (1 ¾ cups / 420ml) — The star of the show. Buttermilk tenderizes the gluten and adds that classic tang. If you’re out of buttermilk, make a quick substitute: add 1 tablespoon of lemon juice or white vinegar to 1 ¾ cups of milk. Let it sit for 10 minutes until it curdles. It’s not *quite* the same, but it works in a pinch.
Eggs (2 large, room temperature) — Room temperature ingredients emulsify better. Cold eggs can shock the batter and make it tough. Take them out of the fridge 30 minutes before you start.
Melted Butter (¼ cup / 57g, cooled slightly) — This adds richness and flavor. Don’t use oil; it makes the pancakes greasy and heavy. Let the butter cool for a minute so it doesn’t cook the eggs when you mix them.
Vanilla Extract (1 teaspoon) — Pure vanilla, not imitation. It rounds out the flavor and makes the pancakes smell amazing while they cook.
For Cooking
Butter or Oil — For greasing the pan. I prefer a little bit of butter for the flavor, but neutral oil works if you’re burning butter easily. Also, serve with extra butter and your favorite syrup.
Pro Tip: I always keep a small bowl of extra melted butter nearby. After flipping a pancake, I brush a tiny bit of butter on the uncooked side before the second flip. It creates a golden, crispy exterior while keeping the inside soft. Trust me on this. It’s a restaurant trick.
Equipment Needed
You don’t need a fancy electric griddle to make the best Ultra-Fluffy Buttermilk Pancakes. In fact, I find that a heavy-bottomed skillet gives you the most control. Here’s what I use:
- Large Mixing Bowl — For the dry ingredients. I like a wide bowl so I can whisk easily without spilling.
- Medium Mixing Bowl — For the wet ingredients. Separate bowls prevent overmixing.
- Whisk — A standard wire whisk is perfect for aerating the dry ingredients and blending the wet ones smoothly.
- Non-Stick Skillet or Griddle — A 10-12 inch non-stick skillet is ideal for home cooks. If you have a flat griddle, even better, but you’ll need to work in smaller batches.
- Ladle or ¼ Cup Measuring Cup — Consistency is key. Use the same amount of batter for every pancake so they cook evenly. I use a ladle because it’s faster and cleaner.
- Spatula — A thin, flexible silicone spatula is best for flipping without tearing the delicate pancake.
- Instant-Read Thermometer (Optional) — If you struggle with heat control, use this. Your pan should be around 375°F (190°C). If you don’t have one, just drop a few drops of water in the pan—if they sizzle and evaporate instantly, it’s too hot. If they dance around for a few seconds, it’s perfect.
Tool Tip: Keep your cooked pancakes warm in a 200°F (95°C) oven on a wire rack. Stacking them on a plate traps steam and makes them soggy. A rack keeps them crisp and warm while you finish the batch.
How to Make It: Step-by-Step
Alright, let’s make these Ultra-Fluffy Buttermilk Pancakes! I’m walking you through exactly how I do it, including the little tricks I’ve picked up over years of trial and error. This process is simple, but timing is everything.
Step 1: Whisk the Dry Ingredients (2 minutes)
In your large bowl, whisk together the flour, baking powder, baking soda, and salt. Whisking isn’t just mixing; it’s aerating. You want to pull air into the flour so the pancakes start light before they even hit the pan. Do this for about 30 seconds. It seems like a small step, but it makes a huge difference in texture.
Step 2: Mix the Wet Ingredients (2 minutes)
In a separate medium bowl, whisk the buttermilk, eggs, melted butter, and vanilla extract until smooth. The butter should be liquid but not hot. If it’s too hot, it will scramble the eggs. Whisk until the mixture is uniform and slightly frothy. This ensures the fat is evenly distributed.
Step 3: Combine and Rest (10-15 minutes)
Pour the wet ingredients into the dry ingredients. Gently stir with a spatula or spoon until *just combined*. This is the most critical step. It’s okay if there are small lumps. In fact, lumps are good! Overmixing develops gluten, which makes pancakes tough and chewy instead of fluffy. Stop mixing as soon as you no longer see dry streaks of flour. Once mixed, let the batter rest for 10-15 minutes. This allows the flour to hydrate and the baking powder/soda to activate. You’ll see tiny bubbles forming on the surface. This is the sign of fluffiness.
Step 4: Heat the Pan (3 minutes)
Place your skillet or griddle over medium heat. Let it warm up for about 3 minutes. To test the heat, flick a few drops of water onto the surface. If they sizzle and vanish, it’s ready. If they dance and roll around, it’s perfect. If they just sit there, it’s too cold. Lightly grease the pan with a little butter or oil. Wipe out any excess with a paper towel—you want a thin film, not a puddle.
Step 5: Cook the Pancakes (2-3 minutes per side)
Ladle about ¼ cup of batter onto the pan for each pancake. Don’t crowd the pan; give them space to breathe. Cook until the edges look set and dry, and bubbles form on the surface and pop, leaving small holes that don’t immediately fill in. This usually takes about 2-3 minutes. Do not flip too early! If you flip before the bubbles set, the pancake will tear and collapse. Flip gently with a spatula.
Step 6: Finish Cooking (1-2 minutes)
Cook the second side for about 1-2 minutes until golden brown. The pancake should be springy to the touch. If it feels soft and squishy, it needs more time. Transfer to a wire rack in the warm oven while you repeat with the remaining batter. Add a tiny bit more butter to the pan between batches if needed.
Total Time: About 30 minutes (10 minutes prep, 20 minutes cooking). The resting time is included in the prep.
Expert Tips & Tricks
Here’s everything I’ve learned from making this recipe dozens of times. These tips will save you from my early mistakes and guarantee restaurant-quality results.
The “Just Combined” Rule
I cannot stress this enough: DO NOT OVERMIX. When you mix the wet and dry, stop as soon as the flour disappears. Lumps are your friend. Overmixing creates a dense, rubbery pancake. I used to be a perfectionist mixer, and my pancakes were always tough. Once I let go, they became clouds.
The Resting Period is Non-Negotiable
I know it’s tempting to cook them immediately. But wait. The 10-15 minute rest allows the leavening agents to activate and the gluten to relax. This is what creates the airy, tender crumb. If you skip this step, you’re just making flatbread with syrup.
Control Your Heat
Medium heat is the sweet spot. If the pan is too hot, the outside burns before the inside cooks. If it’s too low, the pancakes dry out and become rubbery. I usually set my stove to a 5 or 6 out of 10. If your first pancake is dark brown on the outside and raw in the middle, lower the heat. Adjust as you go.
Don’t Press Down
When you flip a pancake, do not press down on it with the spatula. You’re squeezing out the air bubbles you worked so hard to create. Let it sit. The air inside needs to expand to make it fluffy.
Keep Them Warm Properly
As mentioned, use a wire rack in a warm oven (200°F). Stacking them on a plate traps steam, making the bottom soggy. A rack keeps the air circulating so they stay crisp on the outside and soft on the inside.
Batch Cooking Strategy
If you’re feeding a crowd, cook in batches of 3-4 pancakes. This ensures you don’t overcrowd the pan and that each pancake gets enough space to rise properly. It’s better to have a few perfect pancakes than a lot of mediocre ones.
Variations & Substitutions
Once you’ve nailed the basic Ultra-Fluffy Buttermilk Pancakes recipe, here’s how you can mix it up. I’ve tried all of these, and they all work beautifully.
Berry Blast
Stir in ½ cup of fresh blueberries or raspberries into the batter just before cooking. The berries burst slightly, creating pockets of fruity flavor. For extra berry intensity, mash half the berries into the batter before adding the rest whole.
Chocolate Chip
Add ½ cup of semi-sweet chocolate chips. They melt into the pancake, creating little pockets of gooey chocolate. This is a huge hit with kids. You can also use white chocolate chips for a sweeter version.
Lemon Poppy Seed
Add the zest of one lemon and 1 tablespoon of poppy seeds to the dry ingredients. The citrus brightens the flavor and cuts through the richness of the butter. It’s a refreshing twist that feels fancy.
Banana Walnut
Mash one ripe banana and fold it into the wet ingredients. Add ½ cup of chopped walnuts for crunch. This makes the pancakes denser and more bread-like, but still fluffy. It’s like eating banana bread for breakfast.
Gluten-Free Version
Use a 1:1 gluten-free flour blend (like Bob’s Red Mill or King Arthur). Make sure it contains xanthan gum, or add ½ teaspoon if it doesn’t. The texture might be slightly different, but it’s still delicious. I’ve used this method for friends with celiac disease, and they loved it.
Dairy-Free Option
Swap the buttermilk for dairy-free buttermilk (soy milk + vinegar) and use melted coconut oil or dairy-free butter. The flavor will be slightly different, but the texture will still be fluffy. It’s a great option for those with lactose intolerance.
Protein-Packed
Add 1 scoop of vanilla protein powder to the dry ingredients. You may need to add an extra ¼ cup of buttermilk, as protein powder absorbs more liquid. These pancakes will be denser and more filling, perfect for a post-workout breakfast.
Serving & Storage
Now for the fun part: serving. These Ultra-Fluffy Buttermilk Pancakes are best served fresh and hot, but here’s how to handle leftovers and make the most of your brunch.
How to Serve
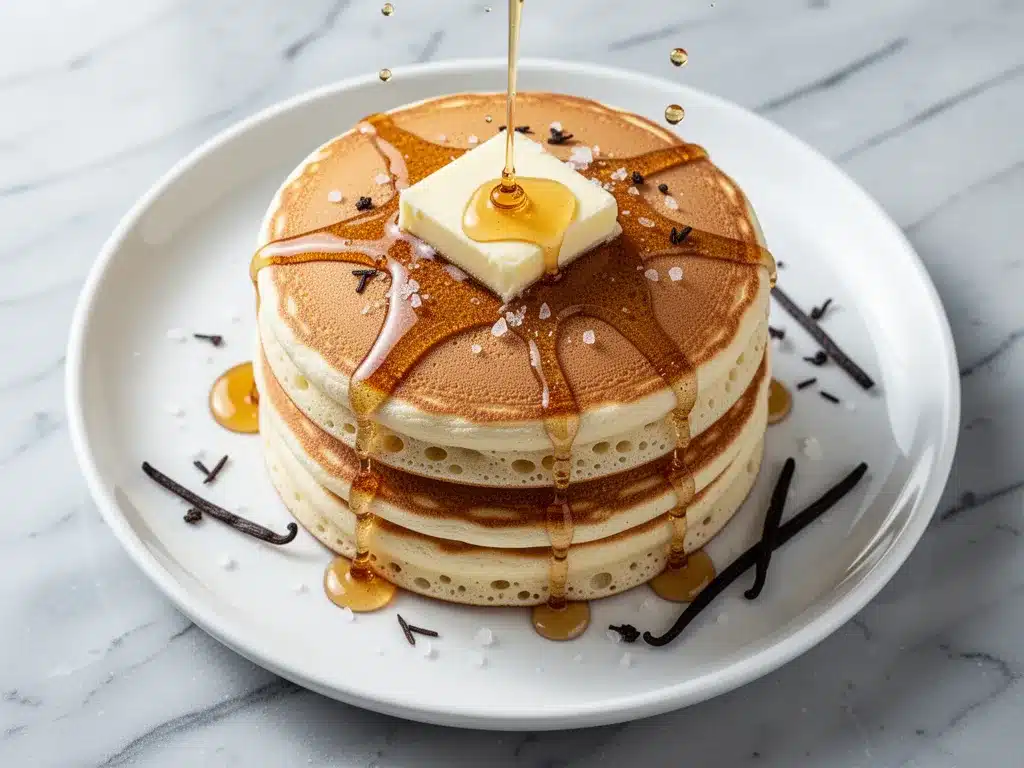
I usually serve these with a stack of 3-4 pancakes per person. Top with a generous pat of butter and warm maple syrup. The butter should melt into the nooks and crannies. For a fancy touch, add a dollop of homemade vanilla sweet cream cold foam or fresh whipped cream. Fresh berries on the side add a nice contrast to the sweet syrup.
Pair these with a pot of strong coffee or creamy iced caramel latte for the ultimate weekend brunch experience. The coffee cuts through the richness of the pancakes, balancing the meal perfectly.
Storage Instructions
Refrigerator: Store leftover pancakes in an airtight container for up to 3 days. They will firm up in the fridge, which is normal.
Reheating: The best way to reheat pancakes is in a toaster or a warm skillet. Pop them in a toaster for 1-2 minutes on low, or warm them in a skillet with a little butter over medium heat for 1 minute per side. This restores the crisp exterior and soft interior. Avoid the microwave, as it makes them rubbery and chewy.
Freezing: These freeze surprisingly well! Let them cool completely, then stack them with parchment paper between each pancake. Place them in a freezer-safe bag for up to 3 months. To reheat, toast them straight from the freezer. They taste almost as good as fresh.
Meal Prep Tip
Make a double batch of batter on Sunday night. Pour it into a large measuring cup with a spout (like a Pyrex measuring cup) and store it in the fridge. In the morning, just ladle and cook. It saves so much time and cleanup.
Nutrition Information
I’m not a nutritionist, but here’s the breakdown if you’re tracking. Keep in mind that these values are estimates and will vary based on the size of your pancakes and the specific brands of ingredients you use.
Per Serving (based on 1 pancake, approx. 4 inches wide):
- Calories: 150
- Protein: 4g
- Carbs: 22g
- Fiber: 1g
- Sugar: 3g
- Fat: 6g
- Saturated Fat: 3g
- Cholesterol: 35mg
- Sodium: 250mg
These pancakes are a decent source of carbohydrates for energy and provide some protein from the eggs and buttermilk. They’re rich in calcium from the dairy. If you’re watching calories, you can reduce the butter in the batter and use cooking spray instead. But honestly? It’s a weekend treat. Enjoy it without guilt.
Final Thoughts
So there you have it—my go-to Ultra-Fluffy Buttermilk Pancakes recipe. I’ve talked your ear off at this point, but when you make a recipe this often, you have a lot to say about it. This recipe has saved my weekends. It’s my answer to “what’s for brunch” when I want something special but don’t want to stress. My family loves them, my friends ask for the recipe, and I’m happy because I’m not stressed about cooking.
Make it yours! Try different toppings, swap in your favorite berries, or add a splash of bourbon to the batter. The best recipes are the ones you adapt to your family’s tastes. If you make this, drop a comment and let me know what you think! I love hearing how recipes turn out in your kitchen. And if something doesn’t work, tell me that too—I’m here to help troubleshoot.
Happy cooking! And I hope your kitchen smells half as good as mine does right now. There’s nothing quite like the smell of fresh pancakes on a Saturday morning.
Frequently Asked Questions
Q: Can I use regular milk instead of buttermilk?
A: You can, but the pancakes won’t be as fluffy or tangy. Buttermilk’s acidity reacts with the baking soda to create lift. If you must use regular milk, add 1 tablespoon of lemon juice or white vinegar per cup of milk and let it sit for 10 minutes to curdle. This creates a buttermilk substitute that works well in a pinch.
Q: Why are my pancakes dense instead of fluffy?
A: This usually happens for two reasons: overmixing the batter or using old leavening agents. If you mix the batter until it’s smooth, you’re developing gluten, which makes pancakes tough. Stop mixing when lumps remain. Also, check your baking powder and soda. If they’re old, they won’t create the necessary bubbles.
Q: Can I make the batter ahead of time?
A: Yes! You can store the batter in the fridge for up to 24 hours. In fact, resting it longer can improve the flavor. Just give it a gentle stir before cooking, as the leavening agents may settle. Note that the pancakes might be slightly denser if the batter sits for more than 12 hours, as the baking powder loses some potency.
Q: How do I know when to flip the pancakes?
A: Look for bubbles on the surface. When the bubbles form and pop, leaving small holes that don’t fill back in, and the edges look set and dry, it’s time to flip. This usually takes 2-3 minutes on medium heat. If you flip too early, the pancake will collapse.
Q: Can I freeze these pancakes?
A: Absolutely. Let them cool completely, then stack them with parchment paper between each one. Place them in a freezer-safe bag for up to 3 months. Reheat them in a toaster or warm skillet for the best texture.
Q: What’s the best syrup to serve with these?
A: Classic maple syrup is always a winner. But for a twist, try homemade vanilla sweet cream cold foam drizzled on top, or a berry compote. The tangy buttermilk pairs beautifully with sweet and fruity toppings.
Q: Can I add chocolate chips to the batter?
A: Yes! Fold in ½ cup of chocolate chips after mixing the batter. They’ll melt into the pancakes, creating pockets of gooey chocolate. This is a huge hit with kids and chocolate lovers alike.
Pin This Recipe!
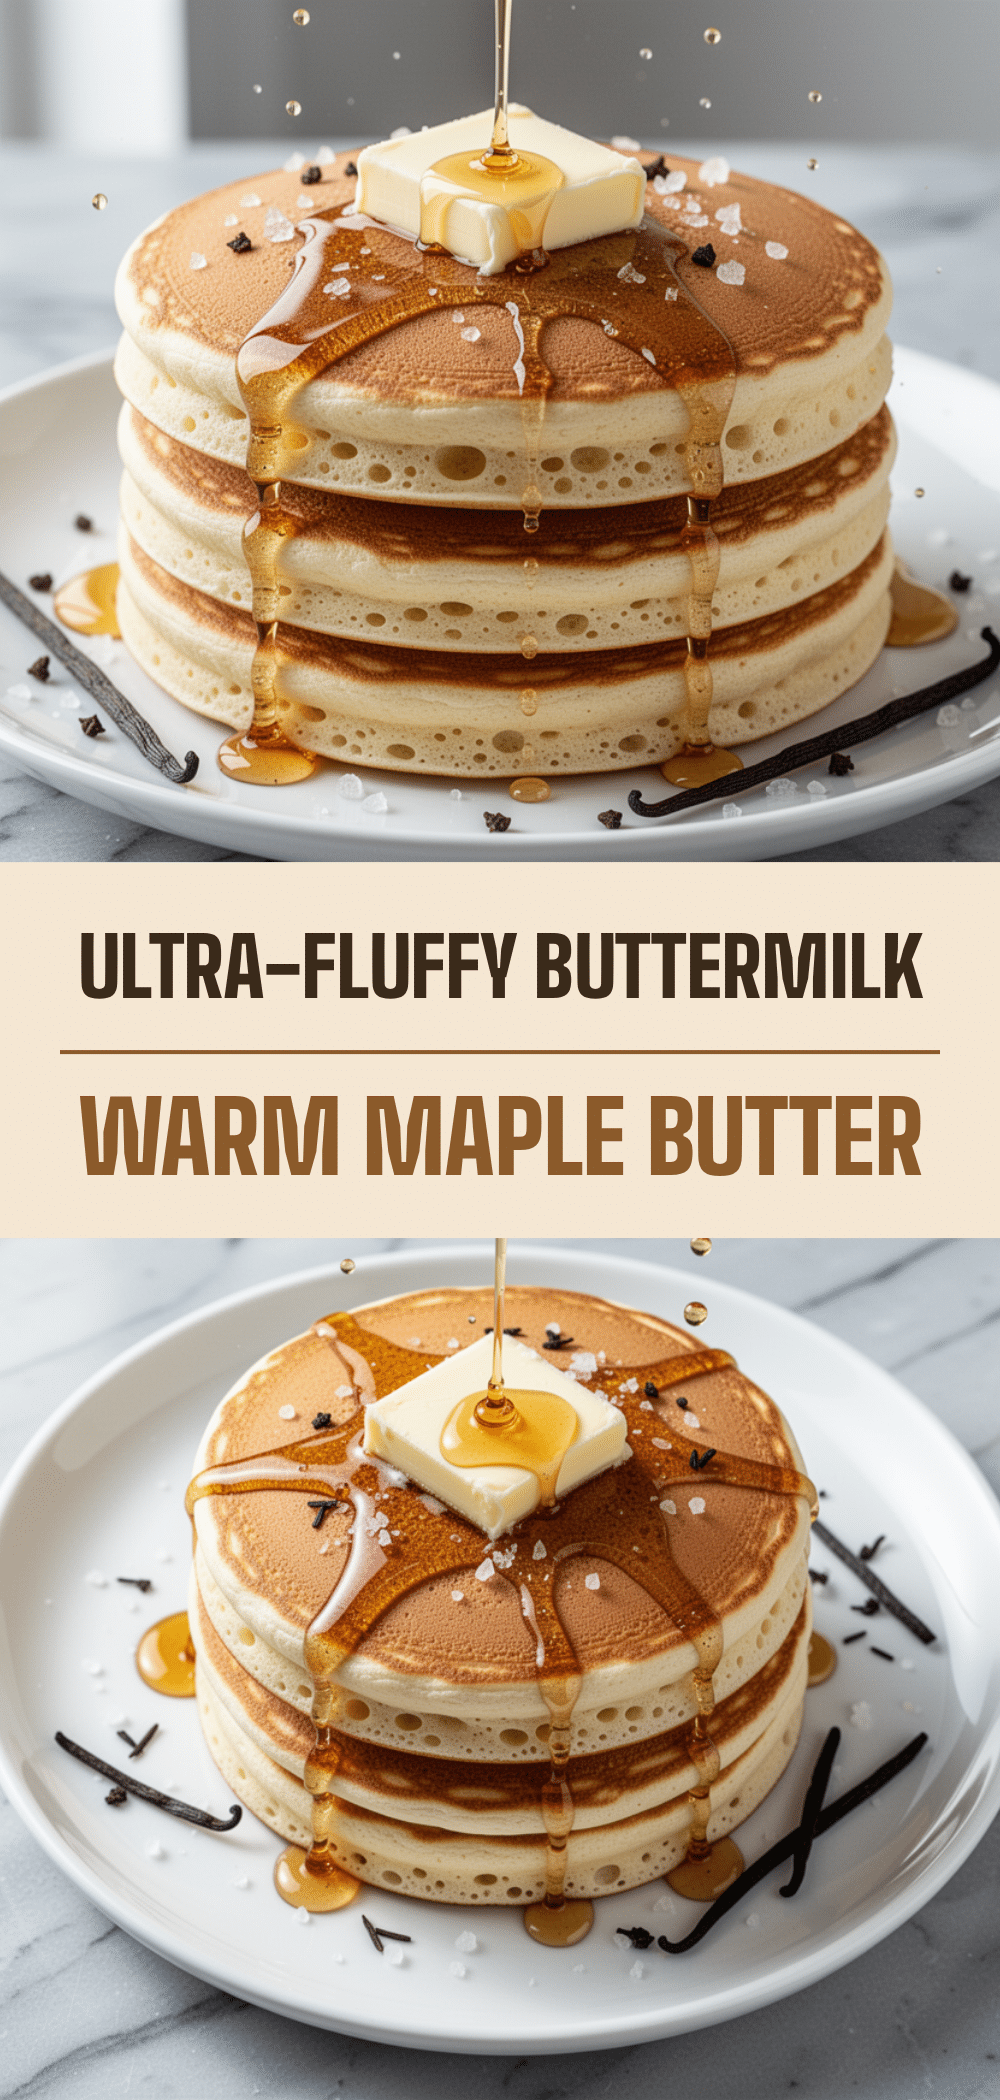
Ultra-Fluffy Buttermilk Pancakes: 5-Step Weekend Brunch
- Total Time: 30 minutes
- Yield: 4 servings 1x
Description
These ultra-fluffy buttermilk pancakes are the result of perfecting the science of resting batter and gentle folding. They are tender, tangy, and impossibly light, making them the ultimate weekend brunch staple.
Ingredients
- 2 cups (250g) All-Purpose Flour
- 2 teaspoons Baking Powder
- ½ teaspoon Baking Soda
- ½ teaspoon Salt
- 1 ¾ cups (420ml) Buttermilk
- 2 large Eggs, room temperature
- ¼ cup (57g) Melted Butter, cooled slightly
- 1 teaspoon Vanilla Extract
- Butter or Oil for greasing the pan
Instructions
- Whisk together the flour, baking powder, baking soda, and salt in a large bowl to aerate the dry ingredients.
- In a separate medium bowl, whisk the buttermilk, eggs, melted butter, and vanilla extract until smooth and slightly frothy.
- Pour the wet ingredients into the dry ingredients and gently stir until just combined. Do not overmix; small lumps are okay.
- Let the batter rest for 10-15 minutes to allow the flour to hydrate and leavening agents to activate.
- Heat a non-stick skillet or griddle over medium heat. Test by flicking water drops onto the surface; they should dance around.
- Lightly grease the pan with butter or oil, wiping out excess with a paper towel.
- Ladle about ¼ cup of batter onto the pan for each pancake. Cook until edges look set and bubbles form and pop on the surface (2-3 minutes).
- Flip gently with a spatula and cook the second side for 1-2 minutes until golden brown and springy to the touch.
- Transfer cooked pancakes to a wire rack in a 200°F (95°C) oven to keep warm while finishing the batch.
Notes
Do not overmix the batter; lumps are good and prevent tough pancakes. Let the batter rest for 10-15 minutes for maximum fluffiness. Keep cooked pancakes warm on a wire rack in a low oven to prevent sogginess. For dairy-free, swap buttermilk for soy milk + vinegar and butter for coconut oil. For gluten-free, use a 1:1 gluten-free flour blend.
- Prep Time: 10 minutes
- Cook Time: 20 minutes
- Category: Breakfast
- Cuisine: American
Nutrition
- Serving Size: 3-4 pancakes per per
- Calories: 150
- Sugar: 3
- Sodium: 250
- Fat: 6
- Saturated Fat: 3
- Carbohydrates: 22
- Fiber: 1
- Protein: 4
Keywords: buttermilk pancakes, fluffy pancakes, weekend brunch, breakfast recipe, easy pancakes, homemade pancakes


