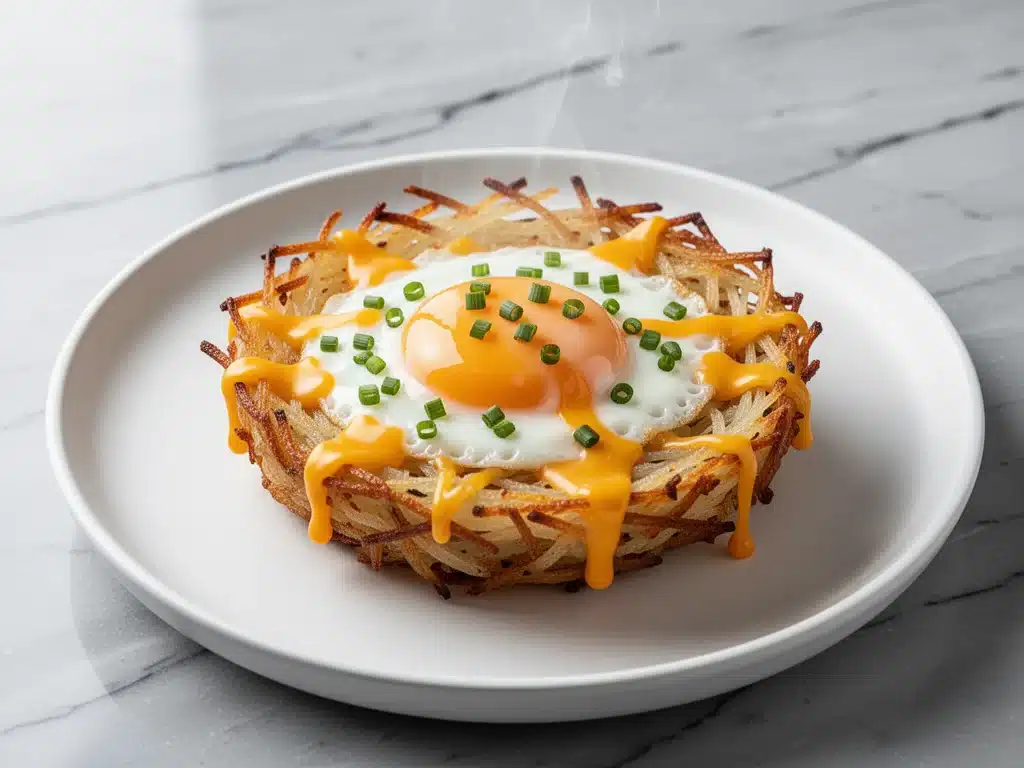
I have a confession to make. For years, I treated breakfast like a chore. It was usually something rushed, eaten standing over the sink, or worse, skipped entirely because I was running late for work. My mornings were chaotic, and my energy levels reflected that. Then, about two years ago, I stumbled across this idea for egg nests in a hash brown cup. I was skeptical. I thought, “How good can a hash brown cup really be?”
I was wrong. So wrong.
These Crispy Hash Brown Egg Nests with Melted Sharp Cheddar completely changed my morning routine. The first time I made them, I had to wake up my husband just so he could eat one before I devoured the entire batch myself. They are crunchy on the outside, soft and custardy on the inside, and packed with that sharp, tangy punch of cheddar cheese that makes you close your eyes and sigh. I’ve made these at least fifty times since then—sometimes for lazy weekends, sometimes for last-minute guests, and sometimes just because I needed a little joy in my 7 AM.
What started as a quick hack has become my absolute favorite way to start the day. It’s not just breakfast; it’s a mood. It’s the difference between a stressful morning and a calm one. And the best part? It’s ridiculously easy. You don’t need fancy equipment or hours of prep. You just need some frozen hash browns, eggs, cheese, and a muffin tin. If you’re tired of boring toast or soggy cereal, you need to try these egg nests. Seriously. Once you taste that first crispy bite, you’ll be making them on repeat.
Why You’ll Love This Recipe
There are a lot of breakfast recipes out there, but few deliver the satisfaction of a perfectly crisp hash brown shell holding a warm, cheesy egg center. Here’s why these egg nests have earned a permanent spot in my kitchen rotation:
- Stupid Simple Prep — I’m talking five minutes of active time. I can have these in the oven before my coffee finishes brewing. My teenage son made them for me last weekend while I was still asleep. He didn’t even burn the hash browns.
- Texture Heaven — The contrast is everything. You get that shatteringly crisp edge from the frozen hash browns, followed by the tender, fluffy egg. It’s the kind of texture combo that makes people stop chewing and just stare at their plate for a second.
- Perfectly Portable — These are individual portions, which means no fighting over the last piece of toast. They’re easy to hold (if you have napkins), easy to pack for lunchboxes, and easy to eat on the go. I actually pack these for my work bag on busy Tuesdays.
- Flavor Bomb — Sharp cheddar isn’t just a garnish here; it’s the star. The saltiness of the cheese cuts through the richness of the egg yolk. I’ve tried mild cheddar, but it just doesn’t hit the same. You need that sharp bite.
- Weekend Brunch Hero — When friends come over, I don’t stress about cooking a big casserole. These bake in the oven, so I can hang out with my guests instead of standing over the stove. Plus, they look fancy enough to serve at a brunch but are humble enough to make on a whim.
- Meal Prep Friendly — I make a double batch on Sunday, store them in the fridge, and reheat them in the toaster oven during the week. They stay crispy surprisingly well. It’s like having homemade breakfast burritos without the wrap.
- Toast with avocado
- Fresh fruit salad
- Bacon or sausage links
- Simple green salad
- Calories: 280
- Protein: 14g
- Carbs: 22g
- Fiber: 2g
- Sugar: 3g
- Fat: 16g
- Saturated Fat: 7g
- Cholesterol: 180mg
- Sodium: 450mg
This recipe is my answer to “what’s for breakfast?” when I want something that feels special but doesn’t require a degree in culinary arts. It’s reliable, delicious, and always makes everyone happy.
Ingredients You’ll Need
Here’s the best part: you probably have most of this already. This recipe relies on simple, accessible ingredients. I’m particular about two things here—the quality of the cheese and the type of hash browns—but for everything else, keep it simple.
For the Hash Brown Cups:
Frozen shredded hash browns (16 oz / 450g) — I use the plain shredded kind, not the patties. Thaw them slightly so they’re pliable, but don’t cook them first. This is the foundation. I always buy the generic brand from the freezer aisle; it works just as well as the name brands and saves me money.
Butter (2 tablespoons / 30g, melted) — Brushing the hash browns with melted butter ensures they get golden and crisp in the oven. Olive oil works too, but butter gives that rich, savory flavor I love.
Salt and black pepper — Just a pinch to season the hash browns before they go in the tin.
For the Egg Centers:
Large eggs (6 large) — I use six eggs for a standard 12-cup muffin tin. If you’re making half the recipe, adjust accordingly. Room temperature eggs crack easier, but straight from the fridge works fine too.
Sharp cheddar cheese (1 cup / 100g, shredded) — This is non-negotiable. Buy a block and grate it yourself. Pre-shredded cheese has anti-caking agents that prevent it from melting smoothly. I use a sharp cheddar for that tangy kick, but a medium cheddar or even a pepper jack if you want heat works too.
Optional Add-ins:
Cooked bacon or sausage (½ cup, crumbled) — I love adding a little crunch of meat. Cook it crispy and crumble it up. It adds a smoky depth that pairs perfectly with the cheese.
Diced bell peppers or onions (¼ cup) — For a veggie boost. I usually sauté these first so they’re soft, then mix them into the egg. Raw veggies can release water and make the egg soggy.
Green onions or chives (2 tablespoons, chopped) — For garnish. They add a fresh, bright color that makes the dish look like it came from a fancy cafe.
Heavy cream or milk (1 tablespoon, optional) — A splash in the egg mixture makes it extra fluffy. I skip this when I’m in a hurry, but it’s a nice touch if you want a custard-like texture.
Pro Tip: I keep a bag of frozen hash browns and a block of cheddar in my fridge at all times. If I’m craving these, I can make them in 20 minutes flat. It’s worth stocking up.
Equipment Needed
You don’t need fancy equipment for this. Here’s what I actually use:
12-Cup Muffin Tin — This is essential. I use a standard metal tin. Non-stick works great, but even a regular tin is fine if you grease it well. I’ve tried silicone muffin cups, but they don’t get as crispy. Stick with metal.
Spatula — A flexible silicone spatula helps you press the hash browns into the cups evenly. I use my old spatula from the dollar store; it does the job perfectly.
Small Bowl — For whisking the eggs. Any bowl works.
Fork or Whisk — To beat the eggs. I just use a fork. It’s faster and easier to clean.
Oven Mitts — Because these come out of the oven hot. I’ve burned my fingers more times than I care to admit. Learn from my mistake.
Grater — For the cheese. Box grater or microplane. I prefer the box grater for cheddar because it gives a nice shred that melts well.
Pastry Brush or Spoon — For brushing the hash browns with butter. A spoon works if you’re being lazy.
Optional: Small Skillet — If you’re adding veggies or meat, you’ll need a pan to cook them first. I use a small non-stick skillet for this.
Tool Tip: I’m obsessed with my metal muffin tin from Lodge. It’s heavy, durable, and distributes heat evenly. But any tin works—don’t overthink it.
How to Make It: Step-by-Step
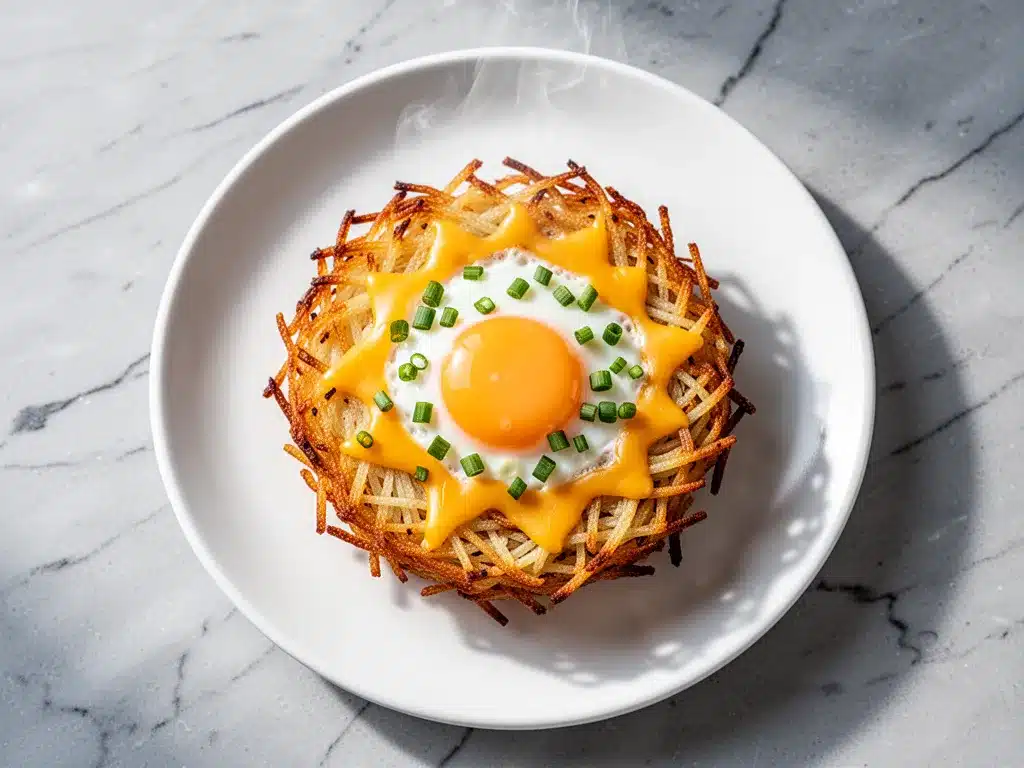
Alright, let’s make this! I’m walking you through exactly how I do it, including the little tricks I’ve picked up to ensure those hash browns stay crisp.
Step 1: Prep the Hash Browns (5 minutes)
Take your frozen shredded hash browns out of the freezer. Let them sit on the counter for about 5-10 minutes to thaw slightly. You want them to be pliable so they stick together, but not so wet that they’re soggy. If they’re still rock hard, they’ll fall apart in the tin. If they’re too wet, squeeze them gently in a paper towel to remove excess moisture. This step is crucial for crispiness.
Step 2: Grease the Muffin Tin
Preheat your oven to 400°F (200°C). While it heats, grease your 12-cup muffin tin generously with butter or cooking spray. I use butter because it adds flavor. Make sure you get into the crevices. If you skip this, the hash browns will stick, and you’ll be scraping for minutes.
Step 3: Form the Nests
Take a handful of hash browns (about 2-3 tablespoons per cup) and press them firmly into the bottom and up the sides of each muffin cup. Use your fingers or the back of a spoon to create a little “cup” or nest shape. Make sure the edges are even so they bake uniformly. I like to make sure the bottom is thick enough so the egg doesn’t leak out.
Step 4: Season and Brush
Lightly season the hash brown nests with salt and pepper. Then, brush the tops and sides with melted butter. This helps them brown and crisp up in the oven. Don’t skip the butter—it’s the secret to that golden color.
Step 5: Bake the Crust
Place the muffin tin in the preheated oven and bake for 10-12 minutes. You want the hash browns to be golden brown and crisp around the edges. This pre-bake ensures the crust is sturdy enough to hold the egg. If you skip this, the hash browns might stay soft and soggy.
Step 6: Whisk the Eggs
While the hash browns bake, crack the eggs into a bowl. Add a pinch of salt, pepper, and your optional splash of cream or milk. Whisk until well combined. If you’re adding cooked veggies or meat, stir them in now. I keep it simple with just salt and pepper most of the time.
Step 7: Add Egg and Cheese
Remove the muffin tin from the oven. Carefully crack one egg into each hash brown nest. It’s okay if the yolk breaks a little; it’ll still taste great. Sprinkle shredded sharp cheddar cheese over the top of each egg. The cheese will melt into the egg and the hash browns, creating a gooey, delicious layer.
Step 8: Final Bake
Return the tin to the oven and bake for another 10-12 minutes. You’re looking for the egg whites to be set and the yolks to be cooked to your preference. For runny yolks, check at 10 minutes. For firm yolks, go for 12-13 minutes. Keep an eye on them—they can go from perfect to overcooked quickly.
Step 9: Cool and Serve
Let the egg nests cool in the tin for 2-3 minutes. This helps them firm up so they don’t fall apart when you remove them. Run a knife around the edges if needed, then gently lift them out with a spatula. Serve immediately while hot and crispy.
Total Time: About 25 minutes (5 minutes prep, 20 minutes cooking)
Expert Tips & Tricks
Here’s everything I’ve learned from making these dozens of times. These tips will save you from my mistakes.
Squeeze Out the Moisture
This is the #1 tip. Frozen hash browns release a lot of water. If you don’t squeeze them dry, your nests will be soggy. I use a clean kitchen towel or paper towels to press out as much liquid as possible. It takes an extra minute, but it’s worth it for that crispy texture.
Don’t Skimp on the Butter
Brushing the hash browns with butter isn’t just for flavor; it helps them crisp. I’ve tried using just cooking spray, and while it works, the butter gives a richer, more golden result. Use real butter if you can.
Grate Your Own Cheese
Pre-shredded cheese doesn’t melt the same. It has cornstarch in it to prevent clumping, which means your cheese won’t get that nice, gooey melt. Buy a block of sharp cheddar and grate it yourself. It takes 2 minutes and makes a huge difference.
Watch the Oven Temp
400°F is the sweet spot. If your oven runs hot, check them a minute early. If it runs cool, give them an extra minute. Every oven is different, so keep an eye on the color. You want golden brown, not dark brown.
Cool Before Removing
I know it’s tempting to pull them out immediately, but letting them cool for a few minutes helps them set. If you try to remove them too soon, they might break. Patience pays off.
Common Mistakes:
Mistake: Soggy hash browns
Fix: You didn’t squeeze the moisture out, or you didn’t pre-bake them. Make sure to squeeze dry and bake the crust first.
Mistake: Egg leaked out
Fix: Your hash brown shell was too thin. Press more hash browns into the bottom and sides to create a thicker barrier.
Mistake: Cheese didn’t melt
Fix: Your oven wasn’t hot enough, or you took them out too early. Make sure the cheese is bubbly before removing.
Pro Trick: For extra flavor, add a pinch of garlic powder to the hash browns before baking. It adds a subtle savory note that pairs well with the cheese.
Variations & Substitutions
Once you’ve nailed the basic version, here’s how you can mix it up. I’ve tried all of these, and they all work.
Bacon and Egg Nests
Add 2 tablespoons of crumbled cooked bacon to each egg nest before baking. The smokiness is incredible. I use this version for brunch parties.
Veggie-Packed
Toss in 2 tablespoons of diced bell peppers, onions, and spinach into the egg mixture. It adds color and nutrition. My kids don’t even notice the veggies because they’re so focused on the cheese.
Spicy Jalapeño
Add diced jalapeños and use pepper jack cheese. It’s a fun twist for those who like heat. I serve these with a dollop of sour cream.
Ham and Swiss
Swap cheddar for Swiss cheese and add diced ham. It’s like a quiche in a hash brown cup. Very elegant.
Gluten-Free
Most frozen hash browns are naturally gluten-free, but check the label. Use gluten-free cheese if needed. Everything else is GF by default.
Dairy-Free
Use dairy-free butter and cheese. It’s not the same, but it works if you’re avoiding dairy. I use Violife cheese, which melts surprisingly well.
Lower-Carb
Use mashed cauliflower instead of hash browns. Press it into the tin and bake as directed. It’s lighter but still satisfying.
Serving & Storage
How to Serve:
I usually serve these straight from the oven, warm and gooey. They look rustic and inviting. Here are some ideas:
Side Dishes:
Toppings Bar:
When I have guests, I put out: hot sauce, sour cream, chives, and extra cheese. Everyone customizes their nest.
Wine Pairing:
A light Pinot Grigio or a mimosa works great with these. It’s brunch vibes.
Storage Instructions:
Refrigerator: Store in an airtight container for up to 3 days. They reheat beautifully.
Reheating: Best method: Toaster oven at 350°F for 5-7 minutes. This keeps them crispy. Microwave works but makes them soft. I avoid the microwave if I want crispiness.
Freezing: Yes, you can freeze them! Bake them, let them cool completely, then freeze in a single layer. Reheat in the toaster oven or air fryer. They’re great for meal prep.
Pro Tip: If you’re meal prepping, make a double batch on Sunday. Reheat one each morning. It saves so much time.
Nutrition Information
I’m not a nutritionist, but here’s the breakdown if you’re tracking.
Per Serving (based on 6 nests):
What’s Good: High in protein and calcium. The hash browns provide carbs for energy.
What to Know: Higher in calories due to cheese and hash browns. Use less cheese or add veggies to lighten it up.
My Take: Look, this is comfort food. It’s not a diet recipe. But it’s way better than fast food, and I know exactly what’s in it. When I want to make it lighter, I use less cheese and add more veggies. But usually? I just enjoy it.
Final Thoughts
So that’s my go-to Crispy Hash Brown Egg Nests with Melted Sharp Cheddar! I’ve talked your ear off at this point, but when you make a recipe this often, you have a lot to say about it.
This has saved my mornings more times than I can count. It’s my answer to “what’s for breakfast?” when I want something that feels special but doesn’t require a lot of effort. My family is happy, I’m happy, and I’m happy because I’m not stressed about cooking.
Make it yours! Try different add-ins, swap in your favorite cheese, or adjust the seasoning. The best recipes are the ones you adapt to your tastes.
If you make this, drop a comment and let me know what you think! I love hearing how recipes turn out in your kitchen. And if something doesn’t work, tell me that too—I’m here to help.
Happy cooking! And I hope your kitchen smells half as good as mine does right now.
Frequently Asked Questions
Can I use fresh hash browns instead of frozen?
You can, but frozen are easier. Fresh hash browns have more moisture and can be tricky to get crisp. If you use fresh, squeeze them dry thoroughly and consider adding a little flour to help them bind. But honestly, frozen is the way to go for convenience and consistency.
Why did my hash browns fall apart?
Usually, this means they weren’t pressed firmly enough into the tin, or they were too wet. Make sure to squeeze out excess moisture and press the hash browns firmly into the cups. Also, let them cool for a few minutes before removing them from the tin.
Can I make these ahead for a brunch party?
Yes! You can assemble them the night before, cover, and refrigerate. In the morning, just bake them as directed. They might need an extra 2-3 minutes in the oven if they’re cold from the fridge. I do this all the time for parties.
Can I freeze these?
Absolutely. Bake them, let them cool completely, then freeze in a single layer on a baking sheet. Once frozen, transfer to a bag. Reheat in the toaster oven or air fryer for best results. They stay good for up to 2 months.
Can I use different cheese?
Of course! Sharp cheddar is my favorite, but you can use mozzarella, gouda, or pepper jack. Just make sure to grate your own cheese for the best melt.
How do I reheat leftovers?
Toaster oven or air fryer at 350°F for 5-7 minutes. This keeps them crispy. Microwave works but makes them soft. I avoid the microwave if I want crispiness.
Can I double this recipe?
Yes! Just use two muffin tins or make a second batch. The cooking time stays the same. I do this when I’m meal-prepping for the week.
Pin This Recipe!
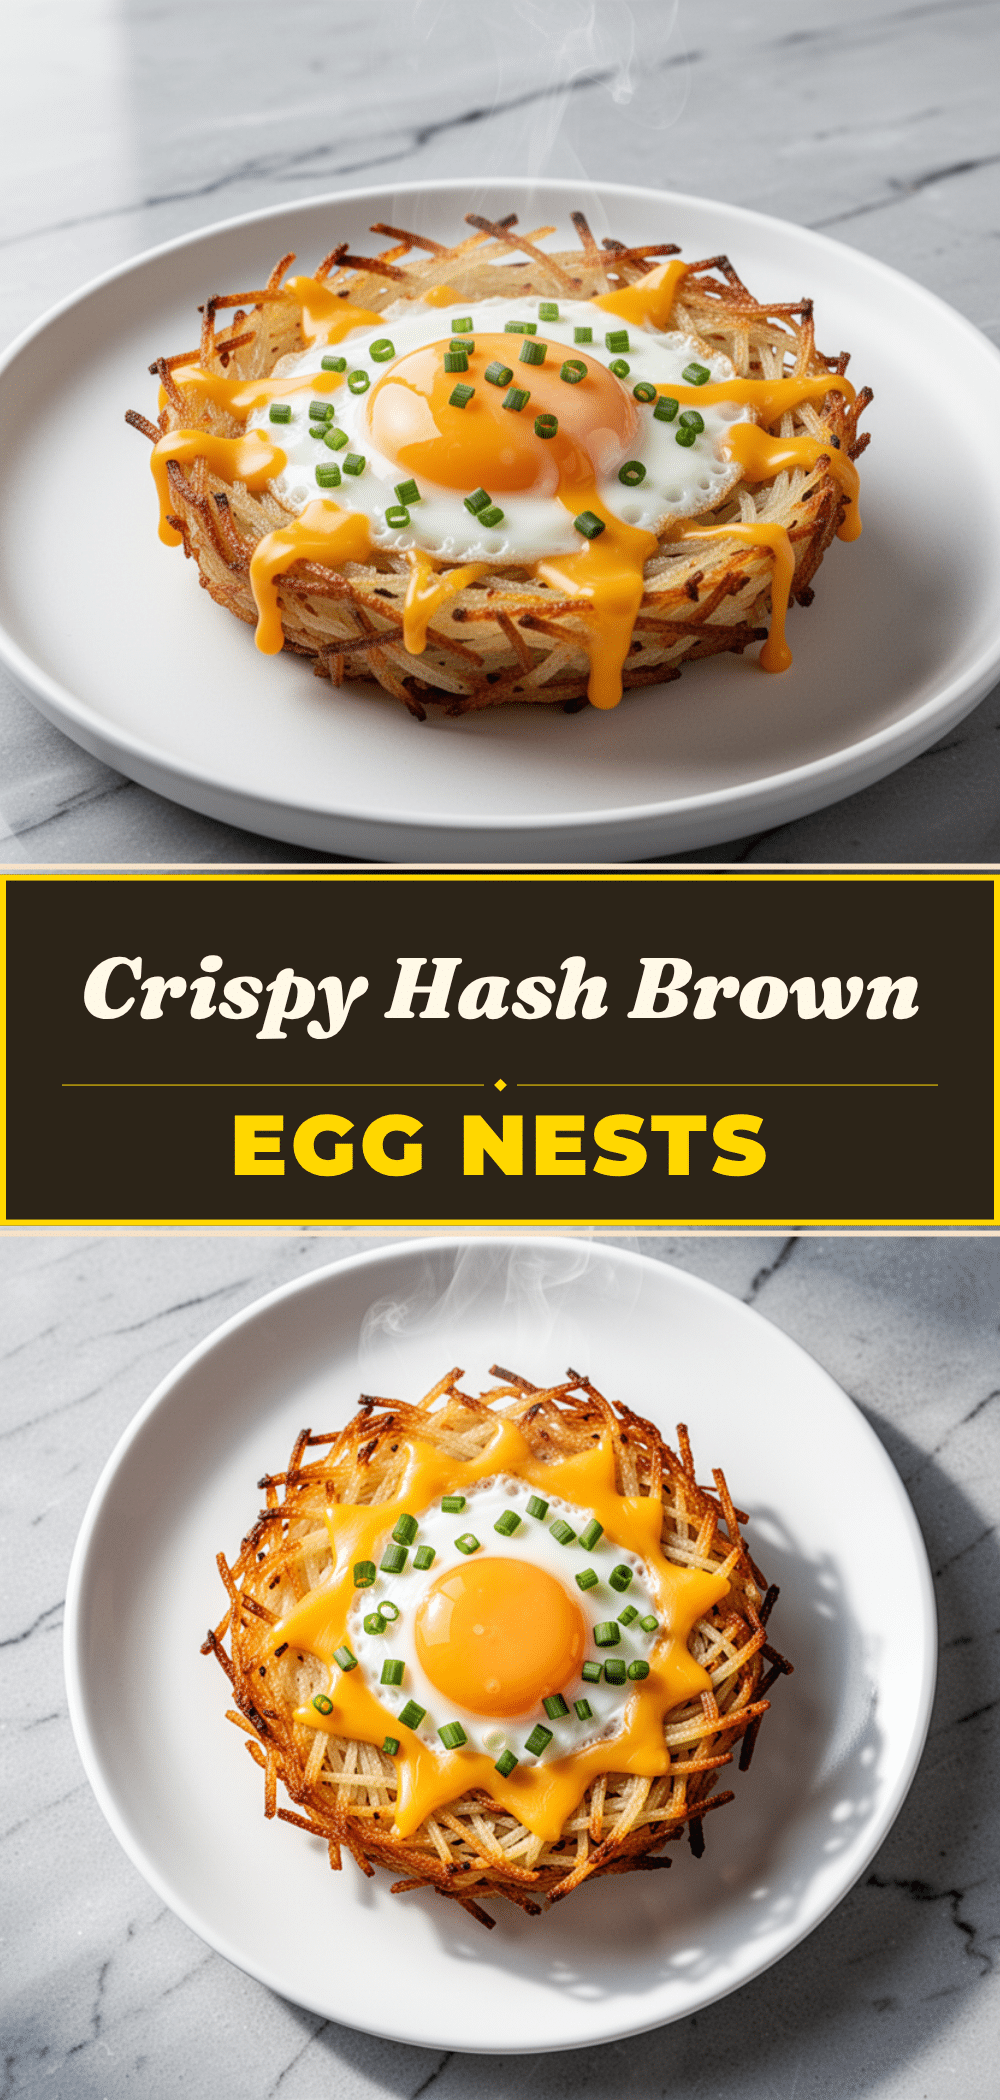
Crispy Hash Brown Egg Nests with Melted Sharp Cheddar
- Total Time: 25 minutes
- Yield: 6 servings 1x
Description
Crispy hash brown cups filled with fluffy eggs and sharp cheddar cheese, offering a perfect balance of crunchy and soft textures for an easy, satisfying breakfast.
Ingredients
- 16 oz frozen shredded hash browns
- 2 tablespoons butter, melted
- Salt and black pepper
- 6 large eggs
- 1 cup sharp cheddar cheese, shredded
- Optional: ½ cup cooked bacon or sausage, crumbled
- Optional: ¼ cup diced bell peppers or onions
- Optional: 2 tablespoons green onions or chives, chopped
- Optional: 1 tablespoon heavy cream or milk
Instructions
- Preheat oven to 400°F (200°C). Grease a 12-cup muffin tin generously with butter or cooking spray.
- Thaw frozen hash browns slightly until pliable. Squeeze out excess moisture using a paper towel or clean kitchen towel.
- Press about 2-3 tablespoons of hash browns into the bottom and up the sides of each muffin cup to form nests. Ensure the bottom is thick enough to prevent leaking.
- Season hash browns with salt and pepper, then brush tops and sides with melted butter.
- Bake the hash brown shells for 10-12 minutes until golden brown and crisp.
- While baking, whisk eggs with salt, pepper, and optional cream or milk. Stir in any cooked veggies or meat.
- Remove tin from oven. Crack one egg into each hash brown nest and sprinkle with shredded cheddar cheese.
- Return to oven and bake for another 10-12 minutes, until egg whites are set and yolks are cooked to preference.
- Let cool in the tin for 2-3 minutes to firm up, then gently remove with a spatula and serve immediately.
Notes
Squeeze moisture out of hash browns thoroughly to ensure crispiness. Use sharp cheddar for best flavor and melt. Let nests cool slightly before removing to prevent breaking. Can be made ahead and frozen for meal prep.
- Prep Time: 5 minutes
- Cook Time: 20 minutes
- Category: Breakfast
- Cuisine: American
Nutrition
- Serving Size: 1 egg nest
- Calories: 280
- Sugar: 3
- Sodium: 450
- Fat: 16
- Saturated Fat: 7
- Carbohydrates: 22
- Fiber: 2
- Protein: 14
Keywords: hash brown egg nests, breakfast recipe, easy brunch, crispy hash browns, cheddar cheese eggs, meal prep breakfast


