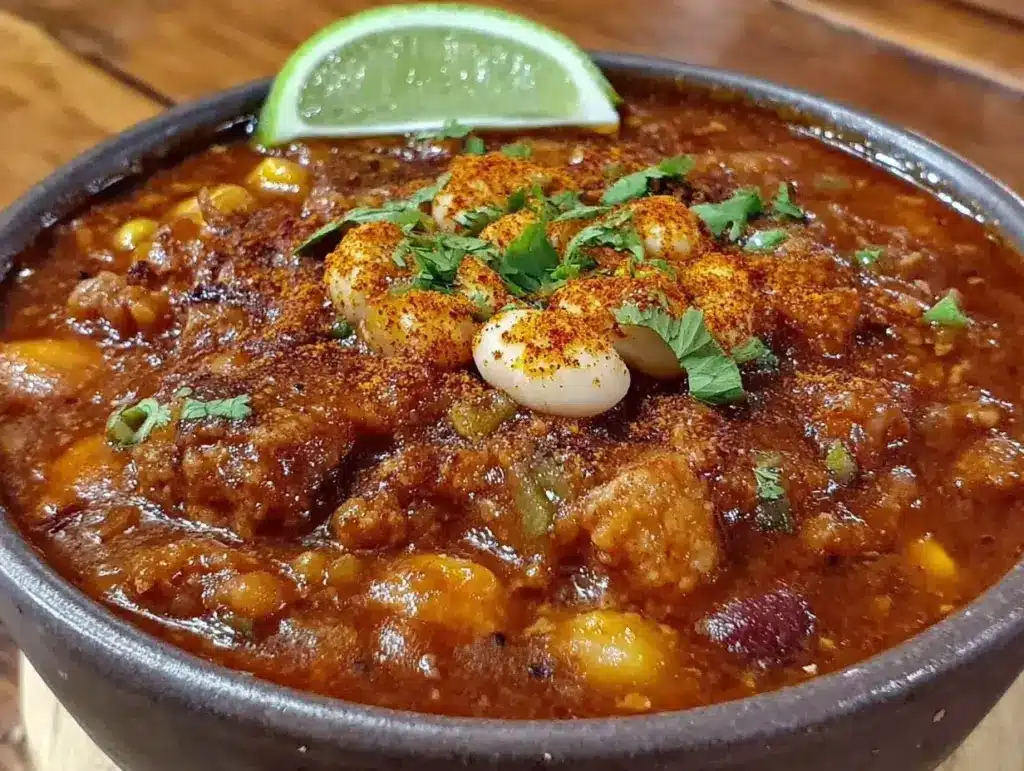
It was late October, and the kind of cold, damp chill that seeps right through your jeans had settled into the city. I was standing in my kitchen, staring at a bag of ground turkey that I’d bought on a whim, feeling that specific mid-week exhaustion where cooking feels less like a joy and more like a chore. I wanted something warm. Something that smelled like comfort. Something that didn’t require me to babysit a stove for three hours.
So, I threw together what I thought would be a standard turkey chili. I knew turkey chili has a reputation for being a little… dry. A little bland. Like it’s trying too hard to be healthy and forgetting to be delicious. But this time, I made one change. Just one. I decided to treat the spices like the main event, not just an afterthought. I toasted the paprika and cumin in the hot oil before adding anything else.
That decision changed everything. Suddenly, my kitchen smelled like a smoky, earthy hug. The chili wasn’t just hot; it was deep. It had a backbone. My husband came home, took one sniff, and asked if I’d ordered takeout. When I told him it was just turkey and some pantry staples, he didn’t believe me until he took a bite.
This cozy fall turkey chili with smoky paprika has become my anchor recipe. I’ve made it at least a dozen times since that rainy Tuesday. It’s the kind of dish that feels like a warm blanket on a cold night. It’s hearty enough to satisfy a craving but light enough that you don’t feel sluggish after dinner. And the best part? It’s incredibly forgiving. You can throw in whatever vegetables you have lying around, and it’ll still turn out amazing. Let’s get into why this batch of chili is going to become your new favorite weeknight savior.
Why You’ll Love This Cozy Fall Turkey Chili
I’m not going to sit here and pretend that turkey chili is usually the star of the dinner table. Often, it’s the sidekick to beef chili. But this version? It’s the lead actor. Here’s why I keep making this cozy fall turkey chili with smoky paprika on repeat:
- The Smoky Depth is Real — Most turkey chili recipes rely on salt and pepper for flavor. This one uses toasted smoked paprika to create a complex, woodsy taste that mimics slow-cooked beef without the heaviness. It’s the difference between a whisper and a shout.
- Ready in Under an Hour — From the moment I chop the onion to the moment I ladle it into a bowl, it takes about 45 minutes. That’s less time than it takes to drive to a restaurant and wait for a table. Perfect for those “I’m starving now” evenings.
- One-Pot Wonder — I love a good casserole, but I hate the cleanup. This chili cooks entirely in one large pot. One pot to cook in, one pot to serve from (if you’re brave), and one pot to wash. My dishwasher thanks me.
- Freezer-Friendly Gold — I make double batches every time. It freezes beautifully for up to three months. I have containers of this chili stashed in the back of my freezer right now, ready to save me when life gets chaotic.
- Customizable as Hell — Have a half an onion and three beans? Throw them in. Want it spicy? Add jalapeños. Want it mild? Skip the peppers. This recipe is a canvas, and you’re the painter.
This isn’t just dinner; it’s peace of mind. It’s the meal you make when you need something reliable, warm, and deeply satisfying. It’s the culinary equivalent of a good night’s sleep.
Ingredients You’ll Need for Smoky Perfection
Here’s the thing about chili: the quality of your ingredients matters, but you don’t need anything fancy. I’m particular about a few things here, mostly because they make or break the flavor profile. You probably have most of this in your pantry already.
For the Base
Ground turkey (1.5 pounds / 680g) — I use 93% lean. 99% lean is too dry and tastes like cardboard. You need a little fat for flavor. If you’re using breast meat, I’d suggest adding an extra tablespoon of olive oil. I’ve tried it both ways, and the 93% is the sweet spot.
Yellow onion (1 large, diced / about 300g) — The foundation of flavor. Don’t skip this. White onions work, but yellow onions caramelize better and add that subtle sweetness that balances the smokiness. I dice mine small so it melts into the sauce.
Garlic (4 cloves, minced / about 2 tablespoons) — Fresh only. Please, for the love of all things holy, do not use jarred garlic for this. It has a metallic aftertaste that clashes with the paprika. Fresh garlic gives you that aromatic punch.
Smoked paprika (2 tablespoons) — This is the star. I use the Spanish smoked paprika (pimentón de la vera), either sweet or hot depending on my mood. If you can’t find smoked paprika, regular paprika will work, but you’ll miss out on that essential campfire flavor. This is non-negotiable for this recipe.
Cumin (1 tablespoon, ground) — Earthy and warm. It pairs perfectly with the paprika. I toast my cumin along with the paprika to wake it up.
Chili powder (1 tablespoon) — I use a standard blend like McCormick or Badia. If you have a homemade blend, use that. Just don’t use pure cayenne pepper; you want the complexity of the blend, not just the heat.
For the Liquid and Body
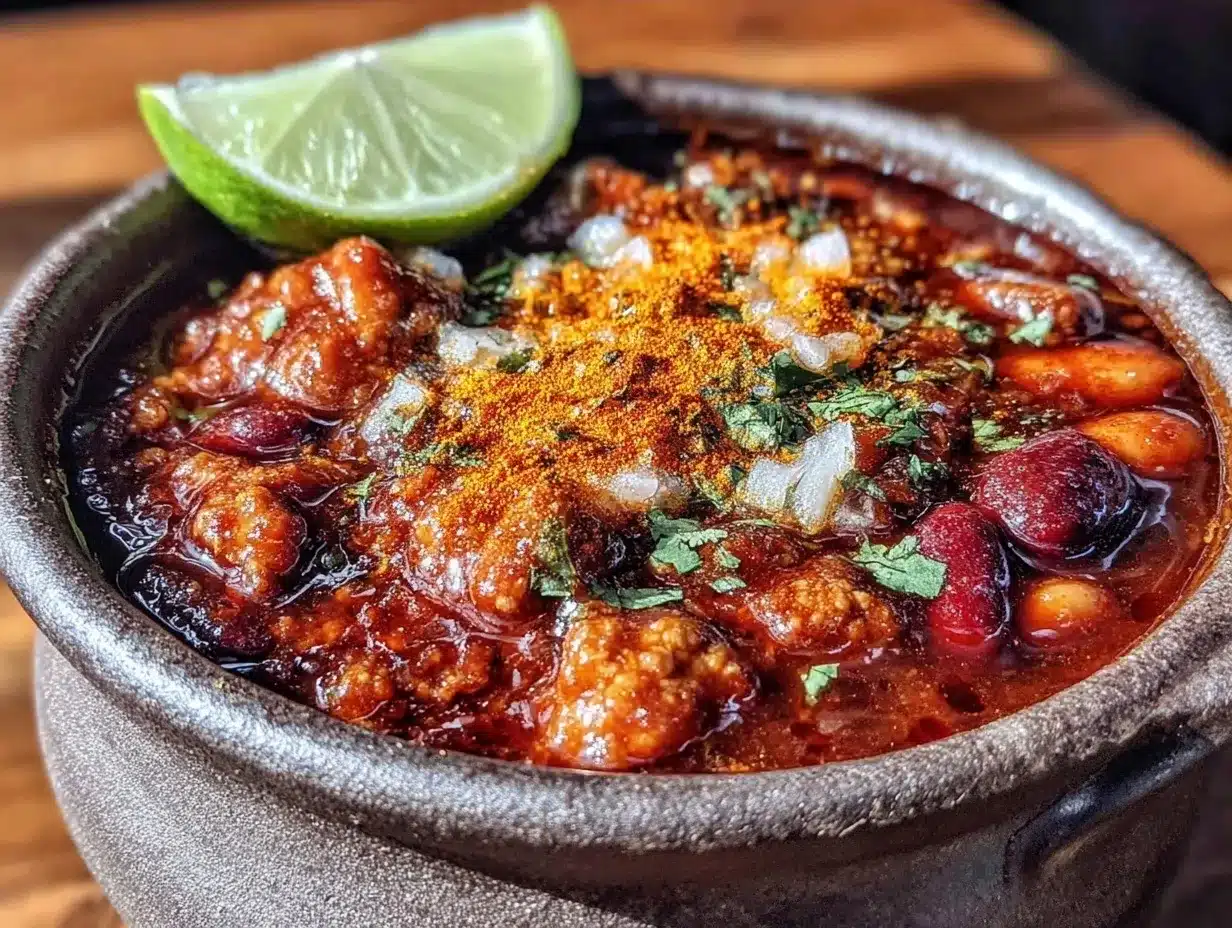
Crushed tomatoes (2 cans / 28oz each) — No-salt-added is best so you can control the sodium. I love the texture of crushed tomatoes because they break down into the sauce nicely. You can use diced tomatoes, but crush them with your hands or a spoon before adding them.
Chicken broth (2 cups / 480ml) — Low-sodium is crucial here because the paprika and tomatoes already have salt. I use Better Than Bouillon sometimes for extra depth, but carton broth works fine.
Black beans (1 can / 15oz, drained and rinsed) — And kidney beans (1 can / 15oz, drained and rinsed). The classic chili duo. The beans add protein and that nice chunky texture. Rinse them thoroughly to get rid of that canned bean water taste.
For the Finish
Lime juice (1 lime, juiced) — This is the secret weapon. A squeeze of fresh lime juice right before serving brightens up all those heavy, savory flavors. It’s the acidity that makes the chili taste “alive.”
Fresh cilantro (½ cup, chopped) — For garnish. It adds a fresh, herbal note that cuts through the richness. If you hate cilantro (the soap gene, I see you), use parsley. But cilantro is best.
Optional Add-ins — I sometimes add a can of corn for sweetness, or a chopped bell pepper for crunch. I’ve also been known to stir in a tablespoon of dark chocolate at the end for a rich, mole-like depth. It sounds weird, but trust me.
Equipment Needed
You don’t need a fancy Dutch oven or a specific brand of pot. Here’s what I actually use:
Large Dutch oven or heavy-bottomed pot — I use a 6-quart pot. It needs to be wide enough to brown the turkey in a single layer. If your pot is too small, the turkey will steam instead of brown, and you’ll lose that flavor. My Le Creuset is my go-to, but a standard stainless steel pot works just as well.
Wooden spoon — For stirring. Silicone works too. Avoid metal if you have a non-stick coating, but honestly, this recipe doesn’t require non-stick. A little fond (the brown bits) on the bottom is flavor gold.
Sharp knife and cutting board — For the onion, garlic, and any veggies. A dull knife is dangerous and annoying. Keep it sharp.
Can opener — I know, I know. But if you don’t have one, you’re in trouble. A good quality one makes the job easier.
How to Make It: Step-by-Step
Alright, let’s make this! I’m walking you through exactly how I do it, including the little tricks I’ve picked up over the years.
Step 1: Prep Your Aromatics (5 minutes)
Dice your onion and mince your garlic. Have your spices measured out and ready to go. I know it seems like extra work, but once you start cooking, things move fast. Having everything in little bowls (mise en place) keeps you from burning the garlic while you’re looking for the cumin.
Step 2: Brown the Turkey (8-10 minutes)
Heat a tablespoon of olive oil in your large pot over medium-high heat. Add the ground turkey. Break it up with your wooden spoon as it cooks. You want it browned, not gray. This browning process, called the Maillard reaction, creates complex flavors that boiling or steaming never will. Don’t rush this step. If the pot is too crowded, the meat steams. Cook in batches if you have to. Once it’s nicely browned, drain any excess fat if there’s a lot of it, but leave a little for flavor.
Step 3: The Game-Changing Spice Toast (2 minutes)
This is the moment. Reduce the heat to medium. Add the smoked paprika, cumin, and chili powder to the pot with the turkey. Stir constantly for about 60-90 seconds. You’ll smell the spices change. They’ll become fragrant and nutty. This toasting releases the essential oils in the spices, making the flavor 10 times more potent than if you just dumped them in later. This is the trick that makes the difference.
Step 4: Build the Sauce (5 minutes)
Add the diced onion and cook for 3-4 minutes until softened. Add the garlic and cook for 1 more minute until fragrant. Pour in the crushed tomatoes and chicken broth. Scrape up any browned bits from the bottom of the pot with your spoon. Those bits are pure flavor. Stir everything together.
Step 5: Simmer and Merge (20-25 minutes)
Add the drained beans. Bring the chili to a boil, then reduce the heat to low. Cover partially and let it simmer. This is where the magic happens. The flavors meld together, the sauce thickens, and the turkey absorbs the spices. Stir occasionally. If it looks too thick, add a splash more broth. If it looks too thin, leave the lid off for the last 10 minutes to let it reduce. Taste it. Does it need more salt? More paprika? Adjust now.
Step 6: The Bright Finish (2 minutes)
Remove the pot from the heat. Squeeze in the fresh lime juice and stir. Taste again. The lime juice will make the flavors pop. Stir in the fresh cilantro. Serve immediately with your favorite toppings.
Total time: About 45 minutes. Active time: About 20 minutes.
Expert Tips & Tricks
Here’s everything I’ve learned from making this dozens of times. These tips will save you from my mistakes.
Don’t Skip the Browning
I know it’s tempting to just dump the turkey in and stir. But browning the meat creates texture and depth. If the turkey is gray, your chili will taste flat. Take the time to get those nice brown bits.
Toasting Spices is Non-Negotiable
I’ve made this recipe both ways. When I skip toasting the spices, the chili tastes like “spiced tomato sauce.” When I toast them, it tastes like “chili.” It’s a game-changer. It only takes 60 seconds, so do it.
Let It Rest
Chili always tastes better the next day. The flavors have time to settle and integrate. If you can’t wait, let it sit for at least 15 minutes off the heat before serving. This resting period allows the sauce to thicken slightly and the flavors to harmonize.
Acidity is Key
If your chili tastes “flat” or “one-dimensional,” it probably needs acid, not salt. A splash of lime juice or even a teaspoon of apple cider vinegar can brighten it up instantly. Taste before you add more salt.
Brown Butter Connection
If you love the depth of flavor in my Halloween Marshmallow Ghost Rice Krispie Treats, you’ll appreciate the Maillard reaction here. Browning the turkey is similar to browning butter—it adds a nutty, complex layer that simple cooking can’t achieve.
Variations & Substitutions
Once you’ve nailed the basic version, here’s how you can mix it up. I’ve tried all of these.
Vegetarian Version
Swap the turkey for extra beans (like pinto or black beans) or use a meatless ground substitute. I’ve used Beyond Meat, and it works well. Just brown it like you would the turkey.
Spicy Version
Add a diced jalapeño with the onions. Or add a teaspoon of cayenne pepper when you toast the spices. If you like heat, don’t be shy. I usually add a diced jalapeño and a pinch of cayenne.
Smoky Sweet Version
Add a diced sweet potato with the onions. Cook it until tender. The sweetness balances the smokiness beautifully. I also add a tablespoon of maple syrup at the end for a glaze-like finish.
Quick Taco Style
Add a teaspoon of taco seasoning along with the spices. Serve with crushed tortilla chips and sour cream. It’s like eating a taco in a bowl.
Gluten-Free
This recipe is naturally gluten-free. Just make sure your broth and spices are certified gluten-free (some spice blends have anti-caking agents with gluten).
If you’re looking for other high-protein meals to rotate in, check out this high-protein turkey chili for a slightly different twist on the classic.
Serving & Storage
How to Serve:
I usually serve this straight from the pot. It looks rustic and homey. Top it with shredded cheddar cheese, sour cream, diced avocado, and fresh cilantro. I also love it with a side of warm cornbread or crispy garlic parmesan pull-apart bread for dipping.
Refrigerator:
Store in an airtight container for up to 5 days. The flavors actually get better after day 2.
Freezer:
This freezes beautifully for up to 3 months. Let it cool completely, then transfer to freezer bags or containers. Leave some headspace for expansion. Thaw in the fridge overnight and reheat on the stove over low heat, adding a splash of broth if it’s too thick.
Reheating:
Reheat gently on the stove. Microwaving can sometimes make the beans tough, so the stove is best. If you must microwave, add a splash of water or broth to keep it moist.
Nutrition Information
I’m not a nutritionist, but here’s the breakdown if you’re tracking. Per serving (based on 6 servings):
- Calories: 380
- Protein: 32g
- Carbs: 28g
- Fiber: 8g
- Sugar: 6g
- Fat: 14g
- Sodium: 650mg
This is a high-protein, high-fiber meal that’s filling without being overly heavy. It’s a great balance of macros for a weeknight dinner.
Final Thoughts
So that’s my go-to cozy fall turkey chili with smoky paprika. It’s simple, it’s flavorful, and it’s incredibly comforting. I hope you make it soon. There’s something special about a pot of chili simmering on the stove, filling your house with that warm, smoky scent. It just feels like home.
Make it yours! Add your favorite veggies, adjust the spice level, and enjoy every spoonful. If you try this recipe, let me know how it turns out. I love hearing from you. Happy cooking!
Frequently Asked Questions
Can I use ground chicken instead of turkey?
Absolutely. Ground chicken works just as well. I’d recommend using dark meat chicken if you can find it, as it’s slightly more flavorful and moist. If you only have breast meat, add an extra tablespoon of oil.
Why is my chili too watery?
This usually happens if you don’t simmer it long enough or if you add too much broth. Let it simmer uncovered for an extra 10-15 minutes to reduce the liquid. You can also add a tablespoon of tomato paste to help thicken it.
Can I make this in a slow cooker?
Yes! Brown the turkey and toast the spices in a pan first (don’t skip this step!), then add everything to the slow cooker. Cook on low for 6-8 hours or high for 3-4 hours. It’ll be tender and flavorful.
Does this taste better the next day?
Yes, it definitely does. The flavors meld together overnight, making the chili richer and more complex. I usually make it on Sunday and eat it throughout the week.
Can I freeze this chili?
Yes, it freezes very well. Let it cool completely, then store in airtight containers or freezer bags. It will keep for up to 3 months in the freezer. Thaw in the fridge before reheating.
What toppings do you recommend?
Classic toppings like shredded cheddar, sour cream, diced avocado, and fresh cilantro are always a hit. I also love a drizzle of hot sauce or a squeeze of lime. For something extra, try adding crispy fried onions or crushed tortilla chips.
Pin This Recipe!
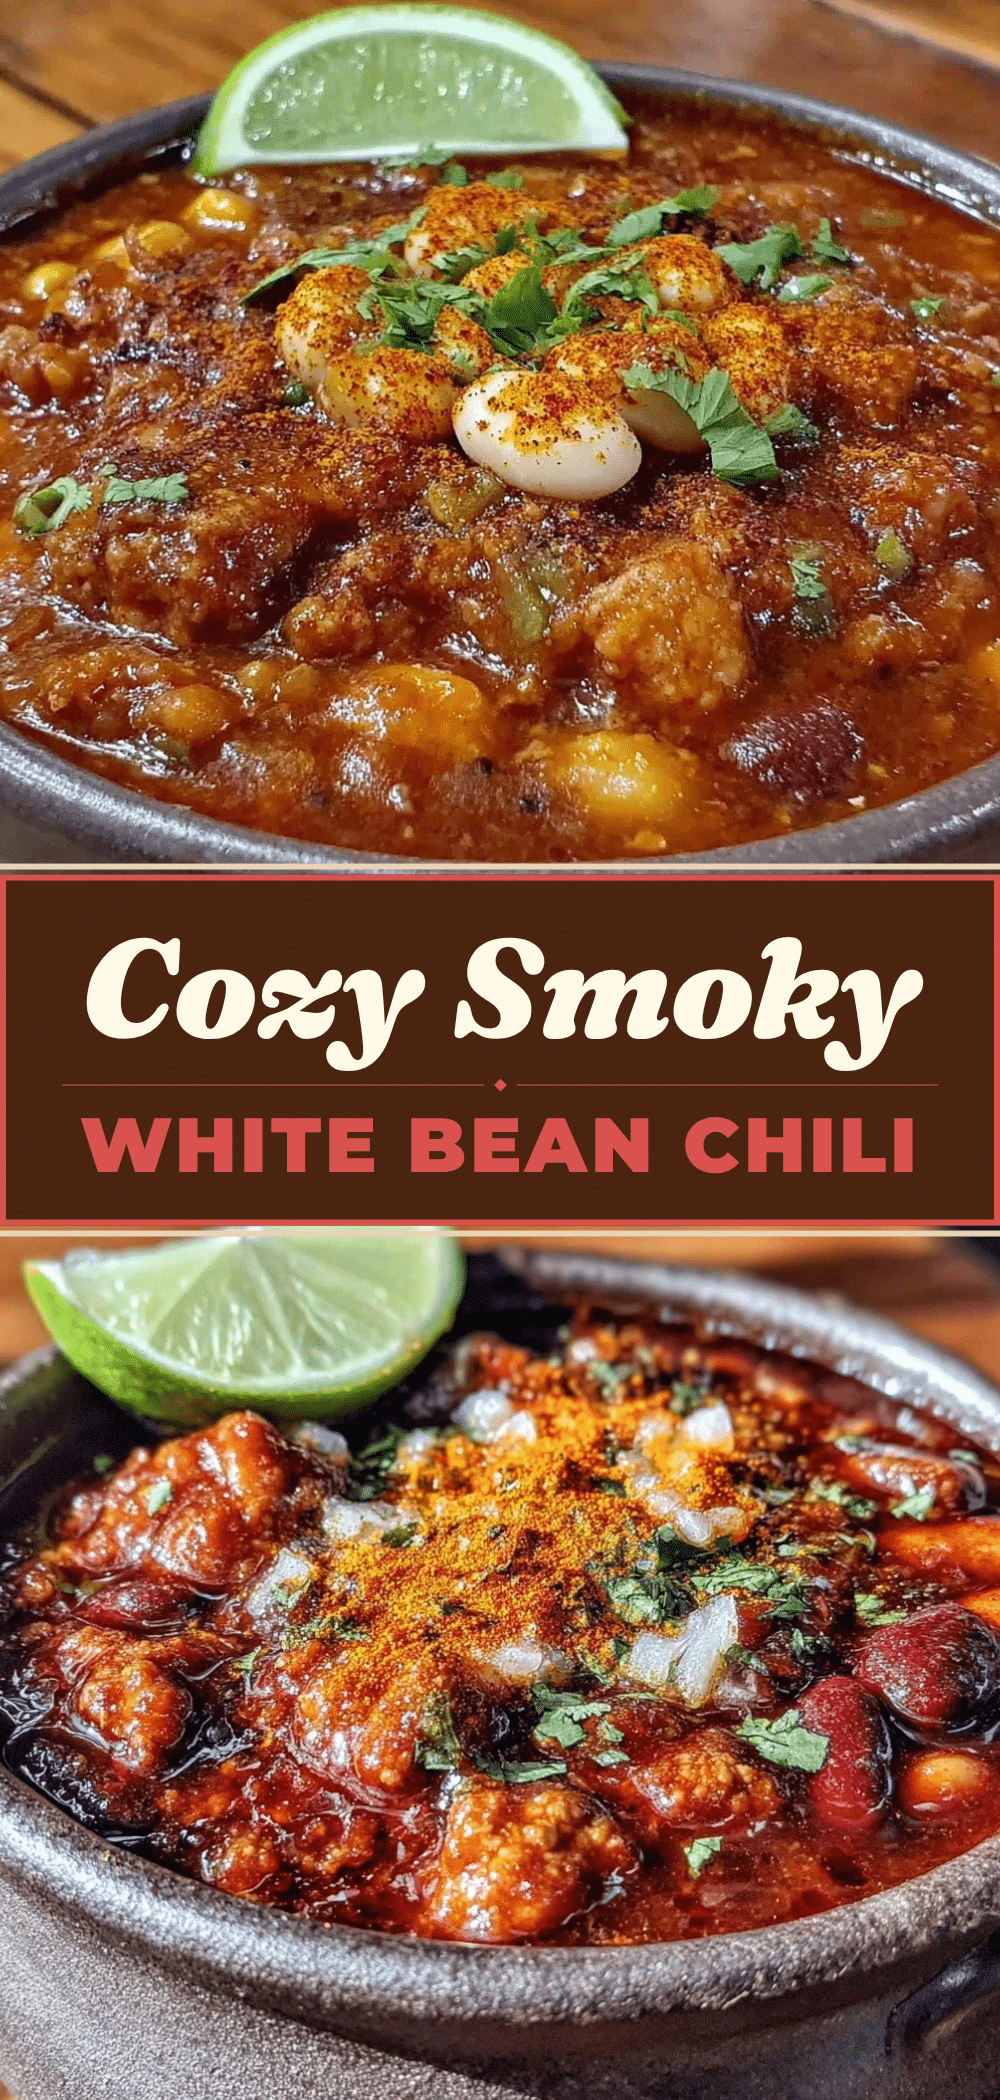

Cozy Fall Turkey Chili: Best Smoky Paprika Trick
- Total Time: 45 minutes
- Yield: 6 servings 1x
Description
A hearty, one-pot turkey chili that uses toasted smoked paprika to create deep, smoky flavor without the heaviness of beef. Ready in under an hour and perfect for weeknight dinners.
Ingredients
- 1.5 pounds ground turkey (93% lean)
- 1 large yellow onion, diced
- 4 cloves garlic, minced
- 2 tablespoons smoked paprika
- 1 tablespoon ground cumin
- 1 tablespoon chili powder
- 1 tablespoon olive oil
- 2 cans (28oz each) crushed tomatoes (no-salt-added)
- 2 cups chicken broth (low-sodium)
- 1 can (15oz) black beans, drained and rinsed
- 1 can (15oz) kidney beans, drained and rinsed
- 1 lime, juiced
- 1/2 cup fresh cilantro, chopped
Instructions
- Dice the onion and mince the garlic. Measure out spices.
- Heat olive oil in a large Dutch oven or heavy-bottomed pot over medium-high heat. Add ground turkey and break it up with a wooden spoon. Brown the turkey until nicely colored, not gray. Drain excess fat if necessary.
- Reduce heat to medium. Add smoked paprika, cumin, and chili powder to the pot with the turkey. Stir constantly for 60-90 seconds until fragrant and nutty.
- Add the diced onion and cook for 3-4 minutes until softened. Add garlic and cook for 1 minute until fragrant.
- Pour in crushed tomatoes and chicken broth. Scrape up any browned bits from the bottom of the pot. Stir to combine.
- Add the drained black and kidney beans. Bring to a boil, then reduce heat to low. Cover partially and simmer for 20-25 minutes, stirring occasionally, until the sauce thickens and flavors meld.
- Remove from heat. Stir in fresh lime juice and chopped cilantro. Taste and adjust seasoning if needed. Serve immediately.
Notes
Toast the spices to release essential oils for deeper flavor. Let the chili rest for 15 minutes before serving to allow flavors to harmonize. It tastes even better the next day. Can be frozen for up to 3 months.
- Prep Time: 5 minutes
- Cook Time: 40 minutes
- Category: Main Course
- Cuisine: American
Nutrition
- Serving Size: 1 bowl
- Calories: 380
- Sugar: 6
- Sodium: 650
- Fat: 14
- Carbohydrates: 28
- Fiber: 8
- Protein: 32
Keywords: turkey chili, smoky paprika, one pot meal, fall recipes, healthy dinner, weeknight dinner, gluten-free chili


