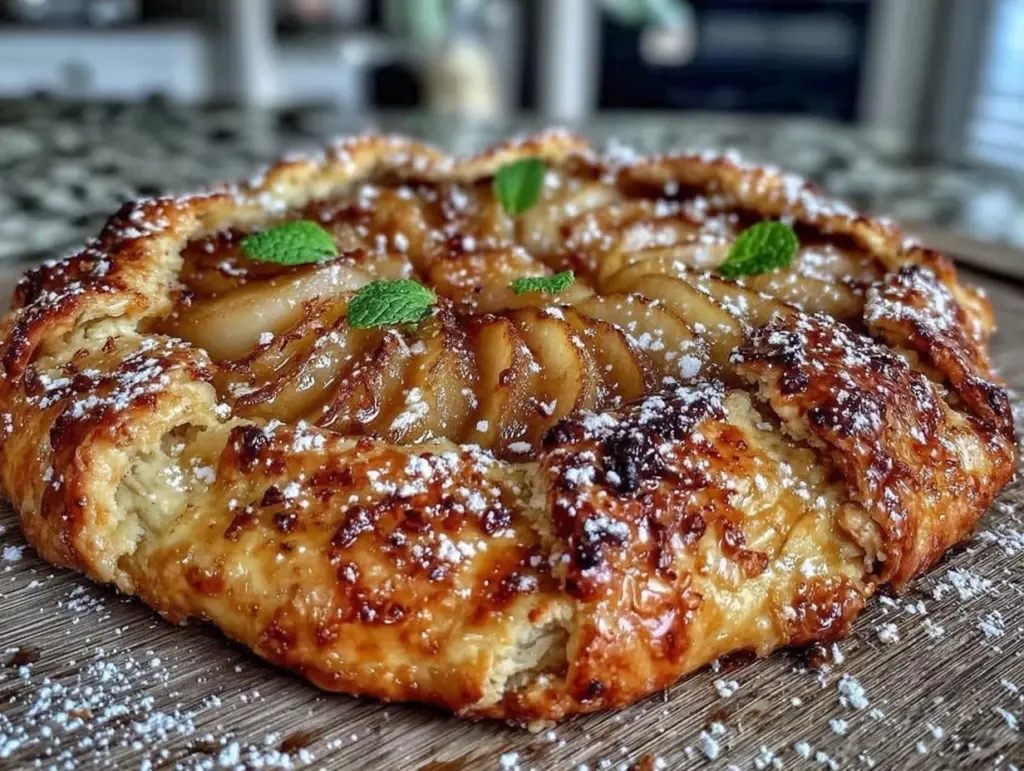
Last November, I was standing in my kitchen at 8:30 PM, staring at a pile of pears that were just starting to get soft. I had bought them on impulse because they looked gorgeous at the farmer’s market, and now I was faced with a classic home cook dilemma: bake them into a pie that would take two hours, or let them go bad? I didn’t have time for a two-hour pie. I didn’t even have time for a proper crumble.
So I did what any desperate, tired cook does. I poached them. I threw the pears into a pot with honey, a splash of vanilla, and a little cinnamon, letting them simmer for ten minutes until they were tender and glowing amber. Then, because I had a roll of homemade pie dough in the freezer (a trick I swear by), I tossed the warm pears onto the dough, folded the edges over in a messy, rustic way, and baked it. I called it a galette because it sounded fancy enough to serve to guests but simple enough to make in pajamas.
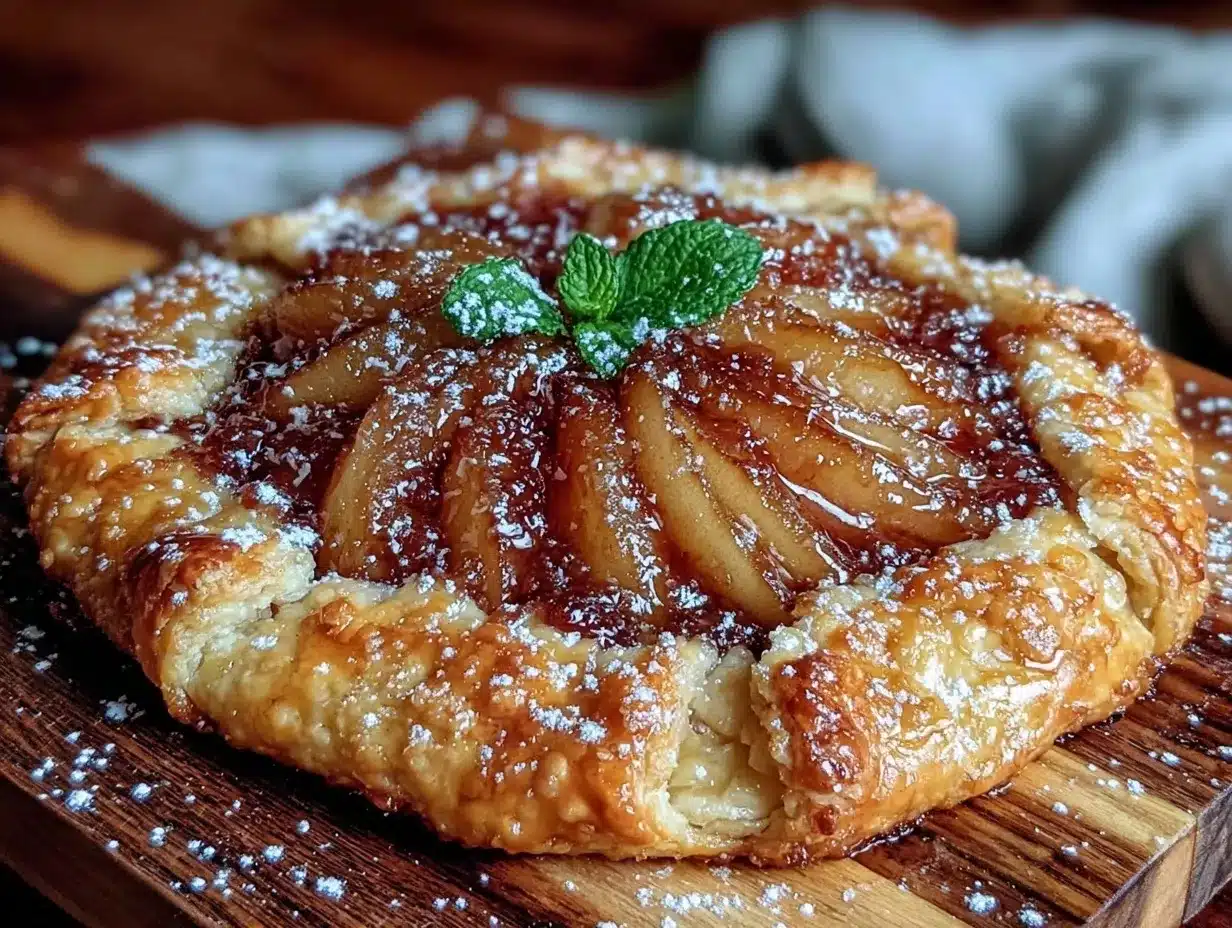
The result? It was messy, it was beautiful, and it tasted like autumn in a bite. The crust was shatteringly flaky, and the pears were sweet, spiced, and incredibly juicy. My kids asked for seconds before I’d even put the coffee on. That night, I realized I didn’t need to reserve “fancy desserts” for weekends or special occasions. With a few smart shortcuts, I could have something that looked like it came from a bakery and tasted like comfort food, all in under 30 minutes of active time.
This Honey Poached Pear Galette has become my go-to when I need to impress without the stress. It’s perfect for busy weeknights when you want a treat but don’t have hours to spare. I’ve made it at least a dozen times since that November night, tweaking the spice blend and the honey ratio until it was absolutely perfect. It’s proof that you don’t need to be a pastry chef to make something special.
Why You’ll Love This Honey Poached Pear Galette
I know what you’re thinking. “Galette? That sounds like work.” But trust me on this one. This recipe is the antidote to the stress of traditional baking. Here’s why this honey poached pear galette with flaky all butter crust has earned a permanent spot in my weekly rotation:
- Actually Fast — Seriously, if you have store-bought dough or a quick 15-minute dough, you can have this in the oven in 20 minutes. The poaching step takes only 10 minutes while you prep the crust. It’s faster than ordering takeout and way healthier.
- Forgiving Shape — Unlike a pie that needs a perfect lattice or a crisp edge, a galette is meant to be rustic. If your edges fold over unevenly? That’s not a mistake, that’s style. It looks artisanal and homemade, which is exactly the vibe we want.
- Flavor Bomb — Poaching the pears first concentrates their flavor and adds a layer of honey-spice sweetness that raw baked pears just don’t have. The honey caramelizes in the oven, creating these sticky, golden pockets of joy.
- Perfectly Portable — Because it’s free-form, you can make it on a baking sheet and serve it straight from the oven. No fancy plates needed. It’s great for potlucks, or just eating with a spoon while standing at the counter.
- Make-Ahead Friendly — I often poach the pears on Sunday and keep them in the fridge. When Wednesday night hits, I just assemble and bake. It saves so much mental energy.
This is my answer to “what’s for dessert?” when I want something sweet but wholesome. It’s not overly sugary, it uses seasonal fruit, and it feels indulgent without the heavy guilt. Plus, it pairs beautifully with a hot cup of coffee or a glass of wine. It’s the kind of dessert that makes your house smell amazing and makes everyone feel cared for.
Ingredients You’ll Need
Here’s the best part: you probably have most of this already. This recipe relies on simple, high-quality ingredients that do the heavy lifting. I’m particular about a few things here, so pay attention to the details.
For the Honey Poached Pears
Ripe but firm pears (3 large, such as Bosc or Anjou) — This is crucial. You want pears that are ripe enough to be sweet but firm enough to hold their shape during poaching. If they’re too soft, they’ll turn into mush. Bosc pears are my favorite because they’re sturdy and have a nice pear-forward flavor.
Raw honey (1/3 cup) — I use local raw honey when I can find it. It adds a floral depth that refined sugar just doesn’t have. If you’re avoiding honey, you can use maple syrup, but the flavor profile will change slightly. I’ve found that honey gives the best caramelization.
Water (1 cup) — Just enough to create the poaching liquid. Don’t use too much, or the pears will be watery.
Cinnamon stick (1 whole) — Using a whole stick instead of ground cinnamon gives a more subtle, aromatic flavor. It infuses the liquid without making it gritty. If you don’t have one, 1/2 teaspoon of ground cinnamon works, but add it at the end.
Vanilla extract (1 teaspoon) — Pure vanilla, not imitation. It rounds out the honey flavor.
Lemon juice (1 tablespoon) — This brightens the honey flavor and prevents the pears from browning too much. It’s a small detail that makes a big difference.
For the Flaky All Butter Crust
All-purpose flour (1 ½ cups / 190g) — I use regular all-purpose flour. Bread flour makes it too tough, and cake flour is too weak. If you need a gluten-free option, a 1:1 gluten-free flour blend works well here.
Unsalted butter (½ cup / 113g, very cold) — This is the “all butter” part. Margarine or shortening might make it easier, but butter is what gives you that nutty, flaky flavor. Cube it and keep it in the freezer until you’re ready to use it. Cold butter is non-negotiable for a flaky crust.
Heavy cream (3-4 tablespoons / 45-60ml) — Cold heavy cream binds the dough better than water. It adds richness and helps create those flaky layers. Ice water works too, but cream makes it more tender.
Salt (½ teaspoon) — To balance the sweetness and enhance the butter flavor.
For the Finish
Coarse sugar (1 tablespoon) — Sprinkled on top before baking. It creates a crunchy, sparkly crust. Turbinado sugar works great too.
Vanilla ice cream or whipped cream (for serving) — I know, it’s extra calories, but a warm galette with cold ice cream is a texture dream. If you want to keep it lighter, a dollop of Greek yogurt with a drizzle of honey works too.
Equipment Needed
You don’t need fancy equipment for this. Here’s what I actually use in my home kitchen:
Medium saucepan — I use a 3-quart saucepan for poaching the pears. It needs to be wide enough to hold the pears in a single layer, or close to it. If they’re piled on top of each other, they won’t cook evenly.
Baking sheet — Line it with parchment paper. This is essential. The honey will bubble over and caramelize on the pan, and if you don’t use parchment, you’ll be scrubbing for hours. I keep a roll of parchment in a drawer just for this.
Rolling pin — Any standard rolling pin works. I prefer a wooden one because it doesn’t get slippery.
Pastry brush — Optional, but nice for brushing the crust with cream before baking. A silicone brush is easier to clean.
Sharp knife — For slicing the pears if needed, and for trimming any excess dough if you’re being neat (though I usually don’t bother).
Mixing bowl — For mixing the dough. A large bowl gives you room to work.
Measuring cups and spoons — Standard stuff. Dollar store versions work fine for this.
Cheesecloth or fine mesh strainer — If you want to remove the cinnamon stick easily, cheesecloth is handy. Or just fish it out with a spoon.
How to Make It: Step-by-Step
Alright, let’s make this! I’m walking you through exactly how I do it, including the little tricks I’ve picked up over the years. This process is simple, but timing matters.
Step 1: Poach the Pears (10-15 minutes)
Peel the pears, leaving them whole or halved if they’re large. Trim the stems. In your saucepan, combine the honey, water, cinnamon stick, vanilla, and lemon juice. Bring it to a simmer over medium heat, stirring until the honey dissolves. Gently place the pears into the liquid. They should be mostly submerged. If they’re not, add a splash more water. Reduce heat to low and simmer for 8-12 minutes, turning them halfway through, until they are tender when pierced with a knife but still hold their shape. Remove the pears with a slotted spoon and set them aside on a plate to cool. Strain the poaching liquid if you want a clearer syrup, but I usually keep it for drizzling later. Save that liquid!
Step 2: Prepare the Dough (5 minutes)
While the pears cool, make your dough. If you’re using store-bought dough, let it sit at room temperature for 15 minutes so it’s pliable. If making from scratch, pulse flour and salt in a food processor, add cold cubed butter, and pulse until it looks like coarse crumbs. Drizzle in cold heavy cream, one tablespoon at a time, until the dough just starts to come together. Form it into a disk, wrap in plastic, and chill for 15 minutes. This step is crucial—if the dough is warm, the butter will melt into the flour instead of staying in chunks, which means less flakiness.
Step 3: Roll and Assemble (5 minutes)
Preheat your oven to 400°F (200°C). Line a baking sheet with parchment paper. On a lightly floured surface, roll out your dough into a rough 12-inch circle. It doesn’t need to be perfect. Place the cooled pears in the center of the dough, leaving a 2-inch border around the edges. You can arrange them in a circle or just pile them in the middle—it’s a galette, so chaos is allowed.
Step 4: Fold the Crust (3 minutes)
This is the fun part. Fold the edges of the dough up and over the pears, pleating as you go. You don’t need to seal it completely; in fact, leaving some gaps lets the fruit bubble out and caramelize, which is delicious. If there are big gaps, just fold another piece of dough over. The goal is to contain the fruit while letting some show through.
Step 5: Bake (20-25 minutes)
Brush the exposed crust with a little heavy cream (this helps it brown). Sprinkle the coarse sugar evenly over the crust. Bake for 20-25 minutes, until the crust is golden brown and the pears are tender and bubbling. Keep an eye on it—if the edges are browning too fast, cover them with a strip of foil. The galette is done when the crust is deep golden and the honey is caramelizing.
Step 6: Cool and Serve
Let the galette cool on the pan for at least 10 minutes. This allows the juices to thicken slightly so it’s not a soupy mess when you cut it. Slice it into wedges and serve warm. Drizzle with any reserved poaching syrup if you have it. Enjoy!
Expert Tips & Tricks
Here’s everything I’ve learned from making this dozens of times. These tips will save you from my mistakes.
Keep the Butter Cold — This is the #1 rule for flaky crust. If your butter gets soft, pop the dough back in the fridge for 10 minutes. I’ve made this mistake before, and the result was a tough, dense crust instead of a flaky one. It’s not worth the risk.
Don’t Overwork the Dough — Mix until it just comes together. Over-mixing develops gluten, which makes the crust chewy instead of tender. It should look shaggy before you form the disk.
Use the Right Pears — I cannot stress this enough. Use Bosc or Anjou pears. They hold their shape. If you use Bartlett pears, they might fall apart. I learned this the hard way with a pear soup instead of a galette.
Save the Poaching Liquid — That liquid is pure gold. It’s infused with pear flavor and honey. Use it to drizzle over the finished galette, or save it for tomorrow’s oatmeal. Don’t throw it away!
Bake on the Lower Rack — Place your baking sheet on the lower third of the oven. This helps the bottom crust cook through and get crisp, preventing a soggy bottom.
Common Mistakes
Mistake: Soggy Bottom — Fix: Make sure your pears are cooled before assembling. Hot pears will steam the dough. Also, don’t overload the center with too many pears.
Mistake: Burnt Edges — Fix: Cover with foil if they’re browning too quickly. Ovens vary, so keep an eye on it in the last 10 minutes.
Mistake: Raw Dough — Fix: Ensure your oven is fully preheated. 400°F is hot enough to cook the dough quickly without drying it out.
Variations & Substitutions
Once you’ve nailed the basic version, here’s how you can mix it up. I’ve tried all of these.
Apple Version — Swap pears for thinly sliced apples (Granny Smith or Honeycrisp). They hold up well and pair beautifully with cinnamon. You might need to poach them for 5 minutes less than pears.
Stone Fruit Version — Peaches or nectarines work in late summer. Slice them in half and remove the pit. Poach for only 3-4 minutes since they’re softer. This is my favorite summer variation.
Spice Swap — Swap cinnamon for cardamom or nutmeg. Cardamom gives it a Scandinavian vibe. I love it with pears.
Gluten-Free Crust — Use a 1:1 gluten-free flour blend for the dough. Add an extra tablespoon of xanthan gum if your blend doesn’t have it. The texture will be slightly more crumbly but still delicious.
Dairy-Free Option — Use coconut oil instead of butter for the crust (keep it cold!). Use coconut cream instead of heavy cream for brushing. The flavor will be slightly coconutty, which pairs well with the honey.
Low-Sugar Version — Use a sugar-free honey alternative or stevia blend in the poaching liquid. The pears will still be sweet, just less so. You can skip the coarse sugar on top.
Protein Boost — Serve with a scoop of vanilla protein ice cream or Greek yogurt. It adds a nice contrast to the sweet fruit.
Serving & Storage
How to Serve: I usually serve this straight from the baking sheet at the dinner table. It looks rustic and stays warm. But here are other ways I’ve enjoyed it:
Side Dishes: This is a dessert, so it stands alone. But if you’re serving it after a meal, a simple green salad or roasted vegetables work well as a contrast.
Pairings: A hot cup of coffee is classic. A glass of sweet wine like Moscato or Riesling also pairs beautifully. My husband likes it with a cold beer—don’t ask me why, it just works.
Storage: Store leftovers in an airtight container at room temperature for up to 2 days. The crust will soften, which some people prefer. For a crispier crust, reheat in a 350°F oven for 10 minutes.
Refrigerator: You can refrigerate it for up to 4 days. Let it come to room temperature before serving, or reheat gently. The cold honey will thicken, so warming it up helps.
Freezing: This galette freezes well! Assemble it unbaked, wrap tightly in plastic and foil, and freeze for up to 3 months. Bake from frozen, adding 10-15 minutes to the bake time. Or freeze baked leftovers and reheat in the oven.
Pro Tip: If you’re meal-prepping, poach the pears on Sunday and store them in the fridge. Assemble and bake on Wednesday. It saves so much time and tastes just as good.
Nutrition Information
I’m not a nutritionist, but here’s the breakdown if you’re tracking. Keep in mind that this is a dessert, so it’s higher in sugar and calories.
Per Serving (based on 8 servings):
- Calories: 280
- Protein: 3g
- Carbs: 42g
- Fiber: 4g
- Sugar: 28g
- Fat: 12g
- Saturated Fat: 7g
- Cholesterol: 30mg
- Sodium: 150mg
What’s Good: It has fiber from the pears and whole wheat flour if you use it. The honey is a natural sweetener. It’s better than a candy bar.
What to Know: It’s higher in sugar from the honey and fruit. Use low-sugar alternatives if needed. Contains dairy and gluten (unless substituted).
My Take: Look, this is a treat. It’s not a health food. But it’s made with real fruit and butter, so it’s better than processed desserts. When I want to make it lighter, I use less honey and more spices. But usually? I just eat a slice and enjoy it.
Final Thoughts
So that’s my honey poached pear galette! I’ve probably talked your ear off at this point, but when you make a recipe this often, you have a lot to say about it. This has saved my weeknight dessert game more times than I can count. It’s my answer to “what’s for dessert?” when I’m tired, don’t want takeout, and still want something that tastes really good. My kids are happy, my husband’s happy, and I’m happy because I’m not stressed about cooking.
Make it yours! Try different pears, swap the spices, or add a crumble topping. The best recipes are the ones you adapt to your family’s tastes. If you make this, drop a comment and let me know what you think! I love hearing how recipes turn out in your kitchen. And if something doesn’t work, tell me that too—I’m here to help troubleshoot.
Happy cooking! And I hope your kitchen smells half as good as mine does right now.
Frequently Asked Questions
Can I use frozen pears?
You can, but they’ll be softer. Thaw them first and pat them dry to remove excess moisture. You might need to poach them for less time, or skip poaching altogether and just bake them. The texture will be softer, but the flavor is still good.
Why did my galette leak too much?
Too much juice from the pears. Make sure you drain the pears well after poaching, and don’t overload the center. Also, baking on the lower rack helps cook the bottom crust faster, preventing it from getting soggy from the juices.
Can I make the dough ahead?
Yes! The dough can be made up to 3 days ahead and stored in the fridge. Or freeze it for up to 3 months. Just let it thaw in the fridge overnight before rolling.
What if I don’t have honey?
Maple syrup is the best substitute. Use the same amount. The flavor will be more maple-forward, which is still delicious. Agave nectar works too, but it’s less flavorful.
How do I reheat leftovers?
Oven or toaster oven is best. 350°F for 10-15 minutes. This restores the crispness of the crust. Microwave works in a pinch, but it will make the crust soft. Add a splash of milk if you want it creamier.
Can I add nuts?
Absolutely! Sprinkle chopped walnuts or pecans on top of the pears before folding the crust. It adds crunch and pairs beautifully with the honey and pear. I do this all the time.
Is this recipe gluten-free?
Not by default, but you can make it gluten-free easily. Use a 1:1 gluten-free flour blend for the crust. The rest of the ingredients are naturally gluten-free. The result is just as delicious.
Pin This Recipe!
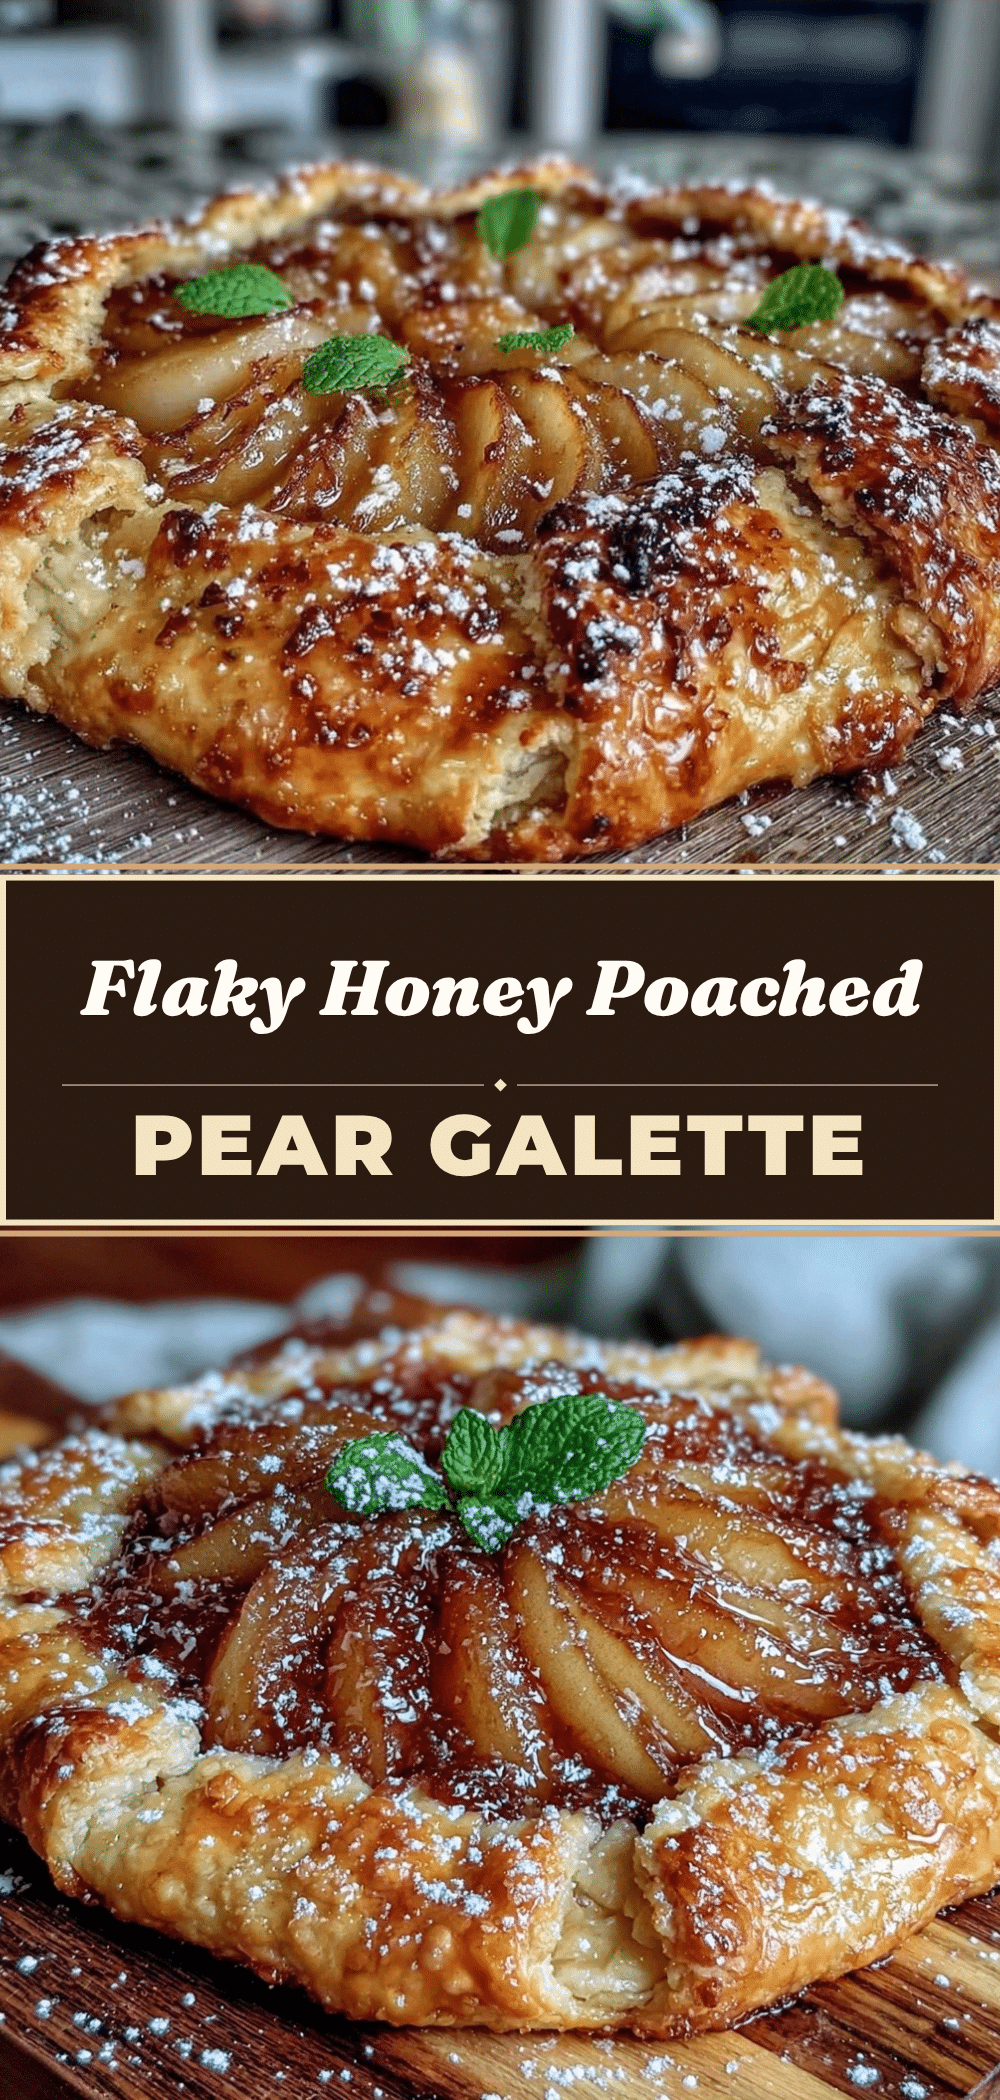

Honey Poached Pear Galette: Easy 30-Minute Flaky Crust
- Total Time: 45 minutes
- Yield: 8 servings 1x
Description
A rustic, free-form tart featuring tender honey-poached pears encased in a shatteringly flaky all-butter crust. This dessert is perfect for busy weeknights, offering bakery-quality flavor with minimal stress and active time.
Ingredients
- 3 large ripe but firm pears (such as Bosc or Anjou), peeled
- 1/3 cup raw honey
- 1 cup water
- 1 whole cinnamon stick
- 1 teaspoon vanilla extract
- 1 tablespoon lemon juice
- 1 ½ cups all-purpose flour
- ½ cup unsalted butter, very cold and cubed
- 3–4 tablespoons heavy cream, cold
- ½ teaspoon salt
- 1 tablespoon coarse sugar (for topping)
- Vanilla ice cream or whipped cream (for serving)
Instructions
- In a medium saucepan, combine honey, water, cinnamon stick, vanilla, and lemon juice. Bring to a simmer over medium heat, stirring until honey dissolves.
- Gently place peeled pears into the liquid. Reduce heat to low and simmer for 8-12 minutes, turning halfway, until tender but holding shape. Remove pears with a slotted spoon and set aside to cool. Reserve the poaching liquid.
- While pears cool, prepare the dough. Pulse flour and salt in a food processor. Add cold cubed butter and pulse until mixture resembles coarse crumbs.
- Drizzle in cold heavy cream one tablespoon at a time until dough just starts to come together. Form into a disk, wrap in plastic, and chill for 15 minutes.
- Preheat oven to 400°F (200°C). Line a baking sheet with parchment paper.
- On a lightly floured surface, roll dough into a rough 12-inch circle. Place cooled pears in the center, leaving a 2-inch border.
- Fold the edges of the dough up and over the pears, pleating as you go, leaving some fruit exposed.
- Brush exposed crust with heavy cream and sprinkle evenly with coarse sugar.
- Bake for 20-25 minutes until crust is golden brown and pears are bubbling. If edges brown too fast, cover with foil.
- Let galette cool on the pan for at least 10 minutes to allow juices to thicken. Slice into wedges and serve warm, optionally drizzled with reserved poaching syrup.
Notes
Keep butter very cold for a flaky crust. Use Bosc or Anjou pears as they hold their shape better than Bartlett pears. Save the poaching liquid to drizzle over the finished galette. For a gluten-free version, use a 1:1 gluten-free flour blend. To prevent a soggy bottom, bake on the lower rack of the oven.
- Prep Time: 20 minutes
- Cook Time: 25 minutes
- Category: Dessert
- Cuisine: American
Nutrition
- Serving Size: 1 wedge
- Calories: 280
- Sugar: 28
- Sodium: 150
- Fat: 12
- Saturated Fat: 7
- Carbohydrates: 42
- Fiber: 4
- Protein: 3
Keywords: pear galette, honey poached pears, flaky crust, easy dessert, weeknight baking, rustic tart, autumn dessert, gluten-free option


