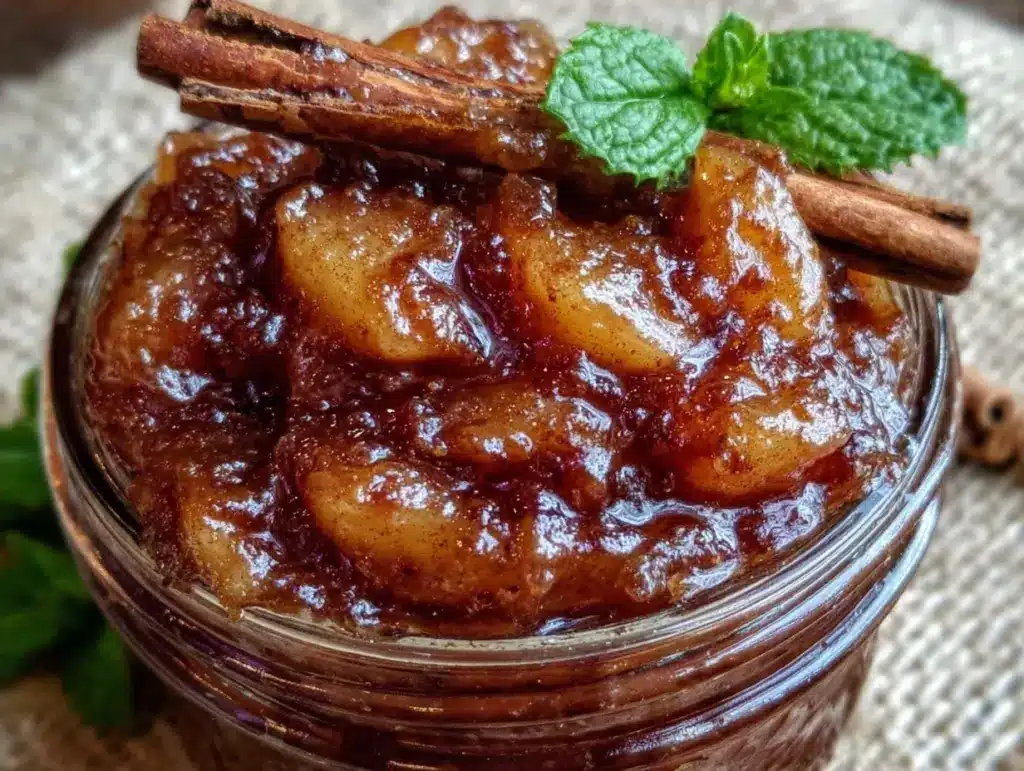
I have a confession to make. For years, I was terrified of canned fruit. Not because I didn’t like it, but because I was convinced it was some kind of culinary crime against nature. I thought fresh was the only way to go. Then, about three years ago, I tried making a small batch of this canned spiced apple pie filling, and everything changed.
It wasn’t just good. It was better than I expected. And the best part? It took me twenty minutes. No peeling mountains of apples. No standing over a boiling pot stirring for an hour. No worry about the apples turning into mush or staying too crunchy. Just sweet, spiced, perfectly thickened apples in a jar.
I’ve made this small batch canned spiced apple pie filling on repeat ever since. Seriously. I’ve probably made it six or seven times in the last two years. Sometimes I just eat it straight out of the jar with a spoon (don’t judge me). Sometimes I use it in my homemade churro cheesecake bars for that extra depth of flavor. Other times, I spoon it over vanilla ice cream and call it a fancy dessert. It’s versatile, forgiving, and honestly? You really can’t mess this up.
If you’re looking for a recipe that feels like a cheat code for your pantry, this is it. It’s simple, it’s small batch (so you don’t waste fruit), and it tastes like autumn in a jar. Let me walk you through exactly how I do it.
Why You’ll Love This Recipe
There are a lot of reasons I keep coming back to this small batch canned spiced apple pie filling, but here are the big ones. It’s not just about convenience; it’s about confidence.
Zero Peeling Required — I know, I know. Some people say you must peel fresh apples for the best texture. But for this filling? The skin softens completely during the simmering process. I use apples with the skin on, which saves so much time and adds a nice pop of color. If you prefer peeled, you can peel them, but I don’t bother anymore. It’s too much work for too little gain.
Small Batch = Less Waste — A lot of pie filling recipes call for 4-5 pounds of apples. That’s a lot of fruit to process for one jar. This recipe makes exactly one 8-ounce jar (or two small ones). It’s perfect for when you want a taste of homemade without committing to a massive canning project. If you mess up one jar, you only messed up one jar.
Foolproof Thickening — One of the biggest fears people have with homemade fruit fillings is that it’s too runny. Not here. We use a little cornstarch slurry, and it thickens beautifully. It’s stable, it’s glossy, and it holds up perfectly in storage. I’ve left jars out on the counter for a day (okay, maybe two) and they stayed thick. That’s rare for fruit fillings.
Floor-Price Ingredients — You probably already have most of these in your pantry. Apples (obviously), sugar, water, lemon juice, cinnamon, and cornstarch. That’s it. No exotic spices you’ll use once a year. No expensive vanilla extract (though you can add a splash if you want). It’s cheap, it’s accessible, and it’s reliable.
Endless Versatility — This isn’t just for pie crusts. I use it in my fudgy sea salt caramel brownies for an apple-caramel combo that sounds weird but tastes incredible. I mix it into yogurt. I swirl it into oatmeal. I even use it as a filling for my bakery-style blueberry muffins sometimes, swapping out half the blueberries for apple filling. The possibilities are endless.
This recipe is my go-to when I want something sweet, homemade, and simple. It’s the kind of thing that makes you feel like a pro cook, even if you’re barely above beginner level.
Ingredients You’ll Need
Here’s the best part: the ingredient list is short. Like, five-ingredients short. I’m particular about a few things here, mostly because they make a huge difference in the final texture and flavor.
For the Filling
Apples (3 medium / about 600g) — I use a mix of Granny Smith and Honeycrisp. Granny Smith gives that tartness that balances the sugar, and Honeycrisp adds sweetness and holds its shape well. You can use all one type, but a mix is my favorite. Don’t use Red Delicious—they turn to mush. Trust me. Also, keep the skins on for color and nutrients.
Granulated Sugar (½ cup / 100g) — This is standard white sugar. You can use brown sugar for a deeper, molasses-like flavor, but it will make the filling darker. I stick with white for that classic pie filling look. If you’re watching sugar, you can reduce it to ⅓ cup, but it will be less sweet and more tart.
Water (¾ cup / 180ml) — Just plain tap water. You don’t need fancy stock or juice here. Water keeps the flavor clean and lets the apples shine.
Lemon Juice (1 tablespoon / 15ml) — Fresh lemon juice is non-negotiable. It prevents the apples from browning and adds a bright acidity that cuts through the sweetness. Bottled lemon juice works in a pinch, but fresh tastes way better. It’s worth squeezing that lemon.
Cornstarch (2 teaspoons / 10g) — This is your thickener. Do not use flour unless you want a cloudy, pasty texture. Cornstarch gives that glossy, clear finish that looks professional. If you’re gluten-free, cornstarch is naturally gluten-free, so you’re good to go.
For the Spice Blend
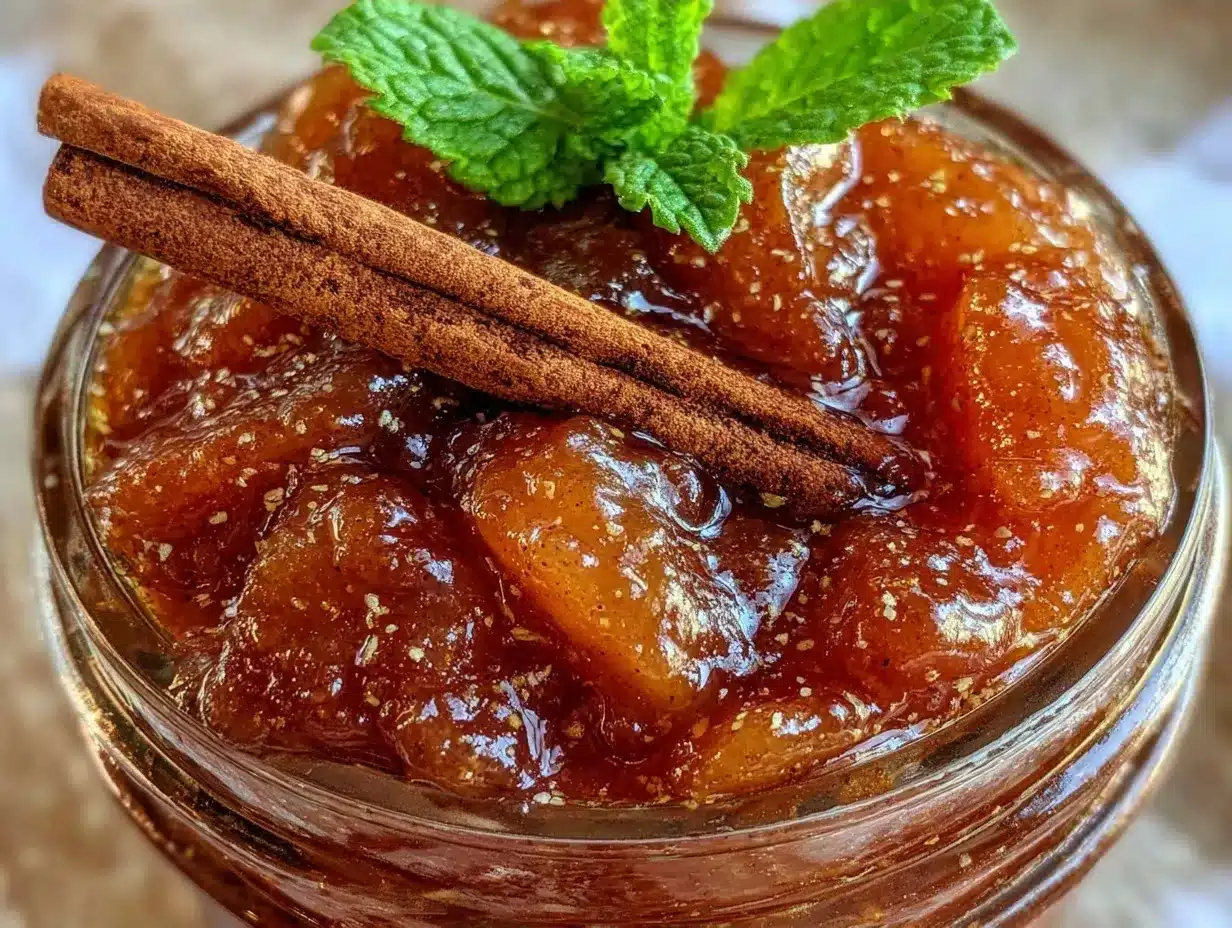
Ground Cinnamon (1 teaspoon / 2g) — This is the star. Use good quality cinnamon. If your jar has been sitting in the back of the cupboard for three years, it’s probably lost its punch. Buy a new one. It’s cheap and makes a huge difference.
Ground Nutmeg (¼ teaspoon / 0.5g) — Just a little bit. Nutmeg is potent. Too much and it tastes medicinal. A quarter teaspoon is perfect for this small batch.
Ground Ginger (¼ teaspoon / 0.5g) — Optional, but I always add it. It adds a little warmth and zing that complements the cinnamon. If you don’t have it, leave it out. It’s not a dealbreaker.
Salt (¼ teaspoon / 1.5g) — Yes, salt in a sweet recipe. It enhances the other flavors and balances the sugar. Don’t skip it. I learned this the hard way with a bland, overly sweet batch years ago.
Optional Add-ins
Vanilla Extract (½ teaspoon) — If you want that bakery-style flavor, add a splash of vanilla at the end. It’s not traditional for pie filling, but I love it. It pairs beautifully with the apples.
Butter (1 teaspoon) — Stirring in a tiny bit of cold butter at the end gives the filling a glossy, rich finish. It’s a nice touch if you’re serving it as a dessert topping.
Equipment Needed
You don’t need fancy gadgets for this. Here’s what I actually use.
Medium Saucepan — I use a 3-quart saucepan. It needs to be big enough to hold the apples and liquid without boiling over. My old stainless steel pan works perfectly. Non-stick is fine too, but stainless steel heats more evenly.
Sharp Knife — For chopping the apples. A dull knife makes chopping harder and more dangerous. I use a standard chef’s knife. Learn to chop safely—curl your fingers under. It’s a skill that will save you from kitchen disasters.
Cutting Board — Any size works. I use a plastic one for easy cleanup. Wood is nice, but it requires more maintenance.
Measuring Spoons — Standard stuff. Dollar store versions work fine. Just make sure they’re accurate. A teaspoon of cornstarch too much can make your filling gummy.
Small Bowl — For mixing the cornstarch with cold water. This is crucial. If you add cornstarch directly to hot liquid, it clumps. Mixing it cold first prevents that.
Spatula — For stirring. Silicone works best because it doesn’t scratch the pan. Wooden spoons are fine too.
Jars — I use 8-ounce mason jars. You can use any clean, heat-safe glass jar with a lid. Ball jars are classic, but any brand works. Just make sure the lid seals properly.
How to Make It: Step-by-Step
Alright, let’s make this! I’m walking you through exactly how I do it, including the little tricks I’ve picked up.
Step 1: Prep Your Apples (5-8 minutes)
Wash the apples thoroughly. You don’t need to peel them, but you do need to remove the cores. I cut each apple in half, then cut out the core with my knife. Then, I chop the apple halves into ½-inch cubes. Uniformity matters here—try to keep the pieces similar in size so they cook evenly. If some are huge and some are tiny, the small ones will turn to mush before the big ones are tender.
Step 2: Mix the Dry Ingredients (1 minute)
In your small bowl, whisk together the cornstarch, cinnamon, nutmeg, ginger, and salt. This ensures the spices are evenly distributed so you don’t get a mouthful of pure cinnamon. Whisk it well until there are no lumps.
Step 3: Combine and Simmer (15-20 minutes)
In your saucepan, combine the chopped apples, sugar, water, and lemon juice. Stir to coat the apples in the sugar and lemon. Place the pan over medium-high heat and bring to a gentle boil. Once it starts bubbling, reduce the heat to medium-low. Let it simmer uncovered for about 10 minutes. The apples will start to soften and release their juices.
Step 4: Add the Thickener (2 minutes)
While the apples are simmering, stir your cornstarch-spice mixture into the pan. It might look a bit cloudy at first—that’s normal. Stir constantly for about 2-3 minutes. You’ll see the mixture start to thicken and become glossy. The sauce will coat the back of a spoon. If it’s still too thin, let it simmer for another minute or two.
Step 5: Cool and Jar (10 minutes)
Remove the pan from the heat. Let the filling cool for about 10 minutes. It will continue to thicken as it cools. Once it’s cool enough to handle, spoon it into your clean jars. Leave about ½ inch of headspace at the top. Wipe the rims clean with a damp cloth to ensure a good seal.
Step 6: Store or Serve
If you’re eating it right away, let it cool completely and serve. If you’re storing it, seal the jars tightly. You can store them in the fridge for up to 2 weeks. For longer storage, you can process them in a boiling water bath for 10 minutes to can them properly, but for this small batch, the fridge is usually sufficient.
Total Time: About 30 minutes (5 minutes prep, 20 minutes cooking, 10 minutes cooling)
Expert Tips & Tricks
Here’s everything I’ve learned from making this dozens of times. These tips will save you from my mistakes.
Don’t Skip the Lemon
I know it sounds acidic, but the lemon juice is crucial. It keeps the apples from turning brown and adds a brightness that balances the sugar. Without it, the filling tastes flat and overly sweet. I’ve made it without lemon before, and it was just… okay. With lemon, it’s amazing.
Uniform Chunks
If your apple pieces are different sizes, your filling will be inconsistent. Some pieces will be mushy, others will be crunchy. Take the time to chop them evenly. It’s worth the extra minute.
Watch the Heat
When you add the cornstarch, keep the heat on medium-low. High heat can make the cornstarch break down and become watery again. You want a gentle simmer to thicken it properly. If it bubbles too vigorously, reduce the heat.
Cool Completely
The filling thickens as it cools. If you jar it while it’s still hot, it might seem too thin, and then it’ll be too thick once it cools in the jar. Let it cool to room temperature before jarring. This is a common mistake, and it’s easy to fix—just let it sit.
Use Good Apples
As I mentioned, avoid Red Delicious. They’re mealy and turn to mush. Stick to firm apples like Granny Smith, Honeycrisp, Fuji, or Gala. Gala is a bit softer, so chop them smaller if you use them.
Common Mistakes (and how to avoid them):
Mistake: Filling is too runny
Fix: You didn’t simmer it long enough after adding the cornstarch. Let it simmer for another 2-3 minutes, stirring constantly. Also, remember that it thickens as it cools. If it’s still thin after cooling, you can make a little extra cornstarch slurry (1 tsp cornstarch + 1 tbsp cold water) and stir it in.
Mistake: Filling is too thick/gummy
Fix: You used too much cornstarch. Add a splash of water or apple juice to thin it out. Stir well and heat gently. It should be pourable but thick, like a syrup.
Mistake: Apples are still crunchy
Fix: You didn’t simmer them long enough before adding the cornstarch. Pre-cook the apples for 10-15 minutes until they’re tender before adding the thickener.
Variations & Substitutions
Once you’ve nailed the basic version, here’s how you can mix it up. I’ve tried all of these.
Spiced Pear Filling
Swap the apples for pears. Pears are softer, so they cook faster. Reduce the pre-cooking time to 5 minutes. The spices work beautifully with pears too.
Apple Cinnamon Roll Filling
Add 1 tablespoon of brown sugar and 1 teaspoon of vanilla extract. This version is sweeter and richer, perfect for swirling into my fluffy cinnamon roll pancakes.
Apple Pie Spice Blend
Add a pinch of allspice and cardamom to the spice mix. This gives it that classic pumpkin spice vibe, but with apples. It’s amazing in the fall.
Low-Sugar Version
Use ⅓ cup of sugar or a sugar substitute like erythritol. The texture will be slightly different, but it’s still delicious. Add an extra splash of lemon juice to balance the tartness.
Gluten-Free
This recipe is naturally gluten-free as long as you use certified gluten-free cornstarch. Double-check your labels, especially for the spices, as some brands process them in facilities with gluten.
Vegetarian/Vegan
This recipe is already vegan and vegetarian. No dairy or animal products involved. Just apples, sugar, and spices.
Flavor Boosters:
- Butter: Stir in 1 teaspoon of cold butter at the end for a rich finish.
- Vanilla: Add ½ teaspoon of vanilla extract after cooking.
- Brandy: Add 1 tablespoon of bourbon or brandy for a grown-up twist.
- Orange Zest: Add the zest of one orange for a citrusy note.
Serving & Storage
How to Serve:
I usually serve this straight from the jar at the dinner table—it looks rustic and stays warm. But here are other ways I’ve enjoyed it:
Side Dishes:
- Vanilla Ice Cream: The classic pairing. Warm filling, cold ice cream. Perfection.
- Yogurt: Swirl it into Greek yogurt for a breakfast treat. Add some granola for crunch.
- Oatmeal: Stir it into hot oatmeal for a sweet, spiced start to the day.
- Toast: Spread it on buttered toast for a quick snack. Add some cream cheese for a savory-sweet combo.
- Pastry Filling: Use it in turnovers, hand pies, or my homemade churro cheesecake bars.
Storage Instructions:
Refrigerator:
Store in an airtight container or sealed jar for up to 2 weeks. The filling will thicken in the fridge—totally normal. Just stir in a splash of water or milk if you want to thin it out.
Freezing:
Yes, you can freeze this filling! Spoon it into freezer-safe containers, leaving ½ inch of headspace. It will keep for up to 3 months. Thaw it in the fridge overnight and reheat gently on the stove. The texture might be slightly softer after thawing, but it’s still delicious.
Reheating:
Best method: Add to a small saucepan with a splash of water or milk over low heat. Stir until heated through and creamy again.
Microwave method: Heat in 30-second intervals, stirring between. Add a splash of liquid if it’s too thick.
Never works: Trying to reheat it in the jar on the stove. It can crack. Always transfer to a pan.
Pro tip: If the filling is drying out, stir in a teaspoon of butter when reheating. It brings back that glossy, rich texture.
Nutrition Information
I’m not a nutritionist, but here’s the breakdown if you’re tracking. This is per serving (about ¼ cup).
Per Serving (based on 8 servings):
- Calories: 60
- Protein: 0g
- Carbs: 15g
- Fiber: 1g
- Sugar: 12g
- Fat: 0g
- Saturated Fat: 0g
- Cholesterol: 0mg
- Sodium: 50mg
- Calcium: 5mg
What’s Good:
- Low in calories and fat
- Contains fiber from the apples
- Can add vegetables to boost nutrition (if you mix in other fruits)
- More filling than it looks
What to Know:
- Contains sugar (you can reduce it)
- Contains fruit (natural sugars)
- Low sodium
My Take:
Look, this is a sweet treat. It’s not a diet recipe. But it’s way better than store-bought pie filling, which is full of preservatives and high-fructose corn syrup. With this, I know exactly what’s in it. When I want to make it lighter, I reduce the sugar and add more apples. But usually? I just eat a reasonable portion and enjoy it.
Final Thoughts
So that’s my go-to small batch canned spiced apple pie filling! I’ve probably talked your ear off at this point, but when you make a recipe this often, you have a lot to say about it.
This has saved me from so many baking disasters. It’s my answer to “I want something sweet, but I don’t want to peel 10 pounds of apples.” It’s my secret weapon for quick desserts, breakfast toppers, and snack time. My kids are happy, my husband’s happy, and I’m happy because I’m not stressed about cooking.
Make it yours! Try different spices, swap in your favorite apples, adjust the sugar to your taste. The best recipes are the ones you adapt to your family’s tastes.
If you make this, drop a comment and let me know what you think! I love hearing how recipes turn out in your kitchen. And if something doesn’t work, tell me that too—I’m here to help troubleshoot.
Happy cooking! And I hope your kitchen smells half as good as mine does right now.
Frequently Asked Questions
Can I use canned apples instead of fresh?
You can, but the texture will be much softer. Canned apples are already cooked and often very soft, so you’ll need to reduce the cooking time significantly. I’d suggest draining them well, then just heating them with the spices and sugar for 5 minutes to meld the flavors. It’s not the same as fresh, but it works in a pinch.
Why did my filling turn out watery?
Usually, this means you didn’t simmer it long enough after adding the cornstarch, or you added too much liquid. Cornstarch needs about 2-3 minutes of simmering to fully thicken. Also, remember that the filling thickens as it cools. If it’s still thin after cooling, you can make a little extra cornstarch slurry (1 tsp cornstarch + 1 tbsp cold water) and stir it in.
Can I make this ahead for a dinner party?
Absolutely! This filling actually tastes better after sitting for a day or two, as the flavors meld together. Make it up to 2 weeks ahead and store in the fridge. Reheat gently before serving. It’s a great make-ahead dessert component.
Why did my filling get lumpy?
If you added the cornstarch directly to the hot liquid without mixing it with cold water first, it likely clumped. Always make a slurry by whisking the cornstarch with cold water before adding it to the pan. If your filling is already lumpy, you can blend it with an immersion blender or strain it through a sieve.
Can I use honey instead of sugar?
You can, but honey has a stronger flavor and is sweeter than sugar. Use about ⅓ cup of honey instead of ½ cup of sugar. Keep in mind that honey can make the filling darker and stickier. It’s a nice variation, but the texture will be slightly different.
How do I reheat leftovers without it getting dry?
Add a splash of water, milk, or apple juice to a saucepan, add your leftover filling, and heat gently over low heat, stirring frequently. The extra liquid brings back the creamy texture. Microwave sort of works but tends to dry it out. If you do microwave, definitely add a splash of liquid first and heat in short bursts, stirring between.
Can I double this recipe?
Yes, you can double or triple it! Just use a larger saucepan to prevent boiling over. The cooking times stay roughly the same, but you might need to simmer a bit longer to thicken the larger batch. I do this when I’m meal-prepping or making gifts.
Pin This Recipe!
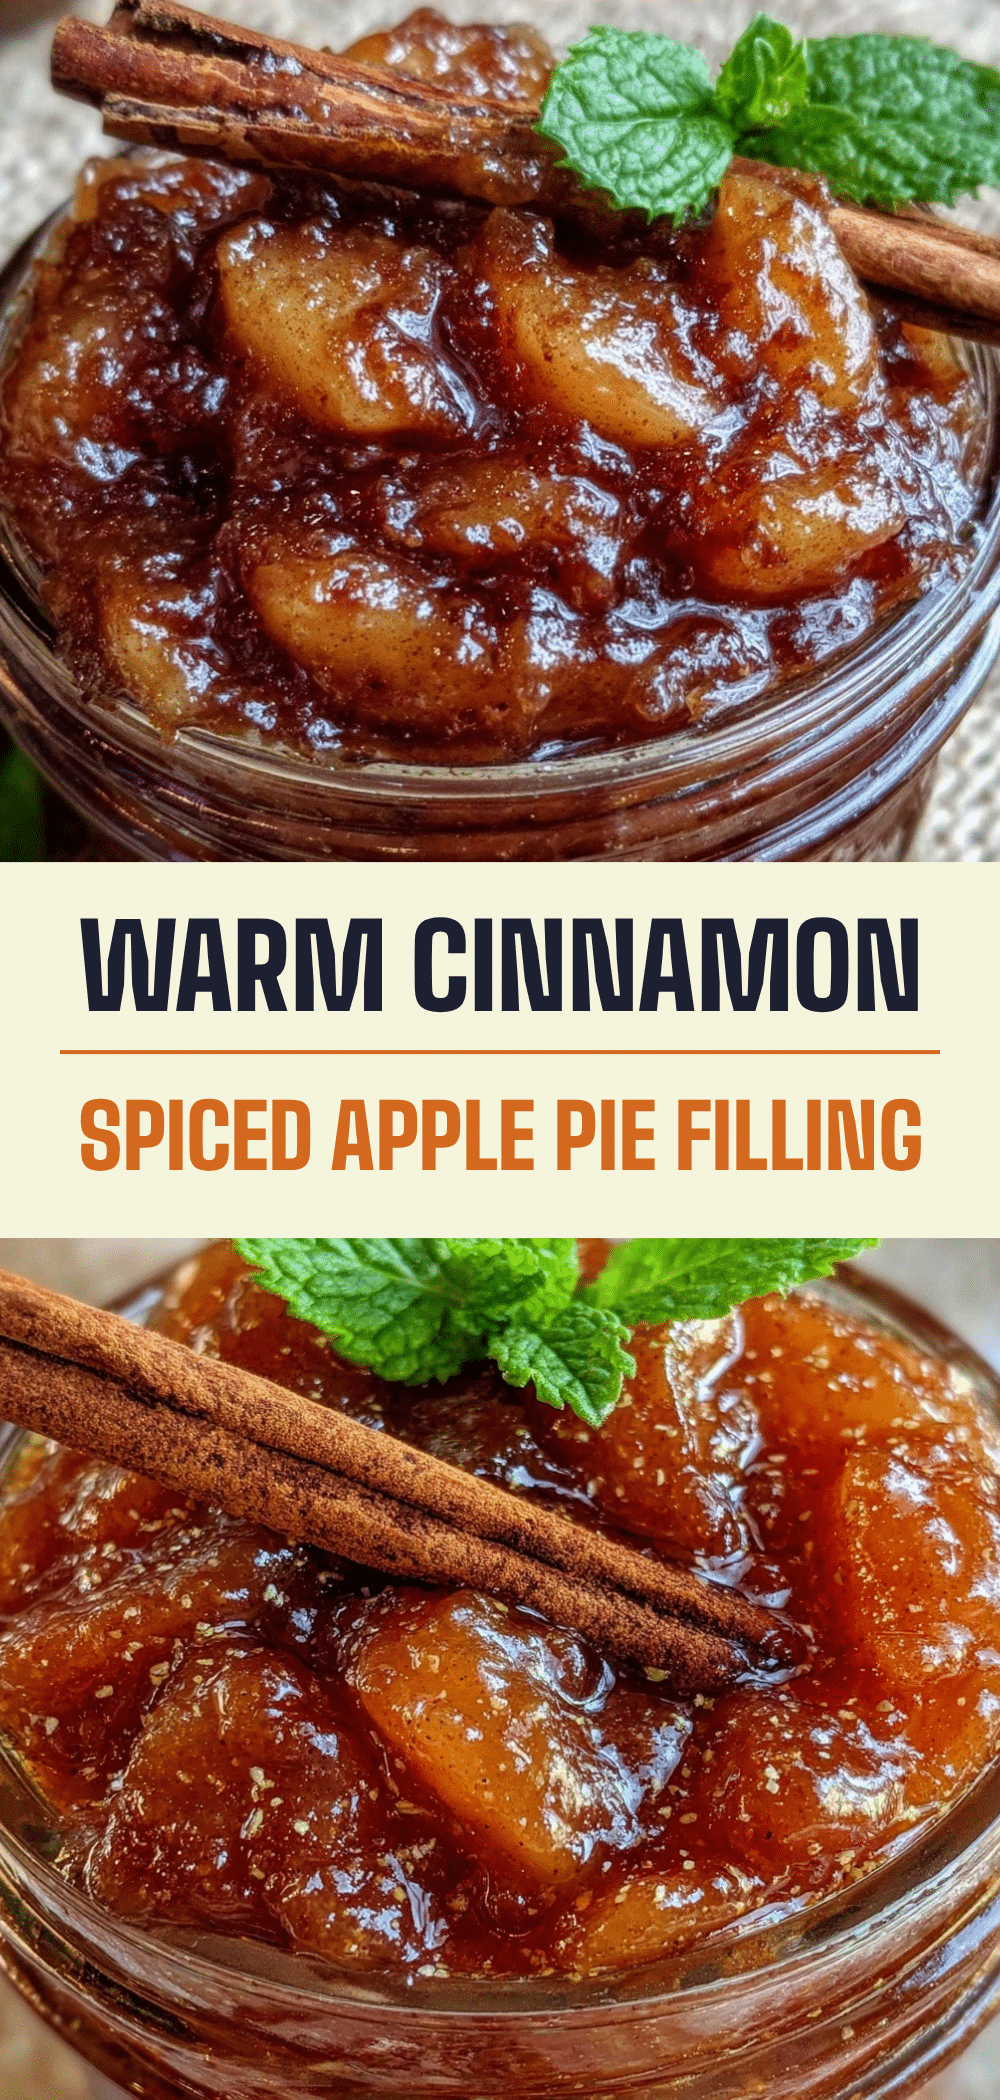
Small Batch Canned Spiced Apple Pie Filling
- Total Time: 30 minutes
- Yield: 1 serving (8 oz jar) 1x
Description
A simple, foolproof recipe for homemade spiced apple pie filling that requires no peeling and makes just one 8-ounce jar. Perfect for pies, desserts, or eating straight from the jar.
Ingredients
- 3 medium apples (about 600g), mixed Granny Smith and Honeycrisp, chopped into ½-inch cubes
- ½ cup granulated sugar (100g)
- ¾ cup water (180ml)
- 1 tablespoon fresh lemon juice (15ml)
- 2 teaspoons cornstarch (10g)
- 1 teaspoon ground cinnamon (2g)
- ¼ teaspoon ground nutmeg (0.5g)
- ¼ teaspoon ground ginger (0.5g)
- ¼ teaspoon salt (1.5g)
- Optional: ½ teaspoon vanilla extract
- Optional: 1 teaspoon cold butter
Instructions
- Wash apples and remove cores. Chop apples into uniform ½-inch cubes, keeping skins on.
- In a small bowl, whisk together cornstarch, cinnamon, nutmeg, ginger, and salt until no lumps remain.
- In a medium saucepan, combine chopped apples, sugar, water, and lemon juice. Stir to coat.
- Place saucepan over medium-high heat and bring to a gentle boil.
- Reduce heat to medium-low and simmer uncovered for about 10 minutes until apples start to soften.
- Stir the cornstarch-spice mixture into the simmering apples. Stir constantly for 2-3 minutes until the mixture thickens and becomes glossy.
- Remove from heat and let cool for about 10 minutes. The filling will continue to thicken as it cools.
- Spoon the warm filling into clean 8-ounce mason jars, leaving ½ inch of headspace. Wipe rims clean.
- Seal jars tightly. Store in the refrigerator for up to 2 weeks or process in a boiling water bath for 10 minutes for long-term canning.
Notes
Do not use Red Delicious apples as they turn to mush. Ensure apple chunks are uniform in size for even cooking. The filling thickens significantly as it cools, so do not jar it while piping hot if you want the right consistency. For a richer finish, stir in a teaspoon of cold butter at the end.
- Prep Time: 5 minutes
- Cook Time: 20 minutes
- Category: Dessert
- Cuisine: American
Nutrition
- Serving Size: 1/4 cup
- Calories: 60
- Sugar: 12
- Sodium: 50
- Carbohydrates: 15
- Fiber: 1
Keywords: apple pie filling, canned apples, small batch recipe, spiced apples, homemade pie filling, gluten-free dessert, vegan recipe


