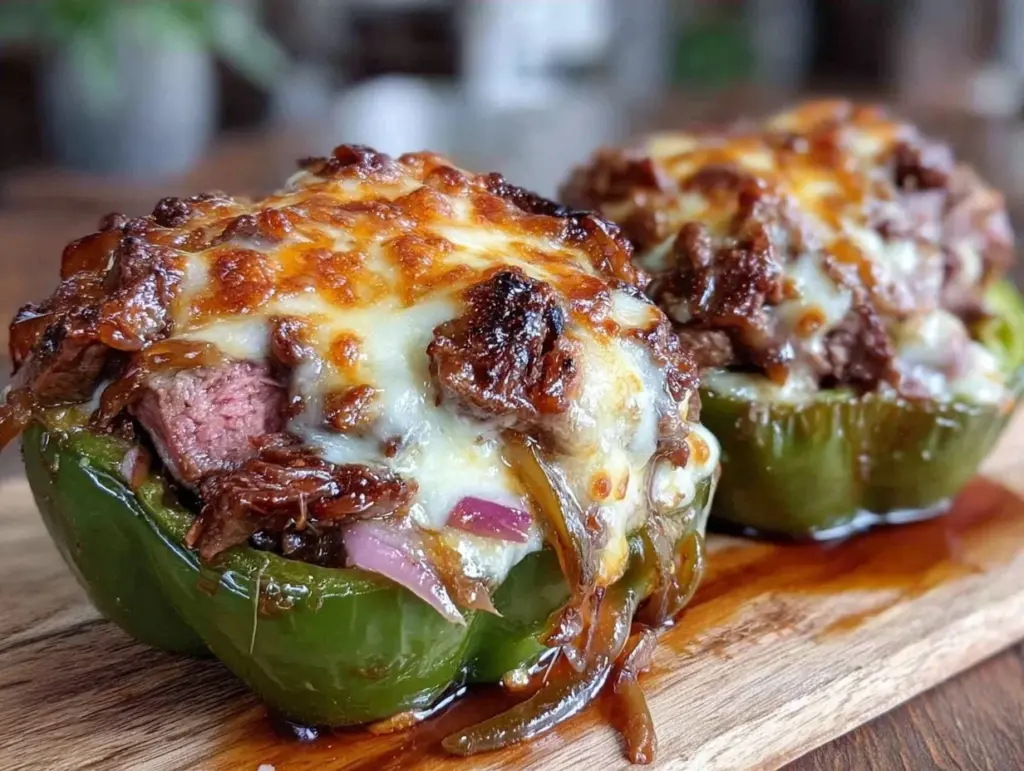
Last Tuesday, I was standing in my kitchen at 6:45 PM, staring into the open fridge with that specific kind of panic that hits right before the dinner rush. We had no meat planned. We had three bell peppers that were starting to look a little sad and wrinkly. And my kids were already arguing over who got the last slice of lunch meat from yesterday.
I didn’t want to order takeout. I didn’t want to spend $25 on something that would leave us all stuffed but unsatisfied. And I definitely didn’t want to cook something that required twenty different ingredients I didn’t have.
So I did what I always do when I’m stressed and hungry: I improvised.
I pulled out those sad peppers, some ground beef I had frozen, and a block of provolone cheese. I threw in some onions, mushrooms, and a little bit of hoagie seasoning I’d had in the back of the cupboard since 2021. I figured, “Why not stuff the peppers like mini cheesesteaks?”
Twenty minutes later, my kitchen smelled like the best cheesesteak place in Philadelphia. Not the greasy spoon kind, but the good kind. The kind where the cheese is perfectly melted and the meat is seasoned just right.
My kids devoured them. No complaints. No “why is there green stuff in my food.” Just empty plates and second helpings.
That was the birth of my Philly Cheesesteak Stuffed Peppers with Melty Provolone. I’ve made them about fifteen times since then—twice with ground turkey, once with just mushrooms for my vegetarian sister-in-law who came over last minute. They always work. They’re cheap, they’re fast, and they taste like a cheat day that doesn’t actually hurt your budget.
If you’ve been looking for a way to get your family to eat more vegetables without fighting them about it, or if you just want a dinner that feels indulgent but is actually super simple, this is the one. It’s basically a turkey chili situation but with better cheese pull and way more satisfying texture. Plus, unlike some of my heavier Italian sausage stuffed shells, these feel lighter because the peppers do all the heavy lifting.
Why You’ll Love This Recipe
Look, I’m a busy parent. I don’t have time for recipes that take three hours or require a degree in chemistry. This Philly Cheesesteak Stuffed Peppers with Melty Provolone is a lifesaver for a few specific reasons:
- It Uses Sad Vegetables — Got peppers that are getting soft? This is their redemption arc. Hollow them out, fill them up, and they turn into edible spoons. Zero waste. Maximum flavor.
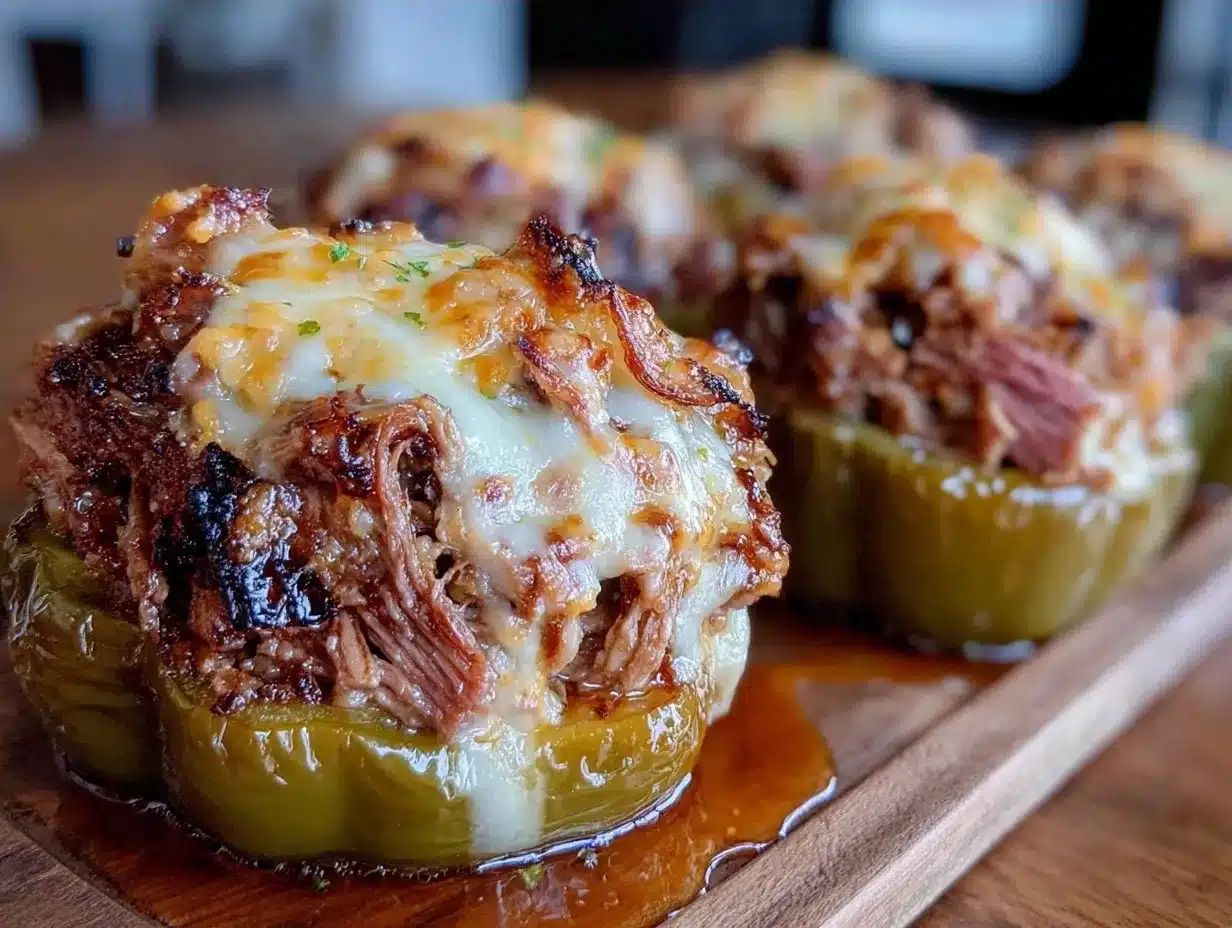
- Cheese Pull Goals — We’re using provolone here, not that processed yellow slice. When it melts over the beef and onions, it gets stringy, gooey, and absolutely irresistible. My kids call it “cheese lava.”
- Under $15 for 6 Servings — Ground beef is cheaper now than it was last year (thank goodness). Bell peppers are usually on sale. And you probably have the spices in your pantry. This is a budget meal that doesn’t taste like one.
- Meal-Prep Friendly — I make these on Sunday and they last all week. They reheat beautifully in the microwave (cover them with a damp paper towel so they don’t dry out). It’s my go-to lunch for work because it doesn’t smell like fish or leftover garlic.
- Kid-Approved — If you can hide vegetables inside a cheese-stuffed pepper, your kids will eat it. It’s a hack. Use it.
This isn’t fancy restaurant food. It’s real, home-cooked food that keeps everyone happy and the bank account intact. It’s the kind of dinner that makes you feel like a cooking hero without the stress.
Ingredients You’ll Need
Here’s the best part: you probably have most of this already. It’s not a long list, and it’s not obscure. Here’s what you need to grab:
For the Peppers and Base
Large Bell Peppers (6 large, any color) — Red, green, yellow, or orange. I usually mix colors because it looks pretty on the plate. Green peppers are a bit bitter, so red or yellow are sweeter and better for kids. Make sure they’re large enough to hold the filling. If yours are small, just use fewer.
Ground Beef (1.5 pounds / 680g) — I use 80/20 lean-to-fat ratio. You want that fat for flavor. If you’re watching calories, 90/10 works, but it’s drier. Ground turkey or chicken works too, but you’ll need to add a little extra olive oil.
For the Filling
Yellow Onion (1 medium, diced / about 150g) — Sweet and aromatic. Don’t skip this. It adds the base flavor.
Green Bell Pepper (1 small, diced / about 100g) — We’re adding a little extra pepper flavor to the mix. Dice it small so it cooks down.
Mushrooms (8 oz / 225g, sliced) — This is the secret to that “cheesesteak” texture. Sliced white or cremini mushrooms add earthiness and bulk. If you hate mushrooms, you can skip them, but I recommend them. They soak up the juices.
Garlic (4 cloves, minced / about 2 tablespoons) — Fresh only. Jarred garlic tastes metallic in this dish. Mince it yourself. It takes 30 seconds.
Hoagie Seasoning (2 teaspoons) — Or use 1 tsp Italian seasoning + 1 tsp dried oregano + 1/2 tsp garlic powder. This is the key flavor profile. It tastes like a sub roll. If you don’t have it, use Italian seasoning, but the hoagie blend is authentic.
Beef Broth (1/4 cup / 60ml) — Just a splash to deglaze the pan and keep the meat from sticking. Low sodium is best so you control the salt.
For the Topping
Provolone Cheese (6 slices or 1.5 cups shredded / 150g) — This is non-negotiable. Shredded provolone melts better than slices. If you can’t find shredded, buy the block and grate it. Mozzarella is okay in a pinch, but provolone has that sharp, smoky tang that makes it a cheesesteak.
Salt and Black Pepper — To taste. Don’t forget to season the meat!
Pantry Staples
Olive Oil (2 tablespoons) — For sautéing.
Worcestershire Sauce (1 teaspoon) — Adds depth and umami. It’s like a secret weapon for ground beef.
Equipment Needed
You don’t need fancy gadgets. Here’s what I actually use:
Baking Dish (9×13 inch) — A standard glass or ceramic baking dish works perfectly. I like glass because I can see the bottoms cooking. A metal pan works too, but watch the heat so the peppers don’t burn.
Large Skillet (12-inch) — You need enough room to cook the beef, onions, and mushrooms without crowding. Crowding makes them steam instead of brown. If your pan is too small, cook in two batches.
Small Knife and Cutting Board — For slicing the tops off the peppers and dicing the onions.
Spoon or Melon Baller — To scoop out the seeds and membranes from the peppers. A regular teaspoon works fine if you’re careful.
Fork — To break up the ground beef as it cooks.
How to Make It: Step-by-Step
Alright, let’s get cooking. This is straightforward. I’m walking you through exactly how I do it, including the little tricks I’ve picked up over the years.
Step 1: Prep the Peppers (5 minutes)
Preheat your oven to 375°F (190°C). Take your bell peppers and wash them. Slice about 1/2 inch off the top of each pepper. This is your “lid.” Use a spoon or a small knife to scrape out the seeds and the white membranes inside. You want the inside clean. If you leave too much white membrane, it can taste bitter. Place the hollowed-out peppers upright in your baking dish. If they wobble, slice a tiny bit off the bottom so they sit flat. Don’t worry if they look a little sad right now; they’ll soften in the oven.
Step 2: Cook the Meat and Veggies (10-12 minutes)
Heat olive oil in your large skillet over medium-high heat. Add the diced yellow onion and green pepper. Sauté for 3-4 minutes until the onions start to turn translucent. Add the sliced mushrooms. Cook for another 3-4 minutes. The mushrooms will release water and then brown. This browning is crucial for flavor. Don’t rush it.
Push the veggies to the side of the pan and add the ground beef. Break it up with your fork as it cooks. Cook until it’s no longer pink, about 5-6 minutes. Drain any excess grease if there’s a lot of it (I usually drain it if there’s more than a tablespoon, but leave some for flavor).
Step 3: Season and Combine (2 minutes)
Add the minced garlic, hoagie seasoning, Worcestershire sauce, salt, and pepper to the meat and veggie mixture. Stir everything together. Pour in the beef broth. Let it simmer for 1 minute to let the flavors meld. The mixture should look moist but not soupy. If it looks dry, add a splash more broth. Taste it. If it needs more salt, add it now. This is the time to fix it.
Step 4: Stuff the Peppers (2 minutes)
Take the meat mixture and spoon it generously into each pepper. Pack it in a little bit. You want them full. If you have extra filling, just put it in the baking dish next to the peppers—it’ll cook up nicely.
Step 5: Add Cheese and Bake (20-25 minutes)
Top each stuffed pepper with provolone cheese. I like to lay the slices on top, but shredded works too. Cover the baking dish with aluminum foil. This steams the peppers slightly and helps them cook through without burning the cheese.
Put it in the oven for 15 minutes. Then, remove the foil and bake for another 5-10 minutes. You want the cheese to be melted and bubbly, and the peppers to be tender but still hold their shape. A knife should slide easily into the pepper side.
Step 6: Serve
Let them cool for 5 minutes before serving. They’ll be hot. Serve with a side of crusty bread or a simple green salad. They’re amazing on their own, but a little crusty bread is great for soaking up any juices left in the pan.
Expert Tips & Tricks
Here’s everything I’ve learned from making these dozens of times. These tips will save you from my mistakes.
Don’t Overcook the Peppers — You want them tender, not mushy. If you bake them too long, they’ll collapse and leak filling. Check them at 20 minutes. If they’re still too firm, add 5 more minutes.
Use Shredded Cheese — Slices of provolone can be tricky to get to melt evenly. Shredded cheese melts faster and more uniformly. If you only have slices, tear them into small pieces and distribute them.
Drain the Beef (But Not Too Much) — If you have 90/10 beef, you won’t need to drain much. If you have 80/20, you’ll have a lot of grease. Drain it, or your stuffed peppers will be oily. But don’t drain it all the way dry; you want some flavor.
Make-Ahead Strategy — You can assemble these completely the night before. Cover them tightly with plastic wrap and refrigerate. When you’re ready to eat, take them out, let them sit at room temperature for 20 minutes, then bake as directed. You might need to add 5 minutes to the baking time since they’re starting cold.
The “Leftover” Hack — If you have leftover stuffed peppers, chop them up and scramble them with eggs for breakfast. It’s like a savory omelet. Trust me, it’s delicious.
Variations & Substitutions
Once you’ve nailed the basic version, here’s how you can mix it up. I’ve tried all of these.
Turkey Version — Swap ground beef for ground turkey. Use turkey breast or thigh meat. Add a little extra olive oil and maybe a teaspoon of smoked paprika to give it more depth. Turkey is leaner, so it won’t be as juicy, but it’s still good.
Veggie-Only — Skip the meat entirely. Use a cup of cooked brown rice or quinoa mixed with the veggies. Add a can of drained black beans for protein. It’s filling and tasty. I make this for my vegetarian friends, and they love it.
Spicy Kick — Add a diced jalapeño to the onion mix. Or use pepper jack cheese instead of provolone. If you like heat, this is the way to go.
Italian Twist — Swap the hoagie seasoning for Italian seasoning. Add some sun-dried tomatoes to the filling. Top with mozzarella instead of provolone. It’s basically a stuffed pepper pizza.
Gluten-Free — This recipe is naturally gluten-free as long as you check your hoagie seasoning and Worcestershire sauce (some brands have malt vinegar). Most major brands are GF, but always double-check.
Serving & Storage
How to Serve: I usually serve these straight from the baking dish. They look rustic and homey. A little sprinkle of fresh parsley or chives on top adds a nice pop of color and freshness.
Sides: A simple arugula salad with lemon vinaigrette cuts through the richness of the cheese. Or just some crusty bread. I also like to serve them with a side of roasted potatoes if I’m feeling fancy.
Refrigerator: Store leftovers in an airtight container for up to 4 days. The peppers will get softer, but the flavor stays good.
Reheating: Microwave is best for lunch. Put a damp paper towel over the pepper to keep it moist. Heat for 1-2 minutes. For dinner, reheat in a 350°F oven for 10-15 minutes to crisp up the cheese a bit.
Freezing: You can freeze these, but the texture of the peppers might get a bit soft after thawing. I recommend freezing the filling separately and fresh-stuffing them when you’re ready to eat. Or, freeze the whole thing, but expect a softer pepper.
Nutrition Information
I’m not a nutritionist, but here’s the breakdown if you’re tracking. This is per serving (1 stuffed pepper with filling).
| Nutrient | Amount |
|---|---|
| Calories | 320 |
| Protein | 22g |
| Carbs | 12g |
| Fat | 20g |
| Fiber | 3g |
It’s a decent protein source, thanks to the beef and cheese. The carbs come from the peppers and onions. It’s not a low-carb meal, but it’s balanced. If you want to lighten it up, use turkey and less cheese.
Final Thoughts
So that’s my Philly Cheesesteak Stuffed Peppers with Melty Provolone! It’s become a staple in our house because it’s reliable, delicious, and cheap. It’s the kind of meal that makes you feel like you’ve accomplished something, even though it only took 30 minutes of active work.
I love that it uses up veggies that might otherwise go bad. I love that my kids eat them without complaint. And I love that it tastes like a cheat meal but doesn’t wreck my budget.
Make it yours! Try different cheese, add some hot sauce, or swap the meat. The best recipes are the ones you adapt to your family’s tastes.
If you make this, drop a comment and let me know what you think! I love hearing how recipes turn out in your kitchen. And if something doesn’t work, tell me that too—I’m here to help troubleshoot.
Happy cooking! And I hope your kitchen smells half as good as mine does right now.
Frequently Asked Questions
Q: Can I use mini bell peppers instead of large ones?
A: Yes! But you’ll need more of them. Use about 12-15 mini peppers. The filling amount will stay the same, but you’ll have more individual servings. Just keep an eye on the baking time—they’ll cook faster, so check them at 15 minutes.
Q: Why did my peppers leak filling?
A: Usually, this happens if the peppers are overcooked and soft, or if you packed the filling too tight. Make sure you don’t overstuff them, and don’t bake them longer than 25 minutes unless they’re really large.
Q: Can I make this ahead for a dinner party?
A: Absolutely. Assemble them the night before, cover, and refrigerate. When guests arrive, just put them in the oven. If they’re cold from the fridge, add 5-10 minutes to the baking time.
Q: What if I don’t have hoagie seasoning?
A: No problem. Use 1 teaspoon Italian seasoning and 1/2 teaspoon garlic powder. It won’t be exactly the same, but it will still taste great. You can also use a little bit of onion powder and dried basil.
Q: Can I freeze the stuffed peppers?
A: You can, but the peppers might get a bit mushy when reheated. For best results, freeze the filling separately. When you’re ready to eat, stuff fresh peppers with the frozen filling (thawed) and bake.
Q: How do I reheat leftovers without them drying out?
A: Always add a little moisture. Microwave with a damp paper towel over the top, or reheat in the oven with a splash of broth or water in the bottom of the dish. This keeps the cheese and peppers moist.
Pin This Recipe!
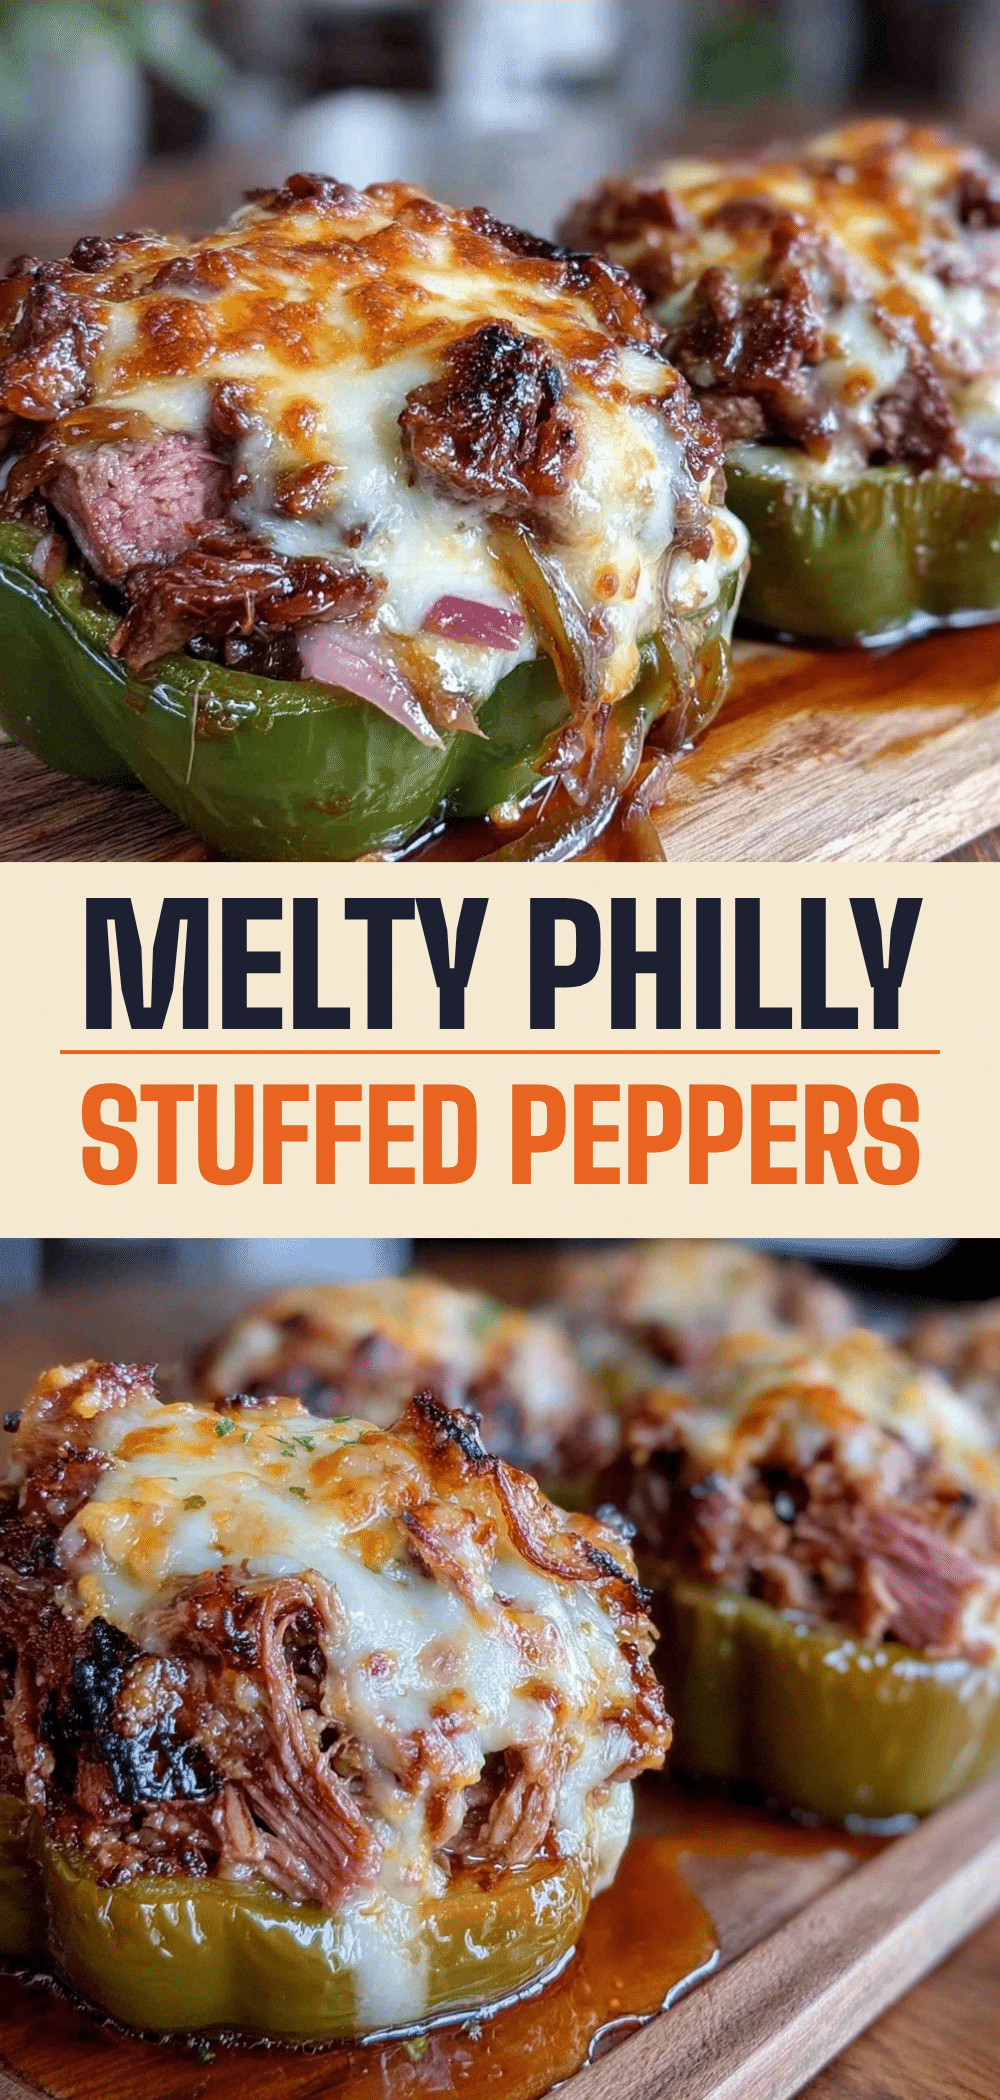
Philly Cheesesteak Stuffed Peppers with Melty Provolone
- Total Time: 45 minutes
- Yield: 6 servings 1x
Description
A budget-friendly, kid-approved dinner that transforms sad bell peppers into edible spoons filled with seasoned ground beef, mushrooms, onions, and melted provolone cheese. Perfect for meal prep and ready in under 45 minutes.
Ingredients
- 6 large bell peppers (any color)
- 1.5 pounds ground beef (80/20 lean-to-fat ratio)
- 1 medium yellow onion, diced
- 1 small green bell pepper, diced
- 8 oz mushrooms, sliced
- 4 cloves garlic, minced
- 2 teaspoons hoagie seasoning (or 1 tsp Italian seasoning + 1 tsp dried oregano + 1/2 tsp garlic powder)
- 1/4 cup beef broth (low sodium)
- 6 slices provolone cheese or 1.5 cups shredded provolone
- Salt and black pepper to taste
- 2 tablespoons olive oil
- 1 teaspoon Worcestershire sauce
Instructions
- Preheat oven to 375°F (190°C).
- Wash bell peppers and slice about 1/2 inch off the top to create lids. Scrape out seeds and white membranes. Place hollowed peppers upright in a 9×13 inch baking dish.
- Heat olive oil in a large skillet over medium-high heat. Add diced yellow onion and green pepper; sauté for 3-4 minutes until translucent.
- Add sliced mushrooms and cook for 3-4 minutes until browned and water has evaporated.
- Push veggies to the side and add ground beef. Break up with a fork and cook until no longer pink (5-6 minutes). Drain excess grease if necessary.
- Add minced garlic, hoagie seasoning, Worcestershire sauce, salt, and pepper to the skillet. Stir to combine.
- Pour in beef broth and simmer for 1 minute to meld flavors.
- Spoon the meat mixture generously into each pepper, packing it in slightly.
- Top each stuffed pepper with provolone cheese.
- Cover the baking dish with aluminum foil and bake for 15 minutes.
- Remove foil and bake for another 5-10 minutes until cheese is melted/bubbly and peppers are tender.
- Let cool for 5 minutes before serving.
Notes
For meal prep, cover with a damp paper towel when microwaving to prevent drying out. If using 90/10 beef, less grease needs draining. For a vegetarian version, substitute meat with cooked brown rice or quinoa and black beans. Ensure hoagie seasoning and Worcestershire sauce are gluten-free if needed.
- Prep Time: 15 minutes
- Cook Time: 30 minutes
- Category: Main Course
- Cuisine: American
Nutrition
- Serving Size: 1 stuffed pepper wit
- Calories: 320
- Fat: 20
- Carbohydrates: 12
- Fiber: 3
- Protein: 22
Keywords: Philly cheesesteak, stuffed peppers, meal prep, budget dinner, ground beef recipes, provolone cheese, kid-friendly meals, easy dinner


