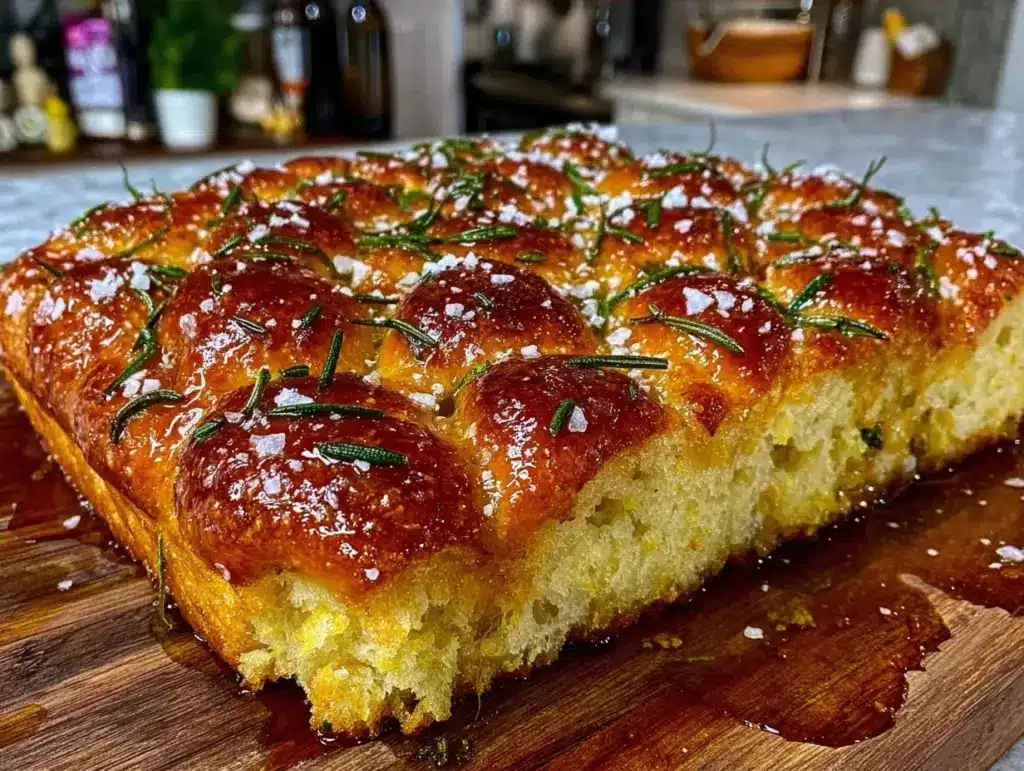
Let’s be honest for a second. Most sourdough recipes feel like they’re written by someone who owns a degree in chemistry and has nothing but time to stare at a jar of starter. I don’t have that. I have a toddler who naps for exactly 45 minutes and a brain that operates on efficiency. That’s why I fell in love with this specific focaccia recipe. It’s not just bread; it’s a meal-prep powerhouse that I can make on a Sunday morning while the house is quiet, and then slice into perfect portions for lunches all week long.
There’s something deeply satisfying about pulling a sheet pan of golden, dimpled, herb-scented bread out of the oven. But here’s the real secret: this beginner friendly sourdough focaccia doesn’t require the intense kneading or the precise timing of a baguette. It’s forgiving. It’s wet. It’s messy in a good way. And once you master the technique of creating those signature oil pockets (yes, we’re talking about the dimples), you’ll never buy store-bought bread for dinner again. I’ve tested this enough times to know that the first batch might look a little lopsided, but the second one? Perfect. The third one? You’re hooked.
I’m going to walk you through exactly how I prep this so it lasts four days without losing its magic. We’re talking about a bread that stays soft, reheats beautifully, and pairs with everything from my cozy fall turkey chili to a simple salad. Let’s get baking.
Why This Focaccia Changes Your Meal-Prep Game
I know what you’re thinking. “Bread? That’s not meal prep, that’s just carbs.” But hear me out. This isn’t just about snacking. This is about strategic planning. When you have a reliable, homemade bread that actually tastes better than the bakery version, it changes how you approach the whole week.
It’s Actually Hard to Mess Up — Seriously. If you can mix flour and water, you can make this. The high hydration dough is sticky and weird at first, but that’s what makes the crumb so open and airy. I’ve made this for friends who are terrified of baking, and they’ve all ended up with beautiful, rustic loaves. No fancy techniques required.
Freezes and Reheats Like a Dream — This is the big one. Most bread goes stale in two days. Not this focaccia. Because of the olive oil and the sourdough’s natural acidity, it stays moist for days. I slice it, wrap it tightly, and freeze what I won’t eat by Thursday. Reheating takes two minutes in the toaster oven, and it comes out crisp on the outside and soft on the inside. It’s basically magic.
Versatile for Every Meal — I eat this for breakfast with butter and jam. I pack it for lunch alongside my pumpkin streusel muffins (yes, I meal-prep desserts too, deal with it). I serve it for dinner with soup or roasted veggies. It’s the ultimate multitasker. And because I make it in a large sheet pan, I get about 12-16 perfect squares. That’s enough to feed a crowd or portion out for the entire week.
It Uses Your Active Starter — If you’ve been feeding your sourdough starter and feeling guilty about the waste, this is your solution. It uses a significant amount of starter, so you’re not just throwing it away. You’re turning it into something delicious. It’s sustainable cooking at its finest.
Ingredients You’ll Need
Here’s the good news: you probably have most of this already. Focaccia is one of those recipes where the simplicity of the ingredients lets their quality shine. I’m particular about a few things, so pay attention to the notes.
All-Purpose Flour (500g / 3 ½ cups) — I use King Arthur or Bob’s Red Mill. You want a protein content around 11-12%. Bread flour works too and gives a chewier texture, but all-purpose is more forgiving for beginners. Don’t use self-rising flour; it has leavening agents that will mess up the rise.
Water (350g / 1 ½ cups) — Room temperature is best. If your water is too cold, it slows down the yeast. If it’s too hot, you kill the starter. Lukewarm is the sweet spot. You can test it on your wrist—it should feel like a warm bath.
Active Sourdough Starter (100g / ½ cup) — This needs to be bubbly and active. If you fed it 6-8 hours ago and it has doubled in size, you’re good. If it’s sad and flat, wait longer. A hungry starter makes great bread; a tired starter makes flat bread. I keep mine in the fridge and pull it out the night before I plan to bake.
Salt (10g / 1 ¾ teaspoons) — Fine sea salt or kosher salt. I use Diamond Crystal kosher salt, so if you use table salt, reduce the amount slightly. Salt controls the yeast and adds flavor, so don’t skip it.
Olive Oil (60g / ¼ cup + extra for the pan) — Use a good quality extra virgin olive oil for the dimples. It’s the star of the show. For the pan itself, regular olive oil works fine. I use a generous amount—this is what makes the bottom crispy.
Fresh Rosemary (2 tablespoons, chopped) — Fresh is non-negotiable here. Dried rosemary is too piney and loses its flavor in the dough. If you don’t have fresh, you can use dried, but reduce the amount by half and mix it into the flour. I grow mine on my windowsill, but the grocery store herb section works great.
Flaky Sea Salt (for topping) — Maldon salt is the gold standard. The big flakes add a crucial textural contrast to the soft bread. If you can’t find it, any large flake salt works. Don’t use fine table salt for the topping; it’ll just dissolve and taste too salty.
Optional Add-ins — Cherry tomatoes, caramelized onions, or olives. I love adding halved cherry tomatoes right before baking. They burst and add a juicy, savory element. But the classic rosemary and salt version is my absolute favorite.
Equipment Needed
You don’t need a fancy kitchen to make this. Here’s what I actually use.
9×13 Inch Baking Pan — I use a metal pan. Glass or ceramic pans heat slower and can result in a softer bottom. Metal gives you that crisp, golden crust. A dark non-stick pan is even better for browning.
Large Mixing Bowl — Something wide is better than tall. It makes folding the dough easier. I use a large stainless steel bowl.
Plastic Wrap or Airtight Lid — To cover the bowl during the rise. I use stretch wrap because it sticks to the bowl and keeps the dough from drying out.
Offset Spatula — Not strictly necessary, but it helps spread the dough into the pan without sticking to your hands. If you don’t have one, wet your hands with water and use them.
Pastry Brush — For brushing the top with olive oil before baking. Silicone brushes are easier to clean than bristle ones.
Cooling Rack — Essential. You need to let the bread cool so the crust sets. If you cut into it while it’s hot, the steam escapes and the texture gets gummy.
How to Make It: Step-by-Step

Alright, let’s make this! I’m walking you through exactly how I do it, including the little tricks I’ve picked up over years of Sunday baking.
Step 1: Mix the Dough (5 minutes)
In your large bowl, combine the water and active sourdough starter. Whisk until the starter is dissolved and the water looks cloudy. Add the flour and salt. Mix with a sturdy spoon or your hands until no dry flour remains. It will look shaggy and sticky. That’s perfect. Don’t add more flour. Don’t panic. This stickiness is what creates the open crumb. Cover the bowl with plastic wrap.
Step 2: The Autolyse (30 minutes)
Let the dough rest, covered, at room temperature. This is called autolyse. It allows the flour to hydrate fully and the gluten to start developing on its own. You’ll notice the dough smoothing out slightly. This step reduces the need for kneading, which is great for beginners. Just walk away. Breathe. Enjoy a coffee.
Step 3: Fold the Dough (5 minutes, repeat 3 times)
After 30 minutes, it’s time to fold. Wet your hands with water (this prevents sticking). Grab one side of the dough, stretch it up, and fold it over the center. Do this from all four sides. It’s like giving the dough a hug. Cover and let rest for another 30 minutes. Repeat this process two more times, for a total of three folds. Each fold strengthens the gluten structure. By the end, the dough should feel elastic and smooth, even if it’s still a bit sticky.
Step 4: First Rise (4-6 hours)
After the final fold, cover the bowl and let the dough rise at room temperature until it has increased by about 50-75%. It should look puffy and jiggly. You’ll see bubbles forming on the surface. This usually takes 4-6 hours, depending on your kitchen temperature. If your kitchen is cold, it might take longer. If it’s warm, it might be done in 3. Don’t rush it. If you bake it too soon, it will be dense.
Step 5: Prep the Pan and Shape (10 minutes)
Generously oil your 9×13 pan. I use about 2 tablespoons of olive oil. Pour it in and tilt the pan to coat the bottom and sides. Dump the dough into the pan. It will resist stretching. That’s okay. Let it sit for 10 minutes. The gluten will relax. Then, gently stretch it toward the corners. Use your oiled fingers to press and pull. Don’t worry about making it perfect. If it springs back, let it rest for another 5 minutes and try again. Eventually, it will reach the edges.
Step 6: The Dimples (5 minutes)
This is the fun part. Wet your fingers again. Press them firmly into the dough, creating deep dimples all over. Go all the way to the bottom of the pan. This traps the olive oil and creates those iconic pockets. Scatter the chopped rosemary over the top. Drizzle generously with olive oil—let it pool in the dimples. Sprinkle with flaky sea salt.
Step 7: Second Rise (1-2 hours)
Let the shaped dough rise in the pan, uncovered, until it looks puffy and the dimples hold their shape. This usually takes 1-2 hours. If you poke the dough gently and the indentation springs back slowly, it’s ready. If it springs back immediately, it needs more time. If it doesn’t spring back at all, it’s over-proofed.
Step 8: Bake (25-30 minutes)
Preheat your oven to 425°F (220°C) while the dough rises. Place the pan in the oven and bake for 25-30 minutes. Rotate the pan halfway through for even browning. The focaccia is done when it’s deep golden brown all over and sounds hollow when you tap the bottom. If the top is browning too fast, tent it loosely with foil.
Step 9: Cool and Slice
Lift the bread out of the pan using the edges of the oil and place it on a cooling rack. Let it cool for at least 20 minutes before slicing. This is the hardest part, I know. But cutting into hot focaccia is a mistake. Slice it into squares. These are your meal-prep portions.
Expert Tips & Tricks for Success
Here’s everything I’ve learned from making this dozens of times. These tips will save you from my mistakes.
Hydration is Key — This dough is wetter than pizza dough. Embrace the stickiness. If you add too much flour, you’ll get dense, bread-like focaccia instead of the light, airy texture you want. Use the water on your hands to handle it.
Temperature Matters — If your kitchen is below 70°F, your dough will rise slowly. You can speed it up by putting the covered bowl in a slightly warm oven (turn the oven on for 1 minute, then turn it off and put the bowl inside). But don’t overheat it. Yeast dies at 140°F.
Don’t Skip the Folds — Folds are the secret to structure without kneading. They align the gluten strands and strengthen the dough. Three folds are standard, but if your dough is very wet, you might need a fourth.
Be Generous with Oil — This isn’t a low-fat recipe, and that’s the point. The olive oil flavors the bread and keeps it moist for days. Don’t skimp. It’s healthy fat, after all.
Freezing Strategy — Once cooled, wrap individual slices tightly in plastic wrap, then put them all in a freezer bag. They’ll last up to 3 months. Thaw at room temperature or toast directly from frozen.
Variations & Substitutions
Once you’ve nailed the basic version, here’s how you can mix it up. I’ve tried all of these.
Savory Tomato Focaccia — Add halved cherry tomatoes before baking. They caramelize and add sweetness. This pairs beautifully with a roasted red pepper soup.
Garlic and Herb — Skip the rosemary and use minced garlic and thyme. Add a pinch of red pepper flakes for heat.
Sweet Version — Skip the salt and rosemary. Add cinnamon sugar and drizzle with honey after baking. It’s like a dessert bread. Great with coffee.
Gluten-Free — You can use a 1:1 gluten-free flour blend. The texture will be denser, but it still works. Add xanthan gum if your blend doesn’t have it.
Serving & Storage
I usually serve this straight from the cooling rack, torn into pieces. But here’s how I store it for the week.
Room Temperature — Store in an airtight container or a bread box for up to 3 days. It stays soft and fresh.
Refrigerator — I don’t recommend refrigerating bread. It stales faster due to retrogradation of starch. Only refrigerate if your kitchen is very hot and humid.
Freezer — Wrap tightly in plastic and foil. Freeze for up to 3 months. Reheat in a 350°F oven for 10 minutes to restore crispness.
Reheating — To reheat, wrap in foil and bake at 350°F for 10 minutes. Or, for a single slice, toast it in a toaster oven. It’s surprisingly good cold, too, straight from the container.
Nutrition Information
I’m not a nutritionist, but here’s the breakdown if you’re tracking. Per slice (1 of 16):
- Calories: 180
- Protein: 5g
- Carbs: 28g
- Fiber: 1g
- Fat: 6g
- Sodium: 250mg
Look, this is comfort food. It’s not a diet recipe. But it’s way better than store-bought, and you control the ingredients. When I want to make it lighter, I use less oil and add more veggies. But usually? I just eat a reasonable portion and enjoy it.
Final Thoughts
So that’s my go-to beginner friendly sourdough focaccia! I’ve probably talked your ear off at this point, but when you make a recipe this often, you have a lot to say about it. This has saved my meal-prep routine more times than I can count. It’s my answer to “what’s for lunch” when I’m tired, don’t want takeout, and still want something that tastes really good. My kids are happy, my husband’s happy, and I’m happy because I’m not stressed about cooking.
Make it yours! Try different add-ins, swap in your favorite herbs, adjust the salt. The best recipes are the ones you adapt to your family’s tastes. If you make this, drop a comment and let me know what you think! I love hearing how recipes turn out in your kitchen. And if something doesn’t work, tell me that too—I’m here to help troubleshoot.
Frequently Asked Questions
Can I use inactive starter?
No. You need active, bubbly starter. If your starter is in the fridge, feed it 6-8 hours before you plan to bake. It should be at its peak activity—doubled in size and full of bubbles. Inactive starter won’t give the dough enough lift.
Why is my focaccia dense?
Usually, this means the dough didn’t rise enough. Check your starter’s activity. Also, make sure you’re not adding extra flour during the folding process. The dough should be sticky. If it’s too dry, the gluten can’t stretch, and you get a dense crumb.
Can I make this ahead for a dinner party?
Absolutely. Make the dough on Sunday, let it rise in the fridge overnight (cold retardation), and then shape and bake it on Monday. The cold rise actually develops more flavor. Just bring it to room temperature before baking.
How do I store leftovers?
Store in an airtight container at room temperature for up to 3 days. For longer storage, freeze individual slices. Reheat in the oven or toaster oven to restore crispness.
Can I use bread flour instead of all-purpose?
Yes, bread flour will give a chewier, more elastic texture. All-purpose gives a softer, more tender crumb. Both work great. I prefer all-purpose for this specific recipe because I like the softness.
Pin This Recipe!
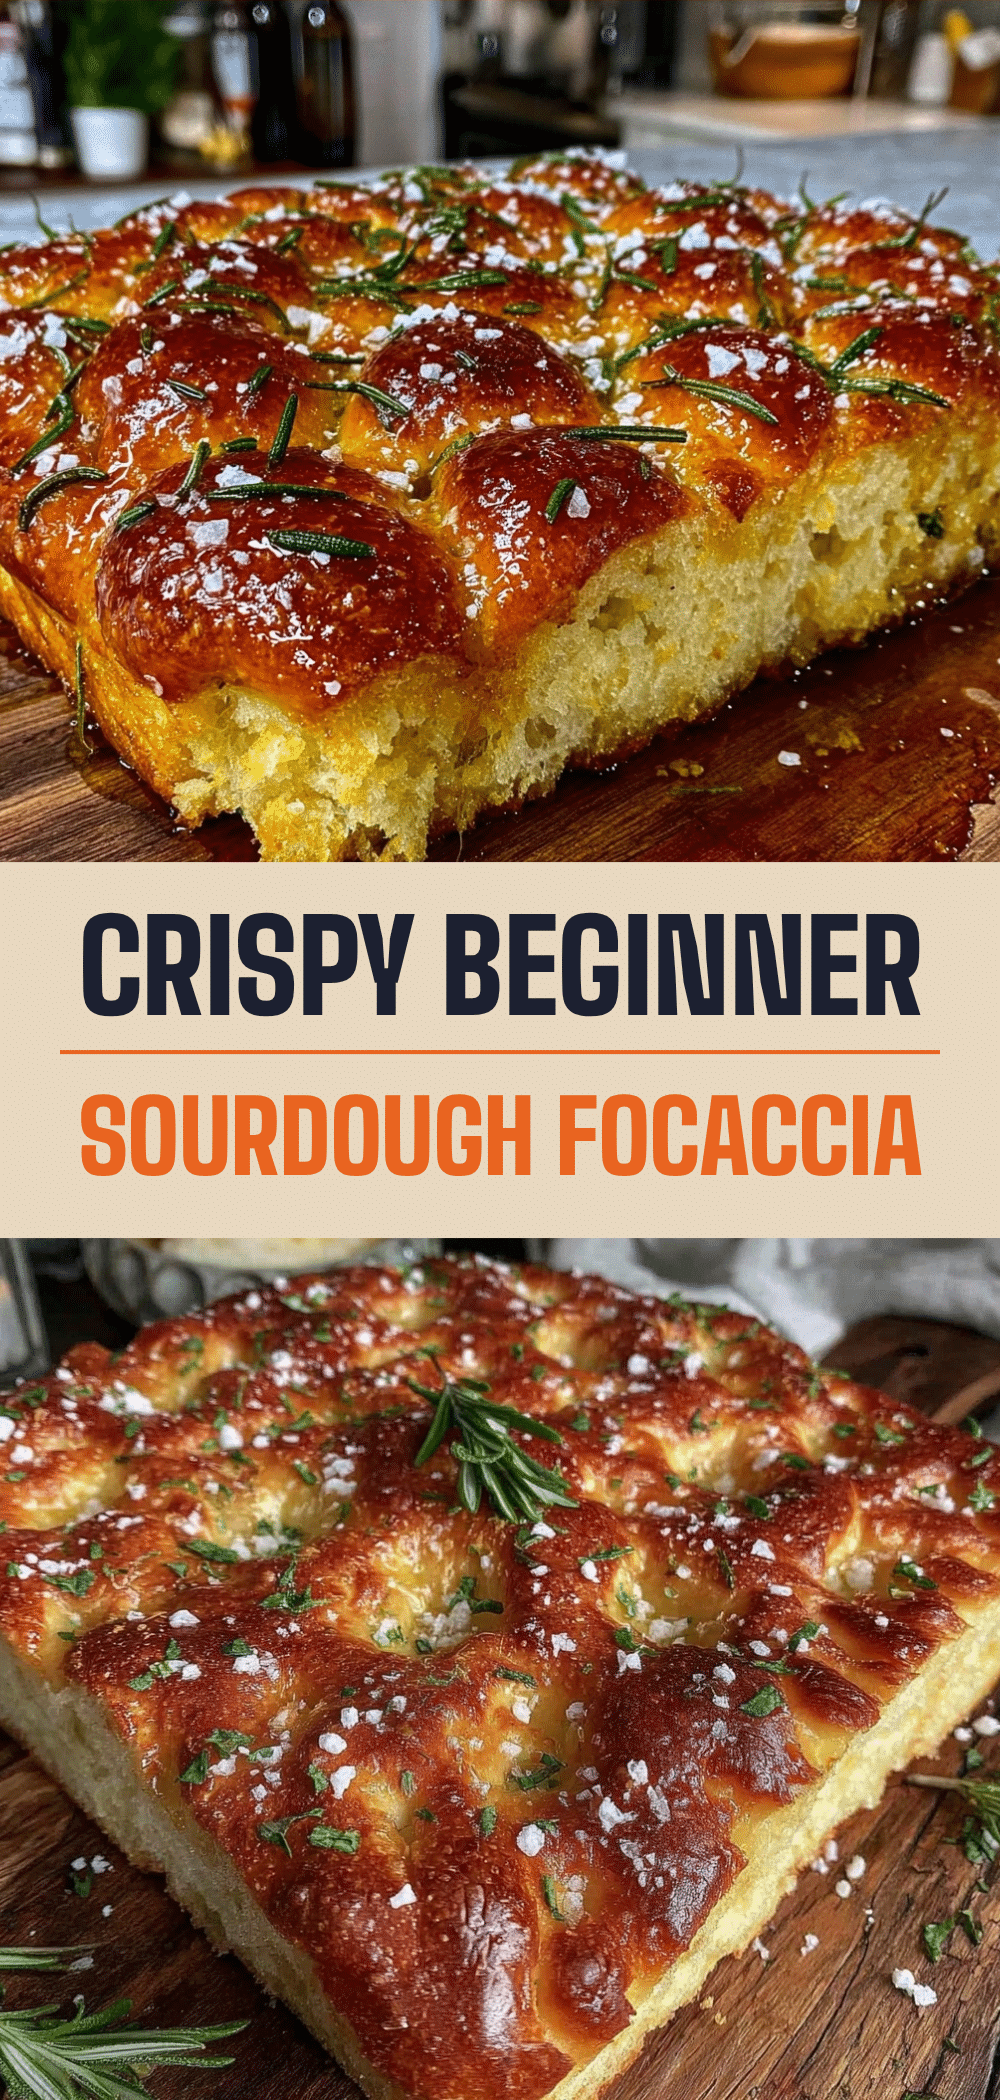

Beginner Focaccia: Meal-Prep 4 Days
- Total Time: 8 hours
- Yield: 16 servings 1x
Description
A beginner-friendly sourdough focaccia that is forgiving, wet, and perfect for meal prepping. This recipe yields a soft, herb-scented bread that stays fresh for days and freezes beautifully.
Ingredients
- 500g (3 ½ cups) All-Purpose Flour
- 350g (1 ½ cups) Water, room temperature
- 100g (½ cup) Active Sourdough Starter
- 10g (1 ¾ teaspoons) Fine sea salt or kosher salt
- 60g (¼ cup) Olive oil, plus extra for the pan
- 2 tablespoons Fresh Rosemary, chopped
- Flaky Sea Salt, for topping
- Optional: Cherry tomatoes, caramelized onions, or olives
Instructions
- Mix the dough: In a large bowl, whisk water and sourdough starter until dissolved. Add flour and salt, mixing until no dry flour remains. Cover with plastic wrap.
- Autolyse: Let the dough rest, covered, at room temperature for 30 minutes to hydrate the flour.
- Fold the dough: Wet hands, stretch dough from all four sides, and fold over the center. Cover and rest for 30 minutes. Repeat this process two more times (3 folds total).
- First Rise: Cover the bowl and let dough rise at room temperature for 4-6 hours until it has increased by 50-75% and looks puffy.
- Prep pan and shape: Generously oil a 9×13 inch metal baking pan. Dump dough into pan, let rest for 10 minutes, then gently stretch to corners.
- Create dimples: Wet fingers and press firmly into dough to create deep dimples all over. Scatter rosemary, drizzle with olive oil, and sprinkle with flaky sea salt.
- Second Rise: Let shaped dough rise in the pan, uncovered, for 1-2 hours until puffy and dimples hold their shape.
- Bake: Preheat oven to 425°F (220°C). Bake for 25-30 minutes, rotating halfway, until deep golden brown and hollow when tapped.
- Cool and slice: Transfer to a cooling rack and cool for at least 20 minutes before slicing into squares.
Notes
The dough will be sticky; do not add extra flour. Ensure your sourdough starter is active and bubbly before using. For best results, use fresh rosemary. The bread can be frozen for up to 3 months.
- Prep Time: 30 minutes
- Cook Time: 30 minutes
- Category: Side Dish
- Cuisine: Italian
Nutrition
- Serving Size: 1 square slice
- Calories: 180
- Sodium: 250
- Fat: 6
- Saturated Fat: 1
- Carbohydrates: 28
- Fiber: 1
- Protein: 5
Keywords: sourdough focaccia, beginner bread, meal prep, focaccia recipe, sourdough starter, easy bread, sheet pan bread


