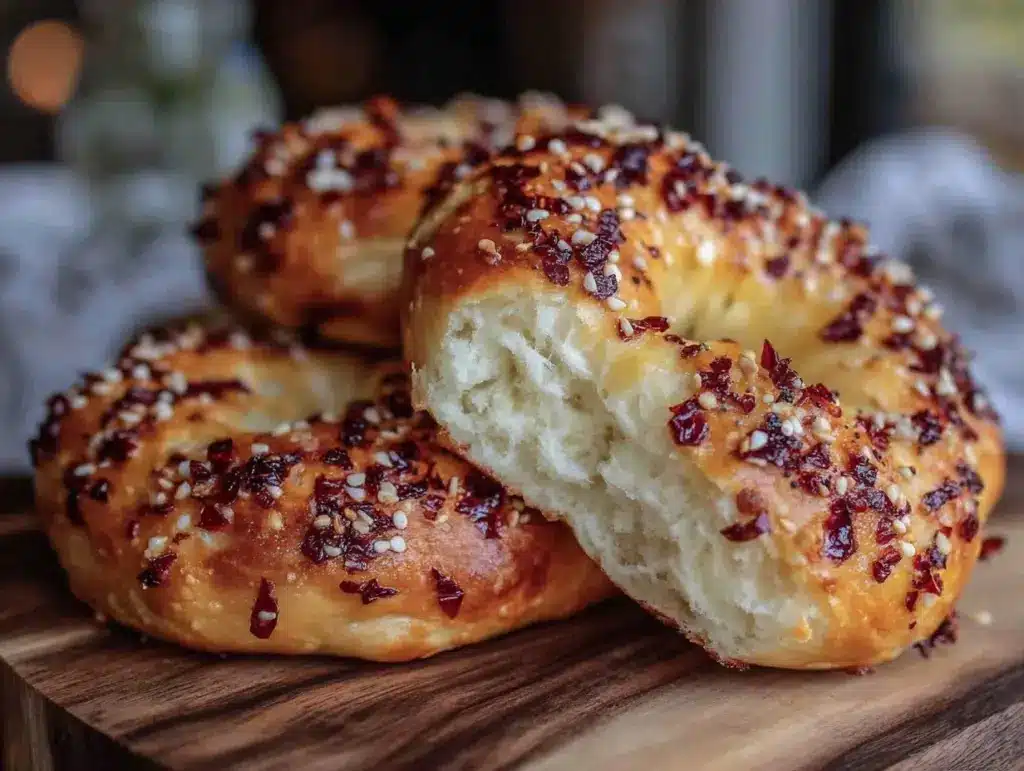
Last Tuesday, I was staring at the bagel section of the grocery store with about $4 in my pocket and a serious craving. I wanted that specific, chewy texture with the crunchy topping that you get from the fancy shop downtown, but $6 for a single bagel? Please. I walked away, went home, and looked at my pantry. I had flour. I had yeast. I had a half-empty jar of everything bagel seasoning I’d bought for $3 on sale six months ago and forgotten about. I also had a little bit of butter and some milk.
I figured I’d make one bagel. Just one. To see if it was even possible. Three hours and one very messy kitchen later, I was sitting on my floor eating a warm, pillowy homemade everything bagel with a smear of cream cheese, feeling like I’d just pulled off a heist. It cost me about 60 cents. Sixty. Cents.
This is the kind of win I live for. If you’re trying to eat well on a single income, or just hate watching your money disappear on expensive breakfasts, this recipe is your new best friend. I’ve made these homemade everything bagels at least a dozen times since that Tuesday. They’re not hard. They’re not intimidating. And they are infinitely better than anything you’ll buy in a plastic bag at the supermarket.
Here’s the thing about bagels: people think they’re complicated because they involve boiling and baking and shaping and all that jazz. But honestly? It’s just dough. You mix it, you let it sit, you boil it, you bake it. That’s it. And once you make them at home, you’ll never go back. I promise.
Why You’ll Love This Recipe
I know what you’re thinking. “But I don’t have a bread machine” or “I don’t have time for that.” Trust me. This recipe is designed for real life. Real life where you’re working, maybe studying, and just want a solid meal that doesn’t break the bank. Here’s why I keep coming back to this batch:
- Pennies on the Dollar — Seriously. A single store-bought everything bagel runs you $1.50 to $2.00 depending on where you live. This recipe makes 4-6 bagels for under $2.00 total. That’s less than a dollar per bagel. I’m talking about the price of a soda. I’ve calculated this multiple times because I’m cheap like that.
- Zero Food Waste — This is perfect for one. You make a small batch. You eat what you need. If you have leftovers, they freeze beautifully (more on that later). No buying a giant pack of six you’re going to let go stale in the back of your fridge.
- Ingredient Control — You know exactly what’s in your food. No preservatives, no weird gums, no high-fructose corn syrup. Just flour, water, yeast, salt, and sugar. And that everything seasoning? You can buy it in bulk or make your own mix, which is even cheaper.
- Stupid Simple — I’ve made these while half-asleep. I’ve made these when I was stressed about work. The dough is forgiving. If you over-knead it slightly, it’s fine. If you under-proof it a tiny bit, it’s still edible (though maybe not perfect). It’s very hard to mess this up.
- Customizable Toppings — Yes, this is the everything bagel recipe, but what if you want plain? Or garlic? Or cinnamon sugar? The base dough is the same. You can make pumpkin spice overnight oats for a quick breakfast, but these bagels are the weekend project that makes you feel like a chef.
This is my go-to when I need breakfast to just work for the week. No complicated techniques, no weird ingredients, just reliable, delicious food that makes me happy and keeps my wallet full.
Ingredients You’ll Need
Here’s the best part: you probably have most of this already. I’m particular about three things here, and I’ll tell you exactly why. If you want that authentic bagel chew, you need to pay attention to the flour and the boiling step. But for the rest? It’s pantry staples.
For the Dough
All-Purpose Flour (3 cups / 375g) — I use all-purpose. You can use bread flour for a chewier bagel, but all-purpose works perfectly fine and is usually cheaper. Don’t go buying expensive artisanal flour for this. This is a budget recipe. Store brand AP flour is fine.
Warm Water (1 cup / 240ml) — Not hot. Warm. Like a baby’s bath. If it’s too hot, it kills the yeast. If it’s too cold, the yeast won’t wake up. I just run the tap for a bit and test it with my finger. It should feel warm, not burning.
Active Dry Yeast (1 packet / 2.25g or 2 ¼ tsp) — Standard packet. You don’t need the fancy instant yeast. Active dry works great. Just make sure it’s not expired. I keep packets in my fridge because I’m paranoid about them going bad.
Sugar (1 tablespoon) — Just a little bit to feed the yeast. White or brown, doesn’t matter. This also helps with browning later.
Salt (1 teaspoon) — Essential for flavor. Don’t skip it. If you’re watching sodium, you can reduce to ½ tsp, but it’ll taste bland.
Vegetable Oil (1 tablespoon) — Or any neutral oil you have. Olive oil works too, but vegetable oil is cheaper and doesn’t change the flavor much.
For the Everything Topping & Boiling
Water (4 cups / 1 liter) — For boiling. You need enough to cover the bagels in your pot.
Honey or Maple Syrup (2 tablespoons) — This goes in the boiling water. It gives the bagels that shiny, golden crust. I use honey because I have it. Maple syrup works too, but honey is cheaper per ounce usually.
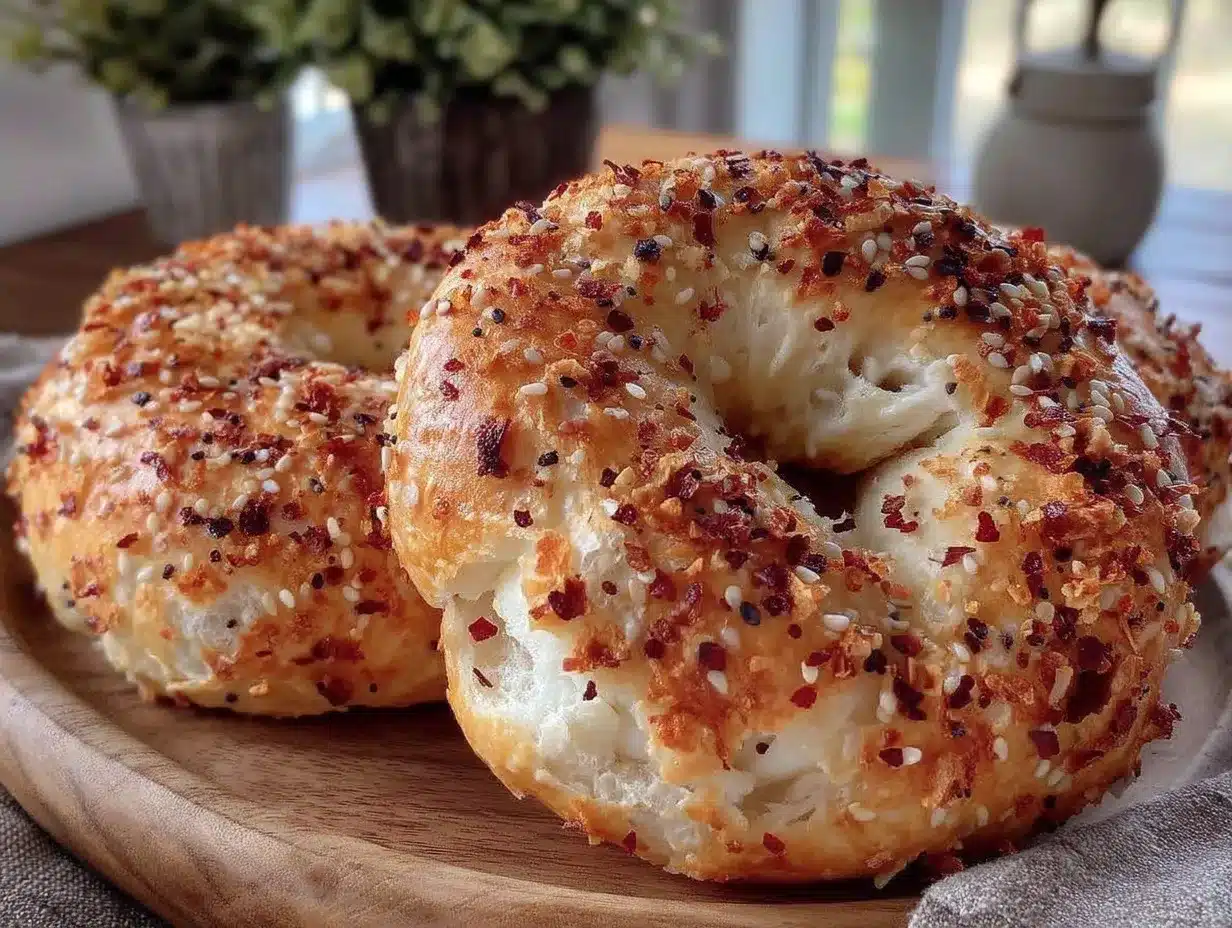
Everything Bagel Seasoning (2-3 tablespoons) — This is the star. If you don’t have a jar, you can make it. Mix sesame seeds, poppy seeds, dried garlic flakes, dried onion flakes, and coarse salt. Ratio is roughly 2:2:1:1:1. But buying a jar is easier and often on sale.
Egg Wash (Optional) — 1 egg beaten with 1 tbsp water. I usually skip this because I’m lazy, but if you want that professional shine, do it. Or just dip the bagels in the honey water before adding the seasoning.
Cream Cheese — For serving. Obviously. I buy the tub version, not the brick, because it’s cheaper and easier to spread.
Equipment Needed
You don’t need fancy equipment for this. Here’s what I actually use. If you don’t have these, you can probably substitute.
Large Mixing Bowl — Any bowl that’s big enough to hold 3 cups of flour and water. I use a plastic one because they’re light and easy to clean.
Medium Saucepan — For boiling the bagels. It doesn’t need to be fancy. Just something with high sides so the water doesn’t splash everywhere.
Large Skillet or Pot — For boiling. I use a 12-inch skillet. It holds 2-3 bagels at a time. If you have a small pot, that works too. Just don’t crowd them.
Baking Sheet — For baking. Line it with parchment paper for easy cleanup. I reuse the same parchment paper three or four times before tossing it.
Paper Towels — For drying the bagels after boiling. You want them slightly damp, not dripping wet, when you add the seasoning.
Whisk or Fork — For mixing the dough. I use a fork because it’s easier to clean. A stand mixer is nice, but not necessary. I mix by hand.
Chef’s Knife — For slicing the bagels. Or just use a serrated bread knife if you have one. A dull knife will crush the bagel.
How to Make It: Step-by-Step
Alright, let’s make this! I’m walking you through exactly how I do it, including the little tricks I’ve picked up over a year of making these.
Step 1: Activate the Yeast (5-10 minutes)
In your large bowl, combine the warm water and sugar. Sprinkle the yeast on top. Stir gently and let it sit. You’ll see it get foamy and bubbly in about 5-10 minutes. If it doesn’t bubble, your yeast is dead. Throw it out and start over. Don’t waste the flour on dead yeast.
Step 2: Mix the Dough (5 minutes)
Add the salt and oil to the yeast mixture. Then, add the flour one cup at a time. Stir with a wooden spoon or your hands. Once it gets too thick to stir, dump it onto a floured surface. You don’t need much flour here—just enough so it doesn’t stick.
Step 3: Knead the Dough (8-10 minutes)
This is the part where you get your arm workout. Push the dough away from you with the heel of your hand, fold it over, and turn it. Repeat. It should feel smooth and elastic after 8 minutes. If it’s still sticky, add a tablespoon of flour. If it’s dry and cracking, add a teaspoon of water. It should feel like a soft earlobe. Not sticky. Not hard. Just right.
Step 4: First Rise (1-2 hours)
Lightly grease your bowl. Put the dough back in. Cover it with a damp towel or plastic wrap. Let it sit in a warm spot until it doubles in size. This takes about 1-2 hours. I usually put it in the oven with the light on—it’s warm in there. While it rises, preheat your oven to 425°F (220°C).
Step 5: Shape the Bagels (10 minutes)
Punch down the dough. Divide it into 4-6 equal pieces. Roll each piece into a long rope. Take one end and wrap it around your finger to make a hole. Pinch the seam shut. Don’t worry about making them perfect. They’re homemade. Imperfect is charming.
Step 6: Boil the Bagels (5 minutes total)
Bring a large pot of water to a boil. Add the honey. Drop in 2-3 bagels at a time. Boil for 1 minute on one side, flip, and boil for 1 minute on the other. That’s it. Two minutes total. This step creates the chewy texture. Don’t skip it. Remove them with a slotted spoon and place them on a paper towel to drain.
Step 7: Add Topping & Bake (15-18 minutes)
While the bagels are still wet from boiling, press the everything seasoning into the top. You can also brush them with a little egg wash first if you want the seeds to stick better. Place them on your lined baking sheet. Bake for 15-18 minutes until they are deep golden brown. If they’re pale, bake longer. Bagels should be dark. Light bagels are sad bagels.
Expert Tips & Tricks
Here’s everything I’ve learned from making this dozens of times. These tips will save you from my mistakes.
Don’t Rush the Boil
If you boil them for only 30 seconds, they’ll be soft like bread. If you boil for 3 minutes, they’ll be hard as rocks. One minute per side is the sweet spot. I use a timer because I get distracted.
Seed Selection Matters
If your everything seasoning has large poppy seeds, they might fall off. I’ve found that if you press them in firmly with your palm, they stick better. Or, dip the bagel in water before adding seeds. It’s a small thing, but it prevents a bare bagel.
Cooling is Crucial
I know you want to eat them immediately. But if you slice a hot bagel, the steam escapes and the inside gets gummy. Let them cool for at least 15 minutes. I usually eat one warm and save the rest for later.
Freezing Strategy
Bagels freeze amazingly. Wrap them individually in plastic wrap, then put them in a freezer bag. When you want one, take it out and toast it straight from frozen. It takes 3 minutes and tastes fresh. This is how I meal-prep breakfast for the week.
Common Mistake: Dense Bagels
If your bagels are heavy, you probably over-kneaded or didn’t let them rise enough. Or you boiled them too long. Check your yeast freshness. It’s usually the yeast.
Variations & Substitutions
Once you’ve nailed the basic version, here’s how you can mix it up. I’ve tried all of these.
Plain Bagels
Skip the topping. Just boil and bake. Great for sandwiches or toast.
Garlic Bagels
Mix 1 teaspoon garlic powder and 1 teaspoon onion powder into the dough before kneading. No topping needed.
Cinnamon Sugar
After boiling, brush with melted butter and roll in cinnamon sugar. These are like donuts but healthier. I make these for weekend treats.
Whole Wheat
Substitute half the all-purpose flour with whole wheat flour. The texture is denser but more nutritious. I use this when I want to feel healthier.
Vegan Option
Use maple syrup instead of honey in the boil water. Use oil instead of butter in the dough (if using butter). The rest is naturally vegan. I’ve made these for my vegan friend and she loved them.
Serving & Storage
How to Serve:
I usually serve these with cream cheese, but you can get fancy. Try fig and honey ricotta for a fancy breakfast. Or keep it simple with butter and jam.
Side Dishes:
These go great with a cup of coffee or tea. I also like them with a side of fruit or yogurt.
Storage:
Store in an airtight container at room temperature for up to 3 days. They will stale faster than store-bought because they have no preservatives. That’s why freezing is best.
Reheating:
Toaster is best. 2-3 minutes on medium-high. If you don’t have a toaster, warm them in the oven at 350°F for 5 minutes. Microwave makes them chewy in a bad way. Avoid it.
Freezing:
As mentioned, freeze individually. They last up to 3 months. Thaw at room temp or toast from frozen.
Nutrition Information
I’m not a nutritionist, but here’s the breakdown if you’re tracking. This is per bagel (assuming 6 bagels).
| Nutrient | Amount |
| Calories | 220 |
| Protein | 7g |
| Carbs | 42g |
| Fiber | 2g |
| Sugar | 2g |
| Fat | 2g |
It’s basically just carbs and flour. Not a diet food, but not a cheat meal either. It’s a solid breakfast base. When I want to make it lighter, I use half whole wheat flour. But usually? I just enjoy it.
Final Thoughts
So that’s my go-to homemade everything bagels! I’ve probably talked your ear off at this point, but when you make a recipe this often, you have a lot to say about it. This has saved my breakfast routine more times than I can count. It’s my answer to “what’s for breakfast” when I’m tired, don’t want to buy expensive bagels, and still want something that tastes really good.
Make it yours! Try different toppings, swap in your favorite seeds, adjust the salt. The best recipes are the ones you adapt to your tastes. If you make this, drop a comment and let me know what you think! I love hearing how recipes turn out in your kitchen.
Happy cooking! And I hope your kitchen smells half as good as mine does right now.
Frequently Asked Questions
Can I use bread flour instead of all-purpose?
Yes! Bread flour has more protein, which means a chewier bagel. If you have it, use it. If not, all-purpose works fine. I use all-purpose because it’s cheaper and I already have it.
Why did my bagels sink in the middle?
This usually happens if the dough is too wet or if you didn’t pinch the hole shut tightly enough. The hole can expand during boiling. If it sinks, it’s still delicious. Just eat it. Don’t stress.
Can I make the dough ahead?
Yes! After the first rise, punch it down, wrap it tightly, and refrigerate for up to 24 hours. Shape and boil them the next day. This is great for meal prep. I do this on Sundays for the week.
What if I don’t have a large pot for boiling?
Use a wide skillet. It works just as well. Just make sure you have enough water to cover the bagels. If you can’t boil them, you can still bake them, but they won’t have that authentic chewy texture. They’ll be more like bread rolls.
How do I store leftover everything seasoning?
In an airtight jar in a cool, dry place. It lasts for months. I keep mine in the pantry. If it gets clumpy, it’s too humid. Just break it up with a fork.
Can I make these gluten-free?
Yes, but the texture will be different. Use a 1:1 gluten-free flour blend. You might need more water because GF flour absorbs more. The boil step is still important. They won’t be as chewy, but they’ll be close.
Is it worth the effort?
Absolutely. The cost savings alone make it worth it. But the taste? That’s what keeps me making them. There’s nothing like a fresh, warm, homemade bagel. It’s worth every minute.
Pin This Recipe!
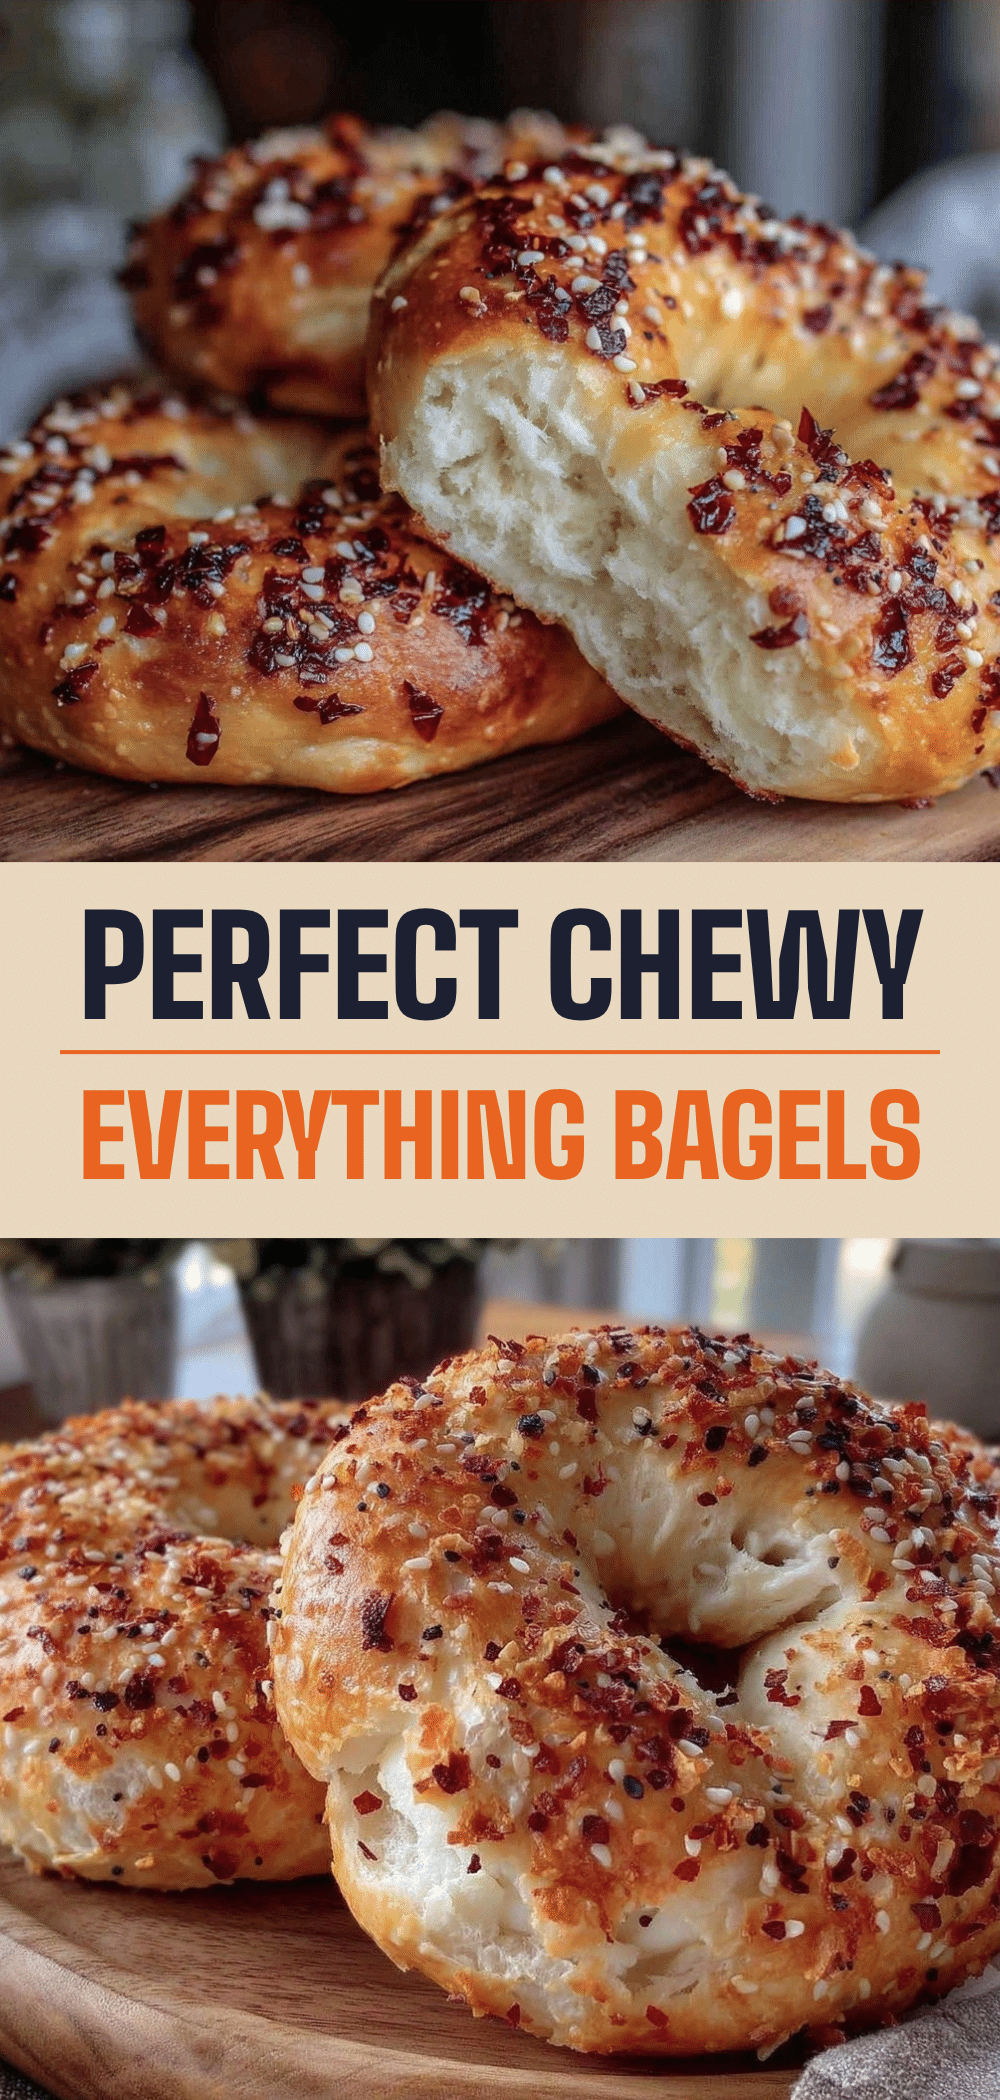

Homemade Everything Bagels: Budget-Friendly for 1
- Total Time: 1 hour 30 minutes
- Yield: 4-6 servings 1x
Description
A budget-friendly, easy-to-make recipe for homemade everything bagels that costs less than a dollar per bagel. Features a chewy texture achieved through boiling and baking, with customizable toppings.
Ingredients
- 3 cups (375g) All-Purpose Flour
- 1 cup (240ml) Warm Water
- 1 packet (2.25g or 2 ¼ tsp) Active Dry Yeast
- 1 tablespoon Sugar
- 1 teaspoon Salt
- 1 tablespoon Vegetable Oil
- 4 cups (1 liter) Water (for boiling)
- 2 tablespoons Honey or Maple Syrup
- 2–3 tablespoons Everything Bagel Seasoning
- 1 egg beaten with 1 tbsp water (Optional Egg Wash)
- Cream Cheese (for serving)
Instructions
- Activate the yeast: In a large bowl, combine warm water and sugar. Sprinkle yeast on top, stir gently, and let sit for 5-10 minutes until foamy.
- Mix the dough: Add salt and oil to the yeast mixture. Add flour one cup at a time, stirring until too thick to stir. Turn onto a floured surface.
- Knead the dough: Knead for 8-10 minutes until smooth and elastic. Add small amounts of flour or water if needed to achieve a soft, non-sticky consistency.
- First rise: Place dough in a lightly greased bowl, cover with a damp towel or plastic wrap, and let rise in a warm spot for 1-2 hours until doubled in size. Preheat oven to 425°F (220°C).
- Shape the bagels: Punch down the dough and divide into 4-6 equal pieces. Roll each into a rope, wrap around a finger to form a hole, and pinch the seam shut.
- Boil the bagels: Bring a large pot of water with honey to a boil. Drop in 2-3 bagels at a time. Boil for 1 minute per side (2 minutes total). Remove with a slotted spoon and place on paper towels.
- Add topping and bake: While still wet, press everything seasoning into the tops. Optionally brush with egg wash first. Place on a lined baking sheet and bake for 15-18 minutes until deep golden brown.
- Cool and serve: Let bagels cool for at least 15 minutes before slicing to prevent gummy texture. Serve with cream cheese.
Notes
Ensure water is warm, not hot, when activating yeast. Do not rush the boiling step; 1 minute per side is crucial for chewiness. Cool bagels completely before slicing to avoid a gummy interior. Bagels freeze well individually for up to 3 months.
- Prep Time: 30 minutes
- Cook Time: 30 minutes
- Category: Breakfast
- Cuisine: American
Nutrition
- Serving Size: 1 bagel
- Calories: 220
- Sugar: 2
- Sodium: 350
- Fat: 2
- Carbohydrates: 42
- Fiber: 2
- Protein: 7
Keywords: homemade bagels, everything bagels, budget recipes, easy breakfast, DIY bagels, cheap meals, yeast dough, boiling bagels


