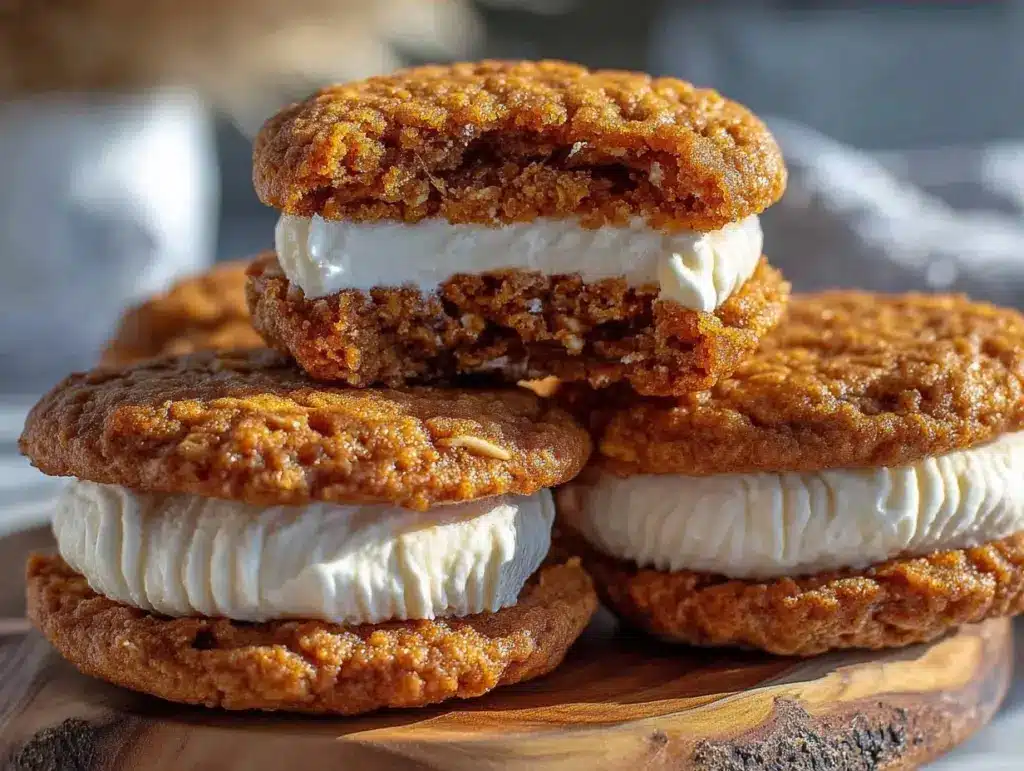
I still remember the exact moment I fell in love with these cookies. It was a rainy Tuesday in November, the kind where the sky turns that heavy, slate gray by 3 PM, and the only thing keeping me sane was the smell of brown sugar hitting hot butter. I had just come home from work, exhausted, and I didn’t want a complicated dinner. I wanted something that tasted like my childhood but felt like an adult treat. So, I raided my pantry and threw together what I thought would be a basic oatmeal cookie. But then I got greedy. I decided to sandwich them with a thick, pillowy layer of homemade marshmallow fluff instead of just the usual icing.
When I bit into that first warm, chewy cookie, the contrast was insane. The crisp edges gave way to a soft, cake-like center, and the marshmallow filling was so sweet and airy it practically melted on my tongue. I ate one. Then another. Then I had to hide the rest from my husband before he ate the entire batch in one sitting. That was three years ago. These chewy brown sugar oatmeal cream pies have been my go-to for every holiday, every potluck, and every “I need to feel better” moment since.
There is something deeply satisfying about making cookies that look like they came from a fancy bakery but taste like they were made in your grandma’s kitchen. They’re rustic, they’re indulgent, and they are absolutely impossible to resist. If you’ve ever wanted to recreate that nostalgic cream pie experience but with a richer, more complex flavor profile, you’re in the right place. These aren’t just cookies; they’re little pockets of comfort.
Why You’ll Love This Recipe
I’ve tested this recipe at least a dozen times—sometimes because I wanted seconds, sometimes because I needed to tweak the texture. Here’s why these chewy brown sugar oatmeal cream pies have earned a permanent spot in my rotation:
- Texture Heaven — The cookies are specifically designed to be chewy, not crunchy. The brown sugar and butter create a soft, cake-like interior with just a hint of crisp on the edges. It’s the perfect vessel for the soft filling.
- Homemade Marshmallow Fluff — Most recipes use store-bought marshmallow creme, which can be overly sweet and gelatinous. I make a simple Swiss meringue buttercream that tastes like fresh marshmallows. It’s light, airy, and not cloying.
- Rich Flavor Profile — Cinnamon, nutmeg, and a heavy dose of molasses give the cookies a deep, warm flavor that feels seasonal and cozy. It’s more complex than a standard oatmeal raisin cookie.
- Impressive but Easy — You don’t need fancy equipment. Just a mixer and some patience. But when you serve these, everyone will think you spent hours perfecting them. They’re perfect for sharing.
- Make-Ahead Friendly — These actually taste better after they’ve sat together for a day. The cookies soften slightly, and the flavors meld. I often make them on Sunday for a Wednesday night treat.
This is the kind of dessert that brings people together. It’s nostalgic but elevated. It’s the kind of thing you serve with a hot cup of coffee or a glass of cold milk, and you just sit there and enjoy it.
Ingredients You’ll Need
Here’s the thing about baking: quality ingredients make a huge difference, especially with simple recipes like this. You don’t need anything exotic, but you do need to pay attention to a few key items. I’m particular about three things here, and I’ll tell you exactly why.
For the Chewy Brown Sugar Oatmeal Cookies
Unsalted butter (1 cup / 226g) — Softened to room temperature. This is crucial. If your butter is too cold, it won’t cream properly with the sugar, and your cookies will be dense. If it’s melted, they’ll spread too thin. I take mine out of the fridge about an hour before I start.
Light brown sugar (1 ½ cups / 300g) — Packed. This is the star of the show. Brown sugar adds moisture and that deep caramel flavor. Dark brown sugar works too if you want a more molasses-heavy taste, but light is classic.
Granulated sugar (½ cup / 100g) — This helps create those slightly crisp edges. Don’t skip it entirely, or the cookies will be too cakey.
Eggs (2 large) — Room temperature. They help bind everything together and add structure. I crack them into a small bowl first to check for shells—nobody wants a shell in their cookie.
Vanilla extract (2 teaspoons) — Use real vanilla, not imitation. It makes a noticeable difference in flavor depth.
All-purpose flour (2 ¼ cups / 280g) — Spoon and level, don’t scoop. Scooping packs too much flour and leads to dry cookies. I weigh mine if I have my scale, but spooning works fine.
Baking soda (1 teaspoon) — Helps the cookies spread and brown.
Salt (½ teaspoon) — Balances the sweetness. Don’t skip it.
Ground cinnamon (1 teaspoon) — Warmth and spice.
Ground nutmeg (¼ teaspoon) — Just a pinch. It adds that subtle complexity that makes people ask, “What’s in these?”
Old-fashioned rolled oats (2 cups / 160g) — Do not use quick oats. Old-fashioned oats provide the chewy texture we want. Quick oats will turn your cookies into a mushy pancake.
For the Marshmallow Filling
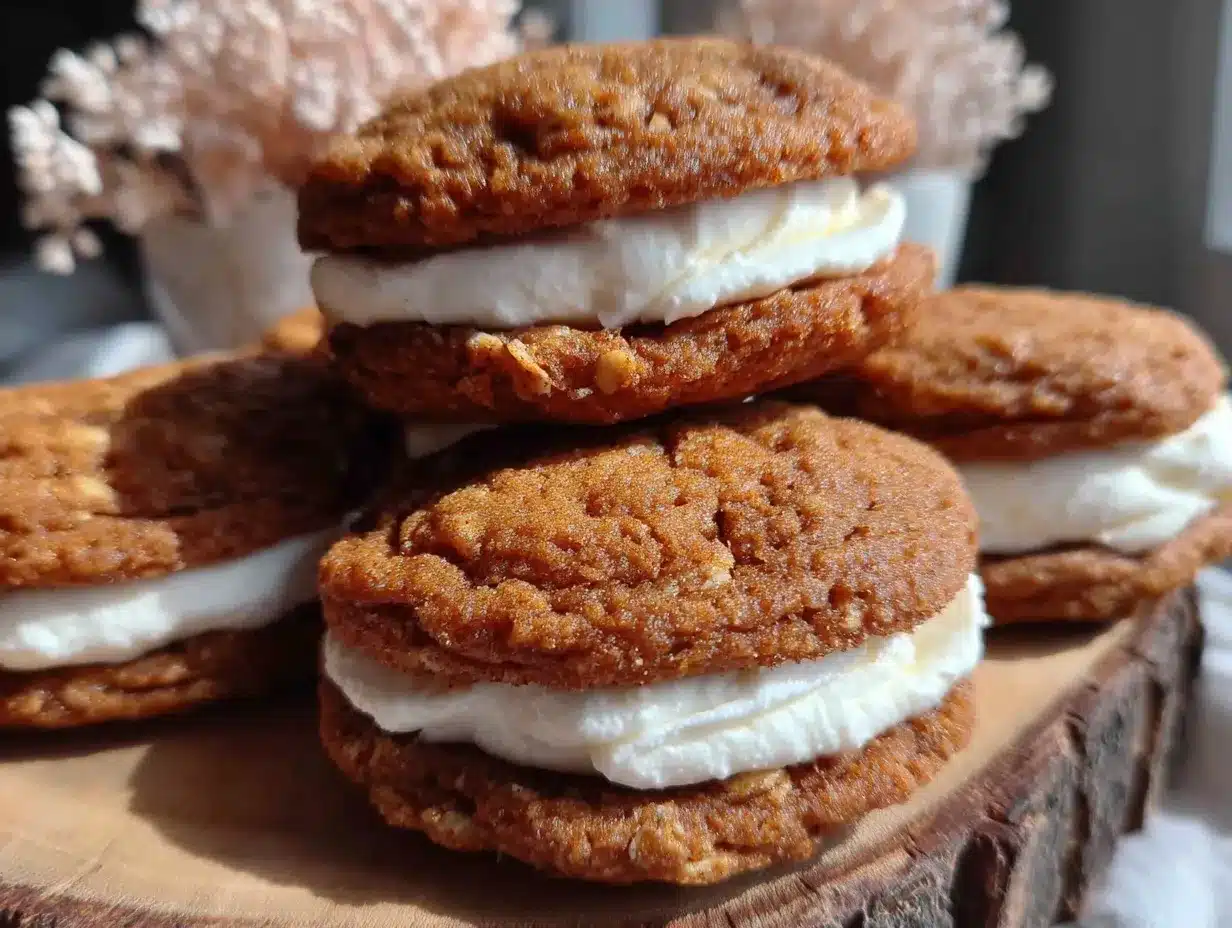
Egg whites (2 large) — From room temperature eggs. We’re going to heat them gently, so starting warm helps.
Granulated sugar (½ cup / 100g) — For the meringue.
Water (2 tablespoons) — Helps dissolve the sugar.
Corn syrup (2 tablespoons) — This is the secret to that stretchy, marshmallow-like texture. It prevents crystallization. You can use honey if you’re out of corn syrup, but the texture will be slightly different.
Vanilla extract (1 teaspoon) — For flavor.
Marshmallow fluff (1 jar, optional) — If you’re feeling lazy, you can fold this into the cooled meringue, but homemade is superior. I’m telling you, it’s worth the extra 10 minutes.
Equipment Needed
You don’t need a fancy kitchen to make these. Here’s what I actually use:
Stand mixer or hand mixer — Creaming the butter and sugar by hand is possible but tedious. A mixer makes it easy and ensures a light texture. I use my KitchenAid, but a hand mixer works just as well.
Large mixing bowls — One for wet ingredients, one for dry. I like having separate bowls so I don’t have to wash in between.
Measuring cups and spoons — Standard stuff. Precision matters in baking.
Baking sheets — I use two half-sheet pans. If you only have one, you’ll need to bake in batches.
Parchment paper — Liner your baking sheets. Cleanup is so much easier, and the cookies don’t stick. I never bake without parchment.
Silicone spatula — For scraping down the sides of the bowl. Don’t waste any batter.
Piping bag with a large round tip (optional) — I use this to pipe the marshmallow filling neatly onto the cookies. It looks professional. But a ziplock bag with the corner cut off works too.
Cooling rack — Essential for cooling the cookies completely before filling. Warm cookies will melt the filling.
How to Make It: Step-by-Step
Alright, let’s make this! I’m walking you through exactly how I do it, including the little tricks I’ve picked up over the years.
Step 1: Prep Your Oven and Pans (5 minutes)
Preheat your oven to 350°F (175°C). Line two large baking sheets with parchment paper. This is non-negotiable. It prevents sticking and ensures even baking. I usually line both sheets so I can bake a full batch at once.
Step 2: Cream the Butter and Sugars (3-4 minutes)
In the bowl of your stand mixer fitted with the paddle attachment, beat the softened butter, brown sugar, and granulated sugar on medium-high speed. You want this to be light and fluffy, about 3-4 minutes. This step incorporates air, which helps the cookies rise slightly and stay tender. Scrape down the sides of the bowl with a spatula to make sure everything is evenly mixed.
Step 3: Add Wet Ingredients (1 minute)
Add the eggs one at a time, beating well after each addition. Then add the vanilla extract. Mix until just combined. Don’t overmix here, or you’ll develop too much gluten and make the cookies tough.
Step 4: Mix Dry Ingredients (1 minute)
In a separate bowl, whisk together the flour, baking soda, salt, cinnamon, and nutmeg. Then, add this dry mixture to the wet mixture on low speed. Mix until just combined. It will look a bit dry at first, but that’s okay.
Step 5: Fold in Oats (1 minute)
Switch to a spatula and gently fold in the rolled oats. Be careful not to overmix. You want the oats distributed evenly, but you don’t need to pulverize them. The dough should be thick and sticky.
Step 6: Scoop and Bake (12-14 minutes)
Use a cookie scoop or a tablespoon to scoop balls of dough about 1.5 inches in diameter. Place them on the prepared baking sheets, spacing them about 2 inches apart. They will spread. Bake for 12-14 minutes, or until the edges are golden brown but the centers still look slightly soft and underdone. This is key—they will firm up as they cool. If you bake them until they look fully done, they’ll be hard. I pull them out when they look almost too soft.
Step 7: Cool Completely (30 minutes)
Let the cookies cool on the baking sheet for 5 minutes, then transfer them to a wire rack to cool completely. This is important. If you try to fill warm cookies, the marshmallow will slide right off. I usually let them cool for at least 30 minutes, but overnight is best.
Step 8: Make the Marshmallow Filling (15 minutes)
While the cookies cool, make the filling. In a heatproof bowl set over a pot of simmering water (double boiler), whisk together the egg whites, sugar, water, and corn syrup. Heat until the mixture reaches 160°F (71°C) and the sugar is dissolved. Transfer to your stand mixer fitted with the whisk attachment. Beat on high speed until stiff, glossy peaks form and the bowl is cool to the touch, about 5-7 minutes. Add the vanilla and beat again.
Step 9: Assemble the Cream Pies (10 minutes)
Once the cookies are completely cool, flip half of them over so the flat side is up. Pipe or spoon a generous amount of marshmallow filling onto the flat side. Gently press the other half of the cookies on top, flat side down, to create a sandwich. You’ll get a little bit of filling oozing out the sides, and that’s perfect. It’s the best part.
Total Time: About 1 hour (including cooling time)
Expert Tips & Tricks
Here’s everything I’ve learned from making these dozens of times. These tips will save you from my mistakes.
Don’t Overbake — This is the #1 mistake people make. The cookies should look soft in the center when you take them out. They continue to cook on the hot pan. Overbaked cookies are dry and crumbly, and they won’t hold the filling well.
Room Temperature Ingredients — I cannot stress this enough. Cold butter, cold eggs—they don’t mix well. Everything should be room temperature for a smooth, consistent dough.
Chill the Dough (Optional) — If your kitchen is very warm, or if you have time, chill the dough for 30 minutes before baking. This prevents the cookies from spreading too much and helps them stay thick and chewy. I usually skip this, but it’s a good trick for humid days.
Use a Cookie Scoop — Uniform cookies bake evenly and look professional. A medium cookie scoop gives you perfect 1.5-inch balls every time.
Storage is Key — Store the assembled cream pies in an airtight container at room temperature for up to 3 days. If you live in a hot climate, keep them in the fridge, but let them come to room temperature before eating for the best texture.
Variations & Substitutions
Once you’ve nailed the basic version, here’s how you can mix it up. I’ve tried all of these.
Chocolate Chip Version — Add 1 cup of semi-sweet chocolate chips to the dough. Classic combo.
White Chocolate Macadamia — Swap the chocolate chips for white chocolate chips and macadamia nuts. It’s rich and tropical.
Pumpkin Spice — Add 1 teaspoon of pumpkin pie spice and 2 tablespoons of pumpkin puree to the dough. It’s like homemade pumpkin bagels but in cookie form. Perfect for fall.
Gluten-Free — Use a 1:1 gluten-free flour blend. The texture will be slightly more tender, but it works great.
Vegan — Use vegan butter and flax eggs (1 tablespoon ground flaxseed mixed with 3 tablespoons water per egg). The marshmallow filling is harder to make vegan, but you can use store-bought vegan marshmallow fluff.
Serving & Storage
How to Serve: I usually serve these with a hot cup of coffee or a cold glass of milk. They’re rich, so a little goes a long way. I also like to serve them at holiday gatherings because they look festive and taste comforting.
Side Dishes: Pair with a simple fruit salad or some roasted nuts for a balanced dessert plate.
Storage: Store in an airtight container at room temperature for up to 3 days. They can also be frozen. Freeze the unfilled cookies for up to 3 months. Thaw, then make the filling and assemble. Do not freeze assembled cookies—the marshmallow filling becomes icy and loses its texture.
Nutrition Information
I’m not a nutritionist, but here’s the breakdown if you’re tracking. One cream pie (approximately 3 inches in diameter) contains about 280 calories, 12g fat, 40g carbs, and 4g protein. It’s definitely a treat, so enjoy in moderation!
- Calories: 280
- Fat: 12g
- Carbs: 40g
- Protein: 4g
- Sugar: 28g
Final Thoughts
So that’s my go-to chewy brown sugar oatmeal cream pies with marshmallow filling! I’ve probably talked your ear off at this point, but when you make a recipe this often, you have a lot to say about it. These cookies have saved my dessert game more times than I can count. They’re my answer to “what should I bring to the party?” or “what should I bake to feel cozy?”
Make it yours! Try different add-ins, swap in your favorite spices, or just enjoy them as they are. The best recipes are the ones you adapt to your family’s tastes. If you make these, drop a comment and let me know what you think! I love hearing how recipes turn out in your kitchen. And if something doesn’t work, tell me that too—I’m here to help troubleshoot.
Happy baking! And I hope your kitchen smells half as good as mine does right now.
Frequently Asked Questions
Can I use quick oats instead of old-fashioned oats?
You can, but the texture will be different. Quick oats are thinner and will make the cookies softer and less chewy. Old-fashioned oats provide that hearty, rustic texture that I love. If you must use quick oats, just know the cookies will be more cake-like.
Why did my cookies spread too much?
Usually, this means the butter was too warm or melted. Make sure your butter is soft but still cool to the touch. Also, make sure your oven is properly preheated. If the oven isn’t hot enough when the cookies go in, they’ll spread before they set.
Can I make the marshmallow filling ahead of time?
Yes! You can make the filling up to 2 days ahead. Store it in an airtight container in the fridge. Let it come to room temperature and re-whip it with a hand mixer before using it. It might lose a little bit of volume, but it will still be delicious.
Why did my marshmallow filling turn out grainy?
This usually happens if the sugar didn’t fully dissolve in the double boiler. Make sure you whisk constantly and heat the mixture until it reaches 160°F. If you don’t have a thermometer, make sure the sugar is completely dissolved and the mixture is hot to the touch before beating.
Can I freeze the assembled cookies?
I don’t recommend it. The marshmallow filling contains egg whites and sugar, which can become icy and lose their airy texture when frozen and thawed. It’s best to freeze the unfilled cookies and assemble them fresh.
How do I store these cookies?
Store them in an airtight container at room temperature for up to 3 days. If you live in a hot or humid climate, store them in the fridge. Let them come to room temperature before eating for the best texture.
Can I use honey instead of corn syrup in the filling?
You can, but the texture will be slightly different. Honey has more moisture and a stronger flavor. Corn syrup provides that neutral, stretchy texture that mimics store-bought marshmallows. If you use honey, the filling will be slightly less stretchy but still delicious.
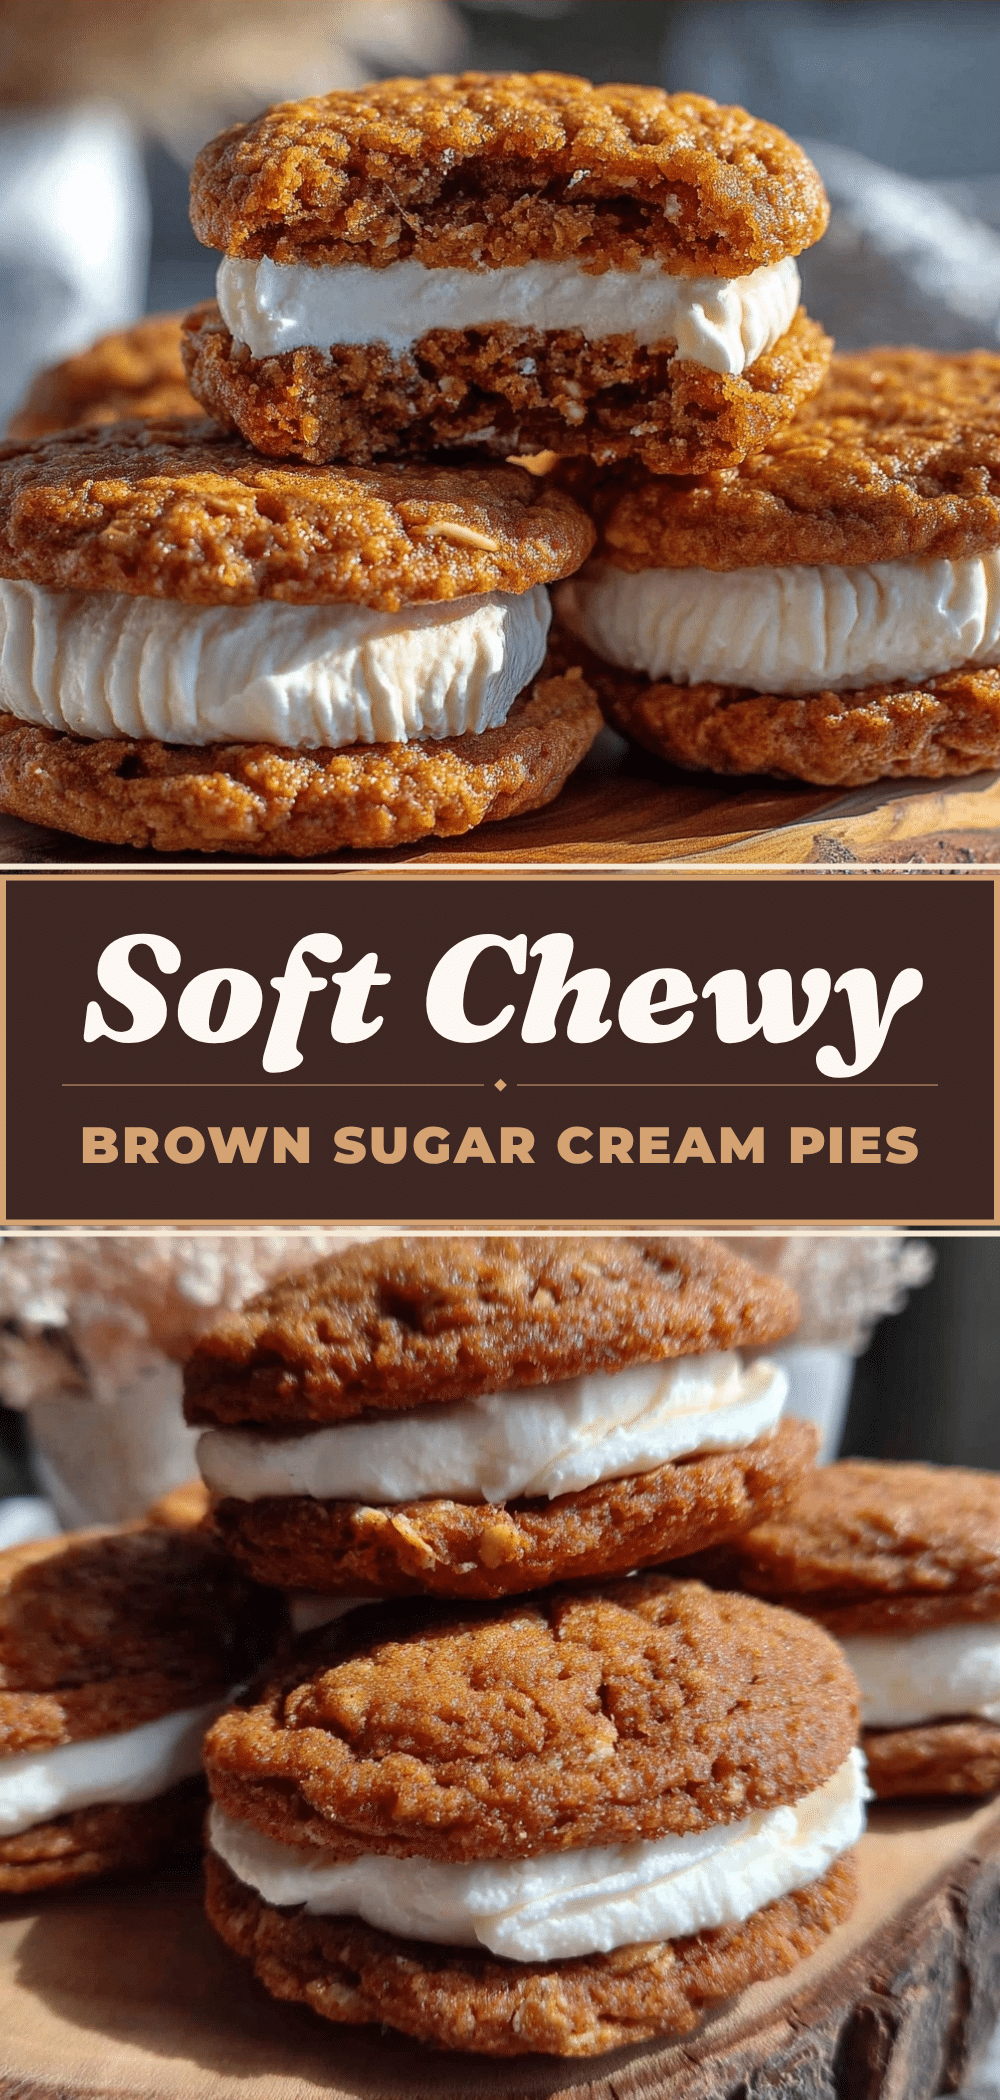
Pin This Recipe!
Chewy Brown Sugar Oatmeal Cream Pies: Soft & Chewy
- Total Time: 1 hour
- Yield: Approximately 24 cream pies 1x
Description
Soft, chewy brown sugar oatmeal cookies sandwiched with a light, airy homemade marshmallow fluff filling. These nostalgic treats offer a rich flavor profile with cinnamon and molasses, perfect for holidays or cozy nights.
Ingredients
- 1 cup (226g) unsalted butter, softened to room temperature
- 1 ½ cups (300g) light brown sugar, packed
- ½ cup (100g) granulated sugar
- 2 large eggs, room temperature
- 2 teaspoons vanilla extract
- 2 ¼ cups (280g) all-purpose flour
- 1 teaspoon baking soda
- ½ teaspoon salt
- 1 teaspoon ground cinnamon
- ¼ teaspoon ground nutmeg
- 2 cups (160g) old-fashioned rolled oats
- 2 large egg whites, room temperature (for filling)
- ½ cup (100g) granulated sugar (for filling)
- 2 tablespoons water (for filling)
- 2 tablespoons corn syrup (for filling)
- 1 teaspoon vanilla extract (for filling)
- 1 jar marshmallow fluff (optional, for folding into filling)
Instructions
- Preheat oven to 350°F (175°C). Line two large baking sheets with parchment paper.
- In a stand mixer fitted with the paddle attachment, beat softened butter, brown sugar, and granulated sugar on medium-high speed for 3-4 minutes until light and fluffy. Scrape down sides of the bowl.
- Add eggs one at a time, beating well after each addition. Mix in vanilla extract until just combined.
- In a separate bowl, whisk together flour, baking soda, salt, cinnamon, and nutmeg.
- Add dry ingredients to the wet mixture on low speed and mix until just combined.
- Switch to a spatula and gently fold in rolled oats until evenly distributed.
- Scoop dough into 1.5-inch balls and place on prepared baking sheets, spacing them 2 inches apart.
- Bake for 12-14 minutes until edges are golden brown but centers look slightly soft. Cool on baking sheet for 5 minutes, then transfer to a wire rack to cool completely.
- While cookies cool, make the filling: In a heatproof bowl over simmering water, whisk egg whites, sugar, water, and corn syrup until mixture reaches 160°F (71°C) and sugar is dissolved.
- Transfer mixture to a stand mixer with whisk attachment. Beat on high speed until stiff, glossy peaks form and bowl is cool to touch (5-7 minutes). Add vanilla and beat again.
- Flip half of the cooled cookies flat side up. Pipe or spoon marshmallow filling onto them. Press the other half of cookies on top to form sandwiches.
Notes
Ensure butter and eggs are at room temperature for proper creaming. Do not overbake; cookies should look soft in the center as they firm up while cooling. Store assembled cream pies in an airtight container at room temperature for up to 3 days. Unfilled cookies can be frozen for up to 3 months, but do not freeze assembled cookies as the filling becomes icy.
- Prep Time: 30 minutes
- Cook Time: 14 minutes
- Category: Dessert
- Cuisine: American
Nutrition
- Serving Size: 1 cream pie (approx.
- Calories: 280
- Sugar: 28
- Sodium: 150
- Fat: 12
- Saturated Fat: 7
- Carbohydrates: 40
- Fiber: 1
- Protein: 4
Keywords: oatmeal cream pies, brown sugar cookies, marshmallow filling, homemade marshmallow fluff, chewy cookies, holiday baking, nostalgic desserts


