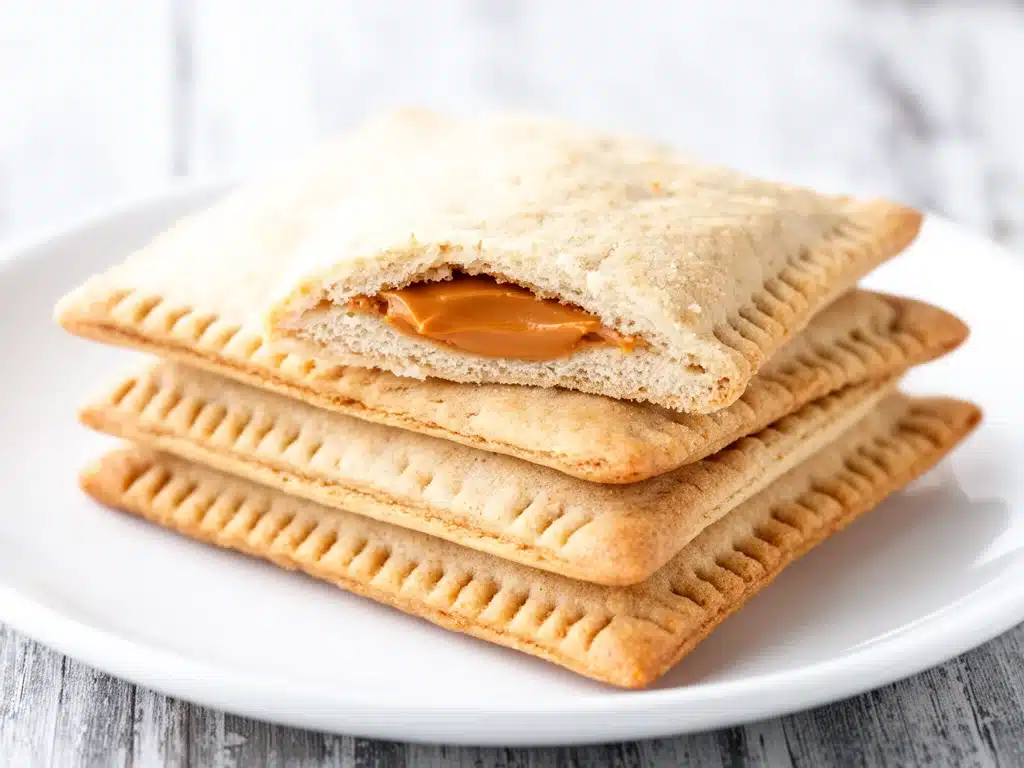
Last Thursday night, I was scrambling to get dinner on the table and remembered my son’s lunchbox was completely empty for the next day. No bread, no snacks, nothing. I panicked for a hot second, then realized I had peanut butter, jelly, and sandwich bread sitting right there. But instead of making a rushed, sloppy PB&J, I decided to try something I’d been curious about for a while: homemade Uncrustable peanut butter pockets. I wasn’t sure if they’d actually hold up or if I’d just end up with a gooey mess, but after about 15 minutes in the kitchen, I had these perfect little sealed pockets of peanut butter and jelly that were not only mess-free but actually tasted better than the store-bought ones. Fast forward a week, and these have become my secret weapon for busy weeknights when I want something quick, kid-approved, and portable without any fuss.
Here’s the thing about homemade Uncrustable peanut butter pockets: they’re insanely easy, way cheaper than those prepackaged ones, and you control exactly what goes inside. No weird preservatives, no mystery ingredients, just good old peanut butter and jelly sealed up tight. I’ve made them with my kids, packed them for road trips, and even stashed a few in the freezer for mornings when we’re running late. If you’ve been curious about making your own, I’m going to walk you through everything I’ve learned so you can nail them on your first try.
Why You’ll Love This Recipe
This recipe has totally changed the way I handle quick bites for my family. There are a handful of reasons I keep coming back to these homemade Uncrustable peanut butter pockets:
- Super Convenient — I can whip up a batch in under 20 minutes, and they freeze beautifully for busy mornings or impromptu snacks.
- Kid-Approved — My picky eaters actually prefer these to regular sandwiches because they’re mess-free and fun to eat. No more jelly squeezing out everywhere!
- Customizable — Whether you love classic grape jelly, strawberry jam, or even honey, you get to pick your favorite combo. Plus, swapping peanut butter for almond or sunflower butter works like a charm.
- Budget-Friendly — Making these at home costs a fraction of store-bought packs. I made 12 pockets for less than $5, and they last all week.
- Perfectly Portable — These pockets are sealed tight, so they don’t leak in lunchboxes or bags. That means no sticky messes to clean up at school or on the go.
Honestly, these homemade peanut butter pockets have saved me on more than one hectic night. They’re the little kitchen hack I never knew I needed but now can’t live without.
Ingredients You’ll Need
Here’s the best part: you probably have most of these ingredients already in your pantry or fridge. I’m pretty picky about the bread and peanut butter I use because they make all the difference.
- White sandwich bread (12 slices) — I go for soft, square-cut white bread with no crusts. It seals better and folds nicely. Whole wheat works but can be a bit harder to seal tightly.
- Peanut butter
- Jelly or jam (½ cup) — I usually use grape or strawberry jelly. Choose a thicker jam so it doesn’t seep out during freezing or packing.
- Butter or cooking spray
Optional add-ins:
- Honey
- Banana slices
- Sunflower seed butter
Equipment Needed
You don’t need anything fancy to make these homemade Uncrustable peanut butter pockets. Here’s what I use:
- Round cookie cutter or sandwich sealer
- Rolling pin
- Baking sheet or plate
- Plastic wrap or airtight container
Quick note: I’ve tried these with square cutters, but the rounded edges seal better and hold up nicely in lunchboxes.
How to Make It: Step-by-Step
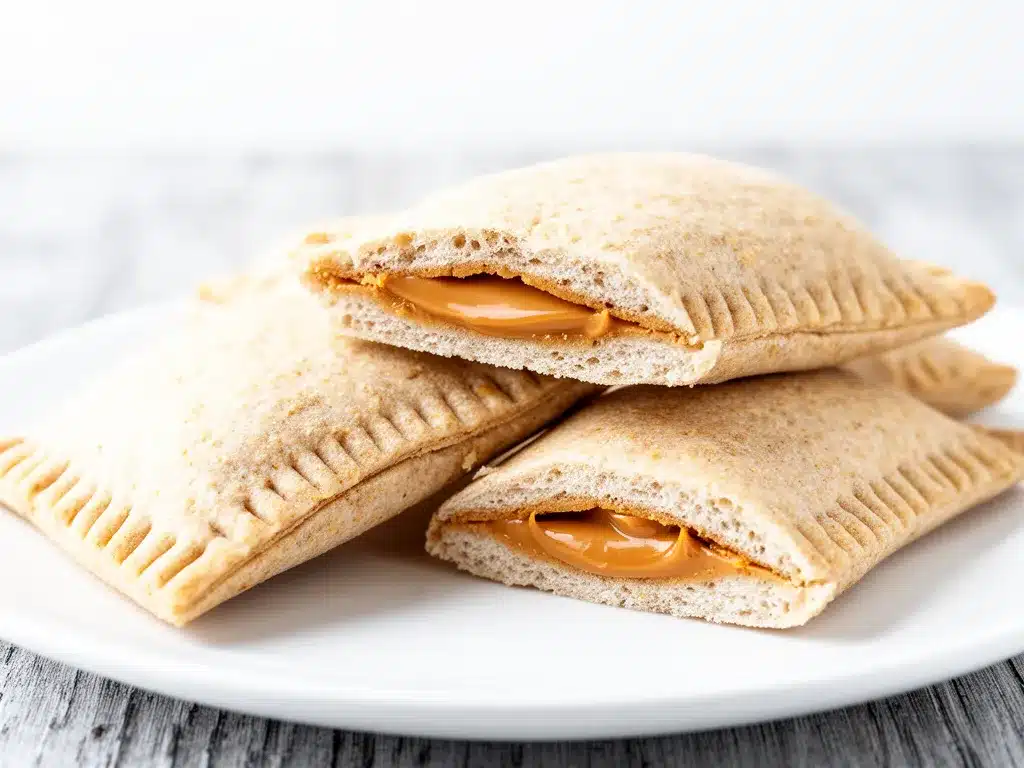
Alright, let’s make these peanut butter pockets! I’m walking you through exactly how I do it, including the little tricks that make them perfect every time.
- Prep Your Bread (2-3 minutes)
Start by cutting off the crusts from your sandwich bread slices. This makes sealing easier and gives you that classic Uncrustable look. Lay the bread flat on a cutting board. - Spread the Peanut Butter and Jelly (3-4 minutes)
Spread about 1 tablespoon of peanut butter on one slice of bread, leaving a small border around the edges. On a second slice, spread about 1 tablespoon of jelly or jam the same way. Not too much—overfilling makes sealing tricky. - Assemble the Sandwiches (2 minutes)
Place the jelly-covered slice on top of the peanut butter slice, jelly side down. Press gently to stick them together. - Cut and Seal (5 minutes)
Use your round cookie cutter to press down firmly, cutting through both slices and sealing the edges. Press down with the rolling pin or your fingers around the edge to make sure it’s sealed tight. If you’re worried about sticking, lightly grease your cutter first. - Freeze or Pack (optional)
Place your sealed pockets on a baking sheet or plate and pop them in the freezer for about 30 minutes if you want to store them for later. Once frozen, transfer to a freezer bag or airtight container. For immediate use, just pack them up in lunchboxes or wrap in plastic wrap.
That’s it! These pockets come out perfectly sealed, with no crusts and zero mess. The edges get a little crisp if you want to toast them lightly before serving, but I love them straight from the freezer or fridge.
Expert Tips & Tricks
Here’s everything I’ve learned from making these dozens of times. These tips will save you from my early messier attempts.
- Don’t overfill: Too much jelly or peanut butter makes sealing a nightmare. A thin, even layer works best.
- Trim the crusts cleanly: Use a sharp knife or bread slicer. No jagged edges means better seals.
- Press firmly when sealing: Use a rolling pin or your fingers to crimp the edges well, so nothing leaks out during freezing or packing.
- Freeze before packing: If you want to store these for later, freezing solid before bagging prevents them from sticking together and keeps them fresh.
- Use thick jam: Jelly or jam that’s too runny will leak. Thicker preserves hold up better.
- Experiment with fillings: Try adding a thin layer of honey, or banana slices for extra flavor. Just be mindful of moisture content.
- Toasting option: For a warm snack, lightly toast the frozen pockets for 2-3 minutes on a skillet or toaster oven. It makes the peanut butter melty and the bread slightly crisp.
Variations & Substitutions
Once you’ve nailed the basic homemade Uncrustable peanut butter pockets, here’s how you can mix it up. I’ve tried all of these and they’re winners:
- Nut-Free Version — Swap peanut butter for sunflower seed butter and use your favorite jam. Perfect for school restrictions.
- Almond Butter & Honey — Replace peanut butter with almond butter, then add a drizzle of honey inside for a sweeter, nuttier pocket.
- Chocolate Spread — Use Nutella or chocolate hazelnut spread instead of jelly for a special treat.
- Fruit-Only — Fill with sliced strawberries or bananas and a thin layer of cream cheese for a fresh twist.
- Gluten-Free — Use gluten-free sandwich bread. The sealing works the same, just be gentle with the bread.
Serving & Storage
These peanut butter pockets are super versatile when it comes to serving and storing.
How to Serve
- Serve cold straight from the fridge or freezer for a mess-free, grab-and-go snack.
- Heat on a skillet or toaster oven for 2-3 minutes if you want warm, melty pockets.
- Pair with fresh fruit or veggie sticks for a balanced lunchbox.
Storage Instructions
- Refrigerator: Store in an airtight container or wrapped in plastic wrap for up to 3 days.
- Freezer: Freeze individually on a baking sheet for 30 minutes, then transfer to a freezer bag. Keeps well for up to 1 month.
- Reheating: For best texture, thaw in the fridge overnight or heat frozen pockets in a toaster oven or skillet for 2-3 minutes.
Nutrition Information
I’m not a nutritionist, but here’s a rough idea if you’re tracking what you eat. This is based on one pocket (about 2.5 inches in diameter):
| Calories | 190 |
|---|---|
| Protein | 6g |
| Carbohydrates | 22g |
| Fiber | 2g |
| Sugar | 8g |
| Fat | 9g |
| Saturated Fat | 1.5g |
| Sodium | 150mg |
These pockets are a decent mix of protein and carbs, with some fat from the peanut butter. Adding fruit or veggies on the side boosts the nutrition even more. Just a heads-up: if you swap to almond or sunflower butter, the fat content may vary.
Final Thoughts
So that’s my easy homemade Uncrustable peanut butter pockets recipe—perfect for busy weeknights and crazy mornings alike. I probably talked your ear off, but when you find a simple, versatile recipe like this, you tend to get excited. These pockets have saved my sanity more times than I can count, from last-minute lunches to quick after-school snacks.
What I love most is how customizable they are—you can make them your own with different spreads or add-ins, and they freeze so well that I always keep some on hand. Plus, the kids love them, which means less afternoon snack drama (hallelujah!).
If you give this recipe a try, drop a comment below and tell me how it turned out! And if you hit any snags, I’m here to help troubleshoot. Happy cooking, and I hope your kitchen smells as good as mine does right now.
Frequently Asked Questions
Can I use whole wheat bread instead of white bread?
Yes! Whole wheat bread works fine, but it can be a little tougher to seal because it’s denser. Just press the edges a bit more firmly when sealing. Avoid very thick or artisanal breads because they won’t seal well.
How long do homemade Uncrustable peanut butter pockets last in the freezer?
They keep well for up to a month frozen. Just make sure to freeze them individually on a tray first so they don’t stick together, then transfer to a freezer bag or container.
Can I use crunchy peanut butter?
You can, but it makes sealing trickier because of the chunks. If you want to use crunchy, just be gentle when pressing the edges and maybe press a little longer with the rolling pin.
Will the bread get soggy if I freeze these?
Not if you freeze them properly! Freeze the pockets on a baking sheet first, then transfer to a bag. Thaw in the fridge or eat straight from the freezer. The bread holds up surprisingly well and doesn’t get mushy.
Can I add other fillings like Nutella or cream cheese?
Absolutely! Nutella works great as a swap for jelly. Cream cheese can work too, but keep the layers thin to avoid sogginess and sealing issues.
What’s the best way to reheat frozen pockets?
I like to toast them lightly in a toaster oven or skillet for 2-3 minutes. This warms the filling and crisps the bread just a bit. You can also microwave, but they get softer that way.
Can I double or triple this recipe?
Yes! Just multiply the ingredients and make as many pockets as you want. If freezing, lay them out on trays in batches so they freeze evenly before storing.
Pin This Recipe!
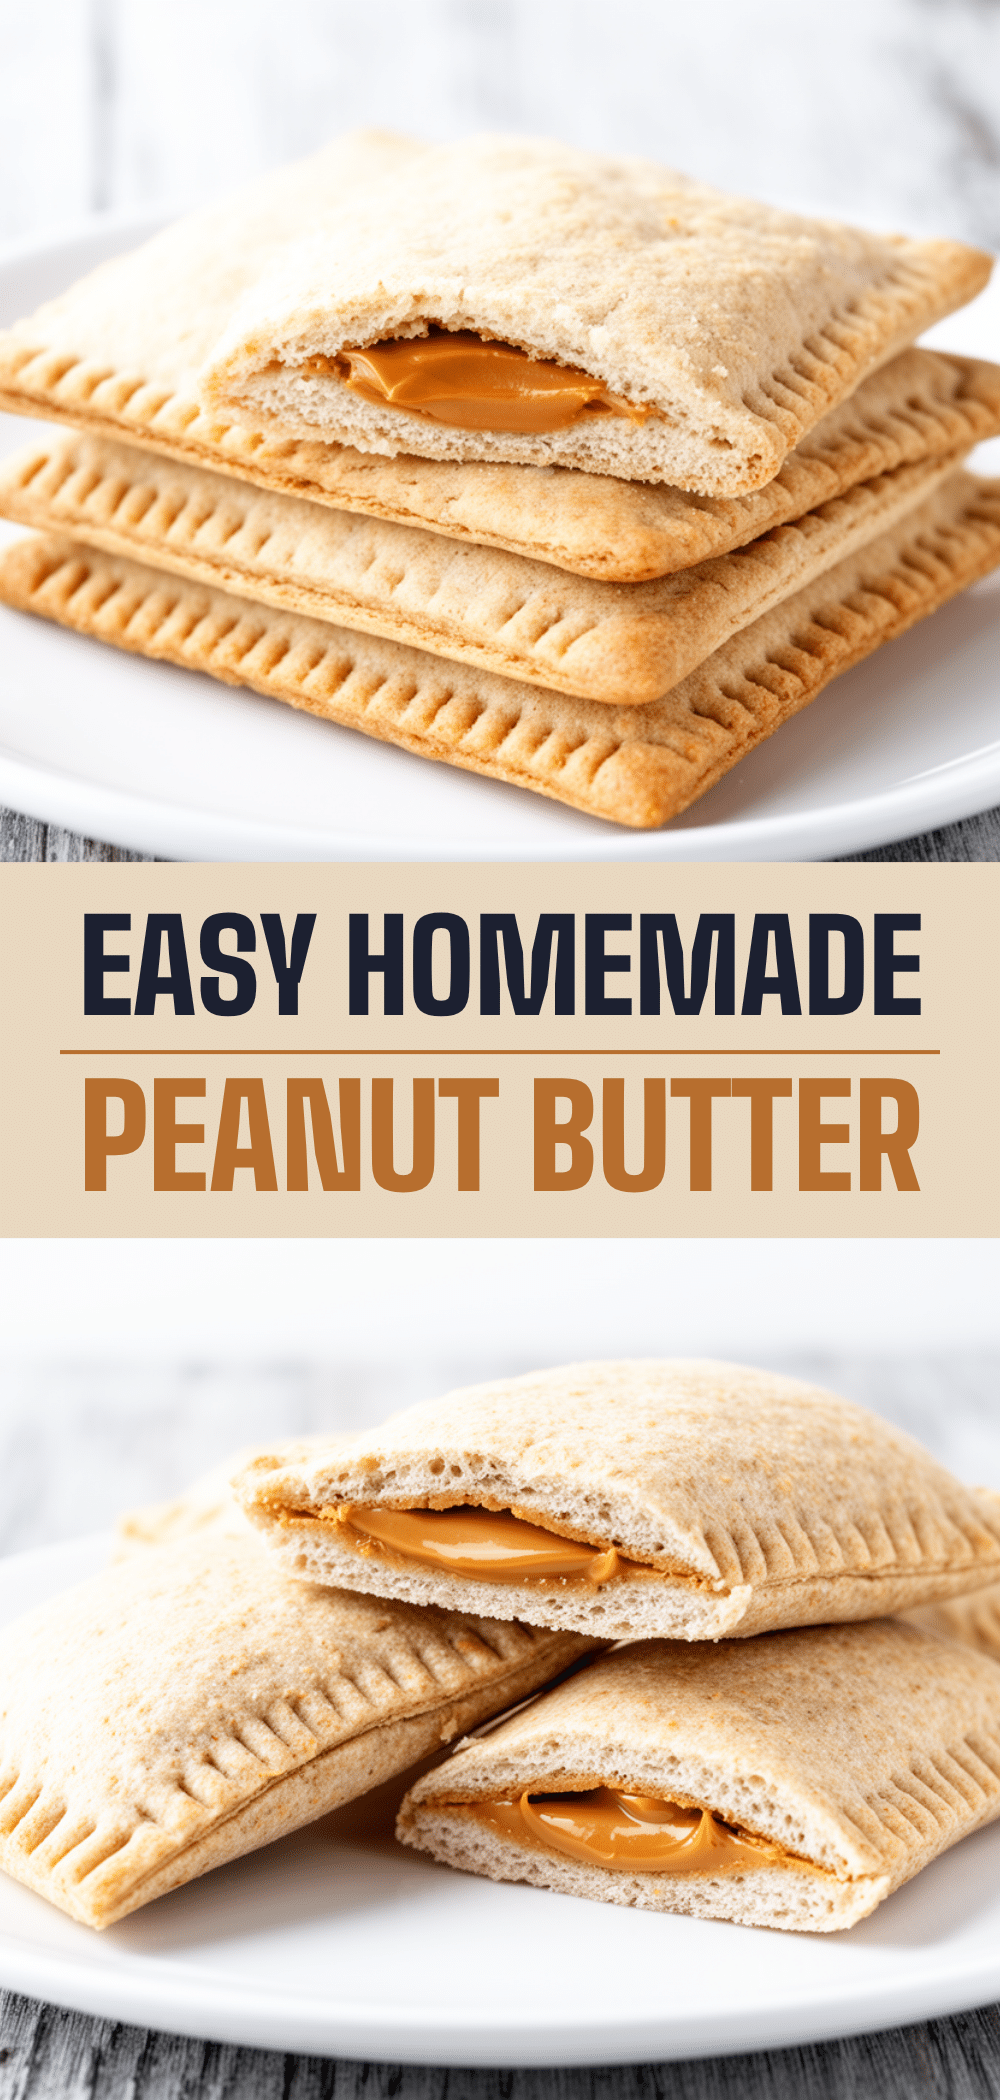
Homemade Uncrustable Peanut Butter Pockets Easy Recipe for Busy Weeknights
- Total Time: 10 minutes
- Yield: 12 pockets 1x
Description
These homemade Uncrustable peanut butter pockets are quick, mess-free, and kid-approved snacks perfect for busy weeknights or lunchboxes. They are easy to make, customizable, and freeze well for convenient grab-and-go meals.
Ingredients
- 12 slices white sandwich bread (soft, square-cut, no crusts)
- 1/2 cup creamy peanut butter (natural, not too runny)
- 1/2 cup jelly or jam (grape or strawberry, thick consistency)
- Butter or cooking spray (optional, for greasing cookie cutter or sandwich press)
- Optional add-ins: honey, banana slices, sunflower seed butter (for nut-free version)
Instructions
- Cut off the crusts from the sandwich bread slices and lay the bread flat on a cutting board.
- Spread about 1 tablespoon of peanut butter on one slice of bread, leaving a small border around the edges.
- Spread about 1 tablespoon of jelly or jam on a second slice of bread, also leaving a small border.
- Place the jelly-covered slice on top of the peanut butter slice, jelly side down, and press gently to stick them together.
- Use a 3-inch round cookie cutter to press down firmly, cutting through both slices and sealing the edges.
- Press around the edges with a rolling pin or fingers to ensure a tight seal. Lightly grease the cutter if needed to prevent sticking.
- Place the sealed pockets on a baking sheet or plate and freeze for about 30 minutes if storing for later.
- Once frozen, transfer pockets to a freezer bag or airtight container. For immediate use, pack in lunchboxes or wrap in plastic wrap.
Notes
Do not overfill with peanut butter or jelly to ensure easy sealing. Use thick jam to prevent leaking. Freeze pockets individually on a baking sheet before storing together to avoid sticking. Toast frozen pockets for 2-3 minutes for a warm snack.
- Prep Time: 10 minutes
- Cook Time: 0 minutes
- Category: Snack
- Cuisine: American
Nutrition
- Serving Size: 1 pocket (about 2.5
- Calories: 190
- Sugar: 8
- Sodium: 150
- Fat: 9
- Saturated Fat: 1.5
- Carbohydrates: 22
- Fiber: 2
- Protein: 6
Keywords: peanut butter pockets, homemade uncrustables, peanut butter jelly sandwich, kid-friendly snack, easy snack recipe, freezer snack, lunchbox ideas


