
One hectic September afternoon, I found myself scrambling to throw together something that would please my kids after their first full day back at school. Lunchboxes were packed, backpacks dumped on the floor, and the usual “What’s for dinner?” chorus was starting to echo through the house. I had a loaf of slider buns, some leftover ham, and a block of cheese staring at me from the fridge. Honestly, I wasn’t expecting much—just a quick fix before life got busy again.
But then I brushed those little sandwiches with a honey butter glaze I whipped up on a whim, popped them in the oven, and suddenly dinner went from “meh” to everyone asking for seconds. The sweet and savory combo? Pure magic. These Back-to-School Ham and Cheese Sliders with Honey Butter Glaze have since become my secret weapon for busy weeknights when I want dinner fast but still crave something comforting and a little special.
After making these about a dozen times (and always having the glaze vanish first), I finally nailed down the perfect balance of flavors and texture. If you’ve ever wished for an easy, crowd-pleasing recipe that feels homemade but comes together in a flash, this one’s for you.
Why You’ll Love This Recipe
These ham and cheese sliders aren’t just any sandwiches. Here’s why they’ve taken over my back-to-school dinner routine:
- Hands-Off, Quick Prep — Once you get the glaze going, assembly takes less than 10 minutes. I often prep these while helping with homework or sorting through backpacks.
- Kid-Approved — My kids love them, and I’ve served these sliders to picky eaters at playdates who gobble them up without hesitation.
- Sweet and Savory Harmony — The honey butter glaze is the secret sauce here. It adds just the right amount of sweetness and shine that makes these sliders irresistible.
- Perfect for Batch Cooking — I make a double batch on Sundays to have on hand for the week. They reheat beautifully in the oven or microwave without drying out.
- Customizable — You can swap the ham for turkey or add pickles, mustard, or even a little heat with pepper flakes. I’ve played around with plenty of variations (more on that later).
This recipe has saved me more than once when life gets crazy, and it’s become a little family tradition that everyone looks forward to after a long day. Plus, it pairs perfectly with other back-to-school favorites like thermos mac and cheese or turkey and cheese pinwheels for a full meal plan.
Ingredients You’ll Need
Here’s the thing about this recipe: most of these ingredients are probably hanging out in your kitchen right now. I’m picky about a few key items because they make the difference between “meh” sliders and “oh wow” sliders.
- Slider Buns (12 count) — I prefer soft Hawaiian rolls for their sweetness and texture, but classic slider buns work just as well.
- Thinly Sliced Ham (12 slices / about 8 ounces / 225g) — The thinner, the better. Deli ham is perfect here; avoid thick-cut because it makes the sliders bulky.
- Swiss Cheese (12 slices / about 6 ounces / 170g) — Melts beautifully and adds a mild, nutty flavor. Provolone or cheddar can be used if you prefer.
- Unsalted Butter (½ cup / 115g, melted) — For the glaze. Use real butter, not margarine. It makes a huge difference.
- Honey (¼ cup / 85g) — Adds that signature sweetness to the glaze. Raw honey works fine, but mild honey keeps it balanced.
- Dijon Mustard (1 tablespoon / 15g) — Provides a subtle tang and depth to the glaze. Don’t skip this!
- Poppy Seeds (1 teaspoon) — Optional but adds a nice crunch and classic look. I always keep these stocked.
- Worcestershire Sauce (1 teaspoon) — Gives the glaze a little umami boost. It’s a secret ingredient that makes the flavor pop.
- Onion Powder (½ teaspoon) — Adds a hint of savory warmth without overpowering.
- Black Pepper (freshly ground, to taste) — Just a pinch to balance the sweetness.
Quick tip: I’ve tried making these with pre-sliced packaged ham, but the deli-sliced kind from the counter is much juicier and tastier. Also, if you don’t have poppy seeds, sesame seeds make a nice substitute.
Equipment Needed
You don’t need fancy tools for these sliders—just the basics that most kitchens already have.
- Baking Dish — I use a 9×13-inch glass or metal baking dish. It fits the slider buns perfectly in one layer.
- Small Mixing Bowl — For whisking together the honey butter glaze.
- Pastry Brush or Spoon — To spread the glaze evenly over the sliders.
- Knife — To slice the slider buns horizontally in half.
- Aluminum Foil — For covering the sliders while baking to keep them soft and melty.
If you don’t have a pastry brush, no worries—just drizzle the glaze and spread it with the back of a spoon. I’ve done it both ways.
How to Make It: Step-by-Step

Alright, let’s get these Back-to-School Ham and Cheese Sliders with Honey Butter Glaze on the table. I’m breaking it down with all the little tricks I’ve learned.
Step 1: Prepare the Buns (5 minutes)
Slice the slider buns horizontally in half, keeping them connected if possible so they stay together when baking. Place the bottom half in your baking dish, making sure the buns are snug but not squished.
Step 2: Layer the Ham and Cheese (5 minutes)
Lay one slice of ham on each bun, then top with a slice of Swiss cheese. The layering is simple but important—this ensures every bite has a perfect balance of meat and melted cheese.
Step 3: Top with Buns (1 minute)
Place the top halves of the buns over the ham and cheese. Press lightly to compact the sliders a bit but don’t smash them flat.
Step 4: Make the Honey Butter Glaze (3 minutes)
In a small bowl, whisk together melted butter, honey, Dijon mustard, Worcestershire sauce, onion powder, poppy seeds, and freshly ground black pepper. The glaze should be smooth and shiny.
Step 5: Brush the Glaze (2 minutes)
Using a pastry brush or spoon, generously spread the glaze over the tops of the buns. Don’t skip this step—it’s the flavor game-changer.
Step 6: Bake Covered (15 minutes)
Cover the baking dish tightly with aluminum foil and bake at 350°F (175°C) for 15 minutes. This melts the cheese perfectly and warms everything through.
Step 7: Bake Uncovered for Browning (5 minutes)
Remove the foil and bake for an additional 5 minutes to get the tops golden brown and slightly crisp. Watch closely so they don’t burn.
Step 8: Serve Warm
Serve immediately with napkins handy. These sliders are best enjoyed hot and melty.
Note: If you want to prep ahead, assemble the sliders and cover them in the fridge for up to 24 hours before baking. Just add a couple extra minutes to the baking time if baking cold.
Expert Tips & Tricks
- Don’t Skip the Glaze — I can’t stress this enough. The honey butter glaze takes these sliders from basic to unforgettable.
- Use Hawaiian Rolls for Best Results — Their natural sweetness complements the ham and cheese perfectly. You can find these year-round in most grocery stores now.
- Slice Buns Carefully — Using a serrated knife helps prevent squishing the buns when you slice them.
- Leftovers Reheat Well — Warm them covered in the oven or microwave with a damp paper towel to keep them moist.
- Make a Double Batch — These sliders disappear fast. I always double the recipe for busy weeknights or gatherings.
- Add Pickles or Mustard — For a tangy twist, add thin pickle slices or a swipe of mustard under the ham before baking.
- Butter Temperature Matters — Melted butter should be warm but not hot when mixing the glaze to keep it emulsified.
Variations & Substitutions
Once you’ve got the classic down, feel free to switch things up—here are some of my favorites:
- Turkey and Cheese Sliders — Swap ham for thinly sliced turkey breast. I love this for a lighter option. Try pairing it with the turkey and cheese pinwheel recipe for a full meal rotation.
- Spicy Kick — Add a pinch of cayenne pepper or red pepper flakes to the glaze for a gentle heat.
- Veggie Boost — Layer thin slices of tomato or sautéed mushrooms with the ham for extra flavor and texture.
- Cheese Swap — Pepper jack or sharp cheddar can add a different flavor profile that your family might love.
- Gluten-Free — Use gluten-free slider buns or mini gluten-free rolls. The glaze is naturally gluten-free.
- Make it Vegetarian — Replace ham with grilled portobello mushrooms or thick slices of roasted red pepper.
Serving & Storage
These sliders are best served warm right out of the oven, but here’s how I like to keep them tasting fresh if you have leftovers.
Serving Suggestions
- Serve with a simple side salad or some crunchy raw veggies to balance the richness.
- Pair with easy sides like crunchy ranch chicken wraps or baked apple cinnamon oatmeal cups for a full back-to-school meal plan.
- Set out extra honey butter glaze and mustard for dipping—or let everyone customize their sliders.
Storage Instructions
- Refrigerator: Store leftovers in an airtight container for up to 4 days.
- Reheating: Warm in the oven at 300°F (150°C) covered with foil for about 10 minutes, or microwave with a damp paper towel for 1-2 minutes to keep them moist.
- Freezing: You can freeze fully assembled sliders (unbaked) wrapped tightly in foil for up to 2 months. Thaw overnight in the fridge before baking.
Nutrition Information
I’m not a nutritionist, but here’s a rough breakdown per slider, based on 12 servings:
| Calories | 220 |
|---|---|
| Protein | 10g |
| Carbohydrates | 22g |
| Fat | 10g |
| Saturated Fat | 5g |
| Sodium | 480mg |
| Sugar | 5g |
These sliders are higher in sodium and fat due to the ham, cheese, and butter, but they provide a decent protein boost and satisfaction factor. Adding a side of veggies or a salad helps balance the meal.
Final Thoughts
So that’s it—my tried-and-true Back-to-School Ham and Cheese Sliders with Honey Butter Glaze. I’ve probably talked your ear off, but when you find a recipe that your whole family keeps asking for, it’s hard not to gush a little.
These sliders have saved many busy evenings when I wanted something quick, comforting, and special without the stress. They’re easy enough to make on a school night but tasty enough to feel like a treat. Plus, they’re a great way to sneak in a little extra love after a long day.
Make them yours—add in your favorite extras, swap the ham for turkey, or spice things up. And if you ever want a fun after-school snack to pair with these, the soft honey garlic pretzel bites are a total winner in my book.
If you give this recipe a try, drop a comment below and tell me how it turned out! I love hearing your twists and tips—and if something doesn’t go as planned, I’m here to help troubleshoot.
Happy cooking, and here’s to less stress and more delicious back-to-school dinners!
Frequently Asked Questions
Q: Can I make these sliders ahead of time?
A: Yes! You can assemble the sliders a day ahead, cover tightly with foil or plastic wrap, and refrigerate. When you’re ready to eat, just bake them a few minutes longer to heat through and melt the cheese perfectly.
Q: Can I use regular sandwich buns instead of slider buns?
A: You can, but slider buns are smaller and perfect for portion control and that classic pull-apart presentation. If you use larger buns, adjust the layering and baking time accordingly.
Q: What if I don’t have honey for the glaze?
A: Maple syrup or agave nectar can work as substitutes, though honey gives the best flavor and shine. If you’re out of those, a sprinkle of brown sugar mixed into the melted butter can add sweetness too.
Q: Can I add other meats or cheeses?
A: Absolutely! Turkey, roast beef, or even sausage slices work great. As for cheese, Swiss, provolone, cheddar, or pepper jack are all delicious options. Just make sure the cheese melts well.
Q: How do I keep the sliders from getting soggy?
A: Make sure not to over-glaze the buns and bake covered at first to keep moisture in, then uncovered to crisp the tops. Also, slicing the buns carefully helps prevent them from getting too compressed and soggy.
Q: Can I freeze these sliders?
A: Yes, you can freeze the fully assembled sliders (before baking) wrapped tightly in foil for up to 2 months. Thaw in the fridge overnight, then bake as usual. This is great for meal prep or unexpected guests.
Q: What sides go well with these sliders?
A: These sliders pair wonderfully with simple green salads, roasted veggies, or even some homemade mac and cheese like my back-to-school thermos mac and cheese. They also make a fun combo with crunchy wraps and sweet snacks for a full meal.
Pin This Recipe!
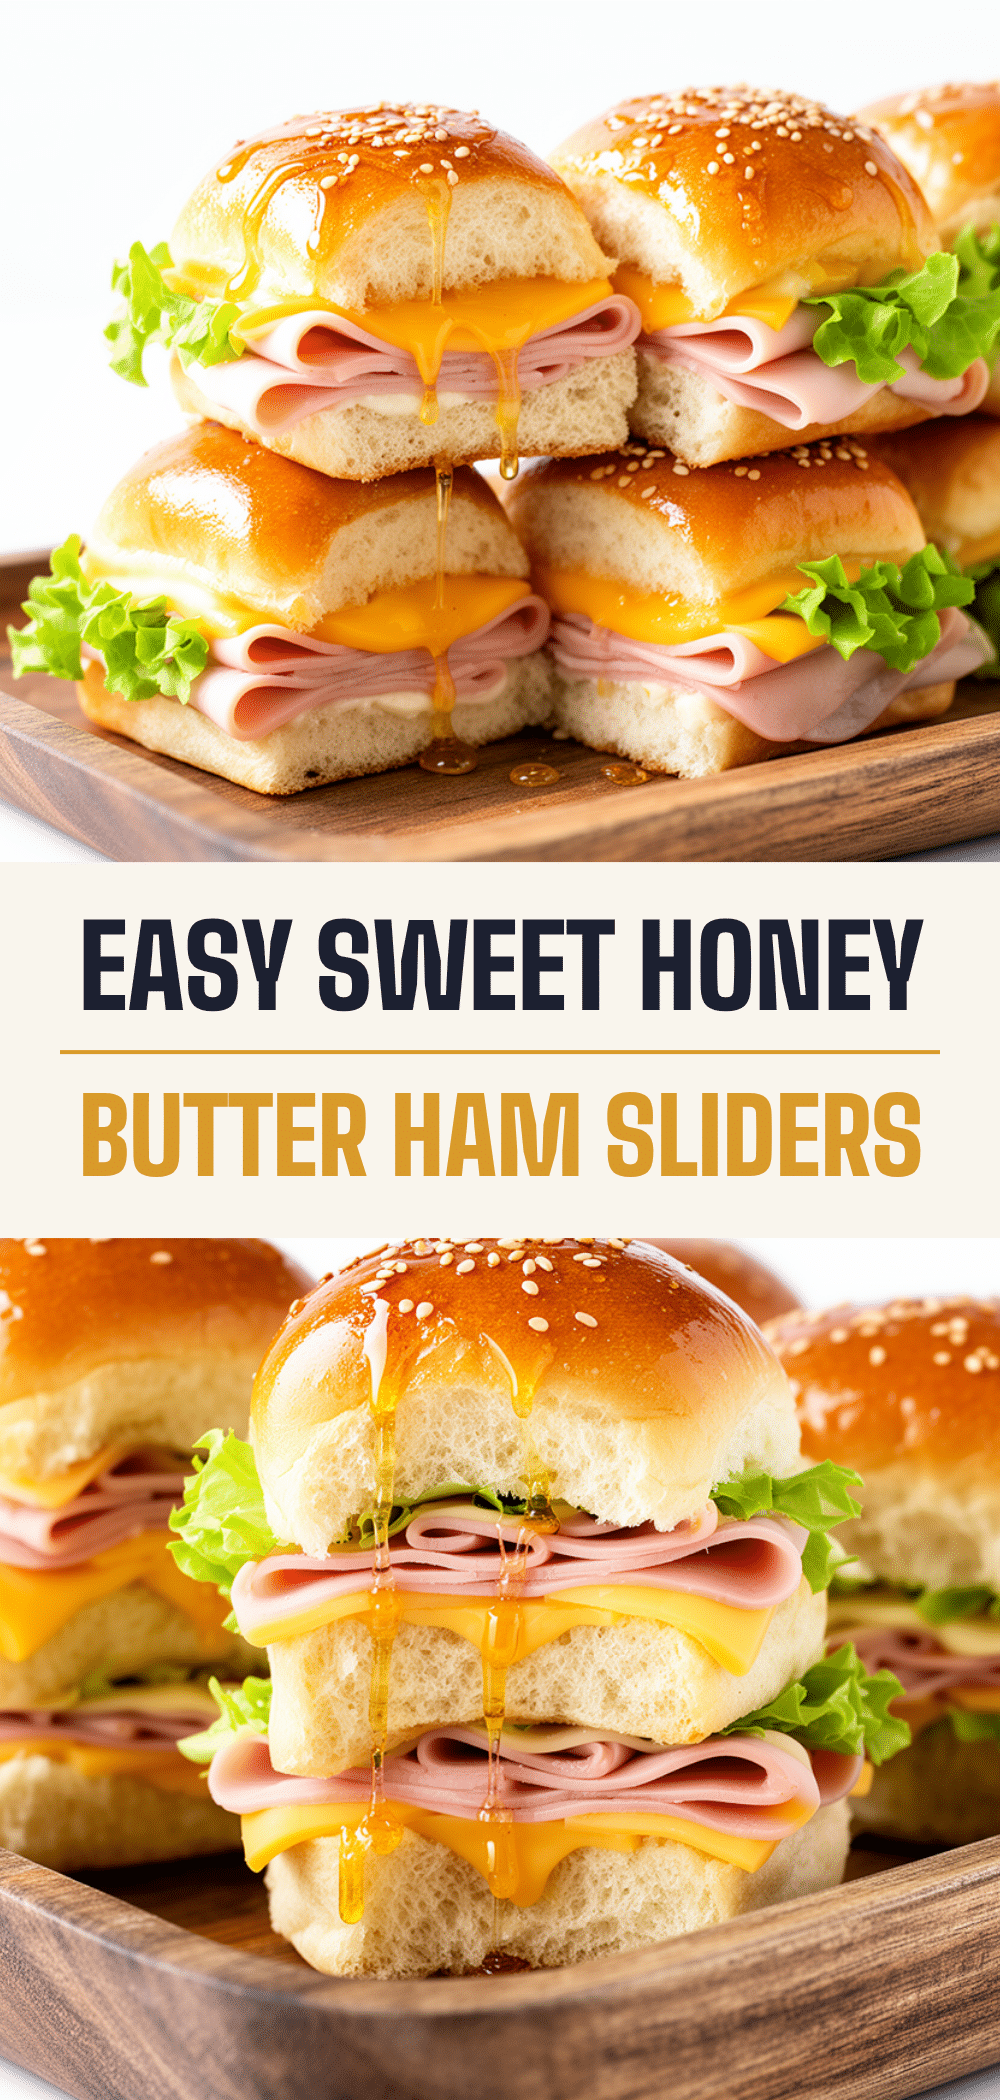

Back-to-School Ham and Cheese Sliders Easy Honey Butter Glaze Recipe
- Total Time: 30 minutes
- Yield: 12 sliders 1x
Description
These ham and cheese sliders with a sweet and savory honey butter glaze are a quick, kid-approved dinner perfect for busy weeknights. They come together fast and offer a comforting, melty treat that everyone loves.
Ingredients
- 12 slider buns (preferably soft Hawaiian rolls)
- 12 slices thinly sliced ham (about 8 ounces / 225g)
- 12 slices Swiss cheese (about 6 ounces / 170g)
- ½ cup (115g) unsalted butter, melted
- ¼ cup (85g) honey
- 1 tablespoon (15g) Dijon mustard
- 1 teaspoon poppy seeds (optional)
- 1 teaspoon Worcestershire sauce
- ½ teaspoon onion powder
- Freshly ground black pepper, to taste
Instructions
- Slice the slider buns horizontally in half, keeping them connected if possible, and place the bottom halves in a 9×13-inch baking dish snugly but not squished.
- Layer one slice of ham on each bun bottom, then top with a slice of Swiss cheese.
- Place the top halves of the buns over the ham and cheese and press lightly to compact without smashing.
- In a small bowl, whisk together melted butter, honey, Dijon mustard, Worcestershire sauce, onion powder, poppy seeds, and freshly ground black pepper until smooth and shiny.
- Using a pastry brush or spoon, generously spread the honey butter glaze over the tops of the buns.
- Cover the baking dish tightly with aluminum foil and bake at 350°F (175°C) for 15 minutes to melt the cheese and warm through.
- Remove the foil and bake uncovered for an additional 5 minutes to brown and crisp the tops. Watch closely to avoid burning.
- Serve immediately while warm and melty.
Notes
Use deli-sliced thin ham for juicier sliders. Hawaiian rolls add natural sweetness. If no poppy seeds, sesame seeds are a good substitute. Melt butter warm but not hot for glaze emulsification. Sliders can be assembled a day ahead and refrigerated before baking. Reheat leftovers covered to keep moist. Freeze unbaked sliders wrapped tightly for up to 2 months.
- Prep Time: 10 minutes
- Cook Time: 20 minutes
- Category: Main Course
- Cuisine: American
Nutrition
- Serving Size: 1 slider
- Calories: 220
- Sugar: 5
- Sodium: 480
- Fat: 10
- Saturated Fat: 5
- Carbohydrates: 22
- Protein: 10
Keywords: ham and cheese sliders, honey butter glaze, easy dinner, kid-friendly, back to school, quick recipe, sliders, sandwiches


