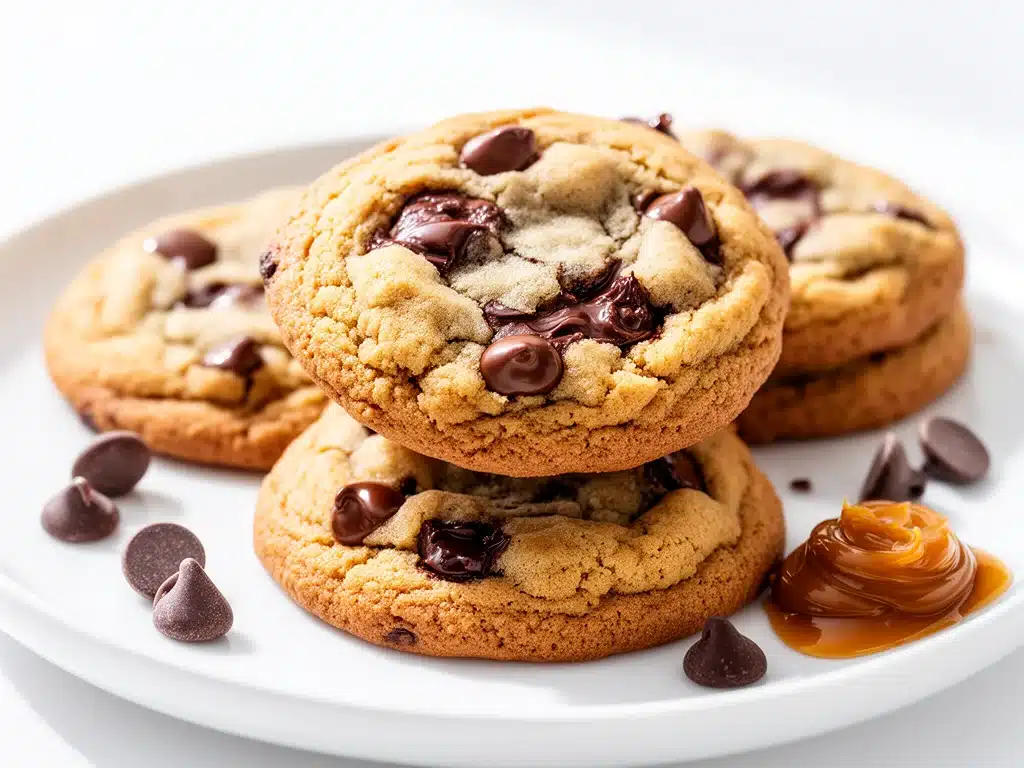
One rainy Saturday afternoon, I found myself craving something warm and comforting—but not just any cookie. I wanted that perfect balance of nutty richness and gooey chocolate that sticks delightfully to your fingers. So I decided to take my classic chocolate chip cookie recipe and give it a twist: browned butter. I’d heard about it, but never tried it myself. Spoiler alert: it changed everything.
After a few batches (and yes, some burnt butter mishaps), I finally nailed these brown butter chocolate chip cookies with chewy centers you’ll make on repeat. The brown butter adds this deep, toasty flavor that makes the cookies taste way more sophisticated, but the chewy middle keeps them homey and utterly satisfying. It’s the kind of cookie that made me stop mid-bite and say, “Wow, I need to write this down.”
Since that day, I’ve baked these cookies for birthdays, random weeknights, and even packed them with lunchboxes (right alongside some easy turkey and cheese pinwheels), because let’s be honest, a cookie makes any day better. If you love cookies with chewy centers and a rich, buttery flavor, this recipe is going to be your new obsession.
Why You’ll Love This Recipe
This brown butter chocolate chip cookie recipe has totally changed how I bake—and eat—cookies. Here’s why:
- Deep, Nutty Flavor — Browning the butter transforms the taste into a rich, caramel-like goodness that regular butter just can’t match. It’s like the cookie grew up and got fancy.
- Chewy Centers, Crispy Edges — The perfect combo. The edges give you that satisfying crunch, while the middle stays soft and chewy. I’ve burned this twice trying to get it right, but now it’s golden perfection.
- Easy to Make — You don’t need any special equipment or ingredients. The brown butter step takes 5 minutes and is honestly fun once you get the hang of it.
- Perfect for Any Occasion — From after-school snacks (try pairing with soft honey garlic pretzel bites for a sweet-and-savory spread) to holiday gifts, these cookies fit right in.
- Makes Amazing Leftovers — If you somehow have leftovers (unlikely), they stay chewy for days when stored in an airtight container.
Honestly, these cookies have become my go-to when I want something that feels a little special but still takes under an hour from start to finish. Once you try them, I bet you’ll make them on repeat too.
Ingredients You’ll Need
Don’t let the ingredient list intimidate you. Most of these are pantry staples, and a few little tricks make all the difference.
- Unsalted Butter (1 cup / 225g) — The star here. You’ll brown this butter for that nutty flavor. Use unsalted so you can control the saltiness.
- Granulated Sugar (¾ cup / 150g) — Sweetens without overpowering. I prefer regular white sugar for that classic cookie texture.
- Brown Sugar (⅔ cup packed / 135g) — Gives chewiness and a hint of molasses flavor. Don’t swap for light brown sugar; dark is fine but a bit stronger.
- Vanilla Extract (2 teaspoons) — Fresh, good quality vanilla makes a big difference. I always keep Nielsen-Massey on hand.
- Large Eggs (2) — Room temperature works best for mixing.
- All-Purpose Flour (2 ¼ cups / 280g) — Spoon into the cup and level off for accuracy. Too much flour can make cookies cakey.
- Baking Soda (1 teaspoon) — Helps the cookies rise just right.
- Salt (½ teaspoon) — Balances sweetness and enhances the brown butter flavor.
- Semi-Sweet Chocolate Chips (1 ½ cups / 270g) — The melty pockets of joy. You can use chunks or chips. I sometimes mix in a few dark chocolate chunks for variety.
Pro Tip: If you want to swap chocolate chips for chopped chocolate bars, go ahead—just roughly chop 6 ounces for an even melt.
Equipment Needed
You don’t need anything fancy for these cookies. Here’s what I actually use:
- Medium saucepan — For browning the butter. A light-colored pan helps you see when the butter changes color.
- Mixing bowls — One for wet ingredients, one for dry. I use glass or metal.
- Hand mixer or stand mixer — Makes creaming easier, but a sturdy spoon and some elbow grease work too.
- Measuring cups and spoons — Accuracy counts for flour and baking soda.
- Baking sheet — I use a rimmed half-sheet pan lined with parchment paper for easy cleanup.
- Cooling rack — Let cookies cool evenly to keep the chewy centers perfect.
How to Make It: Step-by-Step
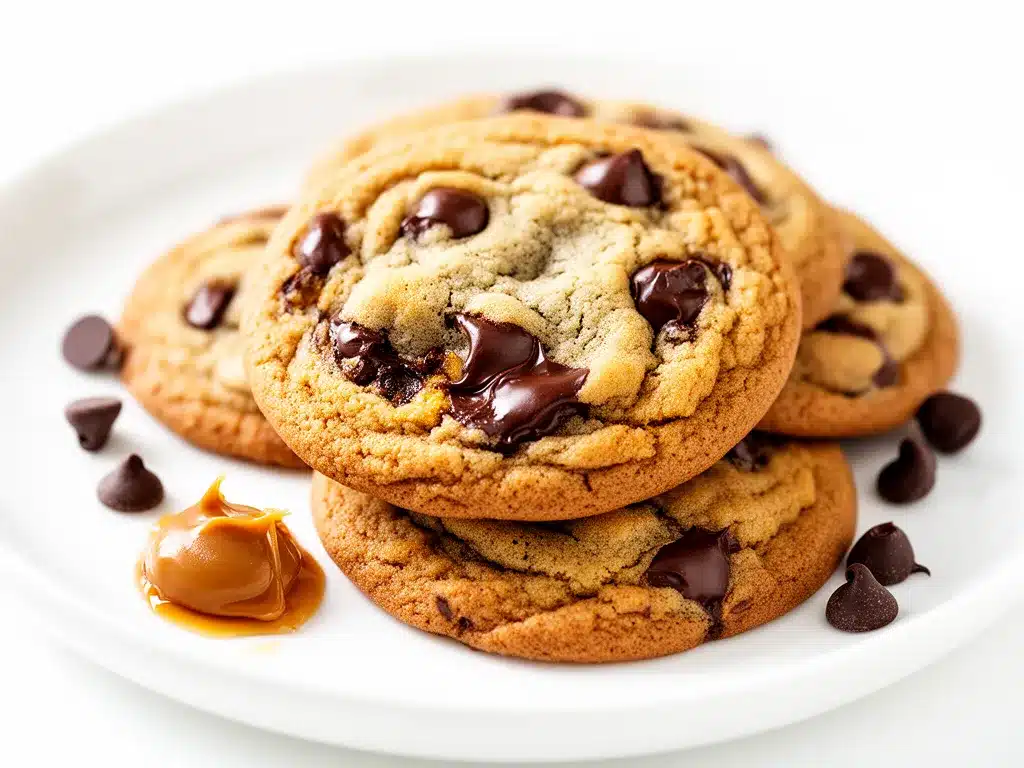
Alright, let’s bake! I’m going to walk you through this with all the little tips that saved me from burnt butter and flat cookies.
Step 1: Brown the Butter (5 minutes)
Start by melting the butter in your saucepan over medium heat. It’ll foam, then the milk solids start to brown and smell nutty. Keep stirring constantly (don’t wander off!). When it turns a golden amber color and smells like toasted nuts, remove it from the heat immediately. Pour it into a heatproof bowl and let it cool for 10 minutes. This cooling stops the cooking, so you don’t burn the butter.
Step 2: Mix Sugars and Butter (3 minutes)
Add the granulated and brown sugars to the browned butter. Use a mixer or a wooden spoon to blend until smooth and creamy. The mixture will look a bit shiny and luscious.
Step 3: Add Eggs and Vanilla (2 minutes)
Beat in the eggs one at a time, mixing well after each addition. Then stir in the vanilla extract. The batter will be a bit loose but that’s exactly what you want.
Step 4: Combine Dry Ingredients (2 minutes)
In a separate bowl, whisk together the flour, baking soda, and salt. This makes sure the baking soda is evenly distributed so you don’t get weird pockets of rising.
Step 5: Mix Dry into Wet (2-3 minutes)
Gradually add the dry ingredients to the wet, mixing on low speed or folding carefully with a spatula. Stop as soon as the flour disappears—overmixing makes tough cookies.
Step 6: Add Chocolate Chips (1 minute)
Fold in the chocolate chips evenly. The dough will be soft and a bit shiny from the butter.
Step 7: Chill the Dough (Optional but Recommended, 30 minutes)
This step is a game-changer for chewy centers. Cover the dough and chill it for at least 30 minutes (or up to 24 hours). It firms up the dough so cookies don’t spread too much and deepen the flavors.
Step 8: Bake (10-12 minutes)
Preheat your oven to 350°F (175°C). Scoop dough balls about 2 tablespoons each (I like using a cookie scoop). Place them 2 inches apart on your baking sheet. Bake for 10-12 minutes, or until the edges are golden but the centers still look soft. They’ll firm up as they cool.
Step 9: Cool and Enjoy
Let cookies cool on the baking sheet for 5 minutes, then transfer to a wire rack. Try not to eat them all at once—but no promises.
Expert Tips & Tricks
- Watch the Butter Closely — Brown butter can go from perfect to burnt in seconds. Stir constantly and remove from heat as soon as it smells nutty.
- Chill Your Dough — I almost skipped this once and the cookies spread flat. Chilling gives you the chewy center and richer flavor.
- Don’t Overbake — Cookies look underdone when you take them out, but they keep baking on the hot sheet. Pull them when edges are golden and centers are soft.
- Use Fresh Baking Soda — If your cookies aren’t rising properly, your baking soda might be old. I learned this the hard way.
- Try Mixing Chocolate — I sometimes mix semi-sweet chips with dark chocolate chunks for a flavor twist.
Variations & Substitutions
Once you’ve nailed the base cookie, try these fun tweaks I’ve experimented with:
- Nutty Delight — Add ½ cup chopped toasted pecans or walnuts for crunch and extra nuttiness.
- Salted Caramel — Drizzle salted caramel over warm cookies or fold in caramel bits before baking.
- Oatmeal Chocolate Chip — Substitute ½ cup flour with old-fashioned oats for a heartier texture.
- Gluten-Free — Use a 1:1 gluten-free baking flour blend. I’ve had success with Bob’s Red Mill.
- Dairy-Free — Swap butter with vegan butter and make sure your chocolate chips are dairy-free.
Serving & Storage
These cookies are amazing fresh, but here’s how to keep them at their best:
- Serving — Serve warm with a cold glass of milk or alongside a cup of coffee. They’re also great packed with an easy homemade lunch like thermos mac and cheese for a sweet treat after school.
- Storage — Store in an airtight container at room temperature for up to 5 days. To keep them soft, add a slice of bread in the container—it helps maintain moisture.
- Freezing — Dough freezes beautifully. Scoop dough balls onto a tray, freeze until solid, then store in a freezer bag. Bake from frozen, adding a couple minutes to baking time.
Nutrition Information
| Nutrient | Per Serving (1 cookie, makes about 24) |
|---|---|
| Calories | 180 |
| Protein | 2g |
| Carbohydrates | 24g |
| Fiber | 1g |
| Sugar | 16g |
| Fat | 9g |
| Saturated Fat | 5g |
| Cholesterol | 30mg |
| Sodium | 120mg |
| Calcium | 20mg |
Look, these cookies are indulgent—not health food. But they’re homemade, with simple ingredients, and no mystery chemicals. Treat yourself, especially when paired with a balanced meal like crunchy ranch chicken wraps for dinner.
Final Thoughts
So that’s my beloved brown butter chocolate chip cookies with chewy centers you’ll make on repeat. I could go on about how these saved my afternoon cravings or how my kids beg for them after school, but I’ll just say this: when you make these, you’re not just baking cookies—you’re creating moments.
Whether it’s a quick treat to brighten a hectic day or a batch to share with friends, these cookies are worth every minute. Don’t hesitate to tweak them to your taste (though I insist on the brown butter). And if you try them, let me know how they turn out. Your kitchen is about to smell amazing.
Happy baking!
Frequently Asked Questions
Q: Can I use regular melted butter instead of browned butter?
A: You can, but you’ll miss out on that nutty, caramel-like flavor that makes these cookies special. Browned butter adds depth that regular melted butter can’t match. If you’re short on time, melting butter is fine, but try browning it next time—you won’t regret it.
Q: My cookies spread too much—what did I do wrong?
A: Usually means the dough was too warm or you didn’t chill it. Brown butter dough is softer, so chilling for at least 30 minutes helps the cookies hold their shape and keeps centers chewy. Also, make sure you’re measuring flour accurately.
Q: Can I substitute chocolate chips with chunks or other mix-ins?
A: Absolutely! I love mixing in dark chocolate chunks or even chopped nuts. You can also add dried fruit like cherries for a twist. Just keep the total mix-ins around the same volume so the dough texture stays balanced.
Q: How do I make these cookies gluten-free?
A: Swap the all-purpose flour for a 1:1 gluten-free baking flour blend. I recommend brands like Bob’s Red Mill. The texture might be a touch different, but still delicious.
Q: Can I make these cookies vegan?
A: You’d need to substitute the butter with vegan butter and use a flax or chia egg (1 tablespoon ground flax + 3 tablespoons water per egg). Also, choose dairy-free chocolate chips. I haven’t tested this version extensively, but it’s worth experimenting!
Q: How long do these cookies keep their chewy texture?
A: Stored in an airtight container, they stay chewy for 3-4 days at room temperature. Adding a slice of bread helps maintain moisture. After that, they start to dry out, but reheating briefly in the microwave with a damp paper towel can revive softness.
Q: Can I double this recipe for a party?
A: Definitely! Just double all ingredients and bake on multiple sheets. Make sure your oven racks are spaced well for even baking. I often make a double batch for family gatherings, and they disappear fast.
Pin This Recipe!
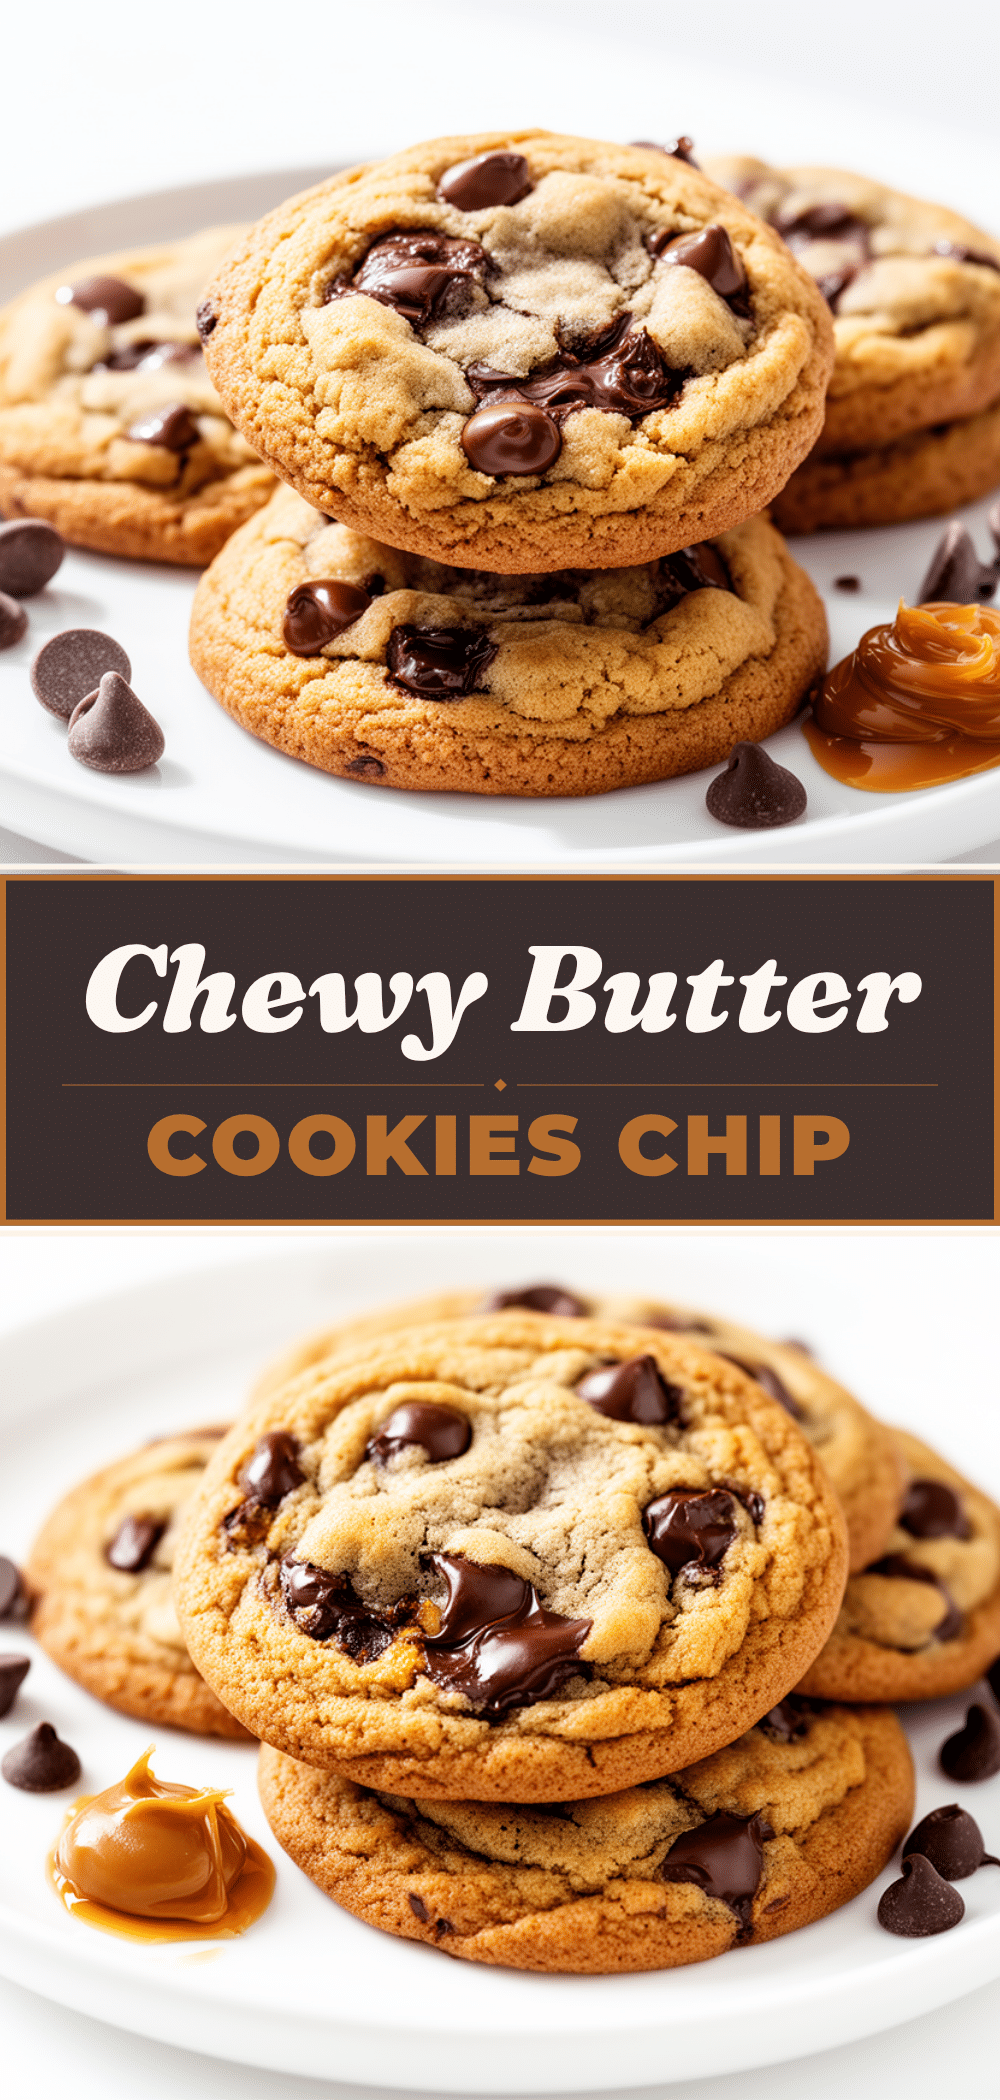
Brown Butter Chocolate Chip Cookies
- Total Time: 45 minutes
- Yield: 24 cookies 1x
Description
These brown butter chocolate chip cookies feature deep, nutty flavor with chewy centers and crispy edges, perfect for any occasion and easy to make on repeat.
Ingredients
- 1 cup (225g) unsalted butter
- 3/4 cup (150g) granulated sugar
- 2/3 cup packed (135g) brown sugar
- 2 teaspoons vanilla extract
- 2 large eggs
- 2 1/4 cups (280g) all-purpose flour
- 1 teaspoon baking soda
- 1/2 teaspoon salt
- 1 1/2 cups (270g) semi-sweet chocolate chips
Instructions
- Brown the butter in a medium saucepan over medium heat, stirring constantly until it turns a golden amber color and smells nutty, about 5 minutes. Remove from heat and pour into a heatproof bowl to cool for 10 minutes.
- Add granulated sugar and brown sugar to the browned butter and mix until smooth and creamy, about 3 minutes.
- Beat in eggs one at a time, mixing well after each addition, then stir in vanilla extract, about 2 minutes.
- In a separate bowl, whisk together flour, baking soda, and salt, about 2 minutes.
- Gradually add dry ingredients to wet ingredients, mixing on low speed or folding carefully until flour disappears, about 2-3 minutes.
- Fold in chocolate chips evenly, about 1 minute.
- Chill the dough for at least 30 minutes (optional but recommended) to firm up the dough and enhance chewiness.
- Preheat oven to 350°F (175°C). Scoop dough balls about 2 tablespoons each and place 2 inches apart on a parchment-lined baking sheet.
- Bake for 10-12 minutes until edges are golden but centers are still soft. Let cookies cool on the baking sheet for 5 minutes, then transfer to a cooling rack.
Notes
Watch the butter closely when browning to avoid burning. Chilling the dough is recommended for chewy centers and better flavor. Do not overbake; cookies should look slightly underdone when removed from oven as they firm up while cooling. Use fresh baking soda for proper rising. You can mix chocolate chips with dark chocolate chunks or add nuts for variation.
- Prep Time: 15 minutes
- Cook Time: 12 minutes
- Category: Dessert
- Cuisine: American
Nutrition
- Serving Size: 1 cookie
- Calories: 180
- Sugar: 16
- Sodium: 120
- Fat: 9
- Saturated Fat: 5
- Carbohydrates: 24
- Fiber: 1
- Protein: 2
Keywords: brown butter, chocolate chip cookies, chewy cookies, easy cookies, homemade cookies, dessert, baking


