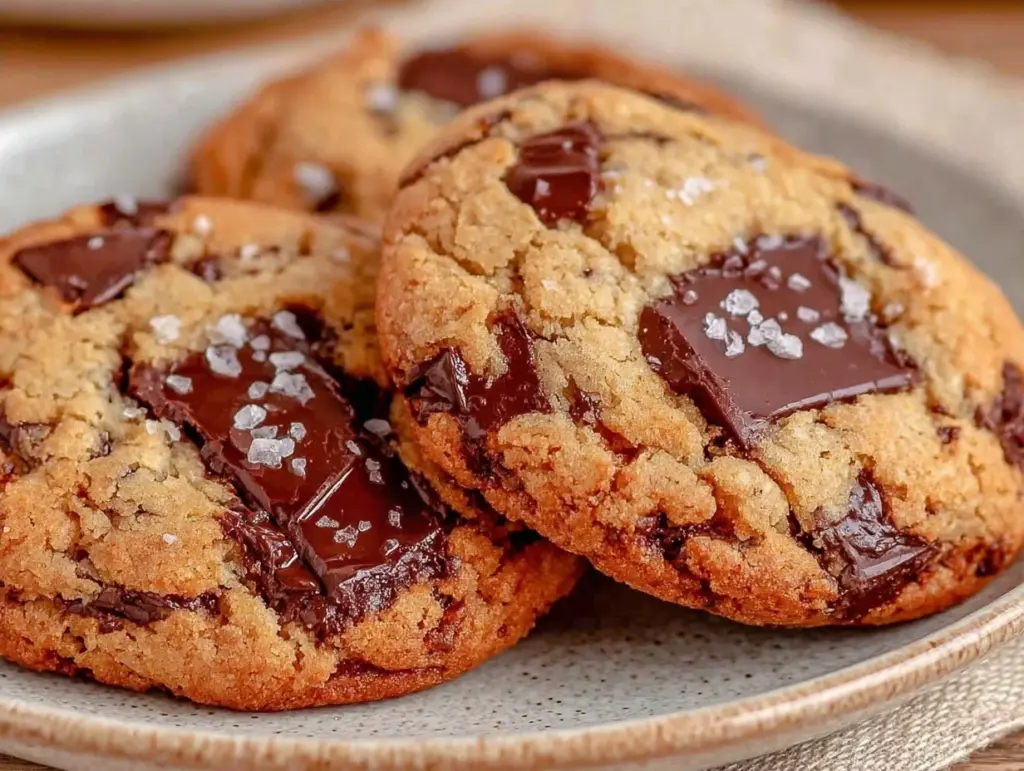
I still remember the exact moment I realized brown butter was a game-changer. It was a rainy Saturday in November, and I was trying to recreate the bakery cookies I’d fallen in love with years ago. I’d burned a batch of butter before getting it right—seriously, the smell of scorched dairy is not pleasant—but the third attempt? Magic. That nutty, toasty aroma filled the entire house, and when the first batch came out of the oven, they were golden, chewy, and impossibly rich. I ate one while they were still warm, dipped my finger in the leftover brown butter, and knew I’d never go back to plain melted butter again.
That was three years ago. Since then, I’ve made these chewy brown butter chocolate chip cookies with sea salt at least a dozen times. They’ve been the centerpiece of potlucks, the go-to gift for neighbors, and the reason my husband thinks I’m a genius on lazy Sundays. If you’re looking for a cookie that looks stunning on a platter but tastes like a warm hug, this is it. It’s not just a cookie; it’s an experience. The contrast between the deep, caramelized butter and the sweet, melty chocolate chunks is something you just have to try to believe.
I’ve tested this recipe with different flours, different chocolates, and different baking times. I’ve also paired it with everything from my homemade vanilla sweet cream cold brew to hot coffee. No matter what, these cookies are the star of the show. Let me walk you through exactly how to make them, including the little tricks that keep them soft, chewy, and absolutely irresistible.
Why You’ll Love This Recipe
There are a million cookie recipes out there, but this one has earned a permanent spot in my rotation for good reason. It’s not just about the flavor—it’s about the texture, the aroma, and the sheer joy of sharing them with people you love. Here’s why these cookies are worth the extra ten minutes it takes to brown the butter.
- Unbeatable Depth of Flavor — Browning butter changes everything. It adds a nutty, almost butterscotch note that plain butter just can’t match. I’ve made my carrot cake with brown butter cream cheese frosting before, and the same principle applies here: that toasted flavor elevates the entire cookie.
- Perfectly Chewy Texture — I’m not talking about crispy edges with a raw center. I mean uniformly chewy, soft, and slightly dense. The secret? More brown sugar than white sugar, and chilling the dough. I’ve tried skipping the chill, and the cookies spread too thin. Don’t skip it.
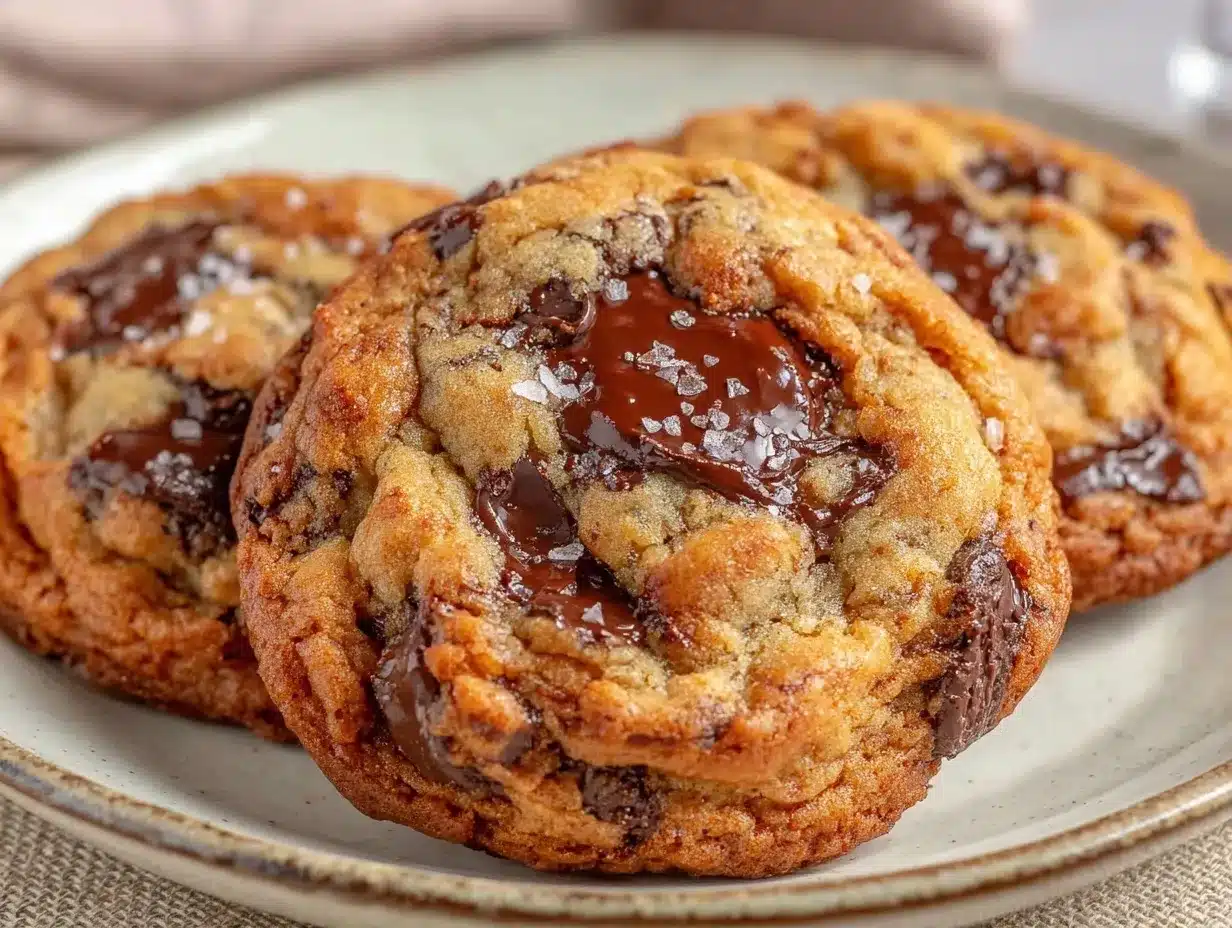
- Restaurant-Quality Presentation — These cookies look as good as they taste. The golden-brown tops, the glistening chocolate chunks, and the sprinkle of flaky sea salt make them look like they came from a high-end bakery. They’re perfect for Labor Day BBQ chicken skewers side dishes or any dinner party where you want to impress without stress.
- Make-Ahead Friendly — I love that I can make the dough up to three days in advance. I scoop the balls, chill them, and then bake them fresh whenever guests arrive. It feels like magic when you pull warm cookies out of the oven after spending the day hosting.
- Simple Ingredients, Big Impact — You don’t need fancy or hard-to-find ingredients. Just butter, sugar, eggs, flour, chocolate, and salt. But the technique matters. This isn’t a “dump and stir” recipe; it’s a “slow down and savor” recipe.
This is my go-to when I need to fill a cookie jar or bring something special to a gathering. It’s reliable, delicious, and always gets compliments. I’ve served these alongside my Korean chickpea salad for potlucks, and they’re always the first thing to disappear.
Ingredients You’ll Need
Here’s the best part: you probably have most of this already in your pantry. I’m particular about a few things here, and I’ll tell you exactly why. Quality matters, especially with butter and chocolate.
For the Cookie Base
Unsalted Butter (1 cup / 226g) — This is where the magic happens. You’ll be browning it, so start with high-quality butter. I use unsalted because it gives you control over the salt content. Salted butter can work, but you’ll need to reduce the added salt in the recipe.
Light Brown Sugar (1 ½ cups / 300g) — Packed tightly. This is key for chewiness. I’ve tried using only white sugar, and the cookies turn out crisp and thin. Brown sugar adds moisture and that caramel-like flavor that pairs perfectly with the browned butter.
Granulated Sugar (½ cup / 100g) — Just enough to balance the sweetness and help with spread. Don’t skip this entirely; it helps create those slightly crisp edges while keeping the center soft.
Large Eggs (2 large) — Room temperature is best. If you’re in a rush, you can warm them in a bowl of warm water for 5 minutes. Cold eggs can seize up the butter, leading to a grainy dough.
Vanilla Extract (2 teaspoons) — Use real vanilla, not imitation. It makes a noticeable difference in flavor. I keep a good bottle on hand because I use it in everything from my funfetti birthday cake to these cookies.
For the Dry Mix
All-Purpose Flour (2 ¼ cups / 280g) — Spoon and level method, please! Don’t scoop directly from the bag, or you’ll pack in too much flour and get dry cookies. I sift it sometimes if it’s lumpy, but usually, just spooning and leveling works.
Baking Soda (1 teaspoon) — Helps the cookies spread and rise. Make sure it’s fresh; old baking soda won’t work well.
Kosher Salt (1 teaspoon) — I use Diamond Crystal. If you use Morton’s, use slightly less because it’s denser. Salt enhances the chocolate and balances the sweetness.
For the Mix-Ins & Finish
Chocolate Chunks (2 cups / 340g) — I use a mix of semi-sweet and milk chocolate chunks. I prefer chunks over chips because they melt more irregularly and create those gooey pockets. I buy a good bar and chop it myself. If you’re short on time, high-quality baking chips work too.
Flaky Sea Salt (like Maldon) — For sprinkling on top after baking. This is non-negotiable. The crunch and the burst of salt against the sweet cookie is what makes these cookies “impress every time.” I keep a jar of Maldon salt on my counter at all times.
Optional: Toasted Pecans (½ cup) — I sometimes add toasted pecans for extra crunch and nuttiness. It complements the brown butter beautifully. If you’re making these for Labor Day grilled shrimp skewers guests, the nutty flavor pairs wonderfully.
Equipment Needed
You don’t need fancy equipment for this. Here’s what I actually use:
- Large Skillet or Saucepan — Light-colored is best so you can see the butter browning. I use a stainless steel skillet because it heats evenly.
- Heatproof Spatula — For stirring the butter. Silicone works well.
- Mixing Bowls — One large, one medium.
- Whisk — For beating the eggs and sugars.
- Cooling Rack — Essential for stopping the cooking process.
- Baking Sheets — I use half-sheet pans. If you use smaller ones, adjust your spacing.
- Parchment Paper — For easy cleanup and even baking. I never bake directly on the pan.
- Cookie Scoop — A #40 scoop (about 1.5 tablespoons) ensures uniform size. Uniform size means even baking. I don’t eyeball it anymore.
Pro Tip: Don’t have a cookie scoop? A tablespoon works, but the cookies will be uneven. I learned this the hard way when I had some tiny, over-baked cookies and some huge, under-baked ones. Consistency is key.
How to Make It: Step-by-Step
Alright, let’s make this! I’m walking you through exactly how I do it, including the little tricks I’ve picked up over years of baking.
Step 1: Brown the Butter (10 minutes)
Start by melting the butter in your skillet over medium heat. Stir it constantly with your spatula. At first, it will just melt and foam. Then, the foam will settle, and you’ll see little brown bits forming at the bottom. The smell will change from creamy to nutty and toasted. This usually takes 5-7 minutes. As soon as it smells amazing and looks amber-colored with brown specks, remove it from the heat immediately. Pour it into a heatproof bowl to stop the cooking. Let it cool for 10-15 minutes until it’s just warm to the touch. Don’t rush this—if the butter is too hot, it’ll cook the eggs when you add them.
Step 2: Mix the Wet Ingredients (3 minutes)
In a large bowl, whisk the cooled brown butter with the brown sugar and granulated sugar until well combined. Add the eggs one at a time, whisking after each addition. Stir in the vanilla extract. The mixture should look smooth and slightly glossy.
Step 3: Add the Dry Ingredients (2 minutes)
Add the flour, baking soda, and kosher salt to the wet mixture. Use a spatula or wooden spoon to fold it in just until no dry streaks remain. Do not overmix! Overmixing develops gluten, which leads to tough cookies. You want tender, chewy cookies, so stop as soon as the flour is incorporated.
Step 4: Fold in the Chocolate (1 minute)
Stir in the chocolate chunks (and nuts, if using). Make sure they’re evenly distributed. If you want extra chocolatey cookies, reserve a handful to press on top of the dough balls before baking.
Step 5: Chill the Dough (At least 2 hours, or up to 3 days)
This is the step most people skip, but it’s crucial. Cover the bowl with plastic wrap and refrigerate for at least 2 hours. Ideally, chill it overnight. Chilling solidifies the fat, which means less spreading in the oven. It also allows the flavors to meld and develop. If you’re short on time, you can freeze the dough balls for 30 minutes, but the full chill is best for flavor.
Step 6: Scoop and Bake (12-14 minutes)
Preheat your oven to 350°F (175°C). Line your baking sheets with parchment paper. Scoop the dough into balls (about 1.5 tablespoons each) and place them on the sheets, spacing them 2 inches apart. They will spread. Bake for 12-14 minutes. The edges should be golden brown, and the centers should still look slightly soft and underdone. They will continue to cook on the hot pan after you take them out.
Step 7: Cool and Salt (5 minutes)
Let the cookies cool on the baking sheet for 5 minutes. This sets their structure. Then, transfer them to a cooling rack. While they’re still warm, sprinkle each cookie with flaky sea salt. The salt will stick to the warm surface and add that perfect salty-sweet finish.
Total Time: About 45 minutes active, plus chilling time. But honestly, the hands-off time is worth it.
Expert Tips & Tricks
Here’s everything I’ve learned from making this dozens of times. These tips will save you from my mistakes.
Don’t Skip the Chill
I know it’s tempting to bake them right away, but chilled dough produces thicker, chewier cookies. Un-chilled dough spreads too much and becomes thin and crispy. If you’re in a rush, freeze the scooped balls for 30 minutes. But for the best result, chill the whole batch.
Watch the Butter Closely
Brown butter can go from perfect to burnt in seconds. Once you see the brown bits and smell the nuts, take it off the heat. If it smells like it’s burning, start over. Burnt butter tastes bitter and will ruin the cookies.
Use a Scale
If you want perfect consistency every time, use a kitchen scale for your flour. 2 ¼ cups of flour can vary wildly depending on how you pack it. 280 grams is precise. Baking is chemistry, after all.
Underbake Slightly
Take the cookies out when the edges are set but the centers still look soft. They will firm up as they cool. If you wait until the centers look done in the oven, they’ll be dry and cakey once cooled.
Room Temperature Ingredients
Except for the butter (which needs to be cooled), make sure your eggs and vanilla are at room temperature. This helps them emulsify properly with the butter, creating a smooth, uniform dough.
Variations & Substitutions
Once you’ve nailed the basic version, here’s how you can mix it up. I’ve tried all of these.
Double Chocolate
Add 2 tablespoons of cocoa powder to the dry ingredients. It turns these into rich, fudgy chocolate cookies. Pair them with my ultra-fudgy one-bowl brownies for a chocolate lover’s dream.
White Chocolate & Macadamia
Swap the chocolate chunks for white chocolate chips and macadamia nuts. It’s sweet, buttery, and tropical. Great for summer gatherings.
Peanut Butter
Swirl 2 tablespoons of peanut butter into each dough ball before baking. The salty, nutty flavor pairs amazingly with the brown butter.
Gluten-Free
Use a 1:1 gluten-free flour blend. I’ve used Bob’s Red Mill and Cup4Cup, and both work well. Add ½ teaspoon of xanthan gum if your blend doesn’t include it.
Dairy-Free
Use a high-quality vegan butter stick (not tub margarine) and dairy-free chocolate chunks. The browning process works the same way. They’re surprisingly good, though the flavor is slightly different.
Vegan
Replace eggs with flax eggs (1 tablespoon ground flaxseed + 3 tablespoons water per egg). Use vegan butter and chocolate. The texture will be slightly denser, but still delicious.
Serving & Storage
These cookies are best served fresh, but they keep well if stored properly.
How to Serve
I love serving these warm, right off the baking sheet. They’re perfect with a glass of cold milk or a cup of iced brown sugar oat milk shaken espresso. For parties, I arrange them on a platter with a small bowl of extra flaky sea salt on the side for guests to sprinkle on their own cookies.
Storage Instructions
Room Temperature: Store in an airtight container for up to 5 days. Place a slice of bread in the container to keep them soft. The bread will become hard, but the cookies will stay chewy.
Freezing Dough: You can freeze the dough balls for up to 3 months. Bake from frozen, adding 1-2 minutes to the baking time. This is my favorite way to have cookies ready to go.
Freezing Baked Cookies: Freeze baked cookies in an airtight container for up to 2 months. Thaw at room temperature. They’ll taste almost as good as fresh.
Reheating: Microwave for 10-15 seconds to warm them up. The center will become gooey and melty. It’s like getting a fresh cookie every time.
Nutrition Information
I’m not a nutritionist, but here’s the breakdown if you’re tracking. Keep in mind that this is a rich, indulgent cookie, so portion control is key.
Per Cookie (makes about 24 cookies):
- Calories: 220
- Protein: 3g
- Carbs: 28g
- Fiber: 1g
- Sugar: 18g
- Fat: 12g
- Saturated Fat: 7g
Look, this is a treat. It’s not a health food. But it’s homemade, so you know exactly what’s in it. When I make these for end-of-summer grilled salmon dinners, I serve them as a dessert after a lighter meal, which feels like a nice balance. Enjoy responsibly!
Final Thoughts
So that’s my go-to chewy brown butter chocolate chip cookies! I’ve talked a lot about these, but when you make a recipe this often, you have a lot to say about it. These cookies have saved me countless times when I needed to bring something impressive to a party or just wanted to treat myself to something special.
They’re my answer to “what should I bake?” when I’m tired of plain cookies. The brown butter adds that sophisticated touch, and the sea salt makes them addictive. My family begs me to make these every week. I hope they become a staple in your kitchen too.
Make them your own! Try different chocolates, add nuts, or play with the salt. The best recipes are the ones you adapt to your tastes. If you make these, drop a comment and let me know how they turned out! I love hearing from you. And if something doesn’t work, tell me—I’m here to help troubleshoot.
Happy baking! And I hope your kitchen smells like a nutty, chocolatey paradise.
Frequently Asked Questions
Q: Can I use salted butter instead of unsalted?
A: You can, but you’ll need to reduce the added salt in the recipe by about half. I prefer unsalted because it gives you more control over the final flavor. If you use salted butter, taste the dough before baking to adjust.
Q: Why did my cookies spread too much?
A: This usually happens if the butter was too warm when you mixed it, or if you didn’t chill the dough. Make sure your browned butter is cooled to room temperature before adding the sugar. Also, don’t skip the chilling step—it’s crucial for texture.
Q: Can I freeze the dough?
A: Absolutely! Scoop the dough into balls, freeze them on a baking sheet until solid, then transfer to a freezer bag. They’ll keep for up to 3 months. Bake from frozen, adding 1-2 minutes to the baking time.
Q: How do I get that flaky salt on top?
A: Sprinkle the flaky sea salt (like Maldon) on the cookies while they’re still warm, right after they come out of the oven. The residual heat helps the salt stick. If you wait until they’re completely cool, the salt won’t adhere as well.
Q: Can I use chocolate chips instead of chunks?
A: Yes, you can. Chips hold their shape better, so you’ll get more distinct chocolate pieces rather than gooey pools. I prefer chunks for that melty, rustic look, but chips work great if you prefer that texture.
Q: Why is my dough too dry?
A: You might have packed the flour too tightly. Remember to spoon the flour into the measuring cup and level it off, rather than scooping directly from the bag. Or, you might have overmixed the dough. Fold gently until just combined.
Q: Can I make these gluten-free?
A: Yes! Use a 1:1 gluten-free flour blend. I recommend Bob’s Red Mill or Cup4Cup. Add ½ teaspoon of xanthan gum if your blend doesn’t include it. The texture will be slightly different but still delicious.
Pin This Recipe!
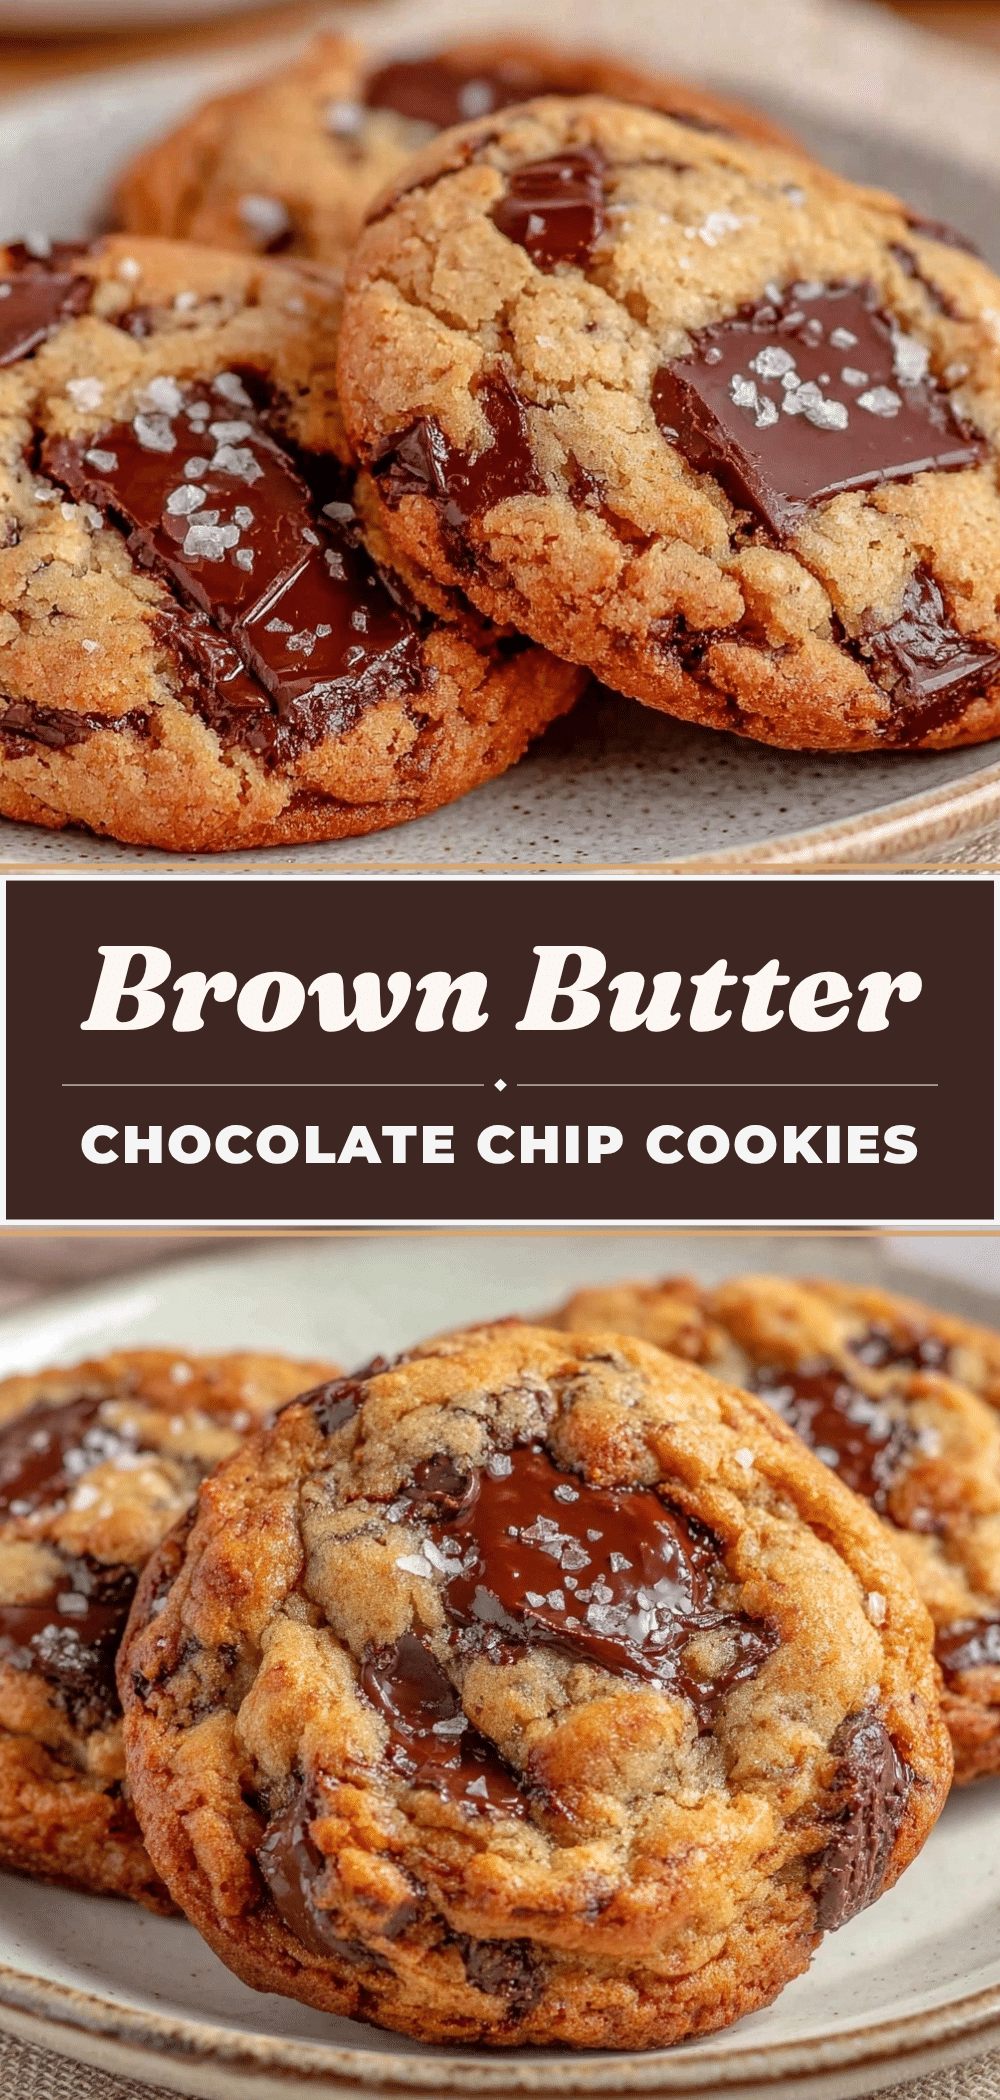

Chewy Brown Butter Chocolate Chip Cookies
- Total Time: 45 minutes (plus chilling time)
- Yield: 24 cookies 1x
Description
These chewy brown butter chocolate chip cookies feature a nutty, toasty flavor from browned butter, a perfectly soft and dense texture, and a sprinkle of flaky sea salt. They are easy to make, make-ahead friendly, and perfect for parties or gifting.
Ingredients
- 1 cup (226g) unsalted butter
- 1 ½ cups (300g) light brown sugar, packed
- ½ cup (100g) granulated sugar
- 2 large eggs, room temperature
- 2 teaspoons vanilla extract
- 2 ¼ cups (280g) all-purpose flour
- 1 teaspoon baking soda
- 1 teaspoon kosher salt
- 2 cups (340g) chocolate chunks (semi-sweet and milk)
- Flaky sea salt (like Maldon), for sprinkling
- Optional: ½ cup toasted pecans
Instructions
- Brown the butter: Melt butter in a light-colored skillet over medium heat. Stir constantly until it foams, settles, and turns amber with brown specks and a nutty aroma (5-7 minutes). Remove from heat and pour into a heatproof bowl. Cool for 10-15 minutes until just warm.
- Mix wet ingredients: In a large bowl, whisk the cooled brown butter with brown sugar and granulated sugar until combined. Add eggs one at a time, whisking after each addition. Stir in vanilla extract.
- Add dry ingredients: Add flour, baking soda, and kosher salt to the wet mixture. Fold in with a spatula just until no dry streaks remain. Do not overmix.
- Fold in chocolate: Stir in chocolate chunks (and nuts if using) until evenly distributed.
- Chill dough: Cover the bowl and refrigerate for at least 2 hours (or up to 3 days). This prevents excessive spreading and develops flavor.
- Preheat oven: Preheat oven to 350°F (175°C). Line baking sheets with parchment paper.
- Scoop and bake: Scoop dough into 1.5 tablespoon balls and place on sheets, spacing 2 inches apart. Bake for 12-14 minutes until edges are golden but centers look slightly soft.
- Cool and salt: Let cookies cool on the baking sheet for 5 minutes to set structure. Transfer to a cooling rack. Sprinkle with flaky sea salt while still warm.
Notes
Do not skip the chilling step; it is crucial for texture. Use a kitchen scale for flour to ensure accuracy. Underbake slightly for a chewy center. If using salted butter, reduce added salt by half. For gluten-free, use a 1:1 gluten-free flour blend with xanthan gum if needed.
- Prep Time: 20 minutes
- Cook Time: 14 minutes
- Category: Dessert
- Cuisine: American
Nutrition
- Serving Size: 1 cookie
- Calories: 220
- Sugar: 18
- Sodium: 150
- Fat: 12
- Saturated Fat: 7
- Carbohydrates: 28
- Fiber: 1
- Protein: 3
Keywords: brown butter cookies, chocolate chip cookies, chewy cookies, sea salt cookies, party cookies, make-ahead dessert, baking from scratch