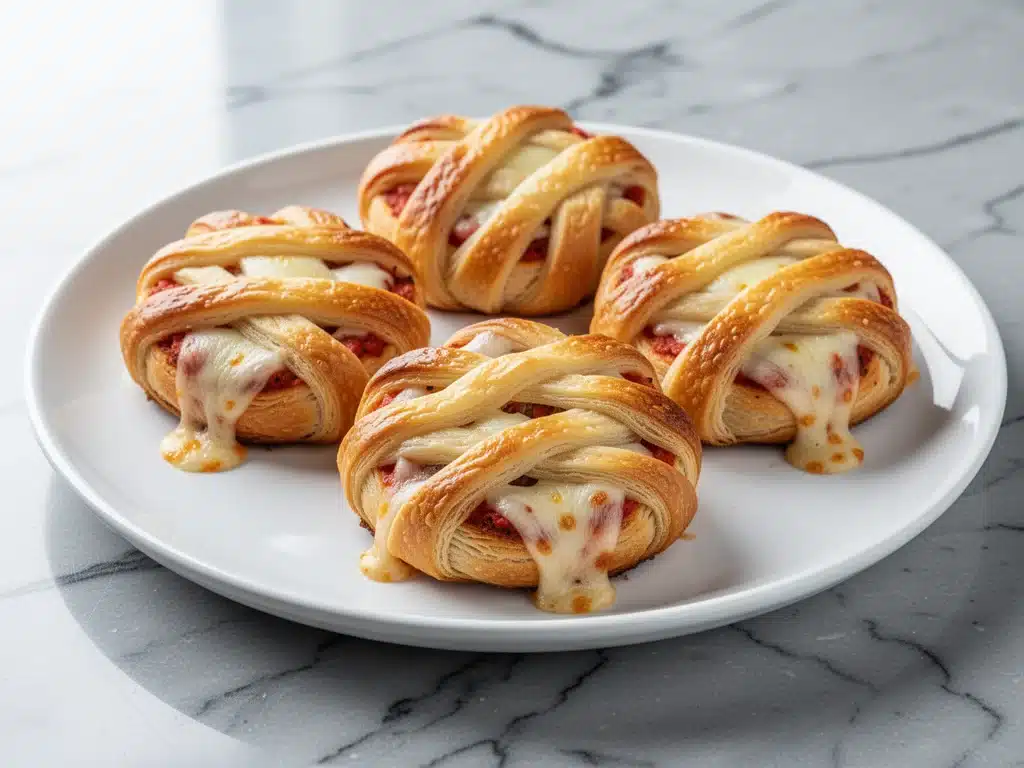
Last October, I found myself standing in my kitchen at 9 PM on October 31st, staring at a bag of store-bought pretzel bites and a block of cheddar cheese. My kids were already dressed as ghosts and zombies, ready to head out, and I had exactly zero minutes to prepare the “treats” that would go into their buckets. I knew I couldn’t just hand them a bowl of cereal. I needed something that screamed “Halloween” but tasted like actual comfort food. That’s when I had a bit of a panic-induced epiphany: what if I used pizza dough? Not just any pizza dough, but the kind you can buy pre-made from the refrigerated section, and wrap it around a mozzarella stick like a mummy?
I grabbed a tube of refrigerated pizza dough, a handful of string cheese, and some red food coloring for the eyes. I wrapped, I baked, and I prayed. When they came out of the oven, golden and gooey, my kids didn’t even ask what they were. They just grabbed them with both hands, burning their fingers in the process, and declared them “the best mummy ever.” That moment was the birth of the Halloween Mummy Pizza Rolls with Extra-Melty Mozzarella. It’s become our annual tradition. Every year, without fail, I make these. They are the reason I’ve never bought a store-bought Halloween treat since.
Here’s the thing about party food: it’s supposed to be fun, but it’s usually a lot of work. These rolls change the game. They’re no-bake in the sense that you don’t need to make dough from scratch—you just use the refrigerated tube. They’re festive, they’re interactive (kids love unwrapping the “bandages” slightly to get to the cheese), and they taste incredible. I’ve tested this recipe for my dinner parties, my kids’ school Halloween parties, and even a last-minute neighbor drop-off. Every single time, the result is the same: empty plates and requests for the recipe. If you’re looking for a snack that’s as easy to make as it is impressive, you’re in the right place.
Why You’ll Love This Halloween Snack
There are about ten reasons I keep coming back to these mummy rolls, but let’s be real—you’re here because you need a win. You need something that looks like it took hours but actually takes twenty minutes. Here’s why this recipe has earned a permanent spot in my autumn rotation.
Zero Dough Stress — Seriously, if you can unwrap a tube of refrigerated pizza dough, you can make these. I’ve never made the dough from scratch for this because the pre-made stuff is perfectly flaky and buttery. It saves me an hour of rising time and keeps the texture consistent. I’ve tried making dough from scratch once, and let’s just say the kids preferred the store-bought version anyway.
The Cheese Pull Factor — I’m not exaggerating when I say the mozzarella stretch on these is legendary. We’re talking Instagram-worthy, stringy, gooey cheese that everyone fights over. I use high-quality mozzarella sticks because they hold their shape better than shredded cheese (which melts into a puddle). If you can’t find sticks, I’ll show you how to form them yourself.
Kid-Approved (and Adult-Approved) — My picky 8-year-old who usually only eats chicken nuggets devoured three of these. My husband, who claims he “doesn’t like snacks,” finished half the batch before the kids got back from trick-or-treating. It’s the perfect balance of salty, cheesy, and slightly sweet from the dough.
Make-Ahead Friendly — You can assemble these the night before and pop them in the fridge. When guests arrive, you just throw them in the oven. This is a lifesaver when you’re hosting and trying to keep your drink cold. I’ve assembled these at 4 PM for a 7 PM party, and they stayed fresh and ready to bake.
Customizable Fun — Want to make them spicy? Add a slice of pepper jack cheese inside. Want to go vegetarian? They already are. Want to make them gluten-free? Just swap the dough tube for a gluten-free pizza dough tube. The base recipe is incredibly forgiving.
This is my go-to when I need a party food that doesn’t require a chef’s degree. No complicated techniques, no weird ingredients, just reliable, delicious food that makes everyone happy. It’s the kind of recipe that makes you look like a hosting hero.
Ingredients You’ll Need
Here’s the best part: you probably have most of this already, or it’s a quick trip to the grocery store. I’m particular about three ingredients here, and I’ll tell you exactly why they matter for getting that perfect mummy look and extra-melty center.
Refrigerated Pizza Dough (1 tube, 13.8 oz / 390g) — This is your base. I always use Pillsbury or a store-brand equivalent. Look for the “refrigerated” section, not the frozen one. The refrigerated dough is softer and easier to wrap around the cheese without tearing. Frozen dough needs to thaw completely, which adds time and risk of sogginess.
Mozzarella Cheese Sticks (8-10 sticks / 8-10 oz / 225-285g) — This is the star. Do not use shredded mozzarella. Shredded cheese has anti-caking agents and melts too fast, losing that structural integrity needed for the “mummy” effect. You need sticks that hold their shape. If you can’t find sticks, buy a block of low-moisture mozzarella and cut it into strips yourself.
Red Food Coloring (Gel preferred) — For the eyes. Gel food coloring is thicker and doesn’t make the dough wet. Liquid coloring can make the dough sticky and hard to wrap. A tiny dot of red gel is all you need for creepy eyes.
Butter, Melted (2 tablespoons / 30ml) — For brushing the tops. This gives them that bakery-style golden shine. I use unsalted butter so I can control the salt, but salted works fine too.
Garlic Powder (1 teaspoon / 2g) — Sprinkled with the butter. It adds a savory depth that balances the sweetness of the dough. Don’t skip this; it makes them taste like actual pizza, not just bread.
Seasoned Salt or Pizza Seasoning (1 teaspoon / 2g) — I use a mix of dried oregano, basil, and a pinch of red pepper flakes. It adds that classic pizza flavor profile. If you have a specific seasoning blend you love, use that.
Optional: Parmesan Cheese (2 tablespoons / 10g, grated) — Sprinkled on top for extra flavor. I add this if I’m making these for adults who want a bit more sophistication.
Personal Tips:
- Chill the Cheese: If your mozzarella sticks are soft, put them in the freezer for 15 minutes before wrapping. Cold cheese is easier to wrap and stays solid longer in the oven.
- Keep Dough Cold: Pizza dough gets sticky when it’s warm. If it’s hard to wrap, put the dough back in the fridge for 10 minutes. Patience pays off.
- Brand Matters: I’ve tried generic pizza dough tubes, and they’re often too thick or too thin. Pillsbury is reliable, but check the expiration date—fresh dough wraps better.
Equipment Needed
You don’t need fancy equipment for this. Here’s what I actually use.
Baking Sheet — I use a standard half-sheet pan. Line it with parchment paper for easy cleanup. I don’t use a silicone mat because I like the dough to get a little crispy on the bottom.
Parchment Paper — Essential. Pizza dough sticks to everything. Parchment paper saves you from scrubbing pans later.
Small Bowl — For melting the butter. I use a microwave-safe bowl. 15 seconds in the microwave is all it takes.
Pastry Brush — For brushing the butter. A silicone brush is easiest to clean, but a regular one works fine.
Toothpicks — For poking the eyes. I use wooden toothpicks because they’re thin and precise. If you lose them, that’s fine—just make a dot with your finger.
Serrated Knife — For cutting the dough strips. A dull knife will tear the dough. I keep a dedicated pizza cutter for this, but a sharp knife works too.
Optional: Small Piping Bag or Ziploc Bag — If you’re using gel food coloring, put it in a small Ziploc bag and snip the corner. It’s easier to squeeze out a tiny dot than using a toothpick.
How to Make It: Step-by-Step
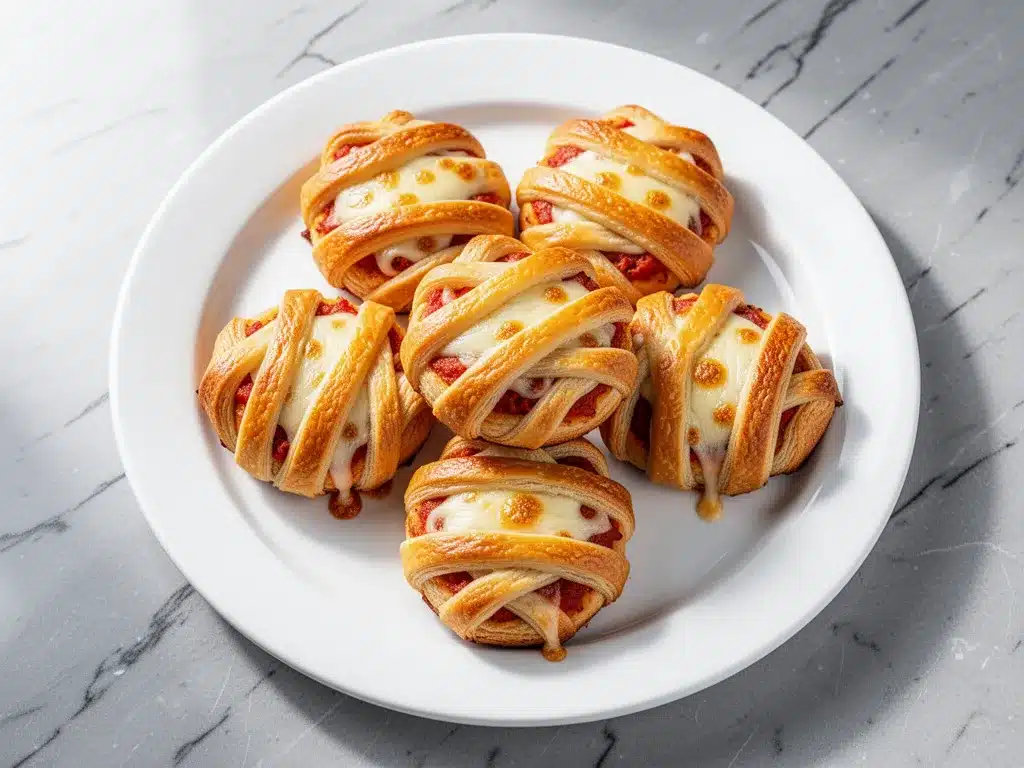
Alright, let’s make this! I’m walking you through exactly how I do it, including the little tricks I’ve picked up to avoid the “dough tearing” disaster.
Step 1: Prep Your Station (5 minutes)
Preheat your oven to 375°F (190°C). Line your baking sheet with parchment paper. This is crucial because the cheese will ooze out, and you do not want to scrub that pan later. Have all your ingredients out: dough, cheese, butter, and seasonings. I know it seems fussy, but it makes the actual assembly way less stressful.
Step 2: Prepare the Cheese (5 minutes)
If your mozzarella sticks are soft, put them in the freezer for 15 minutes. We want them firm. If you’re making your own cheese sticks, cut low-moisture mozzarella into 3-inch strips and freeze them for 30 minutes until solid. This step is the secret to keeping the cheese inside the dough. Cold cheese doesn’t melt as fast, giving the dough time to cook.
Step 3: Roll Out the Dough (5 minutes)
Unroll the pizza dough onto a lightly floured surface. Don’t over-flour; you just need a dusting. Roll it out into a rectangle about 1/4-inch thick. If the dough springs back, let it rest for 5 minutes. It will relax. You want a sheet that’s large enough to wrap around your cheese sticks multiple times. I aim for about 12×10 inches for an 8-ounce tube of dough.
Step 4: Wrap the Mummies (10 minutes)
Take a mozzarella stick and place it at one end of the dough rectangle. Starting from the end, wrap the dough around the cheese, leaving a small gap between each wrap to create the “bandage” look. Don’t wrap too tightly; the cheese needs room to expand. Continue wrapping until you’ve used all the dough. You should have a mummy shape with some dough left over for the head. If you run out of dough, just patch it on. It won’t be perfect, and that’s part of the charm.
Step 5: Add the Eyes (2 minutes)
Use a toothpick to poke two holes in the top of the mummy for eyes. Squeeze a tiny dot of red gel food coloring into each hole. If you’re using a Ziploc bag, just squeeze a dot on top and spread it slightly with the toothpick. The eyes should be slightly asymmetrical for a creepy, fun look. I like to make one eye slightly smaller than the other.
Step 6: Brush and Season (3 minutes)
Melt the butter in the microwave. Brush the tops and sides of the mummies generously with melted butter. This helps the seasonings stick and gives them a golden crust. Sprinkle with garlic powder, pizza seasoning, and optional Parmesan cheese. Don’t be shy with the seasoning; it adds flavor to the dough.
Step 7: Bake (12-15 minutes)
Place the mummies on the prepared baking sheet, leaving space between them for expansion. Bake for 12-15 minutes, or until the dough is golden brown and puffed up. Keep an eye on them after 10 minutes; oven temperatures vary. The cheese will be bubbling inside, and the dough will be crispy. If the tops are browning too fast, cover them loosely with foil.
Step 8: Cool and Serve (5 minutes)
Let them cool for 2-3 minutes on the pan. The cheese will be extremely hot, so don’t bite into them immediately. I’ve burned my tongue on these more times than I can count. Serve warm. They’re best eaten within an hour of baking.
Total Time: About 30 minutes (10 minutes prep, 20 minutes cook/cool)
Expert Tips & Tricks
Here’s everything I’ve learned from making these dozens of times. These tips will save you from my mistakes.
Freeze the Cheese Solid
This is the #1 tip. If the cheese is soft, it will leak out and make a mess. I freeze my mozzarella sticks for at least 15 minutes before wrapping. If you’re making your own, freeze them for 30 minutes. Cold cheese = contained cheese.
Don’t Overwork the Dough
Pizza dough is delicate. If you stretch it too thin, it will tear. If you handle it too much, it becomes tough. Work quickly and gently. If it tears, just patch it with a small piece of dough. No one will notice.
Use Gel Food Coloring
Liquid food coloring makes the dough wet and sticky. Gel coloring is concentrated and doesn’t affect the texture. A little goes a long way. I use red gel for the eyes because it’s vibrant and creepy.
Brush with Butter, Not Oil
Butter gives a richer flavor and better browning. Olive oil can make the dough greasy. I brush with melted butter for that bakery-style finish.
Common Mistakes (and how to avoid them):
- Mistake: Cheese leaks out — Fix: The cheese wasn’t cold enough, or you wrapped too tightly. Freeze the cheese and wrap loosely.
- Mistake: Dough tears — Fix: The dough was too warm or you stretched it too thin. Let it rest in the fridge, or patch it.
- Mistake: Eyes are too big — Fix: Use a tiny dot of gel coloring. You can always add more, but you can’t take it away.
Pro Tricks I’ve Learned:
- For Extra Creepy Factor: Add a tiny black olive slice for a pupil. It’s a nice touch that kids love.
- For Better Texture: Sprinkle a little cornmeal on the baking sheet before the parchment paper. It adds a crunchy bottom.
- For Make-Ahead: Assemble the mummies and place them on the baking sheet. Cover with plastic wrap and refrigerate for up to 24 hours. Bake straight from the fridge, adding 2-3 minutes to the cook time.
Variations & Substitutions
Once you’ve nailed the basic version, here’s how you can mix it up. I’ve tried all of these.
Spicy Mummy
Use pepper jack cheese sticks instead of mozzarella. Add a pinch of cayenne pepper to the seasoning mix. This is for the adults who want a kick. My husband loves this version.
Veggie Mummy
Wrap a slice of bell pepper and a stick of mozzarella together. The pepper adds color and crunch. It’s a fun way to sneak in vegetables.
Chicken Mummy
Wrap a cooked chicken tender in the dough. Brush with buffalo sauce before baking. This is a great alternative for those who don’t like cheese-heavy snacks.
Gluten-Free
Use a gluten-free pizza dough tube. Everything else is naturally gluten-free. I’ve used Bob’s Red Mill gluten-free dough, and it works great. Just be careful not to over-handle it, as GF dough is more fragile.
Dairy-Free
Use dairy-free mozzarella sticks. They don’t melt as well, but they still work. I’ve used Follow Your Heart dairy-free cheese, and it holds its shape. Brush with olive oil instead of butter.
Mini Mummies
Cut the dough into smaller squares and wrap mini mozzarella sticks or string cheese pieces. These are perfect for kids’ parties and easier to eat.
Serving & Storage
How to Serve:
I usually serve these straight from the oven on a platter with a side of marinara sauce for dipping. But here are other ways I’ve enjoyed them:
Side Dishes:
- Marinara sauce (obviously)
- Ranch dressing (for a different vibe)
- Garlic bread (if you want to go all out)
- Caesar salad (to balance the heaviness)
Toppings Bar:
When I have guests, I put out: extra Parmesan, red pepper flakes, fresh basil, and ranch. Everyone customizes their bowl.
Storage Instructions:
Refrigerator: Store leftovers in an airtight container for up to 2 days. The dough will get a little soft, but it’s still good.
Reheating: Best method: Reheat in the oven at 350°F for 5-7 minutes. This keeps the crust crispy. Microwave method: Heat for 30 seconds, but the crust will get chewy. I prefer the oven.
Freezing: You can freeze the assembled mummies before baking. Place them on a baking sheet, freeze until solid, then transfer to a freezer bag. Bake from frozen, adding 3-5 minutes to the cook time.
Pro tip: If you’re making these for a party, assemble them the night before and bake them the day of. They’re best fresh.
Nutrition Information
I’m not a nutritionist, but here’s the breakdown if you’re tracking.
Per Serving (based on 1 mummy roll):
- Calories: 220
- Protein: 8g
- Carbs: 22g
- Fiber: 1g
- Sugar: 2g
- Fat: 12g
- Saturated Fat: 5g
- Cholesterol: 20mg
- Sodium: 350mg
What’s Good:
- Decent protein from the cheese
- Calcium from the mozzarella
- Easy to customize for dietary needs
What to Know:
- Higher in calories from the dough and cheese
- Contains dairy and gluten
- Moderate sodium (use low-sodium dough if needed)
My Take:
Look, this is a fun treat. It’s not a health food. But it’s way better than store-bought candy, and it’s a great way to get kids involved in the kitchen. When I want to make it lighter, I use less dough and more veggies. But usually? I just enjoy it and move on.
Final Thoughts
So that’s my Halloween Mummy Pizza Rolls! I’ve probably talked your ear off at this point, but when you make a recipe this often, you have a lot to say about it.
This has saved Halloween parties more times than I can count. It’s my answer to “what do I bring?” when I’m tired, don’t want to buy store-bought junk, and still want something that tastes really good. My kids are happy, my husband’s happy, and I’m happy because I’m not stressed about cooking.
Make it yours! Try different cheeses, swap in your favorite seasonings, adjust the eyes (though creepy is always better in my opinion). The best recipes are the ones you adapt to your family’s tastes.
If you make this, drop a comment and let me know what you think! I love hearing how recipes turn out in your kitchen. And if something doesn’t work, tell me that too—I’m here to help troubleshoot.
Happy Halloween! And I hope your kitchen smells half as good as mine does right now.
Frequently Asked Questions
Can I use frozen pizza dough instead of refrigerated?
You can, but it needs to thaw completely. Thaw it in the fridge overnight. If you thaw it in the microwave, it can get patchy and hard to wrap. Refrigerated dough is easier because it’s already pliable. If you use frozen, let it rest for 10 minutes after thawing to relax the gluten.
Why did my cheese leak out?
Usually means the cheese wasn’t cold enough, or you wrapped the dough too tightly. Cold cheese expands less and holds its shape better. Also, don’t wrap the dough too tightly; leave a little space for the cheese to expand. If it leaks, it’s still delicious—just a bit messier.
Can I make these ahead for a party?
Yes! Assemble them the night before, cover with plastic wrap, and refrigerate. Bake them the day of. You can also freeze them after assembling. Place them on a baking sheet, freeze until solid, then transfer to a freezer bag. Bake from frozen, adding 3-5 minutes to the cook time.
Can I use shredded mozzarella instead of sticks?
You can, but it won’t hold its shape as well. Shredded cheese melts faster and can leak out. If you use shredded, mix it with an egg yolk to form a ball, then freeze it. But sticks are much easier and give a better result.
How do I store leftovers?
Store in an airtight container in the fridge for up to 2 days. Reheat in the oven at 350°F for 5-7 minutes to keep the crust crispy. Microwave reheating will make the dough chewy.
Can I make these gluten-free?
Yes! Use a gluten-free pizza dough tube. Everything else is naturally gluten-free. Just be careful not to over-handle the dough, as GF dough is more fragile. I’ve used Bob’s Red Mill gluten-free dough, and it works great.
Can I use liquid food coloring?
You can, but it makes the dough wet and sticky. Gel food coloring is thicker and doesn’t affect the texture. A little goes a long way. If you use liquid, use a tiny amount and mix it with a little cornstarch to thicken it.
Pin This Recipe!
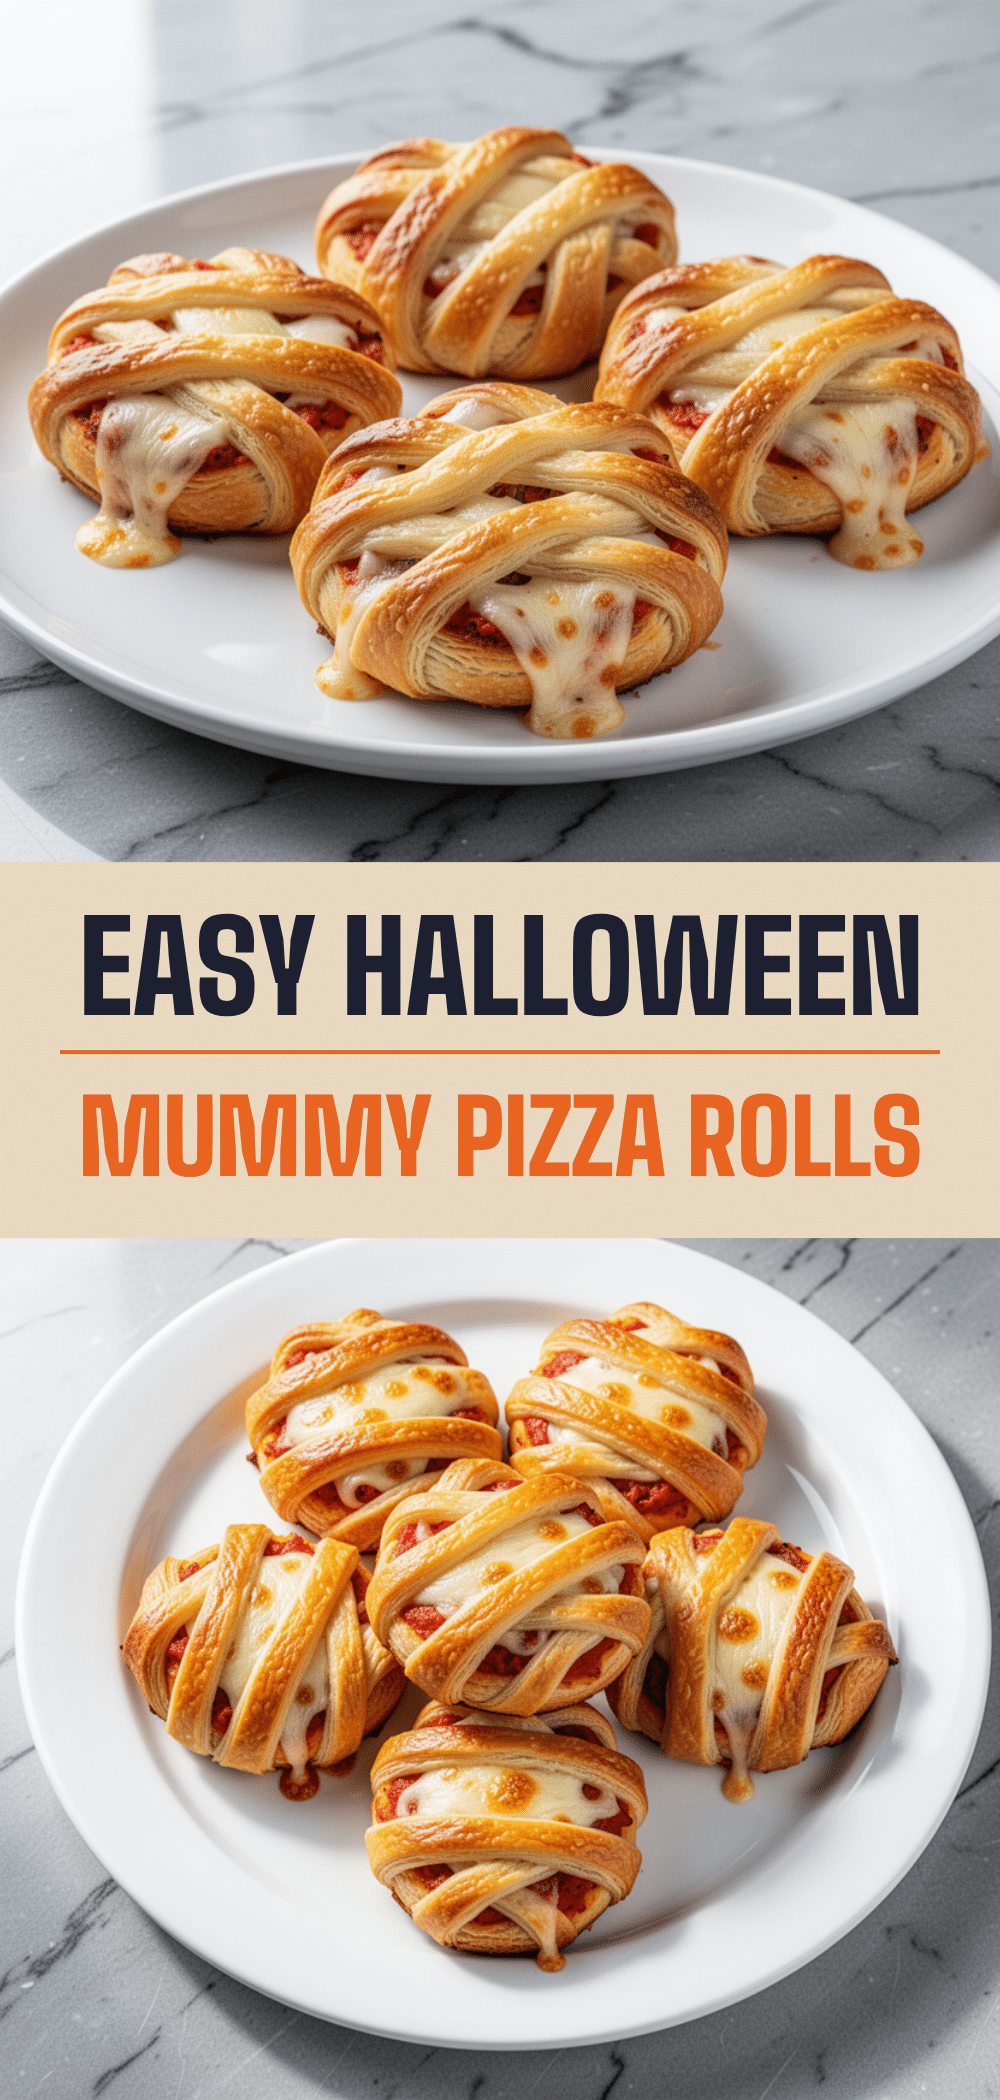
Halloween Mummy Pizza Rolls: Easy No-Bake Treat
- Total Time: 30 minutes
- Yield: 8 servings 1x
Description
A festive, kid-approved Halloween snack made by wrapping refrigerated pizza dough around frozen mozzarella sticks. These golden, gooey mummy rolls are easy to make, customizable, and perfect for parties.
Ingredients
- 1 tube (13.8 oz / 390g) refrigerated pizza dough
- 8–10 mozzarella cheese sticks (8–10 oz / 225-285g)
- 2 tablespoons melted butter
- 1 teaspoon garlic powder
- 1 teaspoon seasoned salt or pizza seasoning
- Red gel food coloring (for eyes)
- Optional: 2 tablespoons grated Parmesan cheese
Instructions
- Preheat oven to 375°F (190°C). Line a baking sheet with parchment paper.
- If mozzarella sticks are soft, freeze them for 15 minutes until firm.
- Unroll pizza dough onto a lightly floured surface and roll into a rectangle about 1/4-inch thick.
- Place a mozzarella stick at one end of the dough and wrap the dough around it, leaving small gaps to create a ‘bandage’ look. Repeat with remaining dough and cheese.
- Use a toothpick to poke two holes in the top of each mummy for eyes. Squeeze a tiny dot of red gel food coloring into each hole.
- Brush the tops and sides of the mummies generously with melted butter.
- Sprinkle with garlic powder, pizza seasoning, and optional Parmesan cheese.
- Bake for 12-15 minutes, or until the dough is golden brown and puffed up.
- Let cool for 2-3 minutes before serving warm.
Notes
Freeze the cheese sticks before wrapping to prevent leaking. Keep the dough cold to prevent tearing. Use gel food coloring for the eyes to avoid making the dough sticky. For make-ahead, assemble and refrigerate for up to 24 hours or freeze before baking.
- Prep Time: 10 minutes
- Cook Time: 20 minutes
- Category: Snack
- Cuisine: American
Nutrition
- Serving Size: 1 mummy roll
- Calories: 220
- Sugar: 2
- Sodium: 350
- Fat: 12
- Saturated Fat: 5
- Carbohydrates: 22
- Fiber: 1
- Protein: 8
Keywords: Halloween, pizza rolls, mozzarella sticks, kid-friendly, party food, no-bake, easy recipe, mummy treats


