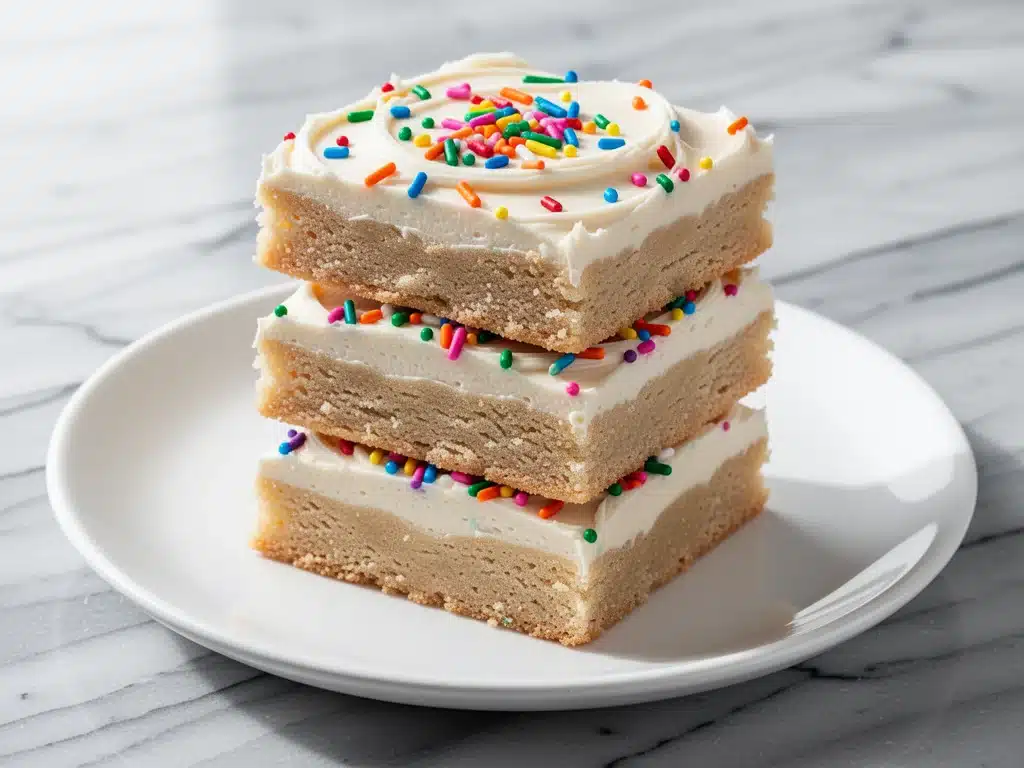
Last Saturday, I was staring at a pile of half-finished birthday decorations and a kitchen counter that looked like a candy factory exploded. My niece had just turned five, and the pressure to make something “special” was weighing on me. I didn’t want another dry, crumbly bar that fell apart when you picked it up. I didn’t want a cake that required three hours of frosting piping skills I definitely don’t have. I wanted something soft, chewy, bright, and ridiculously easy to pull out of the oven.
So, I threw together a batch of what I thought would be a standard sugar cookie bar. You know the type: soft dough, buttery, maybe a little vanilla. But here’s the thing—I added a thick layer of cream cheese frosting and buried it under a mountain of rainbow sprinkles. I expected them to be cute. I didn’t expect them to be the absolute star of the party.
These Soft Frosted Sugar Cookie Bars with Rainbow Sprinkles are the dessert I keep coming back to. They’re the kind of treat that disappears before you can even finish taking photos. They’re chewy enough to satisfy that cookie craving but tender enough to melt in your mouth. And that frosting? It’s tangy, sweet, and perfectly balances the simple sugar cookie base. I’ve made these for playdates, last-minute potlucks, and because I just really like eating dessert for breakfast. (Don’t judge me.)
What I love most is that they feel fancy without any of the fuss. There’s no rolling dough, no cutting shapes, no worrying if the cookies will spread evenly. You just mix, spread, bake, frost, and sprinkle. If you’ve ever struggled with the perfect texture in baked goods, you’ll appreciate how forgiving this recipe is. It’s basically the homemade churro cheesecake bars of the sugar cookie world—easy to make, impossible to resist, and always a crowd-pleaser.
After testing this recipe a dozen times to get the balance of chewy-to-tender just right, I’m confident these are the best soft sugar cookie bars you’ll ever make. Let’s get into why they’re so good, what you need, and how to make them without stress.
Why You’ll Love This Recipe
There are a lot of sugar cookie recipes out there, but most of them fall into one of two camps: rock-hard cookies that break your teeth, or cakey bars that lack that satisfying chew. These Soft Frosted Sugar Cookie Bars with Rainbow Sprinkles hit the sweet spot. Here’s why they’ve earned a permanent spot in my baking rotation:
They’re Actually Chewy — Seriously. I’ve tried so many bar recipes that turn out dry and crumbly. This dough has just enough brown sugar and butter to keep it moist and chewy, even after it cools. My husband says they taste like a sugar cookie that had a really good night out. And they stay that way for days if you store them properly.
Zero Rolling Pin Required — Let’s be honest. Rolling out cookie dough is tedious. It sticks, it tears, and it’s a pain to transfer to a pan. These bars skip all that. You mix the dough in one bowl, spread it into a pan, and bake. It’s the kind of convenience that makes weeknight baking feel achievable. It’s much simpler than making something like beginner-friendly homemade sourdough bread, which requires patience and timing, whereas this is pure ease.
The Frosting is Tangy, Not Too Sweet — A lot of sweet cookie bars drown in overly sweet icing. I use a cream cheese frosting base, which adds a subtle tang that cuts through the sweetness of the sugar cookies and sprinkles. It keeps the whole bar balanced. If you’re a fan of tangy desserts, you’ll notice the difference immediately. It’s a bit like the balance you get in Mediterranean orange olive oil cake, where the citrus and oil keep it from being cloying.
They Impress Without Trying — You don’t need to be a pastry chef to make these look amazing. The rainbow sprinkles do all the heavy lifting. They add color, texture, and a bit of nostalgia. People will ask, “Did you buy these?” and you get to smile and say, “Nope, made them in 30 minutes.” It’s the ultimate hack for looking like a pro.
Perfect for Any Occasion — Birthdays? Yes. School bake sales? Absolutely. A rainy Sunday afternoon snack? Definitely. They travel well, store well, and freeze well. I’ve taken these to office parties, and they’re always the first thing to go. Unlike something like copycat Starbucks iced brown sugar oatmilk espresso, which is best enjoyed fresh and immediate, these bars hold up beautifully, making them ideal for make-ahead entertaining.
This is my go-to when I need a dessert that’s reliable, delicious, and makes everyone happy. No complicated techniques, no weird ingredients, just pure, joyful comfort food.
Ingredients You’ll Need
Here’s the best part: you probably have most of this already in your pantry. This recipe uses simple, everyday ingredients. I’m particular about a few things here, and I’ll tell you exactly why they matter.
For the Cookie Bars
Unsalted Butter (½ cup / 115g) — Softened to room temperature. This is crucial. If the butter is too cold, it won’t cream properly with the sugar, and your bars will be dense. If it’s melted, the texture changes completely. I take my butter out about 30 minutes before I start.
Granulated Sugar (1 cup / 200g) — This gives the bars their structure and slight crunch on the edges. I use regular white sugar. Don’t swap this for brown sugar if you want that classic sugar cookie flavor.
Brown Sugar (½ cup / 100g, packed) — This is the secret to the chewiness. The molasses in the brown sugar keeps the bars moist. Light or dark brown sugar both work, but I prefer light for a milder flavor.
Large Egg (1) — Room temperature. This binds the dough and adds richness. Crack it into a small bowl first to check for shells, then add it to the mix.
Vanilla Extract (2 teaspoons) — Use real vanilla, not imitation. The flavor is subtle but important. I use pure vanilla bean extract if I have it, but regular pure vanilla works perfectly fine.
All-Purpose Flour (2 ½ cups / 315g) — Don’t over-measure! Spoon the flour into your measuring cup and level it off. If you scoop directly from the bag, you’ll pack too much flour, and the bars will be dry. I always use King Arthur or Gold Medal—both work great.
Baking Powder (1 teaspoon) — This gives the bars a little lift so they’re not too dense. Make sure it’s fresh; old baking powder won’t work well.
Salt (½ teaspoon) — Even though these are sweet, salt enhances the flavor. It’s non-negotiable. Don’t skip it.
Rainbow Sprinkles (½ cup) — I use standard jimmies, not nonpareils. Jimmies hold up better in the dough and don’t bleed color as much. I buy mine in bulk to save money.
For the Cream Cheese Frosting
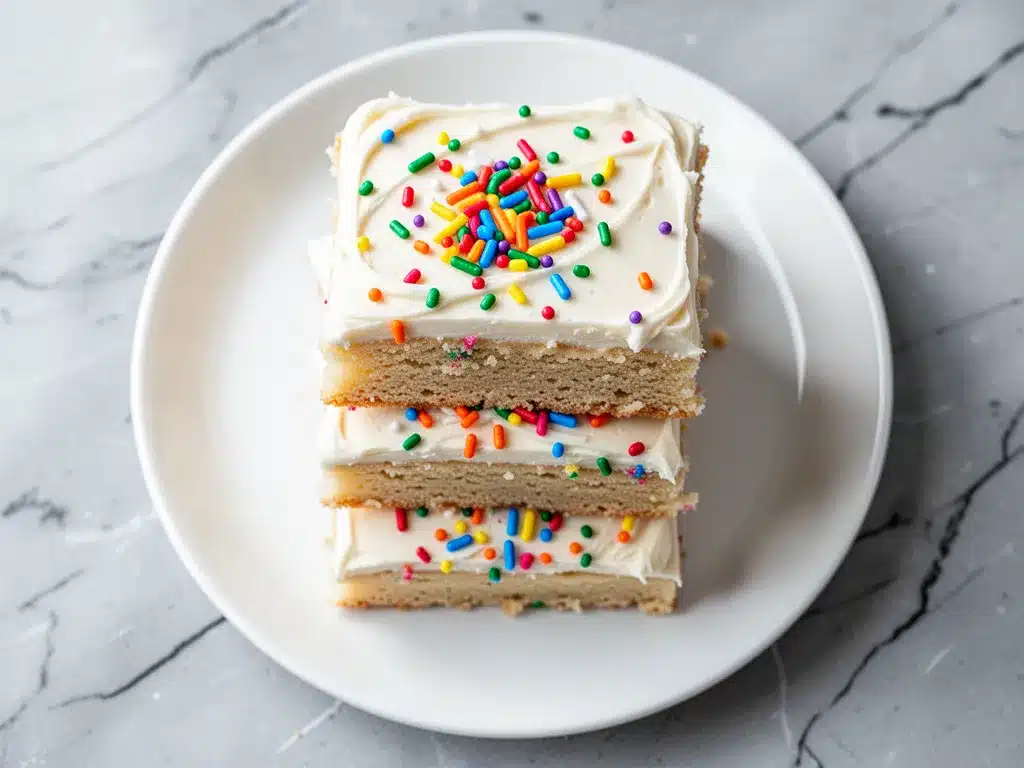
Block Cream Cheese (4 oz / 115g) — Full-fat, softened. Do not use the tub spreadable kind—it has too much water and air, and your frosting will be runny. Block cheese is a must.
Unsalted Butter (¼ cup / 55g) — Softened. Same rule as above: room temperature is key for a smooth, creamy frosting.
Powdered Sugar (2 cups / 240g) — Sifted if it’s clumpy. I sift mine to avoid lumps in the frosting. It makes a huge difference in texture.
Vanilla Extract (1 teaspoon) — Just a little to tie it all together.
Milk or Cream (1-2 tablespoons) — Only if needed. The frosting might be too thick, and a splash of milk helps thin it to a spreadable consistency.
Extra Rainbow Sprinkles (¼ cup) — For topping. Don’t skimp on these. They’re the best part.
Personal Tips
I always keep a bag of rainbow sprinkles in the pantry. They’re cheap, fun, and always make me happy. If you’re worried about the sprinkles sinking to the bottom of the batter, toss them in a teaspoon of flour before folding them in. It helps them stay suspended. Also, if you can’t find rainbow sprinkles, any color you have works. I’ve used blue and white for a patriotic theme, or pink and gold for a birthday. Get creative!
Equipment Needed
You don’t need fancy equipment for this. Here’s what I actually use:
9×9 Inch Baking Pan — I use a metal pan. Glass pans can cause the edges to overcook, so metal is safer. Line it with parchment paper for easy removal. This is the only trick that makes cleanup a breeze.
Mixer — I use a hand mixer, but a stand mixer or even a strong arm and a wooden spoon works. Creaming the butter and sugar by hand takes about 5 minutes, but it’s doable.
Spatula — A rubber spatula is essential for scraping the bowl and spreading the batter evenly. I have a few; pick your favorite color.
Measuring Cups and Spoons — Standard stuff. Dollar store versions work fine for this.
Sifter or Fine Mesh Strainer — For the powdered sugar. If you don’t have one, just whisk it really well to break up clumps.
Cooling Rack — Optional but recommended. It helps the bars cool evenly so the frosting doesn’t melt.
Knife or Pizza Cutter — For cutting the bars. A sharp knife works, but a pizza cutter is faster and cleaner.
How to Make It: Step-by-Step
Alright, let’s make this! I’m walking you through exactly how I do it, including the little tricks I’ve picked up.
Step 1: Prep Your Pan and Oven (5 minutes)
Preheat your oven to 350°F (175°C). Line a 9×9 inch baking pan with parchment paper, leaving an overhang on the sides. This is your lifeline for removing the bars later. Grease the parchment lightly with butter or cooking spray.
Step 2: Cream the Butter and Sugars (3-4 minutes)
In a large bowl, beat the softened butter, granulated sugar, and brown sugar together until light and fluffy. This takes about 3 minutes with a mixer. If you’re doing it by hand, get ready for a workout. The mixture should look pale and creamy. This step incorporates air, which helps the bars rise slightly.
Step 3: Add Wet Ingredients (1 minute)
Beat in the egg and vanilla extract until just combined. Don’t overmix here. You want it smooth, but no need to beat it for minutes.
Step 4: Mix Dry Ingredients (2 minutes)
In a separate bowl, whisk together the flour, baking powder, and salt. Then, gradually add the dry ingredients to the wet mixture, mixing on low speed until just combined. Stop as soon as you see no more streaks of flour. Overmixing develops gluten, which makes the bars tough. We want tender, not chewy like bread.
Step 5: Fold in Sprinkles (1 minute)
Stir in the ½ cup of rainbow sprinkles by hand with a spatula. Be gentle. Spread the dough evenly into your prepared pan. Use the back of a spoon or a spatula to press it down into the corners. The top doesn’t need to be perfect; it will be frosted later.
Step 6: Bake (20-25 minutes)
Bake for 20-25 minutes, or until the edges are lightly golden and the center is set. The center should still look slightly soft; it will firm up as it cools. Do not overbake, or they’ll be dry. I usually check at 20 minutes.
Step 7: Cool Completely (30 minutes)
Let the bars cool in the pan on a wire rack. This is the hardest part. If you frost them while they’re warm, the frosting will melt and slide off. Patience pays off. I usually wait at least 30 minutes, but overnight is even better if you can resist.
Step 8: Make the Frosting (5 minutes)
While the bars cool, beat the softened cream cheese and butter until smooth. Add the powdered sugar, vanilla, and a splash of milk if needed. Beat on medium-high until fluffy and spreadable. If it’s too thick, add more milk, a teaspoon at a time.
Step 9: Frost and Sprinkle (5 minutes)
Spread the frosting evenly over the cooled bars. Use an offset spatula if you have one, or just a butter knife. It doesn’t need to be perfect. Immediately sprinkle the remaining ¼ cup of rainbow sprinkles over the wet frosting. Press them down gently so they stick.
Step 10: Slice and Serve
Let the frosting set for 10-15 minutes before cutting. Use a sharp knife or pizza cutter to slice into squares. Enjoy!
Expert Tips & Tricks
Here’s everything I’ve learned from making this dozens of times. These tips will save you from my mistakes.
Room Temperature Ingredients are Non-Negotiable
Cold butter and cream cheese will result in a lumpy, uneven batter and frosting. I take everything out of the fridge at least 30 minutes before I start. If I’m in a hurry, I can soften butter in the microwave for 10-second bursts, but be careful not to melt it.
Don’t Overmix the Dough
Once you add the flour, mix until just combined. Overmixing makes the bars dense and tough. I know it’s tempting to beat it until it’s smooth, but stop as soon as the flour disappears.
Line Your Pan
I cannot stress this enough. Line your pan with parchment paper. It makes removing the bars so much easier and prevents sticking. You can also use a silicone baking mat, but parchment is more reliable.
Cool Completely Before Frosting
I know it’s hard to wait, but frosting warm bars is a disaster. The heat melts the frosting, and it becomes a soupy mess. If you’re short on time, pop the pan in the fridge for 15 minutes to speed up the cooling process.
Save the Sprinkles for Last
Add the sprinkles immediately after frosting while the cream cheese is still wet. If you wait, they might not stick. I also press them down gently to ensure they adhere.
Storage is Key
Store these in an airtight container at room temperature for up to 3 days. If it’s hot outside, keep them in the fridge. They’ll last up to 5 days refrigerated. Bring them to room temperature before serving for the best texture.
Variations & Substitutions
Once you’ve nailed the basic version, here’s how you can mix it up. I’ve tried all of these.
Chocolate Chip Version
Skip the rainbow sprinkles in the dough and add 1 cup of chocolate chips instead. The chocolate pairs beautifully with the cream cheese frosting. It’s like a blondie meets a sugar cookie.
Lemon Glaze
Skip the cream cheese frosting and make a simple lemon glaze. Mix 1 cup powdered sugar with 2-3 tablespoons lemon juice and drizzle over the cooled bars. Top with lemon zest. This is lighter and great for spring.
Red Velvet
Add 1 tablespoon of cocoa powder and 1 teaspoon of red food coloring to the dough. Skip the rainbow sprinkles and use white chocolate chips in the frosting. It’s festive and delicious.
Gluten-Free
Use a 1:1 gluten-free flour blend. I’ve used Bob’s Red Mill and it works well. Make sure your baking powder is gluten-free. The texture might be slightly more crumbly, but still tasty.
Dairy-Free
Use dairy-free butter and a dairy-free cream cheese alternative. The frosting might not be as fluffy, but it will still work. Top with dairy-free sprinkles.
Mini Bars
Use a mini muffin tin to make bite-sized versions. Bake for 12-15 minutes. These are perfect for party favors or lunchboxes. They’re similar in ease to no-bake peanut butter energy balls, but with a baked texture.
Serving & Storage
How to Serve:
I usually serve these straight from the pan at a party, or cut them into neat squares for a dinner party. They pair well with coffee or tea. If you’re serving them with a meal, they’re rich enough to be a dessert, but light enough not to weigh you down.
Side Dishes:
These bars are sweet and rich, so they don’t need much else. If you’re serving them as part of a larger spread, maybe add some fresh fruit or a simple green salad to balance the meal.
Storage Instructions:
Refrigerator: Store in an airtight container for up to 5 days. The frosting will firm up in the fridge, so let them sit at room temperature for 15 minutes before eating.
Freezing: Yes, you can freeze these! Freeze the unfrosted bars first, then frost them after thawing. Or, freeze the frosted bars in a single layer, then transfer to a container. They’ll last up to 3 months. Thaw in the fridge overnight.
Reheating: You don’t need to reheat these. They’re best served at room temperature. If you want them warm, microwave for 10-15 seconds. Don’t overdo it, or the frosting will melt.
Pro Tip: If you’re making these for a party, make them the day before. The flavors meld overnight, and the bars actually taste better the next day. It’s a common phenomenon with baked goods, and these are no exception.
Nutrition Information
I’m not a nutritionist, but here’s the breakdown if you’re tracking. Keep in mind that these are rich, sweet bars, so they’re indulgent.
Per Serving (based on 16 bars):
- Calories: 280
- Protein: 3g
- Carbs: 42g
- Fiber: 1g
- Sugar: 32g
- Fat: 12g
- Saturated Fat: 7g
- Cholesterol: 35mg
- Sodium: 180mg
What’s Good:
- They’re a treat, so enjoy them in moderation.
- The cream cheese adds a bit of protein and calcium.
- Easy to portion control if you cut them small.
What to Know:
- High in sugar and saturated fat due to the frosting and butter.
- Contains gluten and dairy.
- Not suitable for low-carb or keto diets without significant modifications.
My Take:
Look, these are dessert bars. They’re sweet, rich, and made with butter and cream cheese. They’re not a health food. But they’re way better than store-bought alternatives, and they’re fun to make with kids. When I make them, I enjoy a square or two and call it a day. Balance is key.
Final Thoughts
So that’s my Soft Frosted Sugar Cookie Bars with Rainbow Sprinkles! I’ve probably talked your ear off at this point, but when you make a recipe this often, you have a lot to say about it.
This has saved me from dessert disasters more times than I can count. It’s my answer to “what’s for dessert?” when I need something sweet, easy, and impressive. My kids are happy, my friends are happy, and I’m happy because I’m not stressed about cooking.
Make it yours! Try different sprinkles, swap in chocolate chips, or add a layer of jam. The best recipes are the ones you adapt to your family’s tastes. If you make this, drop a comment and let me know what you think! I love hearing how recipes turn out in your kitchen. And if something doesn’t work, tell me that too—I’m here to help troubleshoot.
Happy baking! And I hope your kitchen smells half as good as mine does right now.
Frequently Asked Questions
Can I use margarine instead of butter?
You can, but the flavor and texture won’t be quite as good. Real butter has a richer flavor and a higher fat content, which helps with the chewiness. Margarine has more water, which can make the bars cakey. If you must use margarine, choose a stick margarine, not the spreadable kind.
Why did my bars turn out dry?
Usually, this means you overbaked them or over-measured the flour. Check your bars at 20 minutes—they should still look slightly soft in the center. Also, make sure you’re spooning and leveling your flour, not scooping it directly from the bag. Scooping packs in too much flour.
Can I make these ahead for a party?
Absolutely! Make the bars the day before, frost them, and store them in an airtight container. They’ll actually taste better after sitting overnight. If you’re making them more than 2 days ahead, freeze the unfrosted bars and frost them fresh.
Can I use mini sprinkles instead of jimmies?
You can, but mini sprinkles (nonpareils) tend to bleed color more, especially in the frosting. They also sink to the bottom of the dough more easily. Jimmies are more stable and hold their shape better. If you use mini sprinkles, toss them in a teaspoon of flour before adding to the dough.
How do I store leftovers?
Store in an airtight container at room temperature for up to 3 days. If it’s hot outside, keep them in the fridge. They’ll last up to 5 days refrigerated. Bring them to room temperature before serving for the best texture.
Can I double this recipe?
Yes, but you’ll need a 9×13 inch pan. Double all the ingredients and bake for 25-30 minutes. Keep an eye on them, as larger pans can bake unevenly. I usually rotate the pan halfway through.
What if I don’t have cream cheese for the frosting?
You can make a simple powdered sugar glaze instead. Mix 1 cup powdered sugar with 2-3 tablespoons milk or cream and vanilla. It won’t be as tangy or rich, but it will still be sweet and delicious. Or, try a creamy frozen piña colada style topping if you want something fruity, though that’s a bit unconventional!
Pin This Recipe!
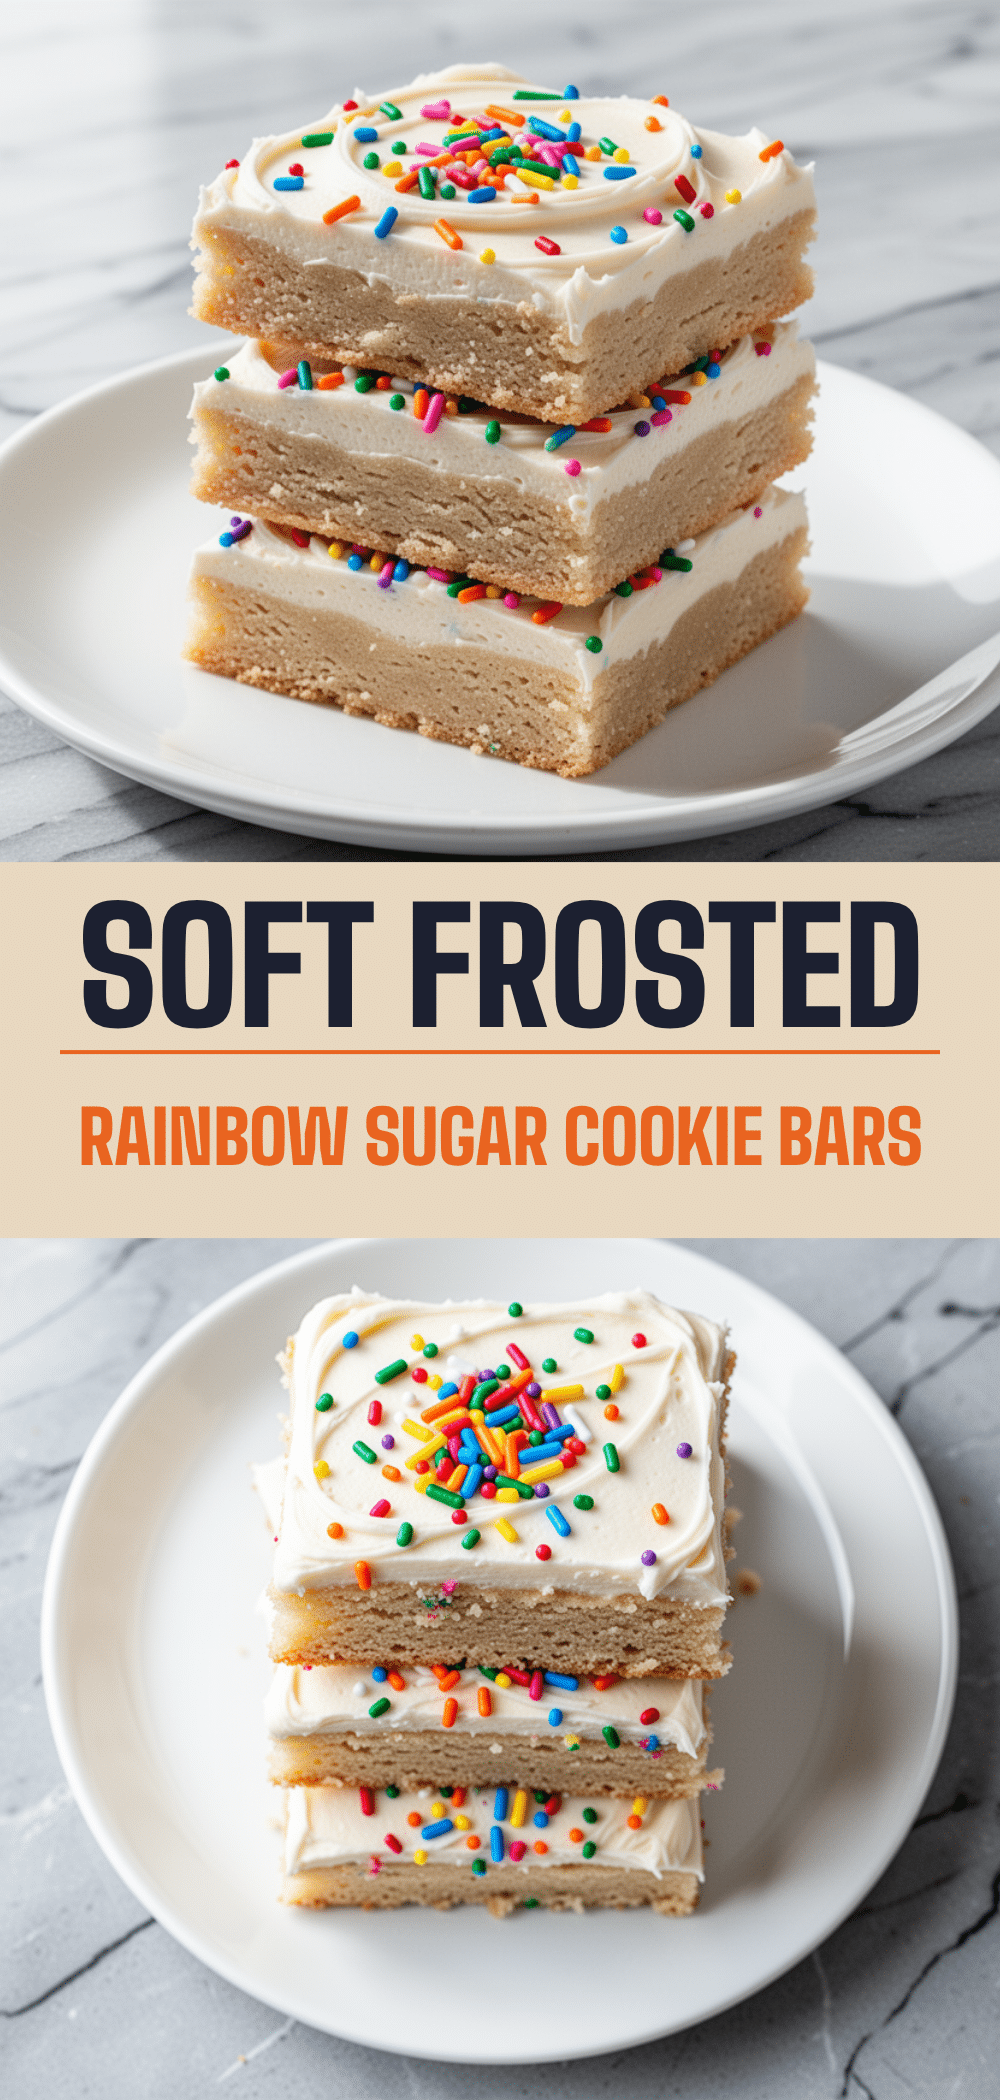
Soft Frosted Sugar Cookie Bars with Rainbow Sprinkles
- Total Time: 40 minutes
- Yield: 16 servings 1x
Description
Soft, chewy sugar cookie bars topped with a tangy cream cheese frosting and rainbow sprinkles. This easy, one-bowl recipe requires no rolling pin and is perfect for parties or weeknight treats.
Ingredients
- 1/2 cup unsalted butter, softened to room temperature
- 1 cup granulated sugar
- 1/2 cup packed brown sugar
- 1 large egg, room temperature
- 2 teaspoons vanilla extract
- 2 1/2 cups all-purpose flour
- 1 teaspoon baking powder
- 1/2 teaspoon salt
- 1/2 cup rainbow sprinkles (jimmies)
- 4 oz block cream cheese, full-fat and softened
- 1/4 cup unsalted butter, softened
- 2 cups powdered sugar, sifted
- 1 teaspoon vanilla extract
- 1–2 tablespoons milk or cream
- 1/4 cup extra rainbow sprinkles for topping
Instructions
- Preheat oven to 350°F (175°C). Line a 9×9 inch baking pan with parchment paper, leaving an overhang on the sides, and grease lightly.
- In a large bowl, beat the softened butter, granulated sugar, and brown sugar together until light and fluffy (about 3 minutes with a mixer).
- Beat in the egg and vanilla extract until just combined.
- In a separate bowl, whisk together the flour, baking powder, and salt.
- Gradually add the dry ingredients to the wet mixture, mixing on low speed until just combined. Do not overmix.
- Fold in the 1/2 cup of rainbow sprinkles by hand. Spread the dough evenly into the prepared pan.
- Bake for 20-25 minutes, or until edges are lightly golden and the center is set but still slightly soft.
- Let the bars cool completely in the pan on a wire rack (at least 30 minutes).
- While bars cool, beat the cream cheese and 1/4 cup butter until smooth. Add powdered sugar, vanilla, and milk if needed, beating until fluffy.
- Spread frosting evenly over cooled bars. Immediately sprinkle remaining 1/4 cup sprinkles over the wet frosting and press gently.
- Let frosting set for 10-15 minutes before slicing into squares.
Notes
Ensure all dairy ingredients are at room temperature for best texture. Do not overmix the dough to avoid tough bars. Cool bars completely before frosting to prevent melting. Store in an airtight container at room temperature for up to 3 days, or refrigerate for up to 5 days.
- Prep Time: 15 minutes
- Cook Time: 25 minutes
- Category: Dessert
- Cuisine: American
Nutrition
- Serving Size: 1 bar
- Calories: 280
- Sugar: 32
- Sodium: 180
- Fat: 12
- Saturated Fat: 7
- Carbohydrates: 42
- Fiber: 1
- Protein: 3
Keywords: sugar cookie bars, rainbow sprinkles, cream cheese frosting, easy dessert, party bars, soft cookies, baking


