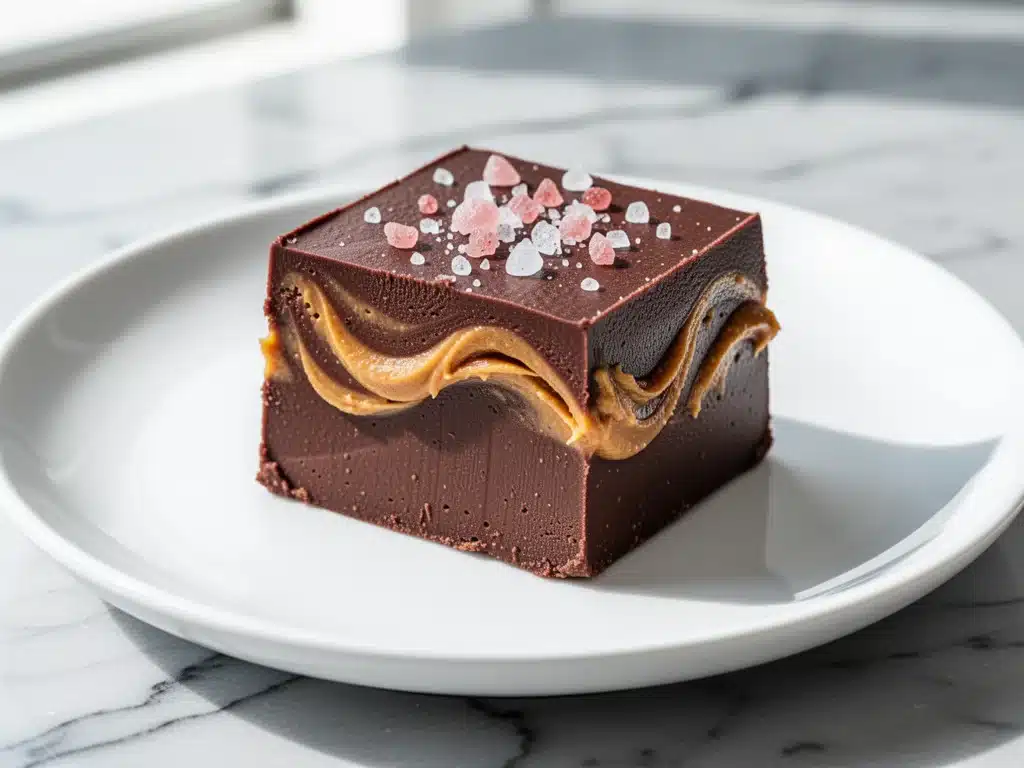
I’m going to level with you. I used to think “vegan dessert” was code for “dry, chalky, and disappointing.” You know the kind. You cut a slice, take a bite, and suddenly you’re missing dairy, butter, and the kind of rich, sinful satisfaction that makes your eyes close. I spent years buying those expensive, freezer-section bars from the health food store, only to throw them away because they tasted like cardboard with a hint of peanut butter.
Then, three months ago, I was hosting a small dinner party for some friends who are seriously into plant-based eating. I panicked. I didn’t want to bake a cake (too much effort), and I definitely didn’t want to serve store-bought garbage. So, I threw together a batch of what I’m now calling my **vegan chocolate peanut butter freezer fudge**. I literally had five minutes while the garlic bread was in the oven. I blended some nut butter, melted some chocolate, threw it in a pan, and put it in the freezer.
When my friends tried it, one of them actually stopped talking mid-chew. Just stopped. Then she asked, “Wait, is this vegan?” I said yes. She looked skeptical, took another piece, and then asked for the recipe. That was it. That was the moment I knew I had struck gold.
This isn’t just a recipe. It’s my secret weapon for when I need a sweet treat that feels indulgent but doesn’t leave me feeling heavy or guilty. It’s creamy, it’s rich, it has that perfect snap when you cut it, and it’s ridiculously easy. If you’ve ever struggled with **no-bake peanut butter energy balls** because they were too dry or too sweet, this is the upgrade you’ve been waiting for. It’s basically dessert in its purest, most delicious form.
Why You’ll Love This Vegan Chocolate Peanut Butter Freezer Fudge
There are about ten reasons I keep making this, but honestly, it usually comes down to three big ones. This **vegan chocolate peanut butter freezer fudge** has completely changed how I handle dessert cravings, especially on busy weeknights or when I need something quick to bring to a gathering.
- It’s Actually Creamy — I’ve tried so many vegan fudge recipes that turn out crumbly or waxy. This one? Silky. The combination of natural peanut butter and coconut cream creates a mouthfeel that rivals any dairy-based fudge I’ve ever had. It melts on your tongue. Seriously.
- Five Minutes of Active Time — I’m not exaggerating. If you can open a jar and stir, you can make this. I’ve made this while watching TV, while helping my kid with homework, and even while on a work call (don’t judge me, I muted my mic). It’s the ultimate low-effort, high-reward recipe.
- It Freezes Perfectly — Unlike some desserts that get weird in the freezer, this fudge actually gets better after a few hours. It firms up to that perfect “snap” texture. I keep a block in my freezer at all times. It’s like having a stash of happiness ready to go whenever the sugar demons come knocking.
Real talk? It’s also budget-friendly. You don’t need expensive, obscure ingredients. You just need good-quality peanut butter and chocolate. And unlike some of my other go-to treats, like my creamy restaurant-style frozen piña colada which requires specific liqueur, this uses stuff you probably already have in your pantry.
Ingredients You’ll Need
Here’s the best part: you probably have most of this already. I’m particular about a few things here, and I’ll tell you exactly why, because that’s where people usually mess up.
For the Fudge Base
Smooth Peanut Butter (1 cup / 250g) — This is non-negotiable. Do not use “natural” peanut butter where the oil separates unless you are willing to stir it for ten minutes straight. I use a standard brand like Jif or Skippy, or a high-quality natural one that’s already emulsified. It needs to be creamy. Chunky peanut butter will make the fudge gritty, and we want smooth.
Coconut Cream (½ cup / 120ml) — I know, it sounds weird. But this is what gives it that rich, dairy-free creaminess. I buy full-fat coconut milk in the can, let it sit in the fridge overnight, and scoop out the solid cream that rises to the top. The liquid water left behind? I use it in my ultra creamy frozen mango pineapple smoothie. Don’t waste it! If you don’t want to wait for it to chill, you can use full-fat coconut milk, but the texture will be slightly softer.
Maple Syrup (¼ cup / 60ml) — I use pure maple syrup, not pancake syrup. It adds a subtle warmth that balances the bitterness of the chocolate. Agave nectar works too, but maple has a better flavor profile here.
Vanilla Extract (1 teaspoon) — Good quality vanilla makes a huge difference. I use Nielsen-Massey or similar. It rounds out all the flavors.
For the Chocolate Layer
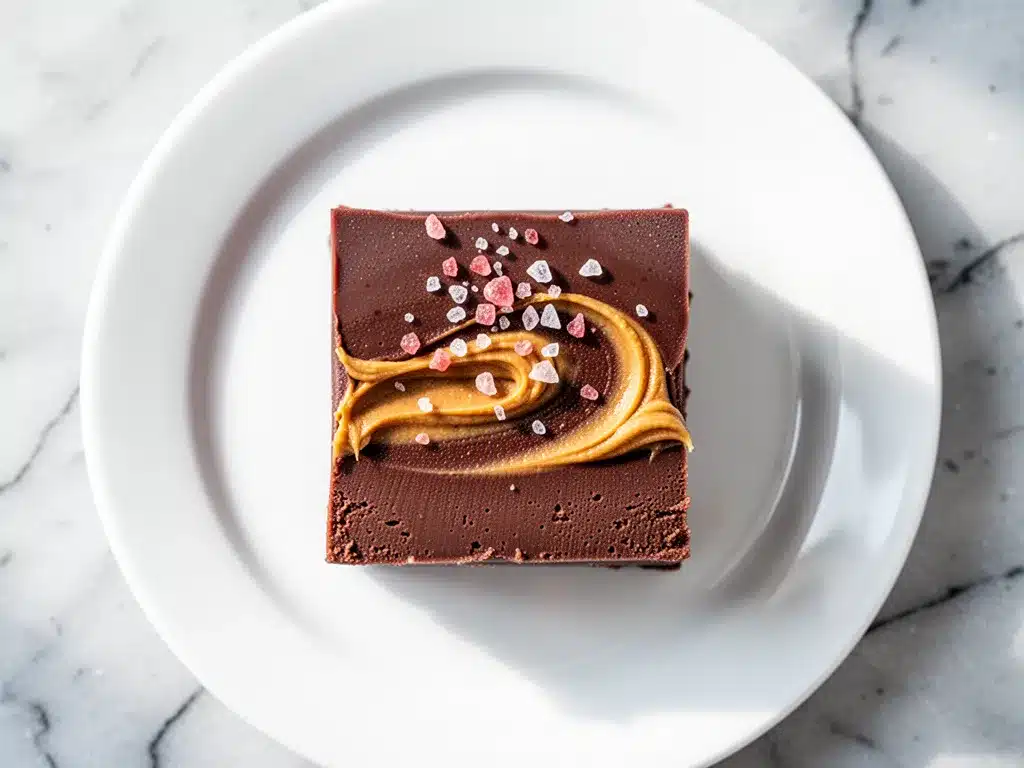
Dairy-Free Chocolate Chips (1 ½ cups / 250g) — I test this with Guittard and Ghirardelli, and both work beautifully. Look for chips that are labeled vegan. Some dark chocolates are naturally vegan, but always check the label for milk fat. Melting chips is easier than bars because they melt evenly without seizing.
Coconut Oil (2 tablespoons) — This helps the chocolate layer set with a nice snap. It keeps the fudge from being too hard in the freezer. If you skip this, it might be too brittle.
Sea Salt Flakes — For sprinkling on top. This is the “better than takeout” secret. The salt cuts through the sweetness and makes the chocolate flavor pop. Maldon is my favorite, but any flaky sea salt works.
Equipment Needed
You don’t need fancy equipment for this. Here’s what I actually use.
Medium Saucepan — I use a small saucepan to melt the chocolate. It needs to be big enough to hold the chocolate chips but small enough that they melt quickly and evenly. My 2-quart saucepan is perfect.
Spatula — A silicone spatula is essential for scraping the bowl clean. I hate wasting chocolate, and a good spatula gets every last bit out.
8×8 Inch Baking Pan — Line it with parchment paper. I always line it with enough parchment to create “handles” so I can lift the fudge out once it’s set. This makes cutting it so much easier and cleaner.
Blender or Food Processor — Optional, but recommended. I blend the peanut butter mixture until it’s super smooth. If you don’t have a blender, you can whisk it vigorously by hand, but it takes more effort.
Measuring Cups and Spoons — Standard stuff. Dollar store versions work fine here since we’re not doing delicate pastry work.
How to Make It: Step-by-Step
Alright, let’s make this! I’m walking you through exactly how I do it, including the little tricks I’ve picked up.
Step 1: Prep Your Pan (2 minutes)
Line your 8×8 inch baking pan with parchment paper. Leave an overhang on the sides so you can lift the fudge out later. I spray it lightly with cooking spray just to be safe, though the parchment usually sticks fine to the sticky mixture.
Step 2: Make the Peanut Butter Layer (5 minutes)
In a medium bowl, combine the smooth peanut butter, coconut cream, maple syrup, and vanilla extract. If you’re using a blender, blend these ingredients for about 30 seconds until completely smooth and creamy. If you’re whisking by hand, make sure there are no lumps of peanut butter left. Pour this mixture into your prepared pan and spread it out evenly with a spatula. This is your base. Tap the pan on the counter a few times to release any air bubbles.
Step 3: Melt the Chocolate (3 minutes)
Place your dairy-free chocolate chips and coconut oil in a saucepan over low heat. Stir constantly. This is crucial—do not walk away. Chocolate burns easily. Once the chips are mostly melted and the mixture is smooth, remove it from the heat immediately. If you see any steam, it’s too hot. Let it cool for just 30 seconds.
Step 4: Assemble the Fudge (2 minutes)
Pour the melted chocolate over the peanut butter layer. Use your spatula to spread it out gently, making sure it covers the entire surface. Don’t overwork it; you don’t want to mix the layers together. Just create a smooth, even top. If you have any gaps, just touch them up with a toothpick.
Step 5: Add the Sea Salt (1 minute)
Immediately sprinkle the sea salt flakes over the warm chocolate. The warmth helps them stick slightly, and it distributes the salt evenly. If you wait until it’s fully set, the salt will just sit on top and roll off.
Step 6: Freeze (2-4 hours)
Place the pan in the freezer. Let it chill for at least 2 hours, but 4 hours is better. You want it fully firm. When it’s ready, lift the fudge out using the parchment handles. Cut it into squares or rectangles. I like small squares because they’re easy to eat one at a time.
Total Time: About 15 minutes active, plus freezing time.
Troubleshooting: If the chocolate layer is too thick to spread, add another teaspoon of coconut oil. If it’s too thin, add a bit more powdered sugar or just let it sit longer. The peanut butter layer should be firm before you add the chocolate if you want distinct layers, but it’s not strictly necessary.
Expert Tips & Tricks
Here’s everything I’ve learned from making this dozens of times. These tips will save you from my mistakes.
Don’t Skimp on the Salt
I know, it’s chocolate and peanut butter. But the salt is what makes it taste gourmet. Without it, it’s just sweet. With it, it’s complex. Use flaky sea salt for that pretty texture and burst of flavor.
Keep It Cold
Work quickly when pouring the chocolate. If your kitchen is hot, the chocolate might start to set too fast in the pan. If that happens, just gently warm the pan over a low flame for a few seconds to re-melt the top layer.
Store Properly
I keep this fudge in an airtight container in the freezer. It lasts for up to a month. I’ve had it for two weeks and it still tastes fresh. If you leave it in the fridge, it might get too soft. Freezer is best.
Customize Your Crunch
I sometimes add crushed peanuts or pretzel pieces on top of the chocolate layer before it sets. It adds a nice texture contrast. It’s like a Reese’s cup meets a salty snack.
Melt Chocolate Gently
If you’re melting chocolate in the microwave, do it in 30-second intervals, stirring in between. This prevents burning. I prefer the stove method because I can control the heat better, but the microwave works if you’re careful.
Variations & Substitutions
Once you’ve nailed the basic version, here’s how you can mix it up. I’ve tried all of these.
Almond Butter Version
Swap the peanut butter for almond butter. It’s slightly more expensive but has a more delicate flavor. I love this version for a more sophisticated taste.
Dark Chocolate Intensity
Use 70% or 80% dark chocolate chips instead of semi-sweet. This makes the fudge less sweet and more intense. Perfect if you’re a chocolate purist.
Marshmallow Swirl
Add a layer of vegan marshmallow fluff between the peanut butter and chocolate layers. It’s like a vegan s’mores bar. I find this version a bit too sweet for me, but my kids love it.
Coffee Infused
Add a teaspoon of instant espresso powder to the melted chocolate. It enhances the chocolate flavor without making it taste like coffee. Great for adults.
Gluten-Free
This recipe is naturally gluten-free, as long as you check your chocolate chips and peanut butter. Most are, but always verify.
Serving & Storage
I usually serve this straight from the freezer. It’s best when it’s cold and firm. Here are some ways I’ve enjoyed it:
- With Coffee — A small square of fudge with a cup of black coffee is the perfect afternoon break. It’s not too heavy, but it satisfies the craving.
- With Tea — Herbal teas pair well with this. I like peppermint or chai.
- As a Gift — I’ve packaged this in small boxes with ribbon as gifts. It’s a hit every time.
Storage Instructions:
Store in an airtight container in the freezer for up to 1 month. If you leave it out at room temperature for more than 30 minutes, it will start to soften and lose its shape. I don’t recommend storing it in the fridge, as the texture can become oily.
Reheating:
You don’t need to reheat this. Eat it cold. If you want it slightly softer, let it sit on the counter for 5 minutes before eating.
Nutrition Information
I’m not a nutritionist, but here’s the breakdown if you’re tracking. Keep in mind that vegan treats can still be high in calories due to the nut butter and chocolate.
Per Serving (based on 16 squares):
– Calories: 180
– Protein: 4g
– Carbs: 18g
– Fiber: 2g
– Sugar: 12g
– Fat: 12g
– Saturated Fat: 5g
– Sodium: 45mg
What’s Good:
– No refined sugar (if using maple syrup)
– Plant-based fats
– Good source of protein from peanut butter
What to Know:
– High in calories from fats
– Contains nuts (peanuts)
– Moderate sugar content
My Take:
Look, this is a treat. It’s not a health food. But it’s made with whole food ingredients, so it’s better than a candy bar. I enjoy one square at a time. It’s satisfying and doesn’t leave me wanting more immediately.
Final Thoughts
So that’s my go-to **vegan chocolate peanut butter freezer fudge**! I’ve probably talked your ear off at this point, but when you make a recipe this often, you have a lot to say about it.
This has saved my dessert game more times than I can count. It’s my answer to “what’s for dessert” when I’m tired, don’t want to bake, and still want something that tastes really good. My friends are happy, my family is happy, and I’m happy because I’m not stressed about cooking.
Make it yours! Try different toppings, swap in your favorite nut butter, or adjust the sweetness. The best recipes are the ones you adapt to your tastes.
If you make this, drop a comment and let me know what you think! I love hearing how recipes turn out in your kitchen. And if something doesn’t work, tell me that too—I’m here to help troubleshoot.
Happy cooking! And I hope your kitchen smells half as good as mine does right now.
Frequently Asked Questions
Can I use chunky peanut butter?
You can, but the texture won’t be as smooth. The chunks might break the chocolate layer or create uneven spots. I recommend smooth peanut butter for the best results. If you must use chunky, chop the chunks smaller.
Why did my fudge get grainy?
This usually happens if the chocolate was overheated or if water got into the mixture. Make sure your bowl and utensils are completely dry. Also, stir the chocolate constantly over low heat to prevent burning and graininess.
Can I make this ahead for a party?
Absolutely! I make this 2-3 days ahead and keep it in the freezer. It actually tastes better after a day or two as the flavors meld together. Just keep it in the freezer until you’re ready to serve.
Can I freeze this fudge?
Yes! This is designed to be frozen. It stores well in the freezer for up to a month. Just make sure it’s in an airtight container to prevent freezer burn.
Can I use almond butter instead of peanut butter?
Yes, almond butter works great. It has a slightly different flavor, but the texture and method are the same. I’ve made this with almond butter and it’s delicious.
Is this recipe gluten-free?
Yes, this recipe is naturally gluten-free. Just make sure your chocolate chips and peanut butter are certified gluten-free if you have celiac disease.
Can I use honey instead of maple syrup?
If you’re not strictly vegan, you can use honey. But for a vegan version, maple syrup is the best substitute. Agave nectar also works well.
Pin This Recipe!
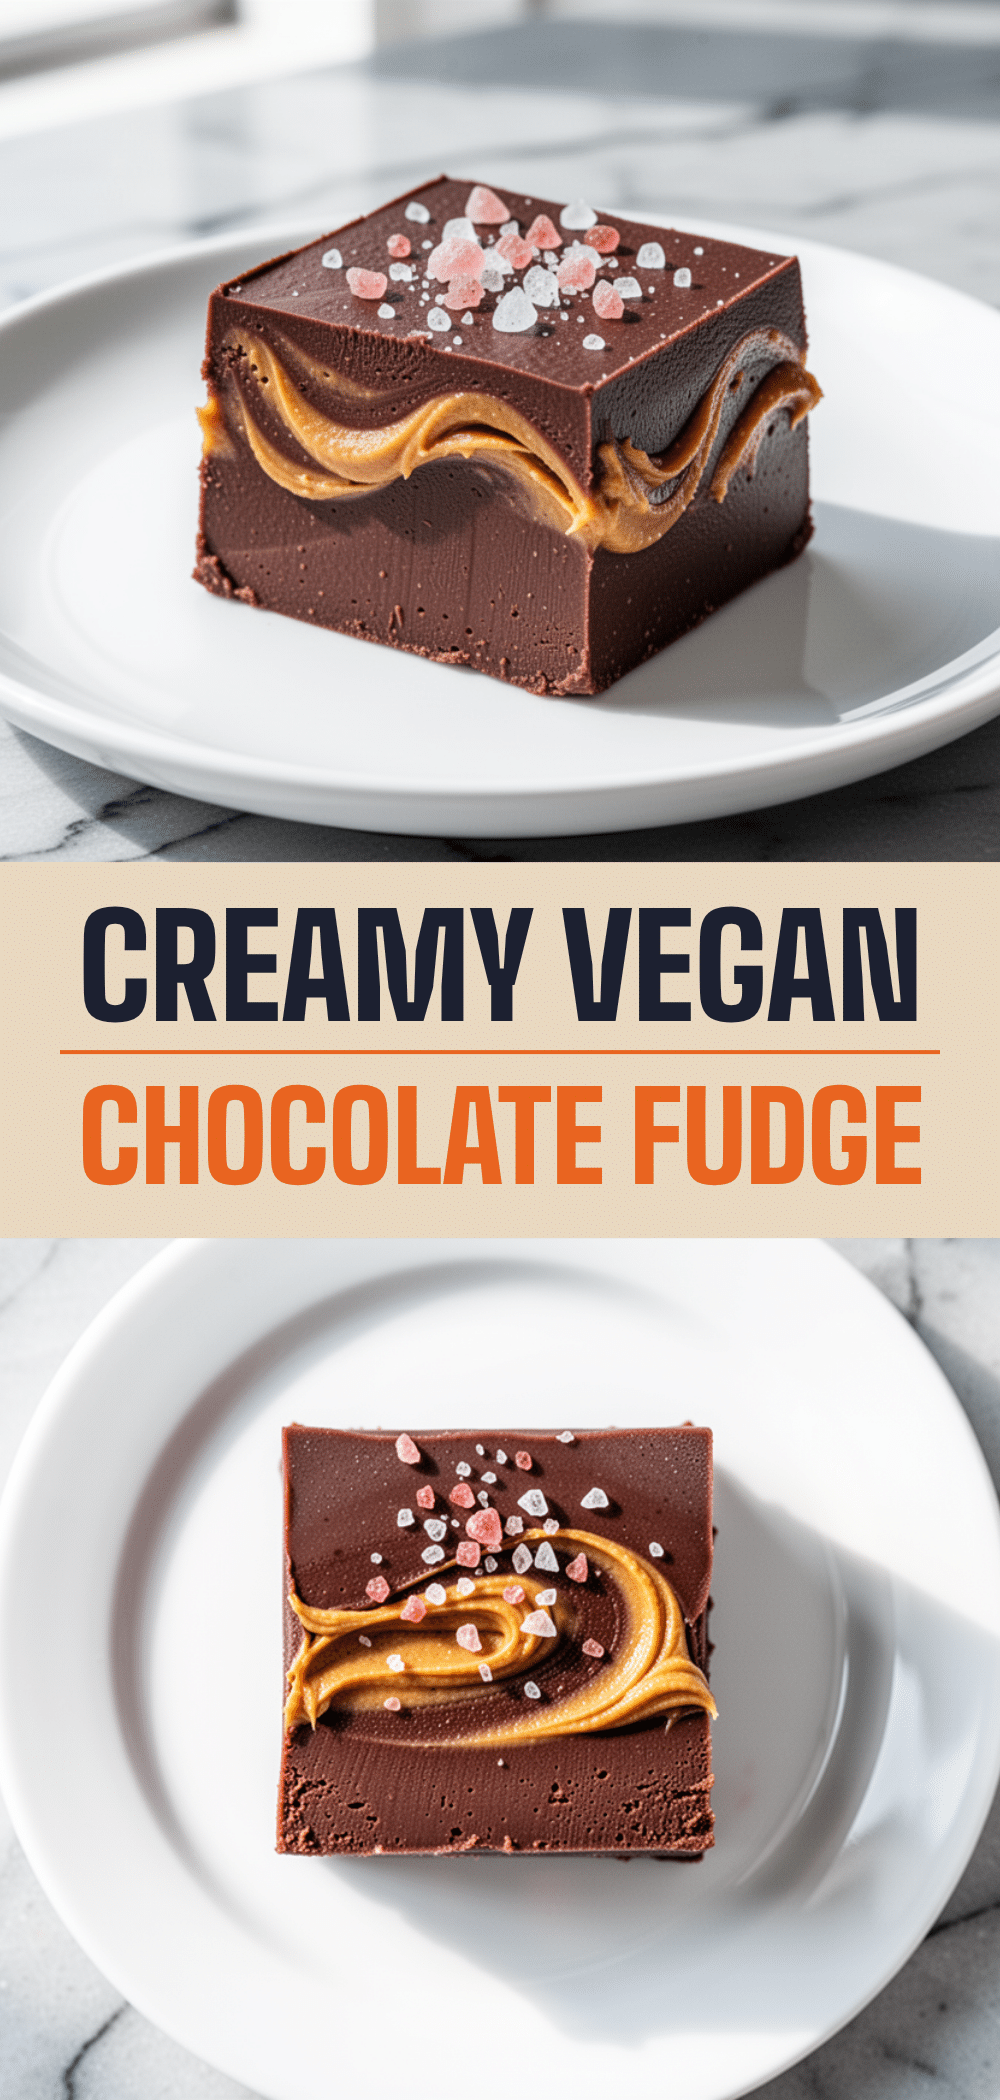
Vegan Chocolate Peanut Butter Freezer Fudge
- Total Time: 2 hours 15 minutes
- Yield: 16 servings 1x
Description
A creamy, rich, and indulgent no-bake vegan fudge that combines smooth peanut butter and dairy-free chocolate. This recipe requires only five minutes of active prep time and freezes to perfection for a guilt-free sweet treat.
Ingredients
- 1 cup (250g) smooth peanut butter
- ½ cup (120ml) coconut cream (full-fat)
- ¼ cup (60ml) pure maple syrup
- 1 teaspoon vanilla extract
- 1 ½ cups (250g) dairy-free chocolate chips
- 2 tablespoons coconut oil
- Sea salt flakes, for sprinkling
Instructions
- Line an 8×8 inch baking pan with parchment paper, leaving an overhang on the sides for easy removal.
- In a medium bowl, combine the smooth peanut butter, coconut cream, maple syrup, and vanilla extract. Blend or whisk until completely smooth and creamy.
- Pour the peanut butter mixture into the prepared pan and spread it out evenly. Tap the pan on the counter to release air bubbles.
- Place the dairy-free chocolate chips and coconut oil in a medium saucepan over low heat. Stir constantly until melted and smooth, then remove from heat immediately.
- Pour the melted chocolate over the peanut butter layer and spread gently to create an even top without mixing the layers.
- Immediately sprinkle sea salt flakes over the warm chocolate.
- Place the pan in the freezer for at least 2 hours, or up to 4 hours, until fully firm.
- Lift the fudge out using the parchment handles and cut into squares or rectangles.
Notes
Use smooth peanut butter for the best texture; chunky peanut butter may make the fudge gritty. Ensure your bowl and utensils are completely dry when melting chocolate to prevent graininess. Store in an airtight container in the freezer for up to one month. Do not store in the fridge as the texture may become oily.
- Prep Time: 15 minutes
- Cook Time: 0 minutes
- Category: Dessert
- Cuisine: American
Nutrition
- Serving Size: 1 square
- Calories: 180
- Sugar: 12
- Sodium: 45
- Fat: 12
- Saturated Fat: 5
- Carbohydrates: 18
- Fiber: 2
- Protein: 4
Keywords: vegan fudge, peanut butter fudge, no-bake dessert, gluten-free dessert, chocolate peanut butter, freezer fudge, healthy vegan treats


