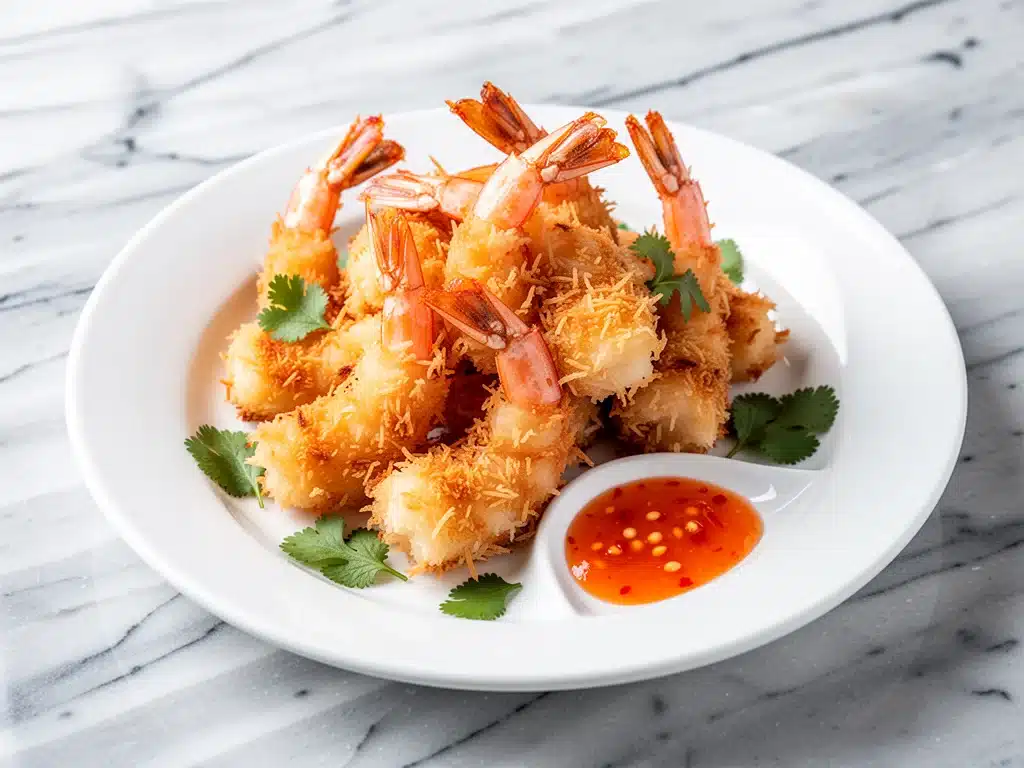
Last Thursday, I was staring at the clock, panic rising in my chest. It was 6:15 PM, my kids were already complaining about hunger, and I had absolutely nothing planned for dinner. The fridge was mostly empty except for a bag of frozen shrimp and a half-empty jar of coconut flakes I’d bought for some obscure tropical drink three months ago. I was two seconds away from ordering Thai food—again—when I remembered I’d seen a hack for baked coconut shrimp that didn’t require deep frying.
So, I threw together a batch of what I thought would be a mediocre snack. Ten minutes later, the smell of toasted coconut and garlic filled the house. My kids stopped complaining. My husband walked in, took one bite, and actually stopped mid-sentence. “Wait,” he said, pointing at his plate. “Is this the takeout place on 4th Street?”
It wasn’t. It was this crispy baked coconut shrimp, and it was infinitely better than anything from a plastic container. I’ve made this recipe at least fifteen times since that chaotic Thursday, tweaking the breading and perfecting the dipping sauce until it was undeniable. This isn’t just a snack; it’s my secret weapon for busy weeknights when I need dinner to feel fancy but take zero effort. If you’re tired of greasy, heavy takeout and want something that tastes like a vacation but cooks in the same amount of time as a frozen pizza, you need to try this.
What makes this crispy baked coconut shrimp work so well is the balance of textures and flavors. The shrimp are sweet and tender, wrapped in a crunch that actually stays crunchy (no sogginess here), and paired with a sweet chili sauce that’s tangy, spicy, and perfectly balanced. It’s the kind of meal that makes people ask for the recipe before they’ve even finished their first piece. And the best part? You don’t need a deep fryer, a whole kitchen full of oil, or hours of prep time. You just need a few simple ingredients and a willingness to embrace the crunch.
Why You’ll Love This Recipe
I know what you’re thinking: “Can baked shrimp really be crispy?” Yes. Yes, it can. And here’s why this crispy baked coconut shrimp has taken over our weekly dinner rotation:
- It’s genuinely crispy — I’ve tested every method out there, and the key is pressing the coconut firmly into the shrimp and using a light spray of oil. The result is a golden, crunchy crust that doesn’t fall off. It’s not just coated; it’s crusted.
- Ready in 15 minutes — Seriously. From thawed shrimp to hot plate in 15 minutes. I make this on nights when I come home exhausted and just want to sit down. The baking time is passive, so you’re not standing over the stove.
- Healthy-ish comfort food — Baking instead of frying cuts the fat significantly, but you still get that indulgent, restaurant-quality feel. It’s a win-win for when you want to treat yourself without the guilt.
- Perfect for picky eaters — My kids, who usually refuse anything “exotic,” devour this. The sweet chili sauce is a crowd-pleaser, and the coconut flavor is mild and sweet, not overpowering.
- Great for meal prep — You can bake a batch ahead of time and reheat them in the air fryer or oven for a quick lunch. They stay surprisingly crisp for leftovers.
This recipe is my go-to when I need to impress guests or just make a boring Tuesday night feel special. It’s reliable, delicious, and surprisingly easy to pull off even on your worst cooking days.
Ingredients You’ll Need
Here’s the best part: you probably have most of this already. The ingredient list is short, simple, and focused on quality over quantity. I’m particular about three things here, and I’ll tell you exactly why.
For the Shrimp
Jumbo shrimp (1 pound / 450g, peeled and deveined) — Size matters here. Use large or jumbo shrimp (21-25 count per pound). Smaller shrimp get lost in the coconut and cook too fast. I buy frozen, peel them, and thaw them in cold water. Fresh is great if you can find it, but frozen is just as good and often more sustainable.
Unsweetened shredded coconut (1 cup / 90g) — Do not use sweetened coconut. You want the natural, toasty flavor of unsweetened flakes. I prefer fine shreds because they stick better and create a more uniform crust. If you only have large flakes, chop them up a bit in a food processor.
All-purpose flour (½ cup / 60g) — This is the base layer that helps the egg wash stick. Don’t skip it. It creates that initial grip for the coconut.
Large eggs (2, beaten) — The binder. I beat them with a fork until smooth. Some people use milk, but eggs give a richer, more stable coating.
Garlic powder (1 teaspoon) — I add this to the flour for a subtle savory depth. It complements the sweetness of the coconut perfectly.
Salt and black pepper (to taste) — Season the shrimp lightly before dredging. It’s the foundation of flavor.
For the Sweet Chili Dipping Sauce
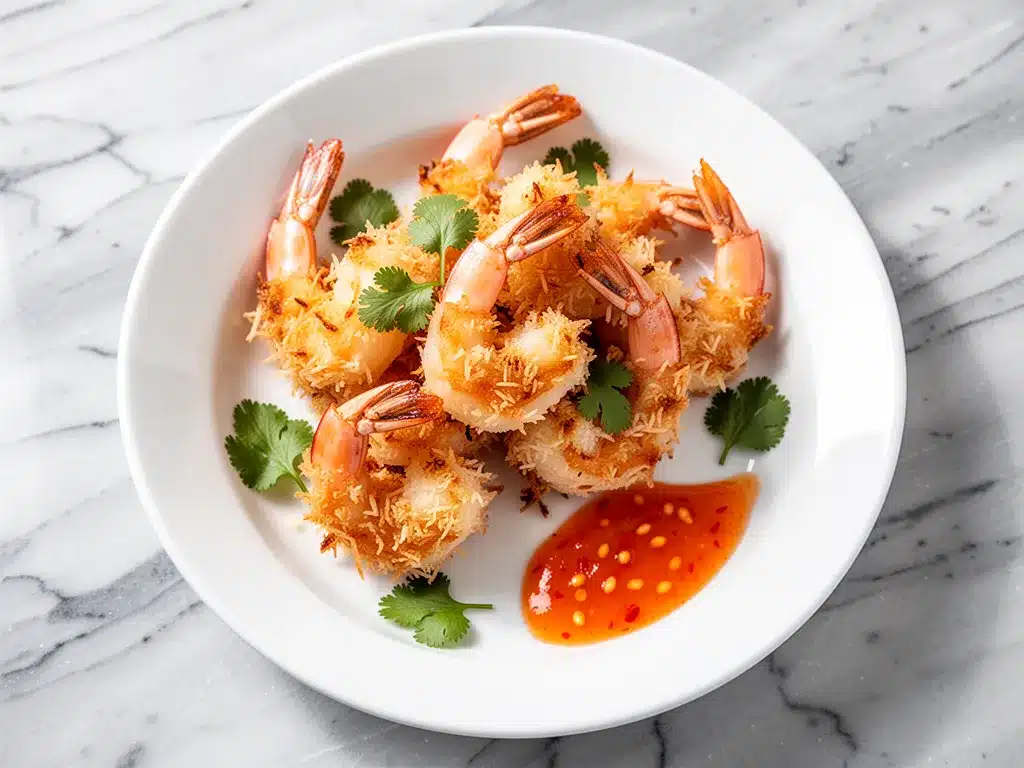
Sweet chili sauce (½ cup / 120ml) — The store-bought kind is fine! I use Thai Kitchen brand because it has the right balance of sweet and spicy. Don’t try to substitute with hot sauce; it won’t have the same texture or flavor profile.
Rice vinegar (1 tablespoon) — Adds tang to cut through the sweetness. Apple cider vinegar works in a pinch, but rice vinegar is more authentic.
Soy sauce (1 teaspoon) — Just a splash for umami and saltiness. It deepens the flavor without making it taste like soy sauce.
Fresh lime juice (1 tablespoon) — Brightens everything up. Bottled juice is okay, but fresh is best.
Fresh ginger (1 teaspoon, grated) — Optional but highly recommended. It adds a warm, zesty kick that makes the sauce feel homemade.
Red pepper flakes (½ teaspoon) — Adjust based on your heat preference. I like a little kick, so I add this. Skip it if you want it mild.
Equipment Needed
You don’t need fancy equipment for this. Here’s what I actually use:
Baking sheet — I use a standard half-sheet pan. Line it with parchment paper or a silicone mat for easy cleanup. Parchment is my go-to because it prevents sticking and makes tossing the shrimp easier.
Three shallow bowls — You’ll need three for the dredging station: one for flour, one for eggs, one for coconut. I use pie dishes or wide cereal bowls. They need to be wide enough to roll the shrimp in easily.
Pastry brush or oil spray — To get that golden crisp, you need a little fat. I use an oil spray for even coverage, but a pastry brush works too if you’re careful.
Cutting board and knife — For prepping the ginger and lime if you’re making the sauce from scratch.
Small mixing bowl — For whisking the dipping sauce ingredients together.
That’s it. No deep fryer, no complicated gadgets. Just basic kitchen tools you probably already own.
How to Make It: Step-by-Step
Alright, let’s make this! I’m walking you through exactly how I do it, including the little tricks I’ve picked up to ensure maximum crunch.
Step 1: Prep Your Shrimp (5 minutes)
If your shrimp are frozen, thaw them in a bowl of cold water for 10-15 minutes. Once thawed, pat them very dry with paper towels. This is crucial. Wet shrimp = soggy coating. I squeeze them gently to remove excess moisture. If they’re still damp, the flour won’t stick properly. Season them lightly with salt and pepper.
Step 2: Set Up Your Dredging Station (2 minutes)
Line up your three bowls. Bowl 1: Flour mixed with garlic powder, salt, and pepper. Bowl 2: Beaten eggs. Bowl 3: Shredded coconut. Make sure you have enough space to work. I like to have a clean plate nearby for the coated shrimp so they don’t get messy.
Step 3: Dredge the Shrimp (5 minutes)
Take a shrimp and dredge it in the flour mixture, shaking off any excess. Dip it into the egg wash, letting the excess drip off. Finally, press it firmly into the coconut flakes. I use my fingers to press the coconut on, ensuring it adheres well. Turn it over and coat the other side. Place it on the prepared baking sheet. Repeat with all shrimp.
Pro tip: Don’t rush the pressing. If the coconut isn’t pressed in, it’ll fall off in the oven. Take an extra second to make sure it’s stuck on tight.
Step 4: Bake Until Golden (8-10 minutes)
Preheat your oven to 400°F (200°C). Once preheated, lightly spray the coated shrimp with oil. This helps them brown and crisp up. Bake for 8-10 minutes, flipping halfway through. You want them golden brown and cooked through. The shrimp should be opaque and pink, with a crunchy, toasted coconut exterior.
Visual cue: Look for golden edges on the coconut. If they’re looking pale, give them another 2 minutes. If they’re browning too fast, lower the heat slightly.
Step 5: Make the Dipping Sauce (5 minutes)
While the shrimp bake, whisk together the sweet chili sauce, rice vinegar, soy sauce, lime juice, grated ginger, and red pepper flakes in a small bowl. Taste and adjust. Want it sweeter? Add more chili sauce. Want it tangier? Add more lime. Want it spicier? Add more red pepper flakes. It should be a balance of sweet, sour, and spicy.
Step 6: Serve Immediately
Remove the shrimp from the oven and let them cool for 1-2 minutes (they’ll crisp up more as they cool). Serve hot with the sweet chili sauce on the side. Garnish with sliced green onions or cilantro if you have it, but it’s not necessary. Dig in!
Expert Tips & Tricks
Here’s everything I’ve learned from making this dozens of times. These tips will save you from my mistakes.
Pat Dry, Dry, Dry
I can’t stress this enough. Wet shrimp are the enemy of crispiness. If your shrimp are wet, the coating will slide off. Use paper towels and press firmly. If you’re in a hurry, you can even let them air-dry on a rack for 10 minutes.
Press the Coconut
Don’t just roll the shrimp in the coconut. Press it on. Use your fingers to make sure every nook and cranny is covered. I’ve had shrimp come out of the oven with patches of bare shrimp, and it’s disappointing. Take the extra second.
Oil Spray is Key
Coconut needs a little fat to brown properly. Without it, it’ll just dry out. A light mist of oil spray ensures even browning without making the shrimp greasy. If you don’t have spray, brush with melted butter or oil, but spray is easier.
Don’t Overcrowd the Pan
Give the shrimp space. If they’re touching, they’ll steam instead of bake. Use two pans if necessary. Air circulation is what makes them crispy.
Flip Halfway
Flipping ensures even browning on both sides. It’s a small step that makes a big difference in the final texture.
Variations & Substitutions
Once you’ve nailed the basic version, here’s how you can mix it up. I’ve tried all of these.
Spicy Version
Add cayenne pepper to the flour mixture and increase the red pepper flakes in the sauce. For extra heat, use spicy sweet chili sauce if you can find it.
Gluten-Free
Swap all-purpose flour for a 1:1 gluten-free flour blend. The coconut and egg wash remain the same. It works perfectly.
Dairy-Free
This recipe is naturally dairy-free, but if you’re avoiding eggs, you can use a flax egg (1 tablespoon ground flaxseed mixed with 3 tablespoons water per egg) as a binder. It holds up well.
Different Coconut
Use toasted coconut for extra flavor, but be careful not to burn it. If using toasted coconut, reduce the baking time by 1-2 minutes to prevent over-browning.
Alternative Sauces
Not a fan of sweet chili? Try a honey mustard dip, a spicy mayo (mayo + sriracha + lime), or a simple soy-ginger dip. All work well with coconut shrimp.
Serving & Storage
How to Serve:
I usually serve this straight from the baking sheet for a casual vibe, but for dinner parties, I arrange them on a platter with the sauce in a small bowl in the center. It’s interactive and fun. Pair it with garlic herb focaccia for a carb-heavy feast, or a simple green salad to balance the richness.
Side Dishes:
- Crispy homemade pretzel bites for a snack platter vibe.
- Steamed jasmine rice to soak up the sauce.
- Roasted asparagus or broccoli for a veggie boost.
Storage:
Store leftovers in an airtight container in the fridge for up to 3 days. The coating will soften, so reheating is essential.
Reheating:
Best method: Oven or air fryer at 375°F (190°C) for 5-7 minutes. This restores the crispiness. Avoid the microwave, which will make the coconut chewy and soggy. If you must microwave, do it in short bursts and follow up with a quick toast in a dry skillet.
Freezing:
You can freeze uncooked, coated shrimp on a baking sheet, then transfer to a freezer bag. Bake from frozen, adding 2-3 minutes to the cook time. Do not freeze cooked shrimp; the texture suffers.
Nutrition Information
I’m not a nutritionist, but here’s the breakdown if you’re tracking. This is per serving (based on 4 servings, 6-8 shrimp each):
| Nutrient | Amount |
|---|---|
| Calories | 280 |
| Protein | 22g |
| Carbs | 18g |
| Fat | 14g |
| Fiber | 2g |
| Sugar | 10g |
What’s Good:
- High protein from the shrimp.
- Lower calorie than fried versions.
- Simple ingredients with no weird additives.
What to Know:
- Higher in carbs from the coconut and flour.
- Sauce adds sugar, so watch portion sizes if you’re watching sugar intake.
- Contains shellfish, gluten, and eggs.
My Take:
Look, this is a treat. It’s sweet, crunchy, and indulgent. But compared to deep-fried appetizers, it’s a lighter option. When I make this, I usually pair it with veggies to balance the meal. It’s not “diet food,” but it’s a better choice than takeout, and it tastes way better.
Final Thoughts
So that’s my go-to crispy baked coconut shrimp! I’ve probably talked your ear off at this point, but when you make a recipe this often, you have a lot to say about it. This has saved weeknight dinners more times than I can count. It’s my answer to “what’s for dinner” when I’m tired, don’t want takeout, and still want something that tastes really good. My kids are happy, my husband’s happy, and I’m happy because I’m not stressed about cooking.
Make it yours! Try different add-ins, swap in your favorite vegetables, adjust the garlic (though more is always better in my opinion). The best recipes are the ones you adapt to your family’s tastes. If you make this, drop a comment and let me know what you think! I love hearing how recipes turn out in your kitchen. And if something doesn’t work, tell me that too—I’m here to help troubleshoot.
Happy cooking! And I hope your kitchen smells half as good as mine does right now.
Frequently Asked Questions
Can I use frozen shrimp?
Absolutely. In fact, I prefer frozen shrimp because they’re often flash-frozen at peak freshness. Just make sure to thaw them completely and pat them very dry before coating. Any excess moisture will prevent the coating from sticking.
Why is my coconut burning?
Coconut burns easily because of its natural oils and sugar content. If you’re seeing dark spots too quickly, lower your oven temperature to 375°F (190°C) and check them a minute earlier. Also, ensure you’re not using too much oil spray. A light mist is enough.
Can I make this in an air fryer?
Yes! This works great in an air fryer. Preheat to 375°F (190°C) and cook for 6-8 minutes, flipping halfway. Keep an eye on them, as air fryers vary in power. The result is even crispier than baking.
Can I use sweetened coconut?
I don’t recommend it. Sweetened coconut has added sugar that will burn quickly and make the shrimp too sweet. Unsweetened gives you the right balance of nutty flavor and crunch. If you only have sweetened, you can rinse it briefly to remove some sugar, but it’s not ideal.
How do I reheat leftovers without them getting soggy?
Avoid the microwave. Use an oven or air fryer at 375°F (190°C) for 5-7 minutes. This will crisp up the coconut again. If you don’t have an oven or air fryer, a dry skillet over medium heat works too, just flip often.
Can I prep these ahead of time?
You can coat the shrimp and keep them on the baking sheet in the fridge for up to 2 hours before baking. Cover loosely with plastic wrap. If you need to prep further ahead, freeze the uncooked, coated shrimp on the sheet, then transfer to a bag. Bake from frozen.
What’s the best dipping sauce alternative?
If you don’t have sweet chili sauce, try a mix of honey, soy sauce, lime juice, and sriracha. Or go for a classic tartar sauce with a squeeze of lemon. Both pair well with the coconut flavor.
Pin This Recipe!
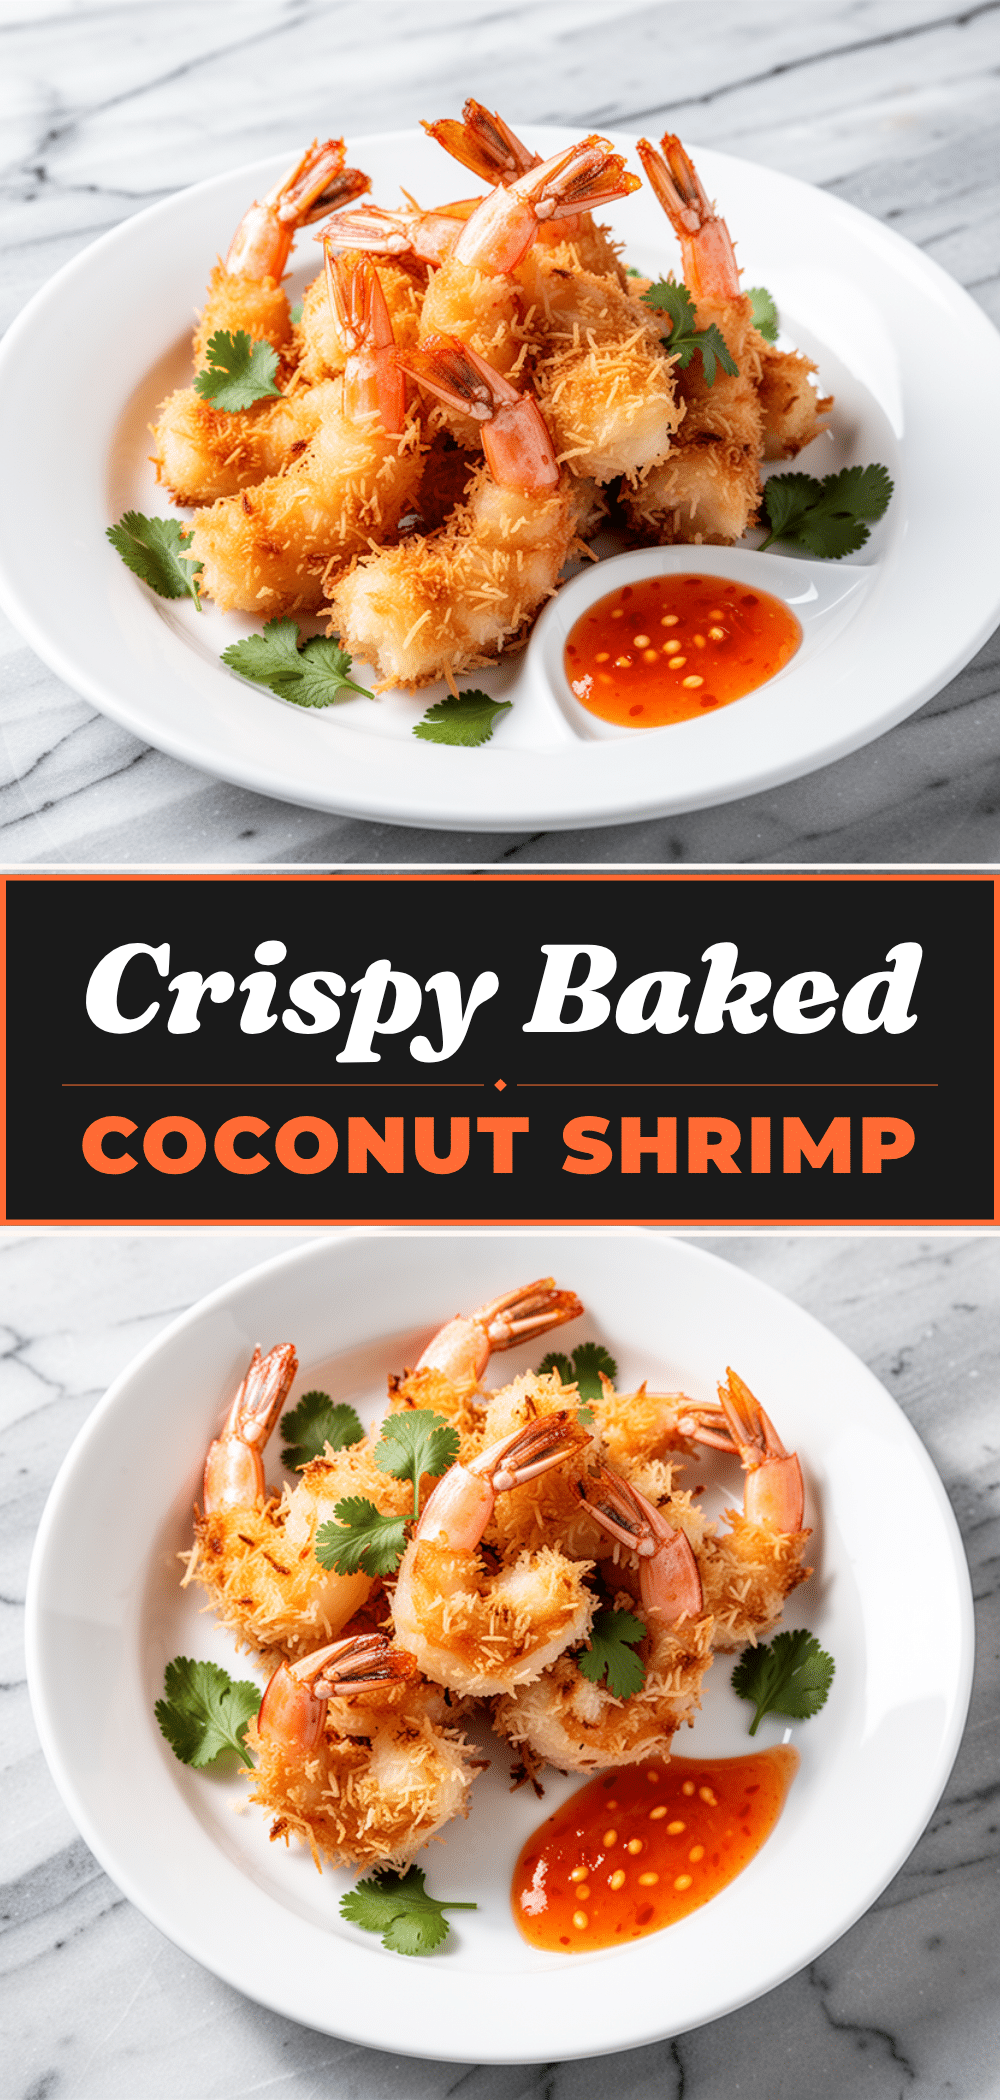
Crispy Baked Coconut Shrimp: 15-Minute Weeknight Dinner
- Total Time: 25 minutes
- Yield: 4 servings 1x
Description
A quick and easy baked coconut shrimp recipe that delivers a crispy, golden crust without deep frying. Paired with a tangy sweet chili dipping sauce, this dish is perfect for busy weeknights and tastes like restaurant-quality takeout.
Ingredients
- 1 pound jumbo shrimp (peeled, deveined, thawed if frozen)
- 1 cup unsweetened shredded coconut (fine shreds preferred)
- ½ cup all-purpose flour
- 2 large eggs (beaten)
- 1 teaspoon garlic powder
- Salt and black pepper (to taste)
- Cooking oil spray (for coating)
- ½ cup sweet chili sauce
- 1 tablespoon rice vinegar
- 1 teaspoon soy sauce
- 1 tablespoon fresh lime juice
- 1 teaspoon fresh ginger (grated)
- ½ teaspoon red pepper flakes
Instructions
- Preheat oven to 400°F (200°C). Line a baking sheet with parchment paper.
- Pat thawed shrimp very dry with paper towels to ensure the coating sticks. Season lightly with salt and pepper.
- Set up a dredging station with three shallow bowls: Bowl 1 contains flour mixed with garlic powder, salt, and pepper; Bowl 2 contains beaten eggs; Bowl 3 contains shredded coconut.
- Dredge each shrimp in the flour mixture, shaking off excess. Dip into the egg wash, letting excess drip off. Press firmly into the coconut flakes, ensuring full coverage on all sides.
- Place coated shrimp on the prepared baking sheet, ensuring they are not touching.
- Lightly spray the coated shrimp with oil spray to help them brown.
- Bake for 8-10 minutes, flipping halfway through, until the shrimp are opaque, pink, and the coconut is golden brown.
- While shrimp bake, whisk together sweet chili sauce, rice vinegar, soy sauce, lime juice, grated ginger, and red pepper flakes in a small bowl to make the dipping sauce.
- Remove shrimp from oven and let cool for 1-2 minutes to crisp up further. Serve immediately with the dipping sauce.
Notes
Ensure shrimp are completely dry before coating to prevent soggy breading. Press the coconut firmly onto the shrimp to ensure it adheres during baking. Do not overcrowd the baking sheet to allow for proper air circulation and crispiness. For a gluten-free version, substitute all-purpose flour with a 1:1 gluten-free blend. Coconut burns easily, so watch closely and lower temperature to 375°F if browning too fast.
- Prep Time: 15 minutes
- Cook Time: 10 minutes
- Category: Main Course
- Cuisine: Asian Fusion
Nutrition
- Serving Size: 6-8 shrimp per servi
- Calories: 280
- Sugar: 10
- Sodium: 600
- Fat: 14
- Saturated Fat: 10
- Carbohydrates: 18
- Fiber: 2
- Protein: 22
Keywords: coconut shrimp, baked shrimp, weeknight dinner, quick recipes, healthy seafood, sweet chili sauce, crispy shrimp, family friendly meals


