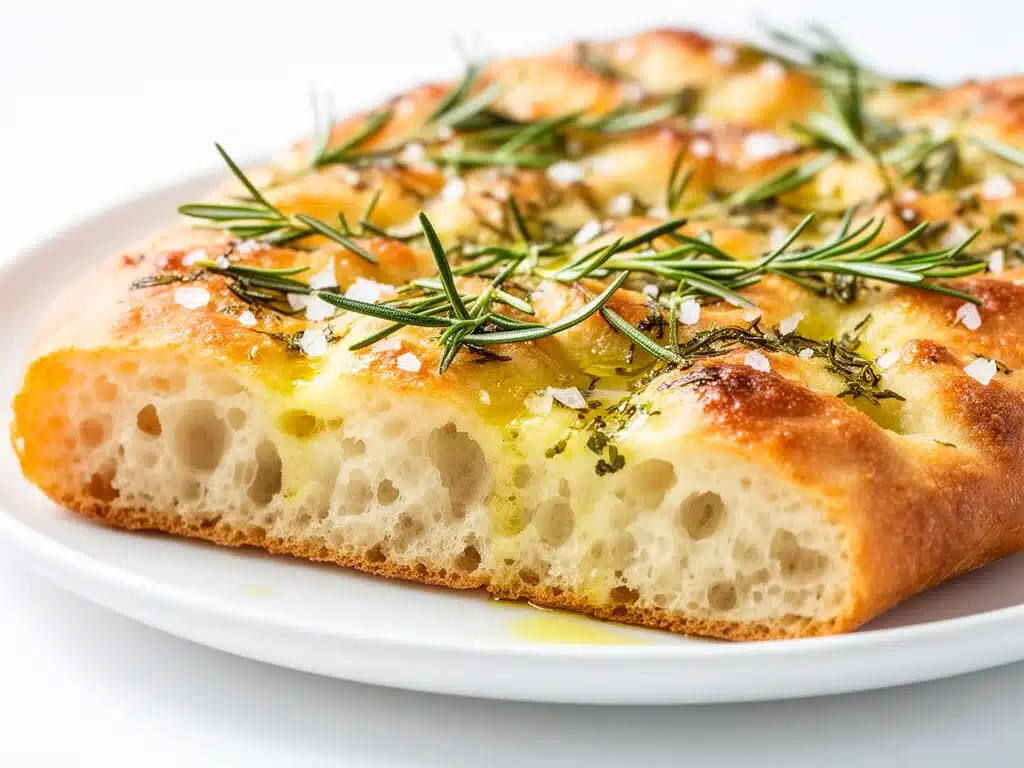
One rainy Thursday night last fall, I found myself staring blankly into the fridge, exhausted after a long day and craving something comforting but fast. I wanted bread—warm, garlicky, herb-studded bread with crispy edges—but didn’t want to spend hours in the kitchen. That’s when I stumbled on this garlic herb focaccia recipe, and honestly, it changed my weeknight dinners forever.
After testing it more than a dozen times (because, well, crispy edges require patience and a few happy accidents), I finally nailed the perfect balance: a pillowy, airy interior with a golden, crunchy crust that’s bursting with garlic and fresh herbs. This garlic herb focaccia is exactly what I reach for when I need a little kitchen magic on busy weeknights. It feels fancy but comes together with minimal fuss, and the smell alone makes the whole house cozy.
Here’s the thing—you don’t need to be a bread expert or have a ton of time to pull this off. I’m sharing every trick I’ve learned, so you can get that crispy edge, soft crumb, and garlicky goodness with ease. Plus, it pairs beautifully with just about anything, from a quick salad to your favorite weeknight protein.
Why You’ll Love This Garlic Herb Focaccia Recipe
This garlic herb focaccia has become my secret weapon for busy evenings, and here’s why it might just become yours too:
- Effortlessly impressive — I make this when I’m juggling work calls, homework, and dinner prep. The dough is no-fuss and forgiving, so you don’t have to be a pro baker to get it right.
- Crispy edges with a soft, airy center — After multiple tries, I perfected how to get those golden, crunchy edges without drying out the middle. It’s literally my favorite texture combo.
- Loaded with fresh garlic and herbs — I’m not shy with the garlic here (because more garlic = more happiness). The herbs add a fresh pop that makes it taste like you spent hours in the kitchen.
- Flexible and forgiving — Whether you want to add olives, sun-dried tomatoes, or even a sprinkle of cheese, this focaccia adapts beautifully. I’ve made it plain for picky eaters and jazzed it up for dinner guests.
- Perfect for meal prep and leftovers — It keeps well for 2-3 days and even tastes better toasted the next day. I often make extra to pair with crunchy ranch chicken wraps or alongside a quick soup for an easy weeknight meal.
This focaccia isn’t just bread; it’s that warm, garlicky hug on a plate when time is tight but you still want something delicious. I promise it’ll become your new kitchen favorite.
Ingredients You’ll Need
I love that most of these ingredients are pantry staples, so you probably have them on hand already. There are a few things I’m picky about, and I’ll explain why as we go.
- Active dry yeast (2 ¼ teaspoons / 7g) — This is what makes the dough rise beautifully. Instant yeast works too if that’s what you have.
- Warm water (1 ½ cups / 360ml) — Around 105°F (40°C) is perfect to activate the yeast without killing it. Too hot and the yeast dies, too cold and it won’t proof well.
- All-purpose flour (3 ½ cups / 420g) — I stick to all-purpose here for the perfect chewy texture. Bread flour works if you want an even chewier bite.
- Salt (2 teaspoons / 10g) — Essential for flavor and controlling yeast activity. Don’t skip it!
- Extra virgin olive oil (⅓ cup / 80ml plus extra for drizzling) — Use good quality here; it really shines in the final flavor and helps get those crispy edges.
- Garlic cloves (4 large, thinly sliced) — Fresh garlic is non-negotiable. Slices get roasted to mellow sweetness.
- Fresh rosemary (2 tablespoons, chopped) — Adds that classic piney, herbal note. Thyme or oregano work if you want to mix it up.
- Sea salt flakes (for sprinkling) — Adds crunchy bursts of saltiness on top. I always keep Maldon flakes for this.
- Optional: Cherry tomatoes (½ cup, halved) — For a pop of color and juicy sweetness if you want to get fancy.
Pro tip: If you’re out of fresh herbs, dried rosemary works in a pinch, but add it during the dough mixing so it has time to hydrate. And if you want to try a cheesy twist, sprinkling fresh grated Parmesan before baking is a game-changer.
Equipment Needed
You won’t need fancy gadgets here, just some basics you probably already own:
- Large mixing bowl — For proofing the yeast and mixing the dough. I use a glass bowl so I can watch the dough rise.
- Baking sheet or rimmed pan (around 9×13 inches) — The size matters to get that perfect thickness and crispy edge. A rimmed sheet pan helps keep the dough contained.
- Kitchen towel or plastic wrap — To cover the dough while it rises.
- Sharp knife or dough cutter — For slicing the garlic thinly and scoring the dough if you want.
- Measuring cups and spoons — Nothing fancy, but accurate measurements help.
- Pastry brush (optional) — For brushing olive oil on top, but your fingers work just as well.
If you don’t have a pastry brush, just use your fingers to drizzle and spread the olive oil. I’ve done it both ways, and honestly, the finger method feels more hands-on and fun.
How to Make Garlic Herb Focaccia with Crispy Edges: Step-by-Step
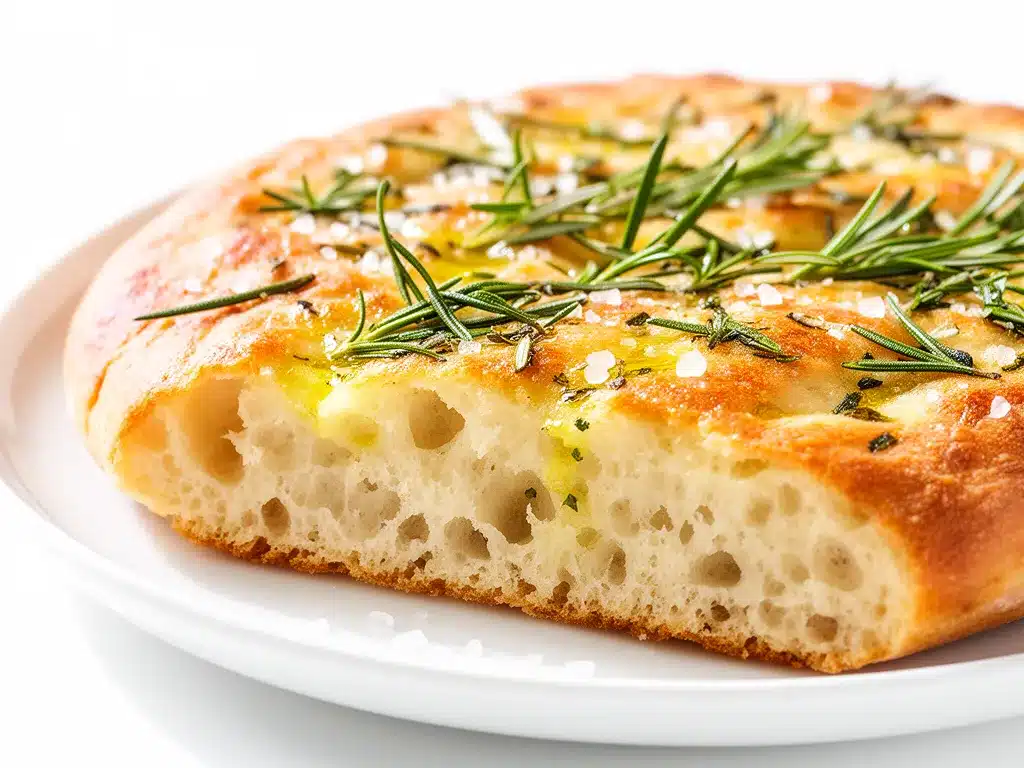
Alright, let’s get into the nitty-gritty. I’m breaking down every step so you can nail those crispy edges and soft, garlicky insides every time.
Step 1: Activate the Yeast (5 minutes)
Pour the warm water into your large mixing bowl and sprinkle the active dry yeast over the top. Give it a gentle stir and let it sit for 5 minutes until it’s foamy and bubbly. If nothing happens, your yeast might be old, so try again with fresh yeast.
Step 2: Mix the Dough (5 minutes)
Add the flour, salt, and ⅓ cup olive oil to the yeast mixture. Stir with a wooden spoon or your hands until it comes together into a sticky dough. It should be tacky but not super wet. If it’s too wet, add a little more flour, a tablespoon at a time.
Step 3: First Rise (1 to 1.5 hours)
Cover the bowl with a kitchen towel or plastic wrap and let the dough rise in a warm spot until it doubles in size—usually about an hour, but sometimes a bit longer if your kitchen is cool. I like to preheat the oven to 200°F (93°C), turn it off, and place the dough inside to create a cozy rising environment.
Step 4: Prepare the Pan and Shape the Dough (5 minutes)
Generously oil your baking sheet or rimmed pan with olive oil. Turn the dough out onto the pan and gently press it out with your fingers to fill the pan. Don’t worry if it resists—it’ll stretch as it rests. Use your fingertips to dimple the dough all over. This is key for trapping olive oil and creating pockets of crispy goodness.
Step 5: Second Rise (30 minutes)
Cover the dough loosely and let it rise again until puffy. This second rise is what gives you that airy interior.
Step 6: Add Garlic, Herbs, and Oil (5 minutes)
Preheat your oven to 425°F (220°C). Drizzle a generous 2 tablespoons of olive oil over the dough, then scatter the sliced garlic and chopped rosemary evenly on top. Press the toppings gently into the dough so they stick. Sprinkle sea salt flakes over everything for that salty crunch.
Step 7: Bake to Crispy Perfection (20-25 minutes)
Pop the focaccia into the oven and bake until golden brown with crispy edges. The top should look blistered in spots, and the bottom should be firm and crunchy. If you want to add cherry tomatoes, scatter them on about 10 minutes before the end so they roast without burning.
Step 8: Cool Slightly and Serve (5 minutes)
Let the focaccia cool for a few minutes in the pan—this helps the crust set. Then, slice into squares and serve warm. I usually drizzle a little more olive oil on top just before serving because, well, why not?
Expert Tips & Tricks for Perfect Garlic Herb Focaccia
Here’s everything I’ve learned after more than a dozen batches (some better than others):
- Don’t rush the rise. Good focaccia relies on patient proofing. I’ve tried shortcuts, and the texture just isn’t the same.
- Use your fingertips to dimple the dough. Those dimples catch olive oil and create the signature focaccia texture. Press gently but firmly.
- Be generous with olive oil. It’s what helps create the crispy, golden crust. I usually add more than the recipe calls for, and it’s never too much.
- Thinly slice the garlic. Thick chunks can burn and taste bitter. Thin slices roast beautifully, mellowing the flavor.
- Preheat your pan. If you want even crispier edges, place your baking sheet in the oven while it preheats, then carefully transfer the dough to the hot pan. It gets that instant sizzle.
- Try mixing in herbs into the dough. For an extra punch, knead in some finely chopped rosemary or thyme during mixing.
- Leftovers reheat beautifully. Toast slices in a skillet or oven for 3-5 minutes to bring back the crispiness.
Variations & Substitutions
Once you’ve mastered the classic garlic herb focaccia, here are a few ways to switch it up:
- Olive and Sun-Dried Tomato Focaccia: Add ½ cup chopped olives and ¼ cup chopped sun-dried tomatoes before the second rise. It gives a Mediterranean twist.
- Cheesy Focaccia: Sprinkle grated Parmesan or mozzarella over the top just before baking for a melty finish.
- Gluten-Free: Use a gluten-free all-purpose flour blend that’s meant for yeast breads. The texture will be different but still tasty.
- Whole Wheat: Swap half the all-purpose flour for whole wheat flour for a nuttier flavor and denser crumb.
- Vegan: This recipe is naturally vegan, but make sure your olive oil is extra virgin and fresh for best flavor.
- Herb Mix: Experiment with thyme, oregano, or basil depending on what you have. Fresh herbs always shine, but dried herbs work if added during mixing.
Serving & Storage
I usually serve this straight from the pan, warm and fragrant, alongside a simple salad or soup. It’s especially great with dishes like thermos mac and cheese for a cozy weeknight dinner that feels a little special.
For storage, wrap the focaccia tightly in foil or store in an airtight container at room temperature for up to 2 days or in the fridge for 3 days. To revive the crispiness, reheat slices in a hot skillet or toaster oven for a few minutes.
Freezing works too—wrap tightly and freeze in portions. Thaw overnight and toast before serving. It’s not quite fresh-baked, but still pretty darn good.
Nutrition Information
| Nutrient | Per Serving (1/8 of recipe) |
|---|---|
| Calories | 280 |
| Protein | 6g |
| Carbohydrates | 36g |
| Fiber | 2g |
| Sugar | 1g |
| Fat | 11g |
| Saturated Fat | 1.5g |
| Sodium | 320mg |
Look, this focaccia is a treat, but with olive oil’s healthy fats and fresh herbs, it’s a smarter comfort food than takeout bread. Plus, you know exactly what’s in it.
Final Thoughts
So that’s my tried-and-true garlic herb focaccia recipe with crispy edges perfect for busy weeknights. I’ve probably told you more than you bargained for, but when you bake as often as I do, you gather a lot of little tips and tricks.
This focaccia has saved many hurried dinners and impressed more than a few unexpected guests. It’s simple enough to make after a long day but special enough to feel like you put in some real effort.
Don’t be afraid to make it your own—add your favorite herbs, toss on some toppings, or serve it alongside turkey and cheese pinwheels for a complete meal. And if you try it, drop a comment below—I want to hear how your focaccia turned out, or if you got stuck anywhere.
Happy baking! May your kitchen smell as amazing as mine does right now.
Frequently Asked Questions
Q: Can I use instant yeast instead of active dry yeast?
A: Yes! Instant yeast works well here and you can usually skip the proofing step. Just mix it straight into the flour, then add the warm water. The dough might rise a little faster, so keep an eye on it.
Q: How do I get those crispy edges without burning the bread?
A: The key is using plenty of olive oil and a hot oven. Also, dimpling the dough traps oil in pockets that crisp up nicely. If edges brown too fast, you can tent the focaccia with foil halfway through baking.
Q: Can I make the dough ahead of time?
A: Definitely! You can make the dough the night before, cover it tightly, and refrigerate. Let it come to room temperature and rise a bit before shaping and baking the next day.
Q: What’s the best way to store leftover focaccia?
A: Wrap it tightly in foil or store in an airtight container at room temperature for up to 2 days, or in the fridge for up to 3 days. Reheat slices in a skillet or toaster oven to bring back crispness.
Q: Can I add other toppings like olives or cheese?
A: Absolutely! Olives, sun-dried tomatoes, caramelized onions, and cheese all work beautifully. Just add them before baking so they have time to meld into the bread.
Q: Why didn’t my dough rise?
A: Yeast is a living organism that needs the right temperature water and a bit of time. If it didn’t bubble up during proofing, your yeast might be old or the water too hot or cold. Try proofing again with fresh yeast and water around 105°F.
Q: Can I make this gluten-free?
A: Yes, use a gluten-free all-purpose flour blend designed for yeast breads. The texture will be different and possibly denser, but still tasty. Let me know if you want a tested gluten-free focaccia recipe!
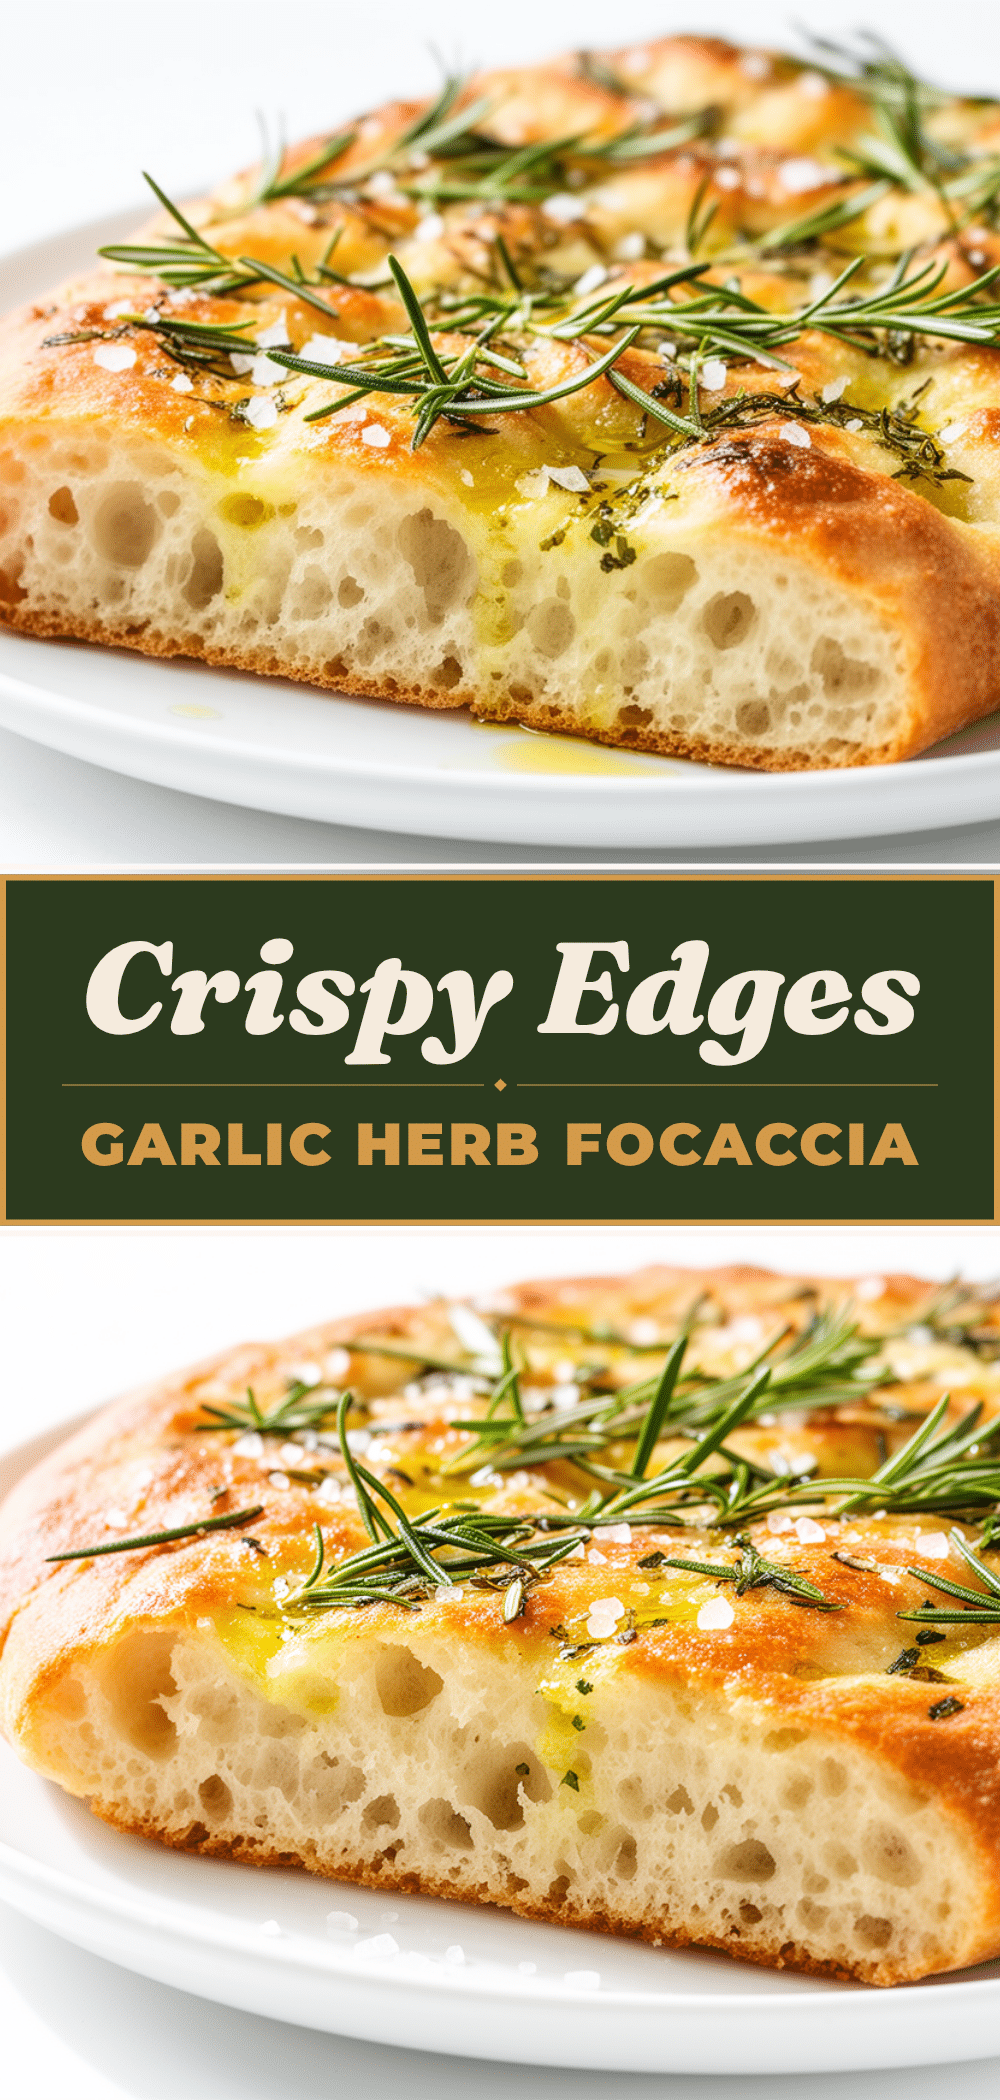
Pin This Recipe!
Garlic Herb Focaccia Recipe Easy Crispy Edges for Busy Weeknights
- Total Time: 2 hours 15 minutes
- Yield: 8 servings 1x
Description
A quick and easy garlic herb focaccia with crispy edges and a soft, airy center, perfect for busy weeknights. Loaded with fresh garlic and herbs, this bread pairs well with salads, soups, and proteins.
Ingredients
- 2 ¼ teaspoons (7g) active dry yeast
- 1 ½ cups (360ml) warm water (around 105°F / 40°C)
- 3 ½ cups (420g) all-purpose flour
- 2 teaspoons (10g) salt
- ⅓ cup (80ml) extra virgin olive oil, plus extra for drizzling
- 4 large garlic cloves, thinly sliced
- 2 tablespoons fresh rosemary, chopped
- Sea salt flakes for sprinkling
- Optional: ½ cup cherry tomatoes, halved
Instructions
- Activate the yeast: Pour warm water into a large mixing bowl and sprinkle active dry yeast over the top. Stir gently and let sit for 5 minutes until foamy and bubbly.
- Mix the dough: Add flour, salt, and ⅓ cup olive oil to the yeast mixture. Stir until it forms a sticky dough, tacky but not wet. Add more flour if too wet.
- First rise: Cover the bowl with a kitchen towel or plastic wrap and let the dough rise in a warm spot until doubled in size, about 1 to 1.5 hours.
- Prepare the pan and shape the dough: Generously oil a 9×13 inch baking sheet or rimmed pan. Turn dough onto the pan and press out with fingers to fill the pan. Dimple the dough all over with fingertips.
- Second rise: Cover loosely and let dough rise again until puffy, about 30 minutes.
- Add garlic, herbs, and oil: Preheat oven to 425°F (220°C). Drizzle 2 tablespoons olive oil over dough, scatter sliced garlic and chopped rosemary evenly, pressing toppings gently into dough. Sprinkle sea salt flakes on top.
- Bake: Bake for 20-25 minutes until golden brown with crispy edges. Add cherry tomatoes about 10 minutes before end if using.
- Cool and serve: Let focaccia cool for 5 minutes in the pan, then slice into squares and serve warm. Drizzle more olive oil on top if desired.
Notes
Use fingertips to dimple dough to trap olive oil and create crispy pockets. Preheat pan in oven for crispier edges. Thinly slice garlic to avoid bitterness. Leftovers reheat well in skillet or toaster oven. Variations include adding olives, sun-dried tomatoes, or cheese. Gluten-free and whole wheat substitutions possible.
- Prep Time: 15 minutes
- Cook Time: 25 minutes
- Category: Bread
- Cuisine: Italian
Nutrition
- Serving Size: 1/8 of the focaccia
- Calories: 280
- Sugar: 1
- Sodium: 320
- Fat: 11
- Saturated Fat: 1.5
- Carbohydrates: 36
- Fiber: 2
- Protein: 6
Keywords: garlic herb focaccia, focaccia bread, easy focaccia recipe, crispy focaccia, weeknight bread, garlic bread, herb bread


