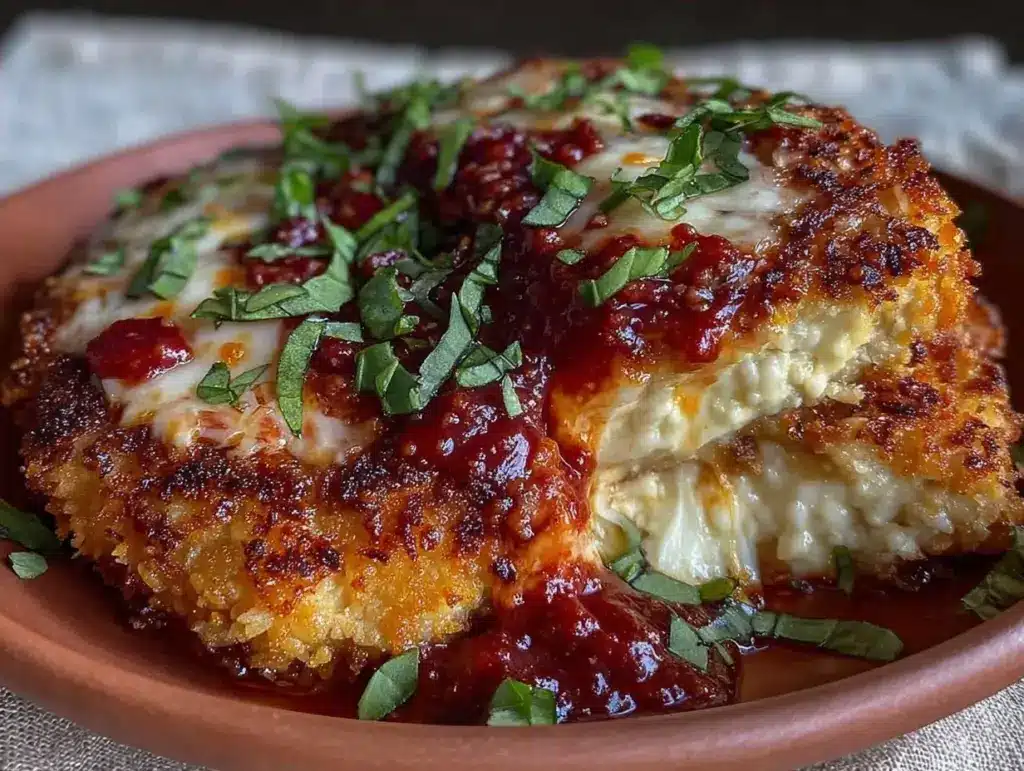
I have a confession to make. For years, I was the person who bought the frozen chicken parmesan in the foil tray, popped it in the oven, and pretended it was homemade. I told myself I was “busy,” but really? I was just intimidated by the breading. I’d tried making it from scratch before, and every time, the coating would turn into a soggy, gray mush that stuck to the bottom of the pan. It was a sad, disappointing experience.
Then, my daughter came home from school with a new friend who was gluten-free. I wanted to make dinner something everyone could eat together without making a big deal out of it. I needed a meal that felt indulgent and classic, not like a sad “diet” substitute. That’s when I decided to tackle the holy grail of comfort food: crispy baked chicken parmesan.
I spent three weekends testing breading techniques. I tried panko. I tried almond flour. I tried crushing crackers (don’t do that). I burned garlic. I overcooked chicken until it was rubbery. I undercooked it and worried about salmonella. But somewhere around attempt number four, something clicked. I realized the secret wasn’t just the ingredients—it was the method. Specifically, how to get that restaurant-style crunch without deep frying, and how to keep it gluten-free without sacrificing a single ounce of flavor.
This crispy baked chicken parmesan is the result. It’s golden, it’s crunchy, it’s melty, and it’s genuinely the best thing I’ve made in my kitchen all year. My family asks for it constantly. My gluten-free friend asks for the recipe every time she visits. And the best part? It’s easier than you think, and it tastes like you spent hours in the kitchen (even though it takes about 30 minutes of active time).
Why You’ll Love This Recipe
There are a lot of chicken parmesan recipes out there. Some are too heavy. Some are dry. Some require ingredients you have to drive to three different stores to find. This version hits the sweet spot. Here’s why it’s become our weekly staple:
- Actually Crispy — I’ve tested this with regular breadcrumbs, almond flour, and panko. The combination I use here creates a shatteringly crisp crust that stays crunchy even after you pour the sauce on top. Seriously, try it.
- Gluten-Free Friendly — You don’t need special “GF” mixes. I use simple, whole-food ingredients like parmesan and panko-style breadcrumbs that happen to be gluten-free. It’s not a compromise; it’s just better food.
- Lighter Than Fried — Because we’re baking instead of deep frying, you get all the crunch with a fraction of the oil. It still feels like a cheat meal, but it’s not as heavy on your stomach afterward.
- One Pan Wonder — You bread the chicken, you bake it, you top it with sauce and cheese, and you bake it one more time. No complicated stovetop frying steps. Just one sheet pan or baking dish.
- Weeknight Fast — From start to finish, this is under an hour. I make this on Tuesdays when I’m tired but still want to eat like a king. It’s my go-to when I don’t want to order takeout but also don’t have energy to cook.
This recipe has saved our weeknight dinners more times than I can count. It’s reliable, it’s delicious, and it makes everyone at the table happy.
Ingredients You’ll Need
Here’s the thing about chicken parmesan: it’s a simple dish, which means the quality of your ingredients really matters. You don’t need fancy stuff, but you do need the right stuff. I’m particular about three things here, and I’ll tell you exactly why.
Chicken Breasts (2 large, about 1.5 lbs / 680g) — I use boneless, skinless chicken breasts. They’re lean and cook evenly. If yours are really thick, pound them down to about ½ inch thick. This ensures they cook through before the breading burns. I like to buy organic when possible, but any quality chicken works.
Gluten-Free Panko-Style Breadcrumbs (1 cup / 100g) — This is the secret weapon. Regular panko is made with wheat, so check your label. Look for “gluten-free panko” or rice-based breadcrumbs. They have that airy, crunchy structure that regular flour-based breadcrumbs just can’t match. I use a brand like Kikkoman or store-brand GF panko. If you can’t find panko, regular GF breadcrumbs work, but they won’t be as crunchy.
Grated Parmesan Cheese (½ cup / 50g) — Freshly grated is non-negotiable. Pre-grated parmesan has anti-caking agents that make it clumpy and prevent it from melting smoothly. Buy a wedge and grate it yourself. It takes two minutes and makes a huge difference in flavor and texture.
Eggs (2 large) — These act as the glue for your breading. I use large eggs, beaten with a pinch of salt. If you’re avoiding eggs, you can try a flax egg, but the texture won’t be quite the same. I’m not sorry about that.
All-Purpose Flour (or Almond Flour) (½ cup / 60g) — I use a light dusting of flour first to help the egg stick. For a gluten-free version, I use almond flour or a 1:1 GF flour blend. Almond flour adds a nice nutty flavor that pairs well with the chicken. If you eat gluten, regular flour is fine.
Marinara Sauce (1.5 cups / 360ml) — I don’t judge, but I recommend a good jarred sauce. I use Rao’s or Muir Glen. If you have time, homemade marinara is amazing, but honestly, a good jarred sauce is 90% of the battle. Avoid the “low sodium” versions if you’re not watching salt closely—they often taste flat. You want rich, tomatoey flavor.
Low-Moisture Mozzarella (2 cups / 200g, shredded) — Do not use pre-shredded mozzarella if you can help it. It’s coated in potato starch to prevent clumping, which means it doesn’t melt as smoothly. Buy a block and shred it. It melts into those beautiful, stretchy strings that make chicken parmesan famous.
Italian Seasoning (1 teaspoon) — Dried oregano, basil, thyme. Standard stuff. I keep a jar in my cabinet at all times.
Black Pepper (½ teaspoon) — Freshly cracked is best.
Extra Virgin Olive Oil (2-3 tablespoons) — For drizzling. This helps the breadcrumbs brown in the oven. It’s not deep frying, but that little bit of fat makes all the difference.
Equipment Needed
You don’t need fancy gadgets for this. Here’s what I actually use.
- Baking Sheet or Rimmed Baking Pan — I use a large half-sheet pan. You need enough room for the chicken pieces so they aren’t touching. If they’re touching, they steam instead of crisp up.
- Parchment Paper — I line my pan with parchment. It makes cleanup a breeze and prevents sticking. I’m lazy, and I know you are too.
- Three Shallow Bowls — For the dredging station: flour, egg wash, and breadcrumbs. I use pie plates or shallow bowls. They’re wide enough that you can easily roll the chicken in them.
- Meat Mallet or Rolling Pin — To pound the chicken breasts flat. If you don’t have a mallet, a heavy skillet or a rolling pin works fine. Just be gentle.
- Grater — A box grater for the parmesan and mozzarella. Microplane works too, but you want some texture, not powder.
- Wire Rack (Optional) — If you want extra crispiness, place a wire rack on top of your baking sheet. It allows air to circulate under the chicken. I use this when I’m feeling fancy, but it’s not strictly necessary.
How to Make It: Step-by-Step
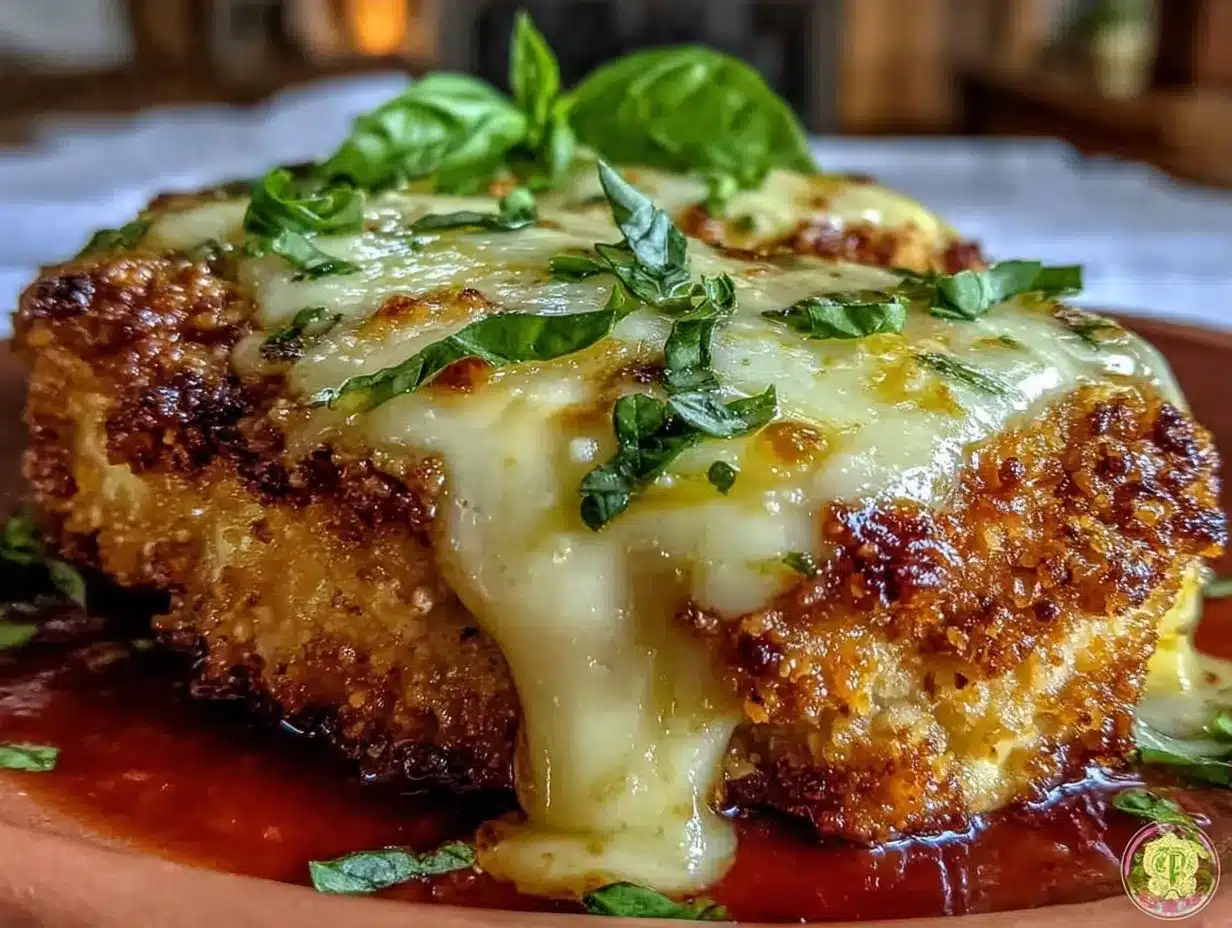
Alright, let’s make this! I’m walking you through exactly how I do it, including the little tricks I’ve picked up.
Step 1: Prep Your Chicken (5 minutes)
Start by preheating your oven to 400°F (200°C). Line your baking sheet with parchment paper. Take your chicken breasts and place them between two sheets of plastic wrap or in a zip-top bag. Use a meat mallet to pound them to an even ½-inch thickness. This is crucial. If the chicken is uneven, some parts will be raw while others are dry. Even thickness means even cooking.
Step 2: Set Up Your Dredging Station (5 minutes)
Get three shallow bowls out. In the first, put your flour (or almond flour) with a pinch of salt and pepper. In the second, beat the eggs with a splash of water and a pinch of salt. In the third, mix your gluten-free panko breadcrumbs with the grated parmesan cheese and Italian seasoning. The parmesan in the breading adds a salty, savory kick that’s essential.
Step 3: Bread the Chicken (10 minutes)
Dip a piece of chicken into the flour, shaking off any excess. Then dip it into the egg wash, letting the excess drip off. Finally, press it firmly into the breadcrumb mixture. Use your hands to press the crumbs onto the chicken—don’t just roll it. You want a thick, even coating. Place it on the prepared baking sheet. Repeat with the remaining chicken. Don’t crowd the pan!
Step 4: The First Bake (15 minutes)
Drizzle the tops of the breaded chicken with olive oil. This helps them brown. Bake for 15 minutes. You’re not cooking them all the way through yet—you’re just setting the crust and cooking the chicken partially. After 15 minutes, check that the chicken is about 150°F internally. It will finish cooking in the next step.
Step 5: Add Sauce and Cheese (5 minutes)
Remove the pan from the oven. Spoon about ¼ cup of marinara sauce over each piece of chicken. Top generously with shredded mozzarella. The cheese should cover the sauce and some of the exposed breading. This creates that classic layered look.
Step 6: The Final Bake (10 minutes)
Return the pan to the oven and bake for another 10 minutes, or until the cheese is bubbly and golden, and the chicken reaches an internal temperature of 165°F (74°C). Keep an eye on it in the last few minutes—the cheese can burn if your oven runs hot.
Step 7: Serve
Let the chicken rest for 5 minutes before serving. This lets the juices redistribute so the chicken stays moist. Garnish with fresh basil if you have it. Serve with pasta, salad, or roasted vegetables.
Expert Tips & Tricks
Here’s everything I’ve learned from making this dozens of times. These tips will save you from my mistakes.
Don’t Skip the Pound
I know pounding chicken seems tedious, but it’s the difference between dry, overcooked edges and tender, juicy meat. If you skip this, your chicken parmesan will be tough. Trust me.
Press the Breadcrumbs
When you’re coating the chicken, press the crumbs into the meat. If you just roll it, the coating will fall off in the oven. You want it stuck on tight. I use my fingers to pat it down firmly.
Use a Wire Rack
If you have a wire rack that fits inside your baking sheet, use it. It elevates the chicken, allowing hot air to circulate underneath. This prevents the bottom from getting soggy. I learned this from making chicken and dumplings, where crispiness is key, and it applies here too.
Don’t Overload the Sauce
It’s tempting to drown the chicken in sauce, but too much sauce will make the breading soggy. Use just enough to cover the top. The sauce should be a topping, not a bath.
Check the Temperature
Use a meat thermometer. Chicken parmesan is done when the thickest part of the breast hits 165°F. Overcooked chicken is dry chicken. Undercooked chicken is dangerous. Aim for 165°F.
Variations & Substitutions
Once you’ve nailed the basic version, here’s how you can mix it up. I’ve tried all of these.
Dairy-Free Option
Swap the parmesan in the breading for nutritional yeast. It adds a cheesy, nutty flavor. For the topping, use a dairy-free mozzarella shreds. It’s not perfect, but it’s getting better. I use Violife or Daiya. It melts okay, but it’s not as stretchy.
Low-Carb/Keto
Replace the panko breadcrumbs with crushed pork rinds or almond flour. Pork rinds give the best crunch. Skip the flour dredge entirely. This version is still delicious and fits a keto diet.
Spicy Version
Add red pepper flakes to the breadcrumb mixture. Or use spicy marinara sauce. If you like heat, this is the way to go.
Vegetarian Version
Use thick slices of eggplant or portobello mushrooms instead of chicken. Bread them the same way and bake. It’s a great alternative for meatless Mondays.
Serving & Storage
How to Serve
I usually serve this with spaghetti or zucchini noodles. A simple arugula salad with lemon vinaigrette cuts through the richness of the cheese. Garlic bread is optional but recommended.
Storage
Store leftovers in an airtight container in the fridge for up to 3 days. The chicken will stay moist if you keep the sauce on it.
Reheating
To reheat, place the chicken on a baking sheet and warm in a 350°F oven for 10-15 minutes. This helps retain the crispiness. Avoid the microwave, or the breading will get soggy. If you must use the microwave, do it in short bursts and let it sit for a minute after.
Freezing
You can freeze the breaded chicken before baking. Place them on a baking sheet and freeze until solid, then transfer to a freezer bag. Bake from frozen, adding 5-10 minutes to the cooking time. Do not freeze the sauced and cheesed version—the cheese texture will suffer.
Nutrition Information
I’m not a nutritionist, but here’s the breakdown if you’re tracking.
Per Serving (based on 4 servings):
- Calories: 450
- Protein: 40g
- Carbs: 15g
- Fiber: 1g
- Sugar: 4g
- Fat: 22g
- Saturated Fat: 10g
- Cholesterol: 120mg
- Sodium: 600mg
This is a high-protein meal, which is great for satiety. The carbs come mostly from the breadcrumbs and sauce. If you’re watching carbs, skip the pasta and serve with roasted veggies.
Final Thoughts
So that’s my go-to crispy baked chicken parmesan! I’ve probably talked your ear off at this point, but when you make a recipe this often, you have a lot to say about it.
This has saved weeknight dinners more times than I can count. It’s my answer to “what’s for dinner” when I’m tired, don’t want takeout, and still want something that tastes really good. My kids are happy, my husband’s happy, and I’m happy because I’m not stressed about cooking.
Make it yours! Try different add-ins, swap in your favorite vegetables, adjust the garlic (though more is always better in my opinion). The best recipes are the ones you adapt to your family’s tastes.
If you make this, drop a comment and let me know what you think! I love hearing how recipes turn out in your kitchen. And if something doesn’t work, tell me that too—I’m here to help troubleshoot.
Happy cooking! And I hope your kitchen smells half as good as mine does right now.
Frequently Asked Questions
Can I use regular breadcrumbs?
Yes, but they won’t be as crunchy as panko. Regular breadcrumbs are denser and can get soggy faster. If you use regular breadcrumbs, press them on firmly and maybe add a little extra olive oil to help them brown.
Why is my chicken parmesan soggy?
Usually, this happens because the chicken wasn’t pounded evenly, or the sauce was too watery. Make sure you pound the chicken to an even thickness, and don’t overload it with sauce. Also, let the chicken rest after baking so the juices don’t make the crust soggy.
Can I make this ahead for a dinner party?
Yes! You can bread the chicken and store it in the fridge for up to 24 hours. When you’re ready to cook, bake it as directed. You can also bake it partially, let it cool, then add sauce and cheese and bake again when guests arrive.
Is this recipe truly gluten-free?
Yes, if you use gluten-free panko and check your marinara sauce label (some contain wheat). I use Kikkoman GF panko and Rao’s sauce, which are both safe. Always double-check labels to be sure.
Can I use chicken thighs?
Yes, but they have more fat and will cook differently. Thighs are more forgiving and stay juicier, but they won’t be as lean. Adjust cooking time as needed, and watch for doneness with a thermometer.
What’s the best way to reheat leftovers?
The oven is best. Reheat at 350°F for 10-15 minutes. This keeps the crust crisp. The microwave will make the breading soft and chewy, which isn’t ideal.
Can I freeze this?
You can freeze the breaded chicken before baking. Freeze on a tray, then transfer to a bag. Bake from frozen, adding extra time. Don’t freeze the sauced version—the cheese will separate and become grainy when thawed.
Pin This Recipe!
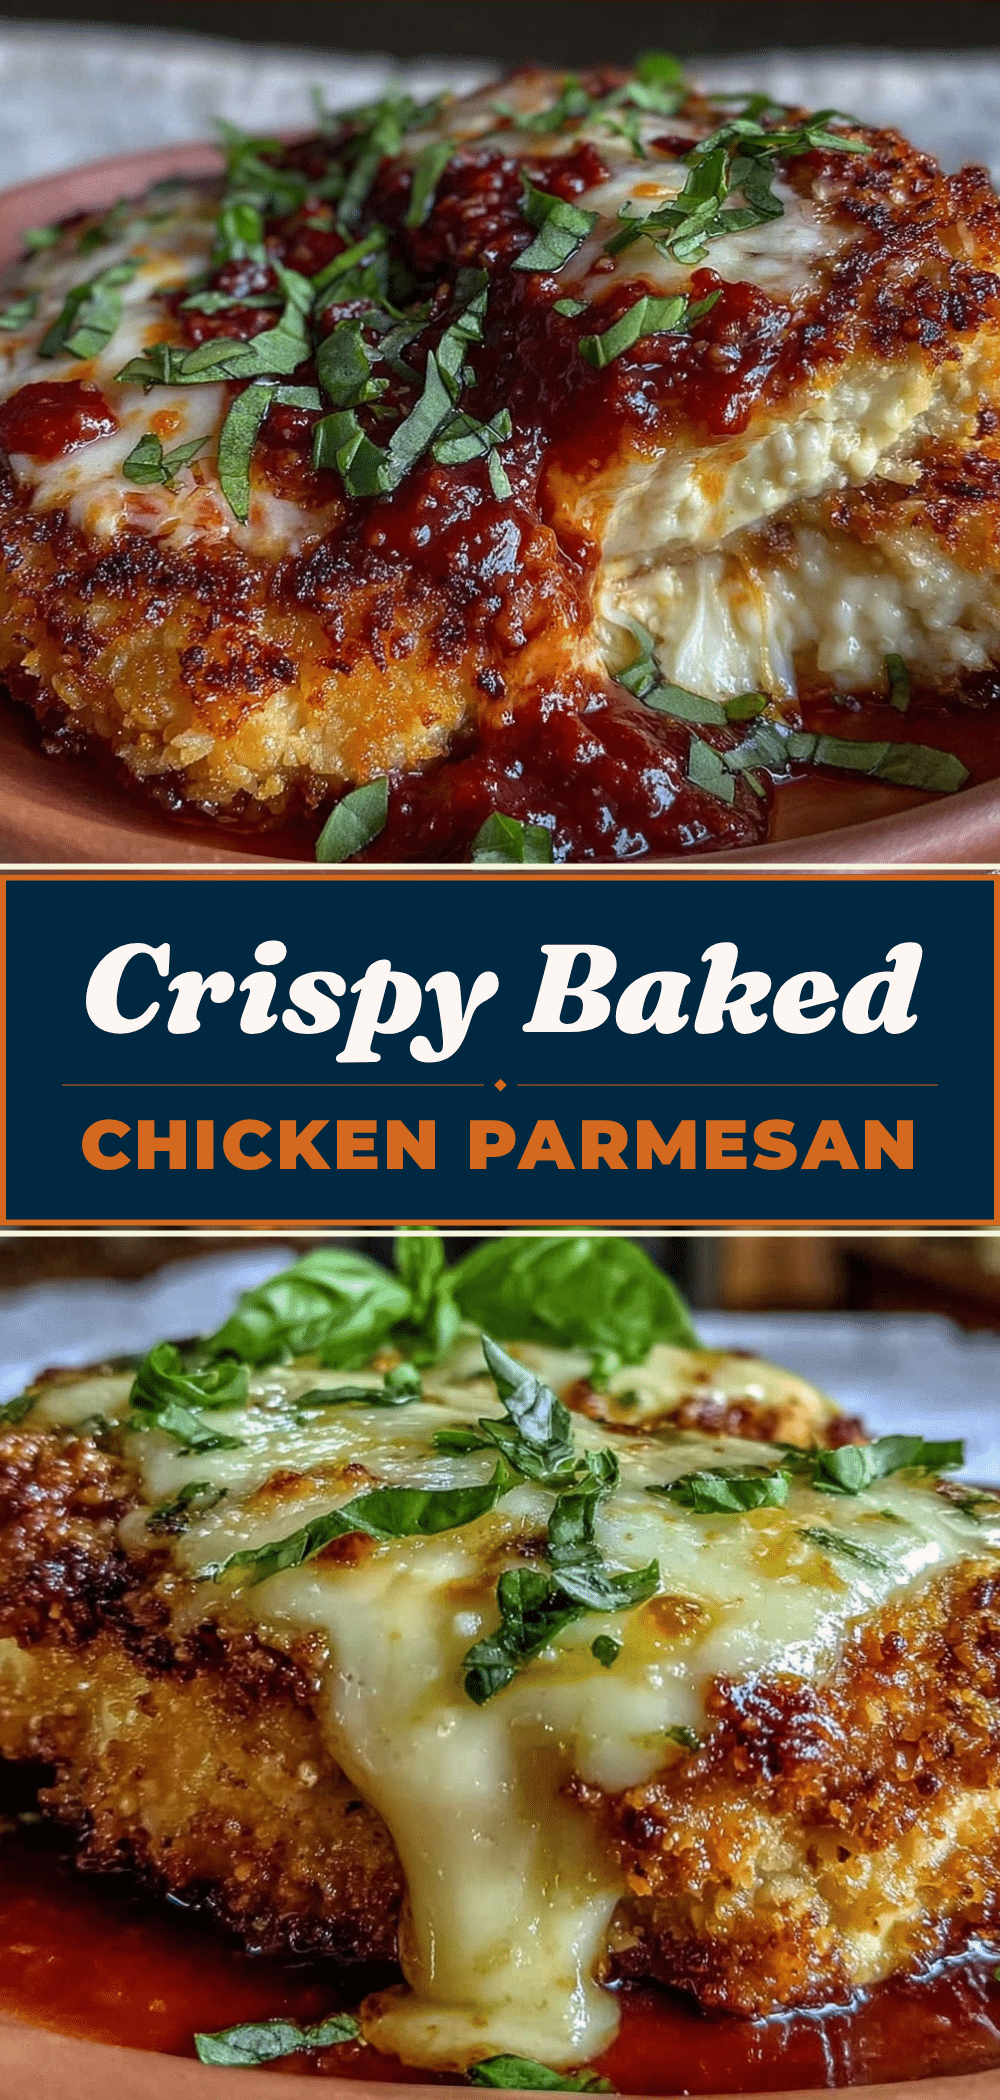
Crispy Baked Chicken Parmesan: The Easy Gluten-Free Version
- Total Time: 50 minutes
- Yield: 4 servings 1x
Description
A crispy, baked chicken parmesan recipe that is gluten-free and lighter than traditional fried versions. It features a shatteringly crisp crust using GF panko and parmesan, baked to perfection in under an hour.
Ingredients
- 2 large boneless, skinless chicken breasts (about 1.5 lbs / 680g)
- 1 cup gluten-free panko-style breadcrumbs (100g)
- 1/2 cup grated parmesan cheese (50g)
- 2 large eggs, beaten with a pinch of salt
- 1/2 cup all-purpose flour or almond flour (60g)
- 1.5 cups marinara sauce (360ml)
- 2 cups low-moisture mozzarella cheese, shredded (200g)
- 1 teaspoon Italian seasoning
- 1/2 teaspoon black pepper
- 2–3 tablespoons extra virgin olive oil
- Pinch of salt
Instructions
- Preheat oven to 400°F (200°C). Line a baking sheet with parchment paper.
- Place chicken breasts between plastic wrap or in a zip-top bag and pound to an even 1/2-inch thickness.
- Set up three shallow bowls: one with flour (or almond flour) and salt/pepper, one with beaten eggs, and one with GF panko, grated parmesan, and Italian seasoning.
- Dredge chicken in flour, dip in egg wash, then press firmly into the breadcrumb mixture to coat evenly.
- Place breaded chicken on the prepared baking sheet, ensuring pieces are not touching.
- Drizzle tops with olive oil and bake for 15 minutes until internal temperature reaches 150°F.
- Remove from oven, spoon about 1/4 cup marinara sauce over each piece, and top generously with shredded mozzarella.
- Return to oven and bake for another 10 minutes until cheese is bubbly/golden and chicken reaches 165°F.
- Let rest for 5 minutes before serving.
Notes
Pounding the chicken to an even thickness is crucial for even cooking. Press breadcrumbs firmly onto the chicken to prevent them from falling off. Do not overload with sauce to avoid sogginess. For extra crispiness, use a wire rack on the baking sheet. Store leftovers in an airtight container for up to 3 days. Reheat in the oven at 350°F to maintain crispiness.
- Prep Time: 20 minutes
- Cook Time: 30 minutes
- Category: Main Course
- Cuisine: Italian
Nutrition
- Serving Size: 1 piece of chicken w
- Calories: 450
- Sugar: 4
- Sodium: 600
- Fat: 22
- Saturated Fat: 10
- Carbohydrates: 15
- Fiber: 1
- Protein: 40
Keywords: chicken parmesan, gluten-free chicken, baked chicken, crispy chicken, easy dinner, weeknight meals, keto friendly, dairy free option


