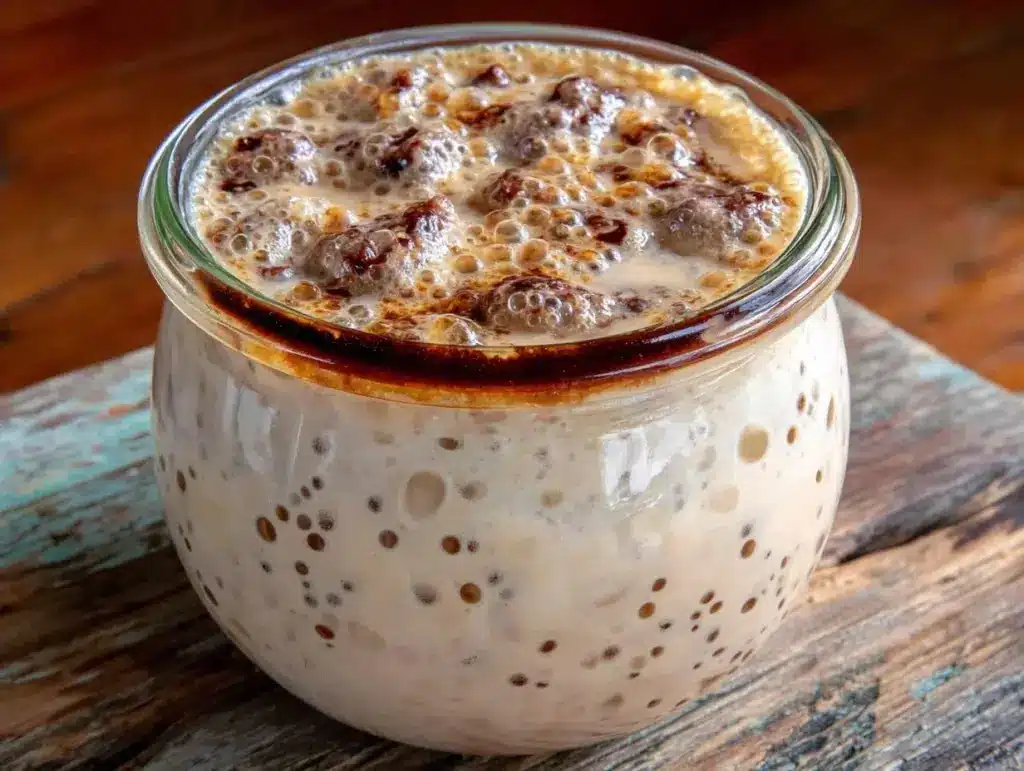
I still remember the exact moment I realized sourdough wasn’t magic. It was 2020, and like half the internet, I had bought flour, a mason jar, and a vague sense of purpose. I watched a dozen YouTube videos. I read articles that sounded like chemistry textbooks. I spent $40 on a “professional” digital scale that measured to the milligram.
And then? I killed it. Twice.
My first starter smelled like old gym socks. My second one grew a layer of dark, hooch on top that looked like I’d left it in the sun for a week. I was ready to throw in the towel. I was ready to admit that I just didn’t have the “baker’s touch.” But here’s the thing about sourdough starters: they aren’t fragile little snowflakes. They’re basically wild yeast colonies. They want to live. They want to eat. And they don’t care if you’re a perfectionist.
That’s why I created this beginner friendly sourdough starter. It strips away the confusion. No fancy equipment. No complicated schedules. Just flour, water, and a jar. If you can mix two things together, you can make this. I’ve made this starter on repeat for years, and it’s the foundation of everything I bake—from my fall cranberry pecan sourdough focaccia to my weekend breakfast pumpkin spice overnight oats. Once you have a healthy starter, the rest is just waiting (and eating).
This isn’t about becoming a professional baker overnight. It’s about getting one thing right so you can build on it. And trust me, once you smell that tangy, yeasty aroma for the first time, you’ll never go back to store-bought yeast again.
Why You’ll Love This Sourdough Starter Recipe
There are a lot of sourdough recipes out there. Some are complicated. Some require three different types of flour. Some have you feeding your starter at 3 AM. This one? It’s the anti-complicated. It’s designed for people who want to bake bread but don’t want to turn their kitchen into a laboratory.
- Zero Guesswork — Most recipes say “feed when active.” But what does active look like to a newbie? This guide tells you exactly what to look for (and what to ignore).
- Simple Ingredients — Just flour and water. That’s it. No pineapple juice, no raisins, no weird additives. Just basic pantry staples.
- Forgiving Schedule — I know “every 12 hours” sounds nice, but life happens. This starter is robust enough to handle a missed feeding or a weekend away (within reason).
- Builds Confidence — There’s nothing like watching your jar bubble over the weekend. It proves you can do it. And once you have that confidence, you’ll be baking fall caramel pecan sticky buns and autumn apple cider bundt cakes in no time.
- Free (Well, Cheap) — All you need is flour. If you already buy flour for cookies or pancakes, you’re already halfway there.
This is the “if you can only make one thing, make this” recipe. It’s the gateway drug to artisan baking. And I promise, it’s easier than making a cake mix.
Ingredients You’ll Need
Here’s the best part: you probably have everything you need right now. I’m not asking you to go to a specialty store. I’m asking you to look in your pantry.
The Basics
Unbleached All-Purpose Flour (100g / ¾ cup + 1 tbsp) — This is my go-to. It’s readily available, affordable, and has the right protein content for a strong starter. Whole wheat flour is great for feeding later, but for starting, AP flour is friendlier because it’s lighter and easier for the yeast to digest initially.
Filtered Water (100g / ⅔ cup + 2 tbsp) — Chlorine can kill wild yeast, so if your tap water tastes like a swimming pool, use filtered or bottled water. If your water is soft and tastes fine, tap water works perfectly. Room temperature is best—cold water slows things down.
Whole Wheat or Rye Flour (Optional but Recommended) (10g / 1 tbsp) — After the first few days, I like to add a tablespoon of whole wheat or rye flour. These flours have more bran and nutrients, which gives the wild yeast a buffet. It helps build a stronger culture faster. Think of it as a vitamin supplement for your starter.
Equipment
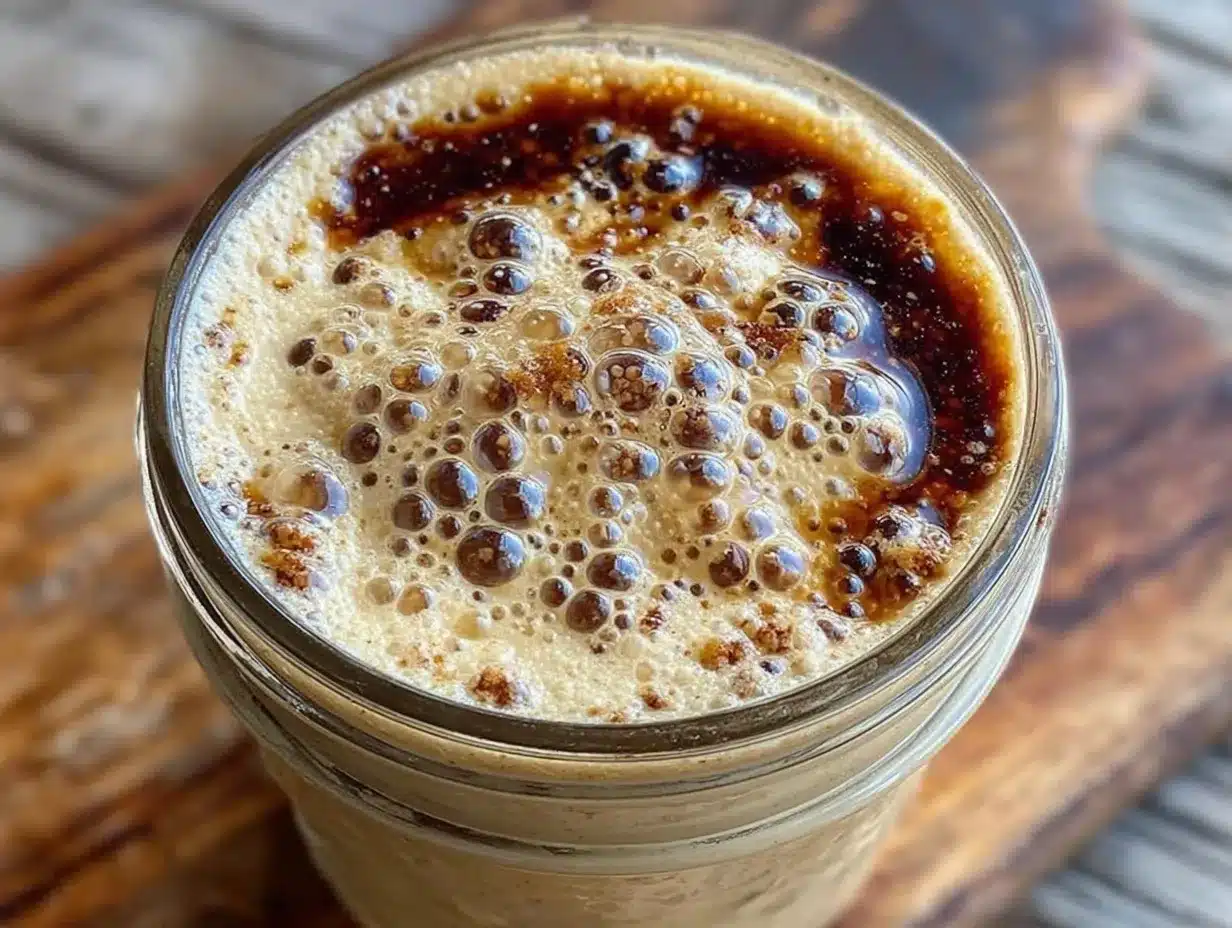
A Glass Jar — A 16-ounce mason jar is perfect. Glass is non-porous and easy to clean. I’ve used plastic containers before, but they get sticky and hard to scrub. Glass lets you see everything clearly.
A Rubber Band or Marker — This is crucial. You need to mark the starting level so you can see how much the starter rises. A rubber band is my favorite because it’s reusable. If you don’t have one, just use a permanent marker.
A Digital Scale — I know, I said no fancy equipment. But a scale is the single biggest reason beginners fail. Measuring by volume (cups) is inconsistent. One cup of flour can be 120g or 150g depending on how you scoop it. A scale ensures consistency. You don’t need a $50 one; a $15 Amazon scale works fine.
A Spoon — Just a regular spoon. I use a wooden spoon because it’s easy to clean, but a silicone spatula works too. Avoid metal spoons if you’re using a metal jar lid, as it can react over time (rare, but why risk it).
How to Make It: Step-by-Step
Alright, let’s do this. I’m going to walk you through the first 7 days. It’s a simple routine. You’ll spend about 5 minutes a day, split into two feedings. That’s it.
Day 1: The Beginning
Morning: In your clean glass jar, combine 50g of all-purpose flour and 50g of room-temperature water. Stir vigorously with your spoon. It should look like thick pancake batter with some lumps. That’s okay. Cover the jar loosely with a lid or a coffee filter secured with a rubber band. You want air to get in (yeast needs oxygen), but you don’t want bugs or dust in it.
Evening: Discard half of the mixture (about 50g). To this, add 50g of flour and 50g of water. Stir well. Cover loosely. Put it back in its spot.
What to expect: Nothing much will happen. It might smell a bit sour or like wet cardboard. Don’t panic. This is normal.
Day 2: The Wait
Morning: Check the jar. You might see a few tiny bubbles. If it has risen slightly, great. If not, that’s fine too. Discard half again. Feed with 50g flour and 50g water. Stir. Cover.
Evening: Repeat. Discard half. Feed 50g flour, 50g water. Stir. Cover.
What to expect: It might start smelling a bit tangy, like vinegar or yogurt. This is the bacteria working. The yeast is waking up. It’s still not ready to bake, but it’s alive.
Day 3: The Rise
Morning: Look closely. You should see more bubbles now. It might have doubled in size at some point today. Discard half. Feed 50g flour, 50g water. Stir. Cover.
Evening: Repeat. Discard half. Feed 50g flour, 50g water. Stir. Cover.
What to expect: The smell should be improving. Less like vinegar, more like sour milk or ripe fruit. If you see a significant rise after feeding, you’re making progress.
Day 4: The Check-In
Morning: Discard half. Feed 50g flour, 50g water. Stir. Cover.
Evening: This is the big test. Before you feed it, look at the jar. Did it double in size? If it did, that’s a good sign. If not, don’t worry. Discard half. Feed 50g flour, 50g water. Stir. Cover.
What to expect: You might see bubbles on the sides of the jar. This is called the “windowpane test” preparation. The gluten is developing.
Day 5: The Boost
Morning: Discard half. Now, add 50g flour, 10g whole wheat flour, and 50g water. The whole wheat gives the yeast a nutrient boost. Stir well. Cover.
Evening: Discard half. Feed 50g all-purpose flour, 50g water. Stir. Cover.
What to expect: It should be getting more active. You should see a clear rise and fall cycle within 4-8 hours of feeding.
Day 6: The Confidence
Morning: Discard half. Feed 50g flour, 50g water. Stir. Cover.
Evening: Discard half. Feed 50g flour, 50g water. Stir. Cover.
What to expect: It should be bubbling consistently. The smell should be pleasantly sour. If it passes the float test (more on that below), you’re almost there.
Day 7: The Test
Morning: Feed your starter as usual. Wait 4-6 hours. Then, do the Float Test.
How to do the Float Test: Fill a glass with room-temperature water. Gently drop a spoonful of your starter into the water. If it floats, it’s ready. If it sinks, keep feeding it for another day or two.
Why it works: If the starter is full of gas bubbles from fermentation, it will be less dense than water and float. If it sinks, it’s not active enough yet.
Once it floats: Congratulations! You have a beginner friendly sourdough starter you can use for baking. You can now start making bread, or try my creamy pumpkin alfredo pasta (just kidding, that doesn’t use starter, but you’re now a baker!).
Expert Tips & Tricks
I’ve made this starter dozens of times, and I’ve learned a few things the hard way. Here’s how to avoid my mistakes.
The Temperature Matters
Yeast loves warmth. If your kitchen is cold (below 65°F / 18°C), your starter will move slowly. It might take 10 days instead of 7. If your kitchen is warm (75-80°F / 24-27°C), it might be ready in 5 days. If it’s cold, put your jar in the oven with just the light on. The bulb creates enough warmth to speed things up without cooking it.
Don’t Overthink the Smell
Early on, your starter might smell like old socks, vomit, or nail polish remover. This is normal. It’s the byproducts of the bacteria. As long as it’s not moldy (more on that below), it’s fine. The smell improves as the yeast population grows. By Day 5, it should smell like sourdough bread or yogurt.
Mold vs. Hooch
Mold is fuzzy, green, pink, or black, and grows on top. If you see mold, throw it out. Start over. Don’t try to scrape it off.
Hooch is a dark liquid that forms on top when the starter is hungry. It’s not mold. It’s alcohol. If you see hooch, just pour it off or stir it back in (it adds tanginess). Then feed your starter. It’s a sign it needs to eat.
The Float Test Isn’t Perfect
While the float test is a great indicator, it’s not foolproof. Sometimes a starter floats but isn’t strong enough for a good loaf. If your bread doesn’t rise well, your starter might need more time. Keep feeding it. It’s a living thing.
Consistency is Key
Try to feed your starter at the same time each day. Your body has a rhythm; your starter does too. Consistency helps the yeast establish a predictable pattern. If you feed it at 8 AM one day and 4 PM the next, it can get confused.
Variations & Substitutions
Once you have the basic starter, you can tweak it to suit your taste and baking style.
Whole Wheat Starter
After the first week, you can switch to 100% whole wheat flour. Whole wheat has more nutrients, which can make a stronger, more robust starter. It also adds a nuttier flavor to your bread. I use a whole wheat starter for my fall harvest fig and honey ricotta cheesecake (just the bread part, obviously).
Rye Starter
Rye flour is fantastic for sourdough because it has high enzymatic activity. It creates a very tangy, dark bread. If you like strong sourdough flavor, try feeding your starter with 25% rye flour once a week.
Gluten-Free Starter
You can make a gluten-free starter using rice flour, tapioca starch, and potato starch. The process is the same, but GF starters are less elastic and don’t hold gas as well. They’re great for pancakes and muffins, but harder for bread. If you’re GF, I recommend autumn sweet potato casserole as a backup plan!
Discard Recipes
You’ll be discarding a lot of starter. Don’t waste it! Use it in fall brown butter pumpkin blondies, pancakes, waffles, or crackers. Discard sourdough crackers are my favorite way to use it up. They’re crispy, cheesy, and addictive.
Serving & Storage
Now that you have a healthy starter, how do you keep it alive?
Room Temperature Feeding
If you bake every day or every other day, keep your starter on the counter. Feed it every 12-24 hours. This keeps it active and ready to bake. This is the easiest method for frequent bakers.
Fridge Storage
If you bake less often, store your starter in the fridge. Feed it, let it sit on the counter for an hour, then put it in the fridge. It will go dormant. Feed it once a week. Take it out 1-2 days before you want to bake, feed it daily, and let it come to room temperature. It’ll wake up and be ready to go.
Long-Term Storage
If you’re going on vacation for a month, you can dehydrate your starter. Spread it thinly on parchment paper and let it dry in the oven (lowest setting) or a dehydrator. Once it’s brittle, crumble it and store it in an airtight container. To reactivate, mix 1 part dried starter with 1 part water and 1 part flour. It will take a week to revive.
Refrigerator Life
A fed starter lasts on the counter for about 4-7 days if you forget to feed it. It will get very sour and might separate. But don’t throw it out! Feed it for 2-3 days, and it’ll come back to life. I’ve done this accidentally more than once.
Nutrition Information
I’m not a nutritionist, but here’s the breakdown for the starter itself (before baking). Note that most of the carbs are converted to gas and alcohol during fermentation, so the actual nutritional value of the final bread is different.
Per 100g of Starter:
- Calories: 180
- Protein: 5g
- Carbs: 35g
- Fiber: 2g
- Fat: 1g
Look, this is comfort food fuel. It’s not a diet recipe. But it’s better than store-bought bread because you control the ingredients. No preservatives, no sugar, no weird additives. Just flour and water. When I want to make it lighter, I use whole wheat flour and add seeds. But usually? I just enjoy it.
Final Thoughts
So that’s my beginner friendly sourdough starter! I know it sounds like a lot of steps, but once you get into the rhythm, it’s just 5 minutes a day. It’s meditative. It’s rewarding. And it’s the foundation of so much more.
This starter has saved my baking game. It’s my answer to “what can I make with just flour and water?” when I want something wholesome and homemade. My kids are happy with the bread, my husband is happy with the smell, and I’m happy because I finally feel like I can bake like a pro.
Make it yours! Try different flours, adjust the feeding schedule, and don’t be afraid to experiment. The best recipes are the ones you adapt to your life. And if you’re feeling adventurous, check out my cozy fall apple cider doughnut loaf cake next.
If you make this, drop a comment and let me know how it goes! I love hearing how recipes turn out in your kitchen. And if something doesn’t work, tell me that too—I’m here to help troubleshoot.
Happy baking! And I hope your kitchen smells half as good as mine does right now.
Frequently Asked Questions
Q: Can I use bread flour instead of all-purpose?
A: Yes! Bread flour has more protein, which can create a stronger starter. However, it can be harder to mix and digest for the wild yeast initially. I recommend starting with all-purpose, then switching to bread flour once your starter is established. It’s a bit more work, but the results are worth it.
Q: My starter smells like acetone or nail polish—what’s wrong?
A: That’s hooch. It means your starter is very hungry. Pour off the liquid (or stir it in for a tangier flavor) and feed it immediately. It’s not dead; it’s just screaming for food. After one or two feedings, the smell should improve.
Q: Can I feed my starter with milk?
A: No. Sourdough starters need flour and water. Milk contains lactose and proteins that can spoil the starter and attract unwanted bacteria. Stick to flour and water. If you want dairy flavor, add it to the dough, not the starter.
Q: How do I know if my starter is ready to bake?
A: It should pass the float test (float in water), have doubled in size within 4-8 hours of feeding, and have a pleasant, tangy smell. It should also be bubbly throughout, not just on top. If it’s not ready, keep feeding it. Don’t rush it.
Q: Can I make this starter in a plastic container?
A: You can, but glass is better. Plastic can scratch over time, harboring bacteria that are hard to clean. Glass is non-porous and easy to sanitize. If you must use plastic, make sure it’s food-grade and clean it thoroughly before each use.
Q: What if I miss a feeding?
A: If you miss one feeding, don’t panic. Your starter will survive. It might get a bit more sour, but it will recover. If you miss several feedings, it might separate and smell very strong. Feed it for 2-3 days, and it should bounce back.
Q: Can I use a different type of flour for the float test?
A: No. The float test is about the gas in the starter, not the flour. Use the same flour you’ve been feeding it with. If you switch flours, the density might change, affecting the test.
Pin This Recipe!
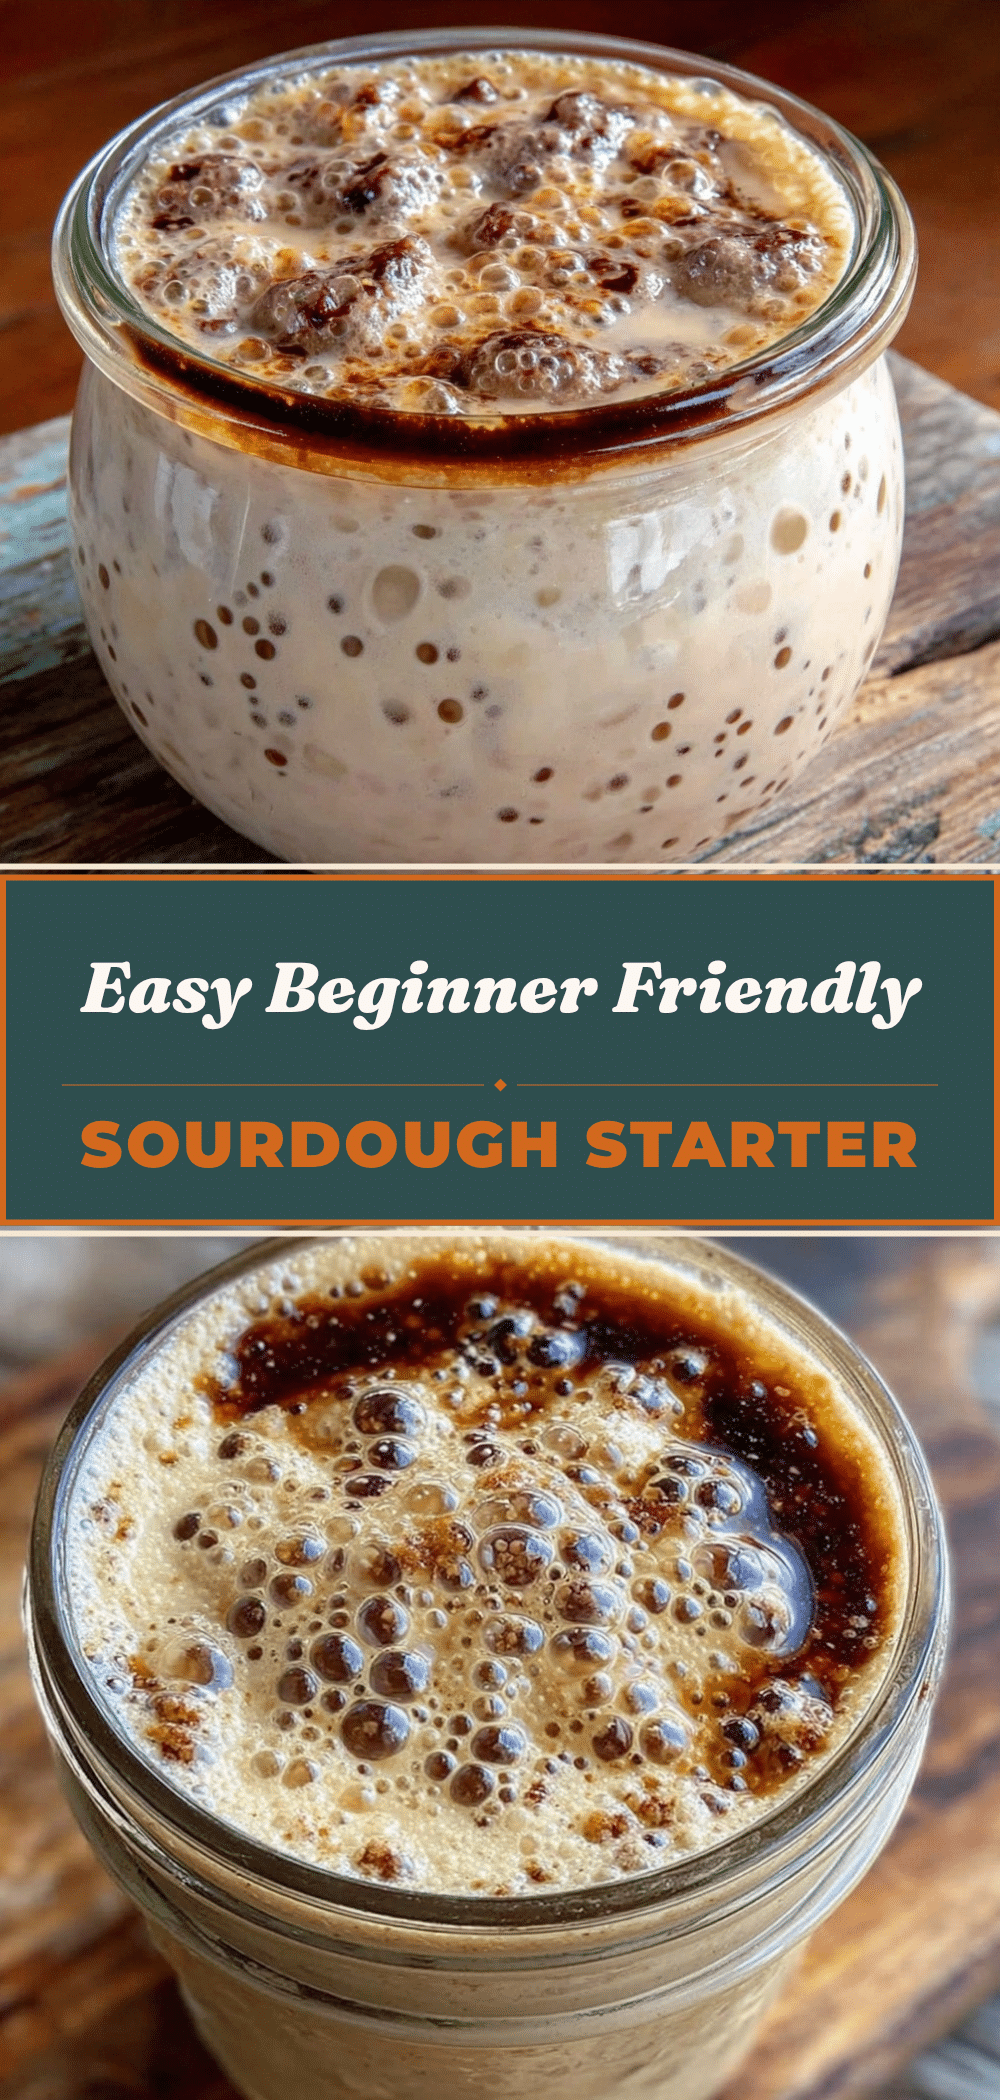

Beginner Friendly Sourdough Starter: The 3-Step Foolproof Recipe
- Total Time: 7 days
- Yield: 1 jar of starter 1x
Description
A simple, foolproof guide to creating a wild yeast sourdough starter using just flour and water. This beginner-friendly method requires no fancy equipment and builds a robust culture in about 7 days.
Ingredients
- 100g Unbleached All-Purpose Flour (approx. ¾ cup + 1 tbsp)
- 100g Filtered Water (room temperature, approx. ⅔ cup + 2 tbsp)
- 10g Whole Wheat or Rye Flour (optional, for feeding after Day 1)
Instructions
- Day 1 Morning: In a clean 16-ounce glass jar, combine 50g all-purpose flour and 50g room-temperature water. Stir vigorously until it resembles thick pancake batter with some lumps.
- Day 1 Evening: Discard half of the mixture (approx. 50g). Add 50g flour and 50g water. Stir well, cover loosely with a lid or coffee filter, and let sit.
- Days 2-4: Twice daily (morning and evening), discard half of the starter. Feed with 50g flour and 50g water. Stir and cover loosely.
- Day 5 Morning: Discard half. Feed with 50g all-purpose flour, 10g whole wheat flour, and 50g water. Stir and cover.
- Day 5 Evening: Discard half. Feed with 50g all-purpose flour and 50g water. Stir and cover.
- Days 6-7: Continue the twice-daily routine of discarding half and feeding with 50g flour and 50g water.
- Day 7 Test: After feeding, wait 4-6 hours. Perform the float test by dropping a spoonful of starter into a glass of room-temperature water. If it floats, it is ready.
- Maintenance: Once active, feed daily at room temperature or store in the fridge and feed weekly.
Notes
Use filtered water if tap water tastes like chlorine. Keep the starter in a warm spot (75-80°F) for faster activity. If mold appears (fuzzy green/pink/black), discard and start over. Hooch (dark liquid) is normal and indicates hunger; stir it in or pour it off before feeding.
- Prep Time: 5 minutes
- Cook Time: 0 minutes
- Category: Baking Basics
- Cuisine: American
Nutrition
- Serving Size: 100g of starter
- Calories: 180
- Fat: 1
- Carbohydrates: 35
- Fiber: 2
- Protein: 5
Keywords: sourdough starter, beginner sourdough, wild yeast, homemade bread, baking basics, gluten-free starter alternative


