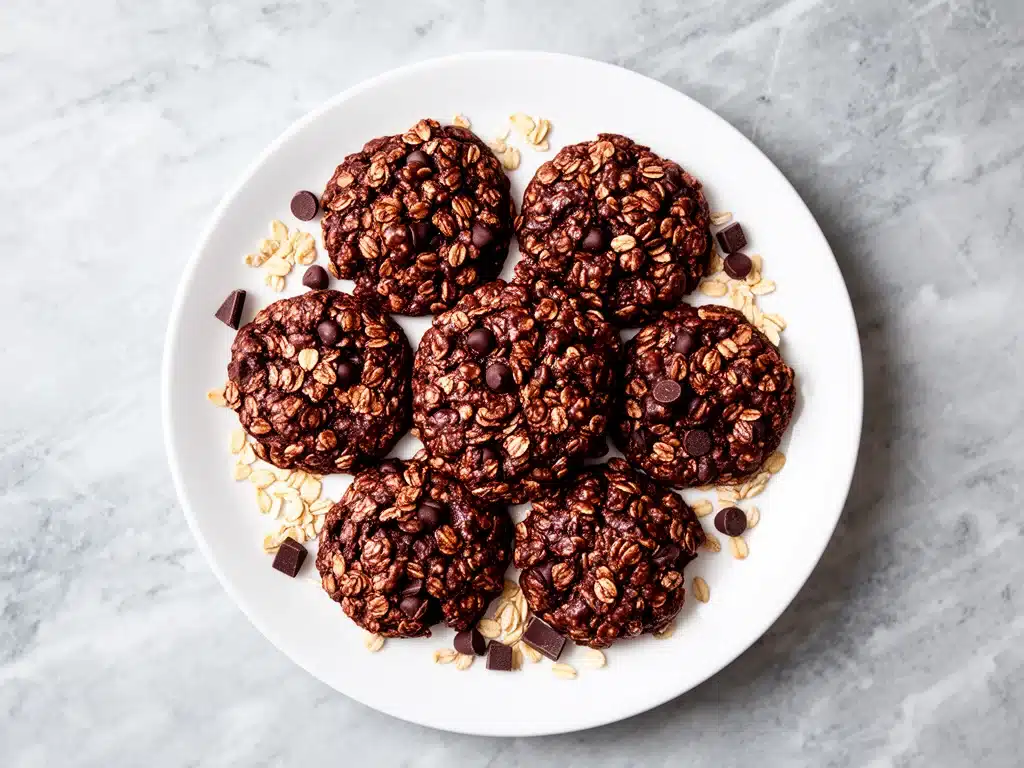
One hectic October afternoon, I found myself juggling emails, snack requests, and the looming homework battle. My youngest came home ravenous, eyes wide, asking for something quick but not just another sugary candy bar. I rummaged through the pantry, hoping for a last-minute magic fix, and stumbled on oats, cocoa powder, and peanut butter. In less than 15 minutes, I whipped up these no-bake chocolate oat cookies that saved the day. Not only did they satisfy my kid’s sweet tooth, but the whole family ended up fighting over the last cookie (which, spoiler alert, rarely happens).
After-school no-bake chocolate oat cookies quickly became my secret weapon for busy afternoons. I’ve tested this recipe over a dozen times—sometimes doubling it when I know the kids will be home early from activities. They’re easy, quick, and don’t heat up the kitchen (a total win when you’re trying to keep cool). Plus, these cookies pack a wholesome punch with oats and peanut butter, making them way better than the usual processed snacks. I promise, once you try these, they’ll be your go-to after-school treat too.
Why You’ll Love This Recipe
Honestly, there are so many reasons I keep making these after-school no-bake chocolate oat cookies. Here are the big ones:
- Ridiculously Easy — If you can stir and scoop, you can make these cookies. I’ve made them with my kids and even while juggling phone calls. No oven required.
- Super Fast — Ready in about 15 minutes, including cooling time. Perfect for those “I’m starving” moments right after school.
- Family-Approved — I’ve served these to everyone from picky toddlers to my husband’s coworkers, and they’re always a hit. No crumb left behind.
- Pantry-Friendly — You probably already have most ingredients. I always keep oats, peanut butter, and cocoa powder stocked for emergencies like this.
- Healthier-ish — Packed with oats and peanut butter, these cookies satisfy sweet cravings without loading up on refined flour or processed sugars.
- Make-Ahead Friendly — They keep well in the fridge for days, making snack prep a breeze for the whole week.
This recipe has honestly saved my sanity on more than one chaotic afternoon. It’s quick, delicious, and keeps the kids happy without me feeling guilty. Plus, it pairs perfectly with other easy after-school favorites like these soft honey garlic pretzel bites if you want to mix up your snack rotation.
Ingredients You’ll Need
Here’s the great part: you probably have most of these ingredients in your pantry right now. I’m picky about a few key items, and I’ll walk you through why they matter.
- Old-fashioned rolled oats (2 ½ cups / 225g) — These give the cookies their chewy texture. Don’t use instant oats; they get too mushy.
- Unsweetened cocoa powder (½ cup / 50g) — Use good-quality cocoa for a rich chocolate flavor. Dutch-processed works too if that’s what you have.
- Natural peanut butter (1 cup / 250g) — I prefer creamy natural peanut butter with no added sugar or oils. It keeps things wholesome and lets the chocolate shine.
- Honey (1 cup / 340g) — Acts as the sweetener and binder. You can substitute maple syrup, but honey gives a nice depth and chewiness.
- Unsalted butter (½ cup / 115g) — Adds richness and helps the mixture set up.
- Vanilla extract (1 teaspoon / 5ml) — Just a touch to round out the flavors.
- Salt (¼ teaspoon / 1.5g) — Balances the sweetness and enhances the chocolate.
Optional add-ins:
- Chopped walnuts or pecans (½ cup) — For crunch, if you like.
- Mini chocolate chips (½ cup) — Because more chocolate is never a bad idea.
Quick note: I always use unsalted butter and natural peanut butter so I can control the salt and sugar levels. If you only have salted butter, cut back on the salt a bit. Also, if you want to swap peanut butter for almond or sunflower seed butter, that works too.
Equipment Needed
You don’t need anything fancy to make these cookies. Here’s what I actually use:
- Medium saucepan — For melting the butter, honey, and peanut butter together. Any basic saucepan will do.
- Mixing bowl — I use a large glass or metal bowl so there’s plenty of room to stir.
- Wooden spoon or silicone spatula — For mixing. I prefer silicone because it scrapes the bowl better.
- Measuring cups and spoons — Standard kitchen tools. I’m all about the dollar store versions here.
- Baking sheet or tray — To drop the cookies onto for setting. I line mine with parchment paper for easy cleanup.
- Optional: Cookie scoop — Makes dropping uniform cookies easier, but a spoon works just fine.
Pro tip: I skip the oven completely on this one, which is a relief in hot weather or when I just don’t have time to wait for baking.
How to Make It: Step-by-Step
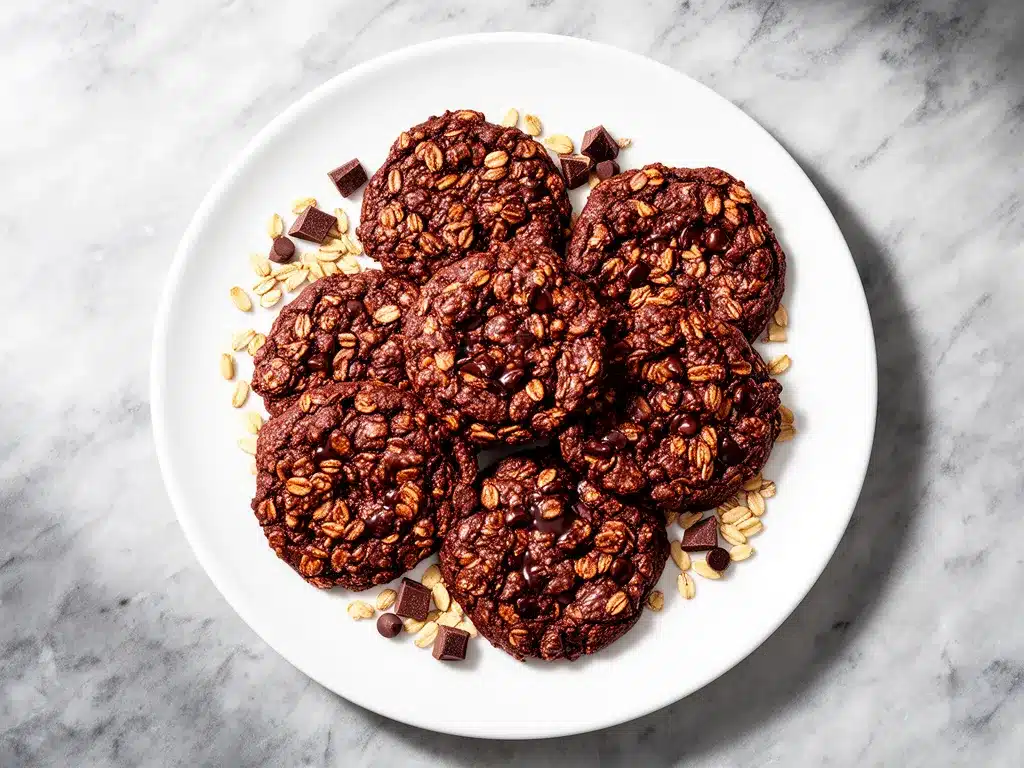
Alright, let’s get to it! I’m walking you through exactly how I make these no-bake chocolate oat cookies, including the little tricks that make them perfect every time.
Step 1: Melt the Butter, Peanut Butter, and Honey (5 minutes)
In a medium saucepan over medium heat, combine the unsalted butter, natural peanut butter, and honey. Stir constantly until everything is melted and smooth—this usually takes about 3-4 minutes. The mixture should be glossy and well combined. Remove from heat immediately to prevent burning.
Step 2: Add Cocoa Powder, Vanilla, and Salt (1-2 minutes)
Stir in the unsweetened cocoa powder, vanilla extract, and salt. Mix until the cocoa is fully incorporated and the mixture is dark and shiny. This step brings out that rich chocolate flavor that makes these cookies irresistible.
Step 3: Mix in the Oats (2-3 minutes)
Pour the rolled oats into the saucepan and stir until every oat is coated with the chocolate mixture. If you’re adding nuts or mini chocolate chips, fold them in now. The mixture will be thick and sticky—exactly what you want.
Step 4: Drop Cookies Onto a Tray (5-10 minutes)
Line a baking sheet with parchment paper. Using a spoon or cookie scoop, drop rounded spoonfuls of the mixture onto the tray, spacing them about 1 inch apart. You can shape them with the back of the spoon if you want neater rounds, but I’m usually too impatient and just drop them as-is.
Step 5: Let Cookies Set (At least 15 minutes)
Place the tray in the fridge for at least 15 minutes so the cookies can firm up. If you’re in a rush, you can pop them in the freezer for 10 minutes. Once set, they should be firm but chewy.
Step 6: Serve and Enjoy!
These cookies are best enjoyed chilled but will keep at room temperature for a couple of hours if you’re serving immediately.
Expert Tips & Tricks
I’ve made these no-bake chocolate oat cookies dozens of times, and here’s what I’ve learned that will save you from my early kitchen mishaps:
- Don’t rush the melting: Keep the heat medium to low when melting butter and peanut butter together. High heat scorches the mixture and makes the cookies bitter.
- Use old-fashioned oats: Quick oats or instant oats turn these into a mushy mess. Rolled oats give you that perfect chew.
- Mix quickly but thoroughly: Once you add the oats, stir fast so every oat is coated before the mixture thickens.
- Chill for at least 15 minutes: If you skip this, the cookies won’t hold their shape. I’ve tried eating them warm, and it’s a sticky disaster.
- Customize easily: Toss in some shredded coconut, chopped dried fruit, or swap peanut butter for almond butter if you want to mix it up.
- Store in an airtight container: Keeps these cookies chewy and fresh for up to 5 days in the fridge.
- Double the batch — These cookies vanish fast, especially if you have a crowd. I usually double the recipe if I know the kids will be home early.
Variations & Substitutions
Once you’ve nailed this simple recipe, here are some fun ways to switch things up. I’ve tried all of these and they work great:
- Nut-Free Version — Swap peanut butter for sunflower seed butter. Use oats labeled gluten-free if needed.
- Double Chocolate — Add ½ cup mini chocolate chips to the mix for extra melty bites.
- Crunchy Delight — Stir in ½ cup chopped walnuts or pecans for texture.
- Vegan Version — Use coconut oil instead of butter and maple syrup instead of honey. The flavor shifts but it’s still delicious.
- Protein Boost — Add a scoop of chocolate or vanilla protein powder when mixing the oats for a more filling snack.
- Flavor Boost — Sprinkle a pinch of cinnamon or a dash of espresso powder into the cocoa mixture for depth.
For a wholesome afternoon snack, these cookies pair well with the creamy comfort of homemade mac and cheese or the savory crunch of crunchy ranch chicken wraps if you want a full after-school spread.
Serving & Storage
These no-bake chocolate oat cookies are super versatile when it comes to serving and storing.
Serving Suggestions
- Serve chilled straight from the fridge with a cold glass of milk or a cup of tea.
- Pack them in lunchboxes as a sweet treat that won’t melt or get messy.
- Set out a tray of these cookies alongside some fresh fruit for an easy after-school snack platter.
Storage Instructions
- Refrigerator: Store in an airtight container for up to 5 days. The cookies stay chewy and delicious.
- Freezer: You can freeze them for up to 2 months. Thaw in the fridge overnight or at room temperature for an hour before eating.
- Room Temperature: Okay for a few hours, but they’ll get soft and sticky if it’s warm.
Pro tip: If your cookies get too hard in the fridge, let them sit at room temperature for 10 minutes before enjoying. They soften up nicely.
Nutrition Information
I’m not a nutritionist, but here’s a rough breakdown per cookie based on making 24 cookies from this recipe:
| Calories | 120 |
|---|---|
| Protein | 3g |
| Carbs | 15g |
| Fiber | 2g |
| Sugar | 9g |
| Fat | 6g |
| Saturated Fat | 2.5g |
| Cholesterol | 10mg |
| Sodium | 40mg |
What’s good here? You get fiber and protein from the oats and peanut butter, plus a decent dose of calcium if you pair these with milk. On the flip side, they do have sugar and fat, so I see them more as an occasional treat rather than a daily snack. That said, they’re a much better option than most store-bought cookies, and I love that I know exactly what’s going in.
Final Thoughts
So that’s the scoop on these after-school no-bake chocolate oat cookies! I probably could have stopped after the first batch, but I kept tweaking them until they were just right—and now, they’re a staple in my house. They save me on hectic afternoons when I want something homemade but don’t have time or energy to bake.
What I love most is how easy they are to customize. Whether you want to sneak in nuts, make them vegan, or add a little extra chocolate, this recipe is a perfect base. Plus, they’re a fantastic way to keep the snack game strong without resorting to pre-packaged junk.
If you give these cookies a try, I’d love to hear how they turn out! Drop a comment and let me know if you added your own twist or if you have questions about the recipe. I’m here to help you nail this easy treat every time.
Happy snacking! And here’s hoping your after-school rush feels a little sweeter—and a lot less stressful.
Frequently Asked Questions
Q: Can I use quick oats instead of rolled oats?
A: I don’t recommend it. Quick oats get mushy and don’t hold up well in no-bake cookies. Rolled oats give you that perfect chewy texture.
Q: What if I’m allergic to peanuts? Can I use another nut butter?
A: Absolutely! Almond butter, cashew butter, or sunflower seed butter all work well. Just make sure the texture is similar to peanut butter (creamy and spreadable) for the best results.
Q: My cookies are too soft and won’t hold their shape—what went wrong?
A: Usually this means the mixture didn’t chill long enough or the ratio of wet to dry ingredients was off. Make sure you melt the ingredients thoroughly and let the cookies set in the fridge for at least 15 minutes. If it’s still too soft, try adding a little more oats next time.
Q: Can I make these cookies without honey?
A: You can substitute maple syrup or agave nectar, but the texture and flavor will be slightly different. Honey helps the cookies set and adds chewiness, so keep an eye on the consistency when mixing.
Q: How long do these cookies last?
A: Stored in an airtight container in the fridge, they stay fresh and chewy for about 5 days. Freezing is a good option if you want to keep them longer.
Q: Can I double or triple this recipe?
A: Yes! Just use a larger saucepan and mixing bowl. I usually double it when I know the kids will be home after school or for small parties.
Q: Is there a way to make these gluten-free?
A: Yes, just make sure to use certified gluten-free rolled oats. Most oats are naturally gluten-free but can be cross-contaminated during processing.
Pin This Recipe!
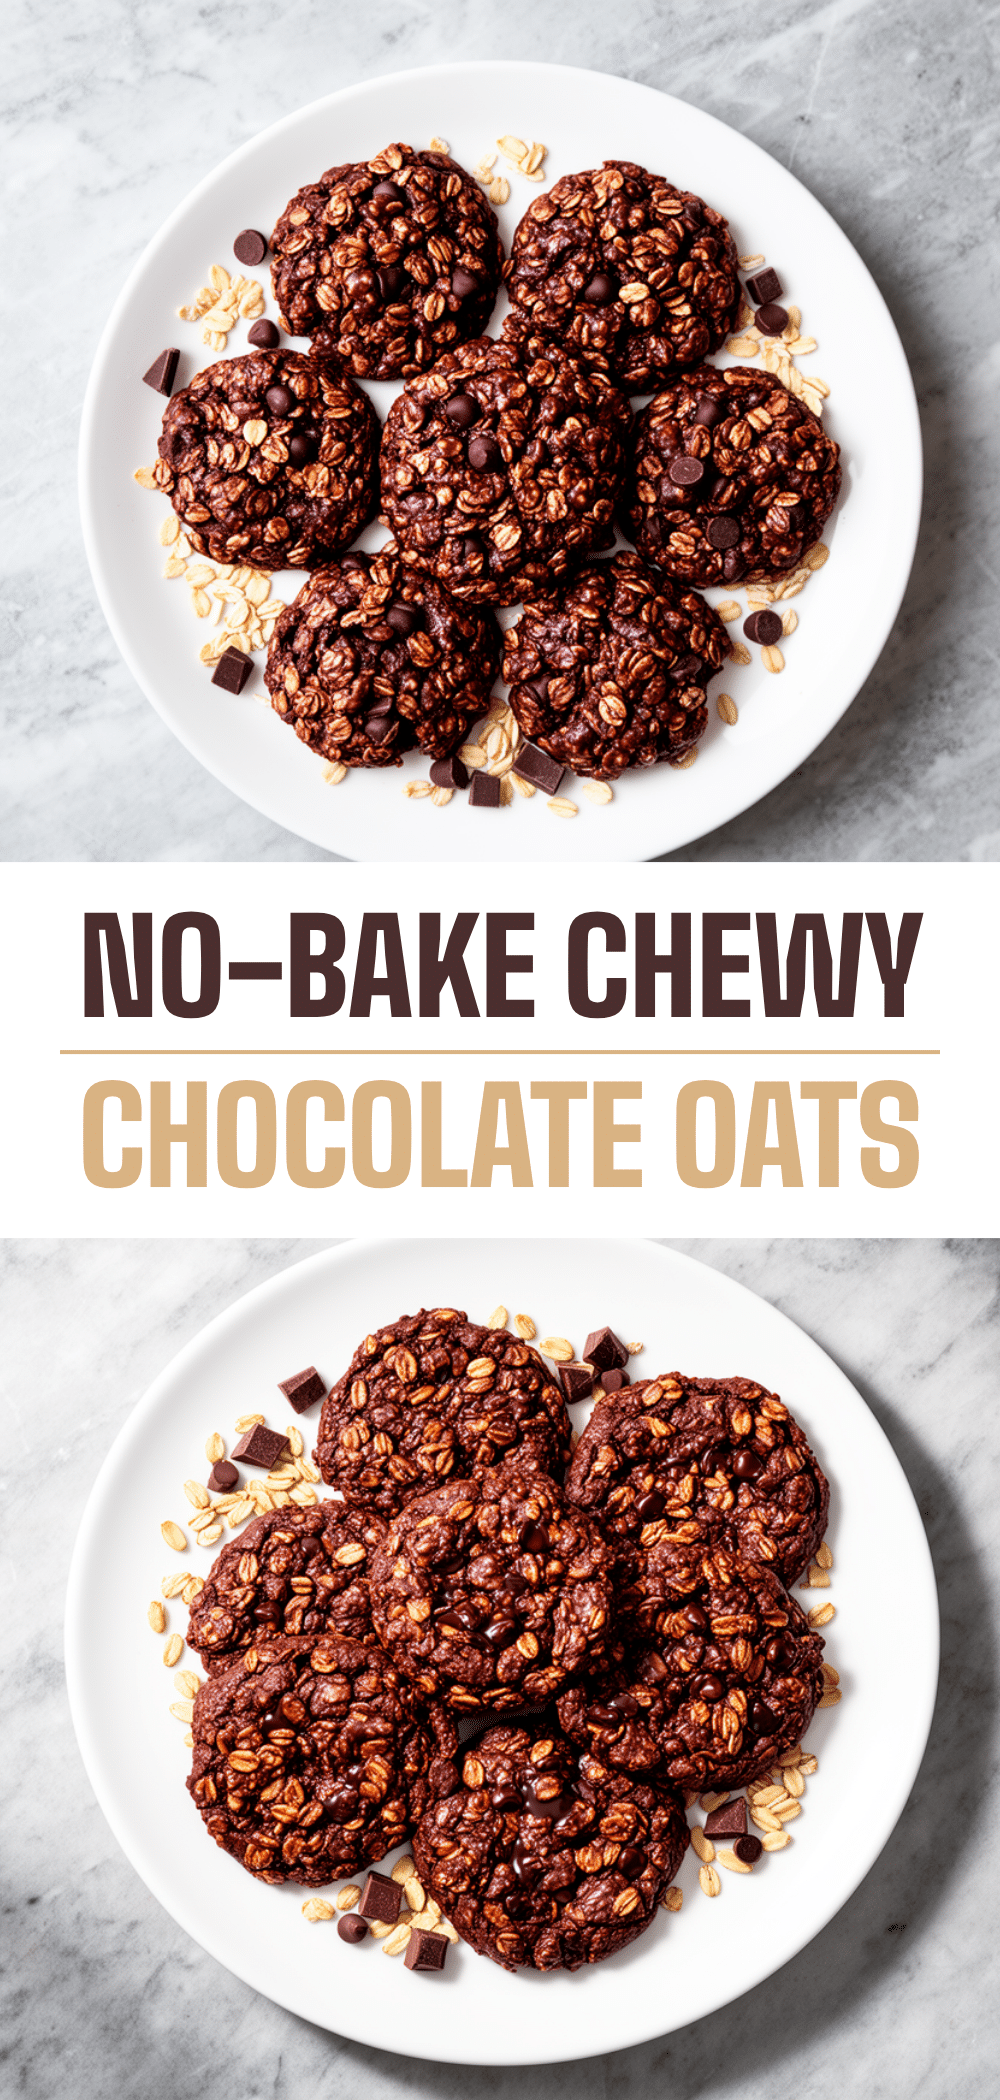

After-School No-Bake Chocolate Oat Cookies
- Total Time: 15 minutes
- Yield: 24 cookies 1x
Description
Quick and easy no-bake chocolate oat cookies perfect for after-school snacks. These cookies are chewy, wholesome, and family-approved with oats, peanut butter, and cocoa.
Ingredients
- 2 ½ cups old-fashioned rolled oats (225g)
- ½ cup unsweetened cocoa powder (50g)
- 1 cup natural peanut butter (250g)
- 1 cup honey (340g)
- ½ cup unsalted butter (115g)
- 1 teaspoon vanilla extract (5ml)
- ¼ teaspoon salt (1.5g)
- Optional: ½ cup chopped walnuts or pecans
- Optional: ½ cup mini chocolate chips
Instructions
- In a medium saucepan over medium heat, combine the unsalted butter, natural peanut butter, and honey. Stir constantly until melted and smooth, about 3-4 minutes. Remove from heat immediately.
- Stir in the unsweetened cocoa powder, vanilla extract, and salt until fully incorporated and mixture is dark and shiny.
- Pour in the rolled oats and stir until every oat is coated with the chocolate mixture. Fold in optional nuts or mini chocolate chips if using.
- Line a baking sheet with parchment paper. Drop rounded spoonfuls of the mixture onto the tray, spacing about 1 inch apart. Shape if desired.
- Place the tray in the fridge for at least 15 minutes to set. Alternatively, freeze for 10 minutes if in a hurry.
- Serve chilled. Cookies can be kept at room temperature for a few hours if serving immediately.
Notes
Use old-fashioned rolled oats for best texture; quick oats will get mushy. Melt ingredients on medium to low heat to avoid burning. Chill cookies for at least 15 minutes to set properly. Store in airtight container in fridge for up to 5 days or freeze for up to 2 months.
- Prep Time: 5 minutes
- Cook Time: 10 minutes
- Category: Snack
- Cuisine: American
Nutrition
- Serving Size: 1 cookie
- Calories: 120
- Sugar: 9
- Sodium: 40
- Fat: 6
- Saturated Fat: 2.5
- Carbohydrates: 15
- Fiber: 2
- Protein: 3
Keywords: no-bake cookies, chocolate oat cookies, after-school snack, peanut butter cookies, quick cookies, healthy snacks


