I still remember the exact moment I decided that store-bought pie was officially retired from our family’s autumn traditions. It was about ten years ago, the leaves were just starting to turn that deep, rusty orange, and I had invited my in-laws over for the first time since my husband proposed. I was stressed. Naturally. I wanted to impress them with something that felt homemade and hearty but didn’t require me to stand over a stove for six hours. I had planned to buy a frozen apple crumble from the grocery store, but when I walked past the produce section, I saw these gorgeous, bruised Bosc pears on sale. They weren’t pretty. They weren’t perfect. But they smelled like heaven.
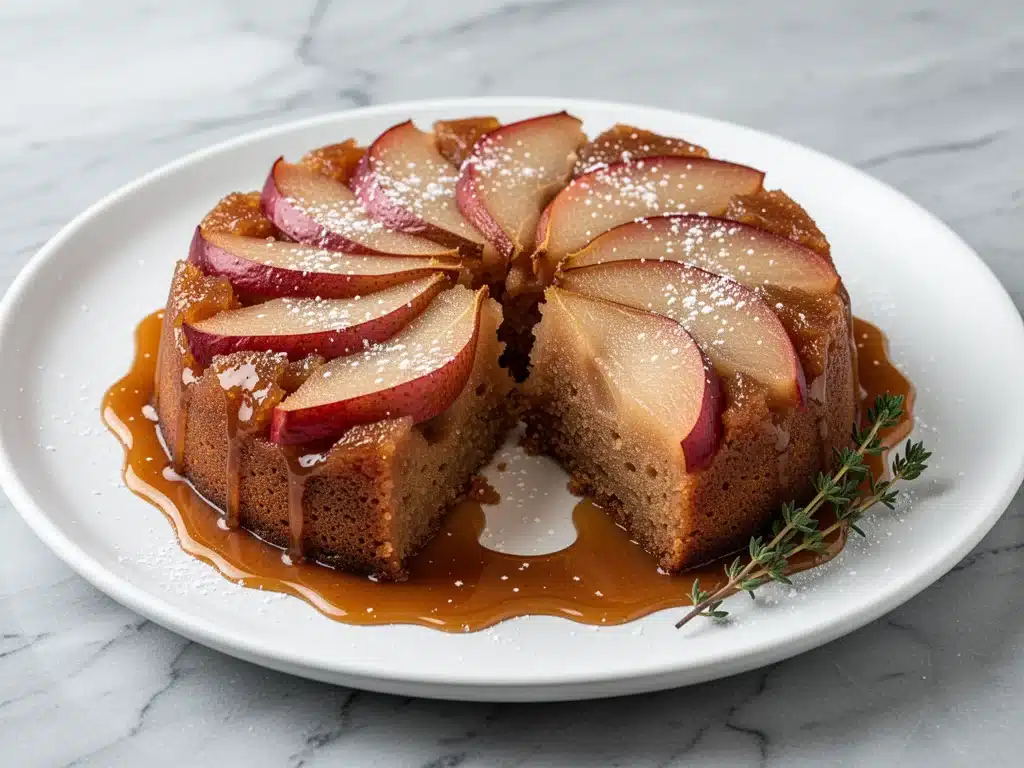
I went home, threw them into a skillet with some brown sugar, cinnamon, and a little butter, and waited. I didn’t have a fancy recipe in my head. I just had a hunch. When I flipped that cake out of the pan, the pears caramelized into this glossy, sticky jewel-toned layer that looked like something you’d see in a high-end bakery window. My mother-in-law took one bite, closed her eyes, and said, “This is the best thing I’ve eaten all year.” I was hooked. That was the birth of my go-to autumn spiced pear upside down cake.
Since then, I’ve made this pear cake dozens of times. I’ve tweaked the spices, swapped the butter, and even tried it with apples when pears are too expensive. But nothing beats the tender, buttery crust of caramelized pears sitting on top of a moist, cinnamon-spiced cake base. It’s the ultimate fall dessert—comforting, elegant enough for dinner parties, but simple enough to throw together on a random Tuesday when you need a win. This autumn spiced pear upside down cake has become our family’s unofficial symbol of the season. It’s warm, it’s spiced, and it smells like October.
If you’re looking for a dessert that feels fancy but is actually incredibly forgiving, this is it. I’ve tested this recipe with everything from over-ripe pears to frozen ones (thawed, of course), and it works. It’s the kind of bake that brings people together. You’ll find yourself hovering over the oven, waiting for that first slice, and then immediately asking your guests for the recipe. Let’s get into why this cake is worth your time, what you’ll need, and how to make it without any stress.
Why You’ll Love This Autumn Spiced Pear Upside Down Cake
There are a lot of reasons I keep coming back to this pear cake, but let’s be real: it’s not just about the taste. It’s about the experience. Here’s why this recipe has earned a permanent spot in my rotation, right next to my bakery-style blueberry muffins for weekend treats.
- Zero Fuss, Maximum Flavor — Seriously, this is a one-bowl cake. You mix the batter in one bowl, arrange the pears in a skillet, and bake. No creaming butter and sugar for twenty minutes, no folding in egg whites with surgical precision. Just dump, stir, and bake. I’ve made this while helping my kids with homework, and it still turns out perfect.
- Uses Imperfect Fruit — This is the best part. You can use pears that are slightly soft, over-ripe, or even bruised. The caramelization process hides all their flaws and turns them into sweet, tender jewels. It’s a zero-waste dessert that saves you money at the grocery store.
- Smells Like Autumn — I’m not being dramatic. The moment this cake hits the oven, your whole house smells like a cinnamon roll factory mixed with a pumpkin patch. My neighbors have actually knocked on my door asking what I’m baking. It’s that good.
- Make-Ahead Friendly — This cake tastes even better the next day. The flavors meld together, the caramel softens, and it gets even more moist. I often make it the night before a dinner party, which saves me so much stress on the day of. It keeps well at room temperature for a day or in the fridge for up to three.
- Perfectly Portioned — Made in a 9-inch skillet, it feeds 8-10 people comfortably. It’s not too huge, not too small. Just right for a family dinner or a small gathering. And since it’s upside down, it looks stunning without any fancy frosting or decoration.
Real talk? This is my answer when people ask for a dessert that’s “easy but impressive.” It’s not a diet food. It’s buttery, sweet, and spiced. But it’s also made with simple ingredients you probably have on hand. It’s reliable, delicious, and makes you look like a pro baker. Let’s talk about what you’ll need to make it.
Ingredients You’ll Need
Here’s the best part: you probably have most of this already in your pantry. This recipe relies on simple, wholesome ingredients. I’m particular about a few things, so I’ll tell you exactly why they matter.
For the Caramelized Pear Topping
Unsalted butter (½ cup / 113g) — Use good quality butter here. It’s the base of the caramel, so it needs to be rich. I use European-style butter when I have it, but regular salted butter works fine too (just reduce the added salt in the cake).
Dark brown sugar (1 cup / 200g) — This is non-negotiable. Brown sugar has molasses, which gives that deep, toffee-like flavor. Light brown sugar works in a pinch, but dark brown sugar makes the caramel richer and more complex. It’s worth the extra dollar.
Bosc pears (4 medium, peeled and sliced) — Bosc pears are my preference because they hold their shape well during baking. They’re firm and less watery than Bartletts. If you can’t find Bosc, use Bartlett or Anjou, but slice them thinner so they don’t get mushy. Avoid Red Anjou—they’re too soft for this.
Cinnamon (1 teaspoon) — Ground cinnamon is essential. It pairs perfectly with the pear and brown sugar. Don’t skip it.
Nutmeg (¼ teaspoon) — Freshly grated nutmeg is best, but pre-ground works. Just a little goes a long way. It adds that warm, cozy spice note.
For the Cake Base
All-purpose flour (1 ½ cups / 190g) — Standard flour works great. I don’t see a need to overcomplicate it with cake flour unless you want a lighter crumb. This recipe is tender enough with AP flour.
Granulated sugar (¾ cup / 150g) — This sweetens the cake without overpowering the pears. It balances the sweetness of the caramel topping.
Baking powder (1 ½ teaspoons) — Makes the cake rise and stay light. Make sure it’s not expired—old baking powder makes dense cakes.
Salt (½ teaspoon) — Enhances all the flavors. Don’t skip it, even though it’s a sweet cake.
Large eggs (2) — Room temperature eggs are best for mixing into the batter. They emulsify better and create a smoother texture.
Whole milk (½ cup / 120ml) — Adds moisture and richness. You can use 2% milk if that’s all you have, but whole milk makes the cake more tender.
Vanilla extract (1 teaspoon) — Pure vanilla, please. Artificial vanilla tastes harsh and chemical. It’s a small detail, but it matters.
Optional: Vanilla ice cream or whipped cream — For serving. Trust me, a scoop of vanilla ice cream melting into the warm cake is the ultimate indulgence.
Quick Note on Pears: If your pears are very juicy, slice them thin and pat them dry with a paper towel before arranging. This prevents excess water from making the cake soggy. I’ve learned this the hard way!
Equipment Needed
You don’t need fancy equipment for this. Here’s what I actually use.
9-inch Cast Iron Skillet — This is my preferred pan. It distributes heat evenly and creates that perfect crispy edge on the caramel. If you don’t have cast iron, a 9-inch springform pan or a deep-dish pie plate works, but the caramelization won’t be quite as good. Avoid glass pans—they don’t conduct heat the same way.
Mixing Bowls — One medium bowl for the cake batter. One small bowl for the pears if you want to toss them in spices first.
Whisk — For mixing the batter. A whisk incorporates air better than a spoon, which helps the cake rise.
Sharp Knife and Cutting Board — For slicing the pears. A serrated knife works well if the pears are soft.
Parking Spatula — For spreading the batter evenly in the skillet.
Cooling Rack — Essential for letting the cake cool before flipping. Rushing this step is the #1 cause of broken cakes.
Optional: Pastry Brush — For brushing any excess caramel from the sides of the pan after flipping.
Tool Tip: If you’re using a non-stick skillet, make sure it’s oven-safe. Some non-stick coatings have temperature limits. Cast iron is always safe.
How to Make It: Step-by-Step
Alright, let’s make this! I’m walking you through exactly how I do it, including the little tricks I’ve picked up over the years.
Step 1: Prep Your Pears and Oven (10 minutes)
Preheat your oven to 350°F (175°C). While it heats, peel and slice your pears. I like to cut them into thin wedges—about ¼ inch thick. If you leave them too thick, they won’t cook through and will stay crunchy. Arrange the slices in a circular pattern on your cutting board while you prep the rest. It makes arranging them in the pan easier later.
Step 2: Make the Caramel Base (5 minutes)
In your 9-inch cast iron skillet, melt the butter over medium heat. Once it’s fully melted and bubbling, add the brown sugar, cinnamon, and nutmeg. Stir constantly for about 2-3 minutes until the sugar dissolves and the mixture looks like a thick, glossy syrup. Don’t let it burn! It should smell sweet and toasty. If it gets too dark, take it off the heat immediately.
Step 3: Arrange the Pears (3 minutes)
Pour the caramel evenly over the bottom of the skillet. Then, arrange the pear slices in concentric circles, starting from the center and working your way out. Overlap them slightly so there are no gaps. The pears should be snug against each other. This ensures a beautiful, uniform topping when you flip it. If you have any juice left on the cutting board, pour it over the pears.
Step 4: Mix the Cake Batter (5 minutes)
In a medium bowl, whisk together the flour, granulated sugar, baking powder, and salt. In a separate small bowl, whisk the eggs, milk, and vanilla extract. Pour the wet ingredients into the dry ingredients. Stir gently with a spatula or wooden spoon until just combined. Don’t overmix! A few lumps are okay. Overmixing makes the cake tough. The batter will be thick.
Step 5: Bake the Cake (35-40 minutes)
Pour the batter over the pears in the skillet. Use a spatula to spread it evenly, making sure the pears are mostly covered. Bake in the preheated oven for 35-40 minutes. The cake is done when the top is golden brown and a toothpick inserted into the center comes out clean. If the top is browning too fast, cover it loosely with aluminum foil for the last 10 minutes.
Step 6: Cool and Flip (30 minutes)
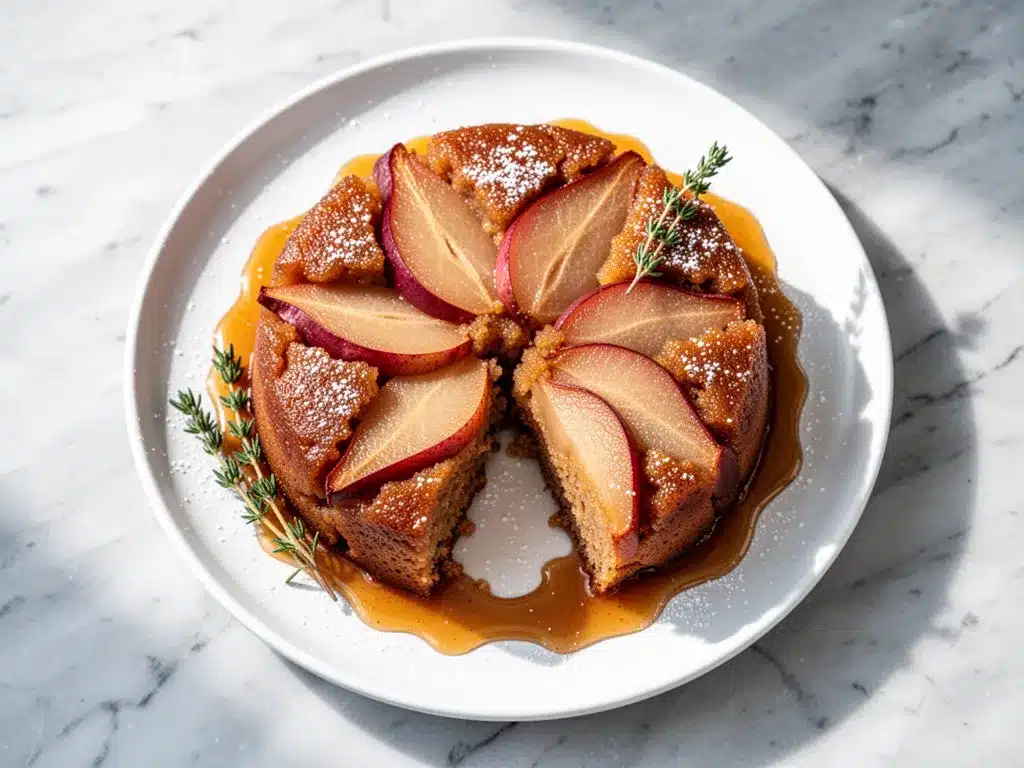
This is the critical step. Remove the skillet from the oven and let it cool for 10 minutes. Then, place a large serving plate upside down over the skillet. Using oven mitts, carefully but confidently flip the skillet over. The cake should release onto the plate. If it doesn’t, don’t worry—just gently lift the edges with a knife and shake the pan. Let it cool completely before serving, or at least until it’s warm to the touch. The caramel will be hot!
Step 7: Serve and Enjoy
Slice the cake into wedges. Serve warm with a scoop of vanilla ice cream or a dollop of whipped cream. The contrast of hot cake and cold ice cream is pure magic. Enjoy!
Total Time: About 1 hour (15 minutes active, 45 minutes baking/cooling)
Expert Tips & Tricks
Here’s everything I’ve learned from making this dozens of times. These tips will save you from my mistakes.
Don’t Rush the Flip — If you flip the cake while it’s still piping hot, the caramel will be too runny and the cake might break. Let it cool for at least 10 minutes. The caramel will thicken slightly as it cools, helping the cake hold together.
Pat Dry Juicy Pears — If your pears are very wet, pat them dry with a paper towel before arranging. Excess water can make the caramel watery and the cake soggy. I learned this after my first attempt turned into a fruit compote instead of a cake.
Room Temperature Eggs — Cold eggs can cause the batter to seize up. Take them out of the fridge 15 minutes before you start. If you forget, put them in a bowl of warm water for 5 minutes.
Check for Doneness — Ovens vary. Start checking at 35 minutes. The toothpick test is your best friend. If it comes out with wet batter, bake longer. If it comes out clean, it’s done.
Use Cast Iron — I cannot stress this enough. Cast iron creates the best caramelization. If you don’t have it, use a heavy-bottomed stainless steel skillet. Avoid thin aluminum pans—they burn easily.
Common Mistakes (and how to avoid them):
- Mistake: Cake sticks to the pan. Fix: Make sure the butter and sugar are fully melted and combined before adding pears. Also, don’t skip the cooling step. If it sticks, run a knife around the edge and let it sit for 5 more minutes.
- Mistake: Cake is dense. Fix: You likely overmixed the batter. Stir until just combined. Also, check your baking powder expiration date.
- Mistake: Caramel is too sweet. Fix: Use dark brown sugar for a deeper flavor that balances the sweetness. You can also add a pinch of sea salt on top before flipping.
Variations & Substitutions
Once you’ve nailed the basic version, here’s how you can mix it up. I’ve tried all of these.
Apple Upside Down Cake — Swap pears for thinly sliced apples (Granny Smith or Honeycrisp work well). Apple cake is a classic for a reason. Add a teaspoon of allspice with the cinnamon for extra depth.
Spiced Pear with Ginger — Add ½ teaspoon of ground ginger to the caramel mixture. It adds a nice zing that pairs beautifully with pear.
Gluten-Free Version — Use a 1:1 gluten-free flour blend. The texture might be slightly denser, but it still tastes great. I’ve used Bob’s Red Mill and it works well.
Dairy-Free Option — Replace butter with coconut oil or a dairy-free butter alternative. Use almond milk instead of whole milk. The flavor will be slightly different, but still delicious.
Vegan Version — Use flax eggs (2 tablespoons ground flaxseed mixed with 6 tablespoons water) instead of regular eggs. Use coconut oil and almond milk. It’s not quite the same texture, but it’s a good option for vegan friends.
Add-Ins: — Sprinkle chopped walnuts or pecans over the pears before adding the batter. It adds crunch and richness. I love the combination of pear and walnut.
Serving & Storage
How to Serve: — I usually serve this straight from the plate at the dinner table. It looks rustic and stays warm. But here are other ways I’ve enjoyed it:
- With a scoop of vanilla bean ice cream (the classic way)
- With whipped cream and a drizzle of caramel sauce
- With a slice of sharp cheddar cheese on the side (it’s a weird combo, but it works!)
Storage Instructions:
Refrigerator: — Store leftovers in an airtight container for up to 3 days. The cake will keep its moisture well. Reheat slices in the microwave for 30 seconds to soften the caramel.
Freezing: — This cake freezes well! Wrap individual slices tightly in plastic wrap, then in aluminum foil. Freeze for up to 2 months. Thaw at room temperature or reheat in the oven at 350°F for 10 minutes.
Pro Tip: — If the caramel hardens in the fridge, just microwave the slice for 15 seconds. It’ll soften right up.
Nutrition Information
I’m not a nutritionist, but here’s the breakdown if you’re tracking. This is per serving (based on 8 slices).
| Nutrient | Amount |
|---|---|
| Calories | 320 |
| Protein | 4g |
| Carbs | 48g |
| Fiber | 3g |
| Sugar | 32g |
| Fat | 14g |
| Saturated Fat | 8g |
| Cholesterol | 55mg |
| Sodium | 220mg |
What’s Good: — It has fiber from the pears and flour. It’s a decent source of energy for a dessert.
What to Know: — It’s higher in sugar and calories because of the caramel and cake. It’s not a diet food. But it’s made with real ingredients, no artificial flavors. When I want to make it lighter, I use half the brown sugar and add more spices. But usually? I just eat a reasonable slice and enjoy it.
Final Thoughts
So that’s my go-to autumn spiced pear upside down cake! I’ve probably talked your ear off at this point, but when you make a recipe this often, you have a lot to say about it. This cake has saved our family gatherings more times than I can count. It’s my answer to “what’s for dessert” when I want something that feels special but doesn’t require hours of work. My kids are happy, my husband’s happy, and I’m happy because I’m not stressed about cooking.
Make it yours! Try different pears, add nuts, or swap the spices. The best recipes are the ones you adapt to your family’s tastes. If you make this, drop a comment and let me know what you think! I love hearing how recipes turn out in your kitchen. And if something doesn’t work, tell me that too—I’m here to help troubleshoot.
Happy baking! And I hope your kitchen smells half as good as mine does right now.
Frequently Asked Questions
Can I use canned pears instead of fresh?
You can, but the texture will be different. Canned pears are softer and wetter. If you use them, drain them well and pat them dry with paper towels. You might need to reduce the baking time by 5-10 minutes because they’re already partially cooked. Fresh pears give the best texture, but canned works in a pinch.
Why did my cake stick to the pan?
This usually happens if you flip it too soon or if the caramel wasn’t fully melted. Make sure the butter and sugar are completely combined and bubbling before adding pears. Also, let the cake cool for at least 10 minutes before flipping. If it sticks, don’t panic—just run a knife around the edge and let it sit for 5 more minutes. Sometimes the caramel needs a bit more time to set.
Can I make this ahead of time?
Yes! This cake tastes even better the next day. You can make it the night before and store it at room temperature (covered) or in the fridge. Just let it come to room temperature before serving, or reheat slices in the microwave for 30 seconds. It’s perfect for meal prepping desserts.
What kind of pears are best for this recipe?
Bosc pears are my top choice because they hold their shape well and have a firm texture. Bartlett or Anjou pears also work well, but slice them thinner. Avoid Red Anjou—they’re too soft and watery. Look for pears that are ripe but still firm to the touch.
Can I freeze this cake?
Absolutely! Wrap individual slices tightly in plastic wrap, then in aluminum foil. Freeze for up to 2 months. Thaw at room temperature or reheat in the oven at 350°F for 10 minutes. The texture holds up well after freezing.
Can I use gluten-free flour?
Yes! Use a 1:1 gluten-free flour blend. The texture might be slightly denser, but it still tastes great. I’ve used Bob’s Red Mill and it works well. Make sure to check that your baking powder is gluten-free.
How do I reheat leftovers?
The best way is to microwave a slice for 30-60 seconds. This softens the caramel and warms the cake. You can also reheat slices in the oven at 350°F for 10 minutes. Avoid the toaster oven—it might dry out the edges.
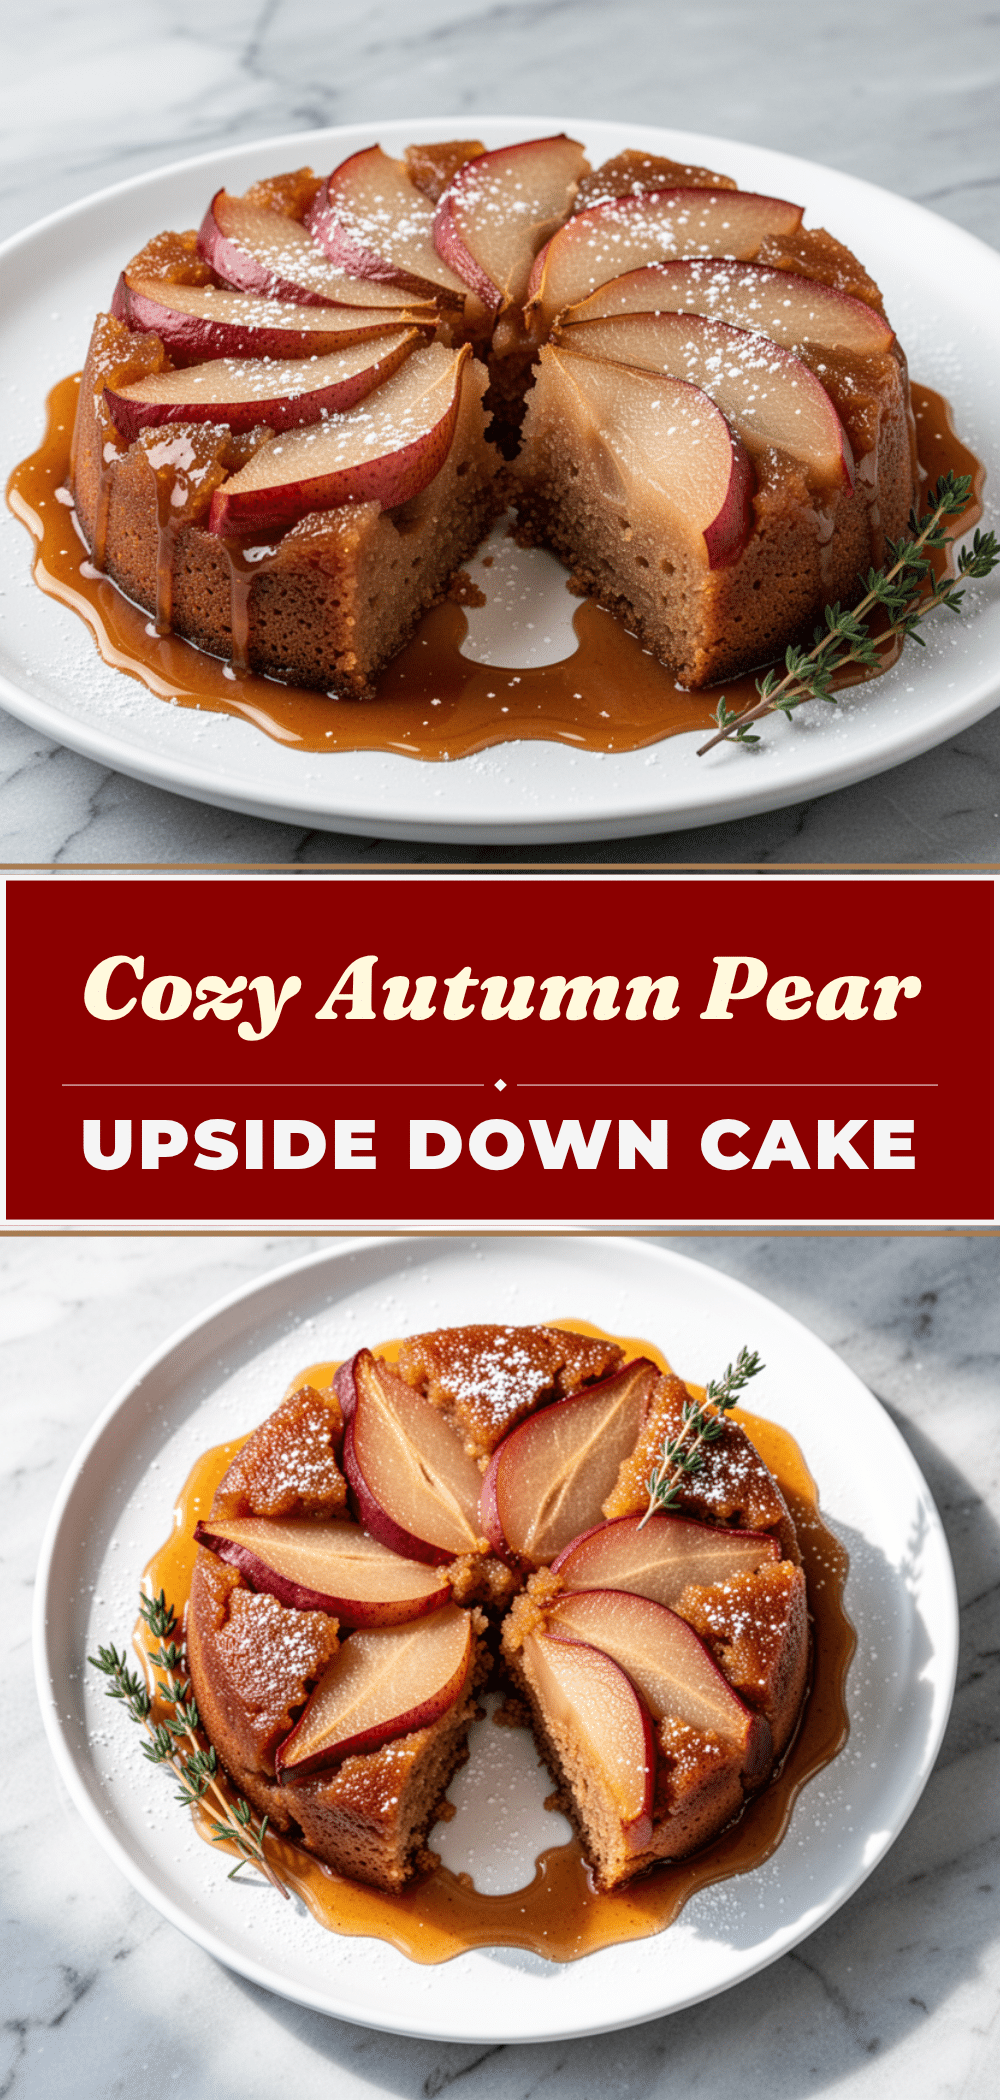
Pin This Recipe!
Autumn Spiced Pear Upside Down Cake
- Total Time: 1 hour
- Yield: 8 servings 1x
Description
A comforting, elegant fall dessert featuring caramelized Bosc pears on top of a moist, cinnamon-spiced cake base. This easy one-bowl recipe is perfect for dinner parties or cozy autumn evenings.
Ingredients
- 1/2 cup unsalted butter
- 1 cup dark brown sugar
- 1 teaspoon ground cinnamon
- 1/4 teaspoon nutmeg
- 4 medium Bosc pears, peeled and sliced
- 1 1/2 cups all-purpose flour
- 3/4 cup granulated sugar
- 1 1/2 teaspoons baking powder
- 1/2 teaspoon salt
- 2 large eggs, room temperature
- 1/2 cup whole milk
- 1 teaspoon vanilla extract
- Optional: Vanilla ice cream or whipped cream for serving
Instructions
- Preheat oven to 350°F (175°C). Peel and slice pears into thin wedges (about 1/4 inch thick).
- In a 9-inch cast iron skillet, melt butter over medium heat. Add brown sugar, cinnamon, and nutmeg. Stir constantly for 2-3 minutes until the mixture is a thick, glossy syrup.
- Pour the caramel evenly over the bottom of the skillet. Arrange pear slices in concentric circles, overlapping slightly to cover the bottom completely.
- In a medium bowl, whisk together flour, granulated sugar, baking powder, and salt. In a separate small bowl, whisk eggs, milk, and vanilla extract.
- Pour wet ingredients into dry ingredients and stir gently until just combined. Do not overmix.
- Pour batter over the pears in the skillet, spreading evenly to cover the fruit.
- Bake for 35-40 minutes, or until the top is golden brown and a toothpick inserted into the center comes out clean.
- Remove from oven and let cool for 10 minutes. Place a large serving plate upside down over the skillet and carefully flip the cake onto the plate.
- Let cool until warm to the touch before slicing and serving with ice cream or whipped cream.
Notes
If using juicy pears, pat them dry before arranging to prevent a soggy cake. Ensure the cake cools for at least 10 minutes before flipping to allow the caramel to set. For a gluten-free version, use a 1:1 gluten-free flour blend. For a dairy-free option, substitute butter with coconut oil and milk with almond milk.
- Prep Time: 15 minutes
- Cook Time: 40 minutes
- Category: Dessert
- Cuisine: American
Nutrition
- Serving Size: 1 slice
- Calories: 320
- Sugar: 32
- Sodium: 220
- Fat: 14
- Saturated Fat: 8
- Carbohydrates: 48
- Fiber: 3
- Protein: 4
Keywords: autumn dessert, pear cake, upside down cake, fall baking, easy dessert, cast iron cake, cinnamon pear cake


