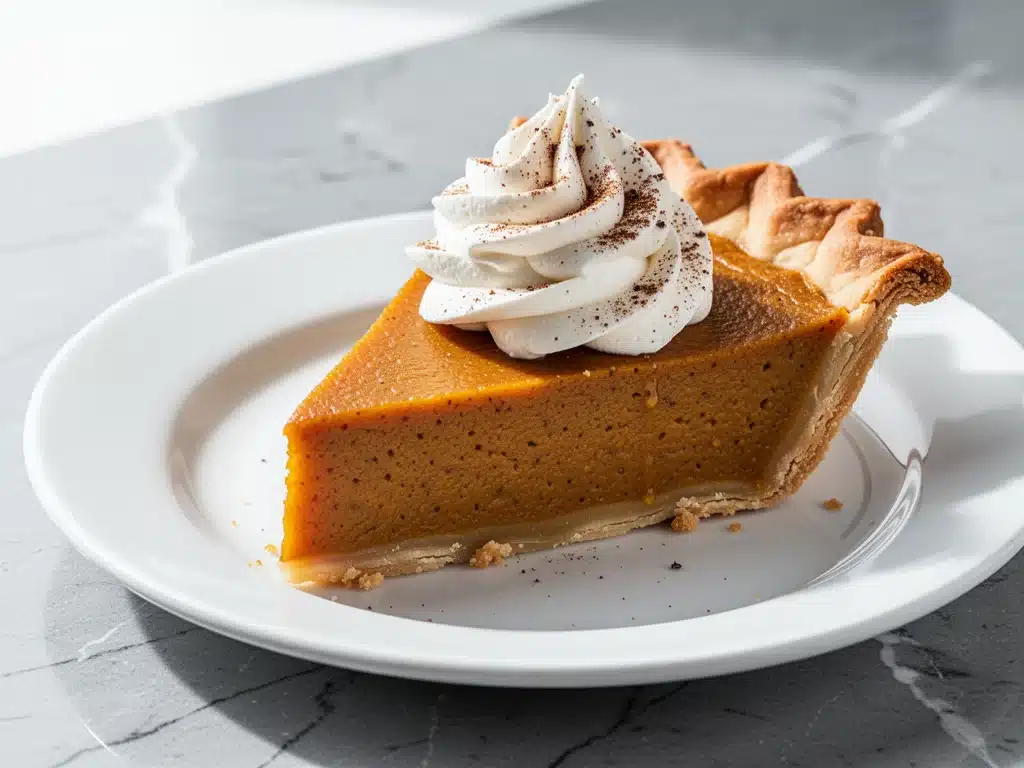
There is a specific kind of panic that hits around late October in Canada. You’re staring at the grocery store aisle, realizing Thanksgiving is exactly three weeks away, and your family expects a “proper” pie. Not those store-bought ones that taste like cardboard and regret, but a real, traditional maple pumpkin pie. The kind that makes your nonna-in-law nod in approval.
I used to think making pie crust from scratch was the only way to get that authentic Canadian flavor. I spent years wrestling with dough, dealing with sticky fingers, and ending up with a soggy bottom every single time. I was ready to give up. Then, I discovered that the real secret isn’t the crust—it’s the filling, and specifically, how you handle the pumpkin and the maple syrup.
This Canadian Thanksgiving Maple Pumpkin Pie isn’t just about tradition; it’s about survival during the holidays. It’s designed for busy weeknights when you have zero time to spare but still want to serve something that tastes like it took all day. I’ve tested this method dozens of times, and I can honestly say it’s the best way to get that rich, spiced pumpkin flavor without the stress. It’s creamy, it’s deeply maple-infused, and yes, it’s ready in about 10 minutes of active prep time before it goes into the oven.
If you’re looking for a dessert that bridges the gap between a quick weeknight treat and a holiday centerpiece, this is it. It’s got all the cozy vibes of a Mediterranean orange olive oil cake but with that distinctively Canadian autumn twist. Let’s get baking.
Why You’ll Love This Recipe
Look, I get it. Pumpkin pie is a classic for a reason. But the standard recipes often feel like a chore. They require chilling dough for hours, blind-baking shells, and endless stirring. This version flips the script. It’s practical, it’s delicious, and it respects your time.
Here’s why this maple pumpkin pie has earned a permanent spot in my holiday rotation:
- Stupidly Fast Prep — Seriously, you can have the filling mixed and in the oven in 10 minutes. I’ve made this after a long day at work while the kids were screaming in the background, and it came out perfect. No fancy techniques, just whisk and pour.
- Real Maple Flavor — Not maple syrup flavoring. Real, Grade B maple syrup. This gives the pie that deep, caramel-like richness that just screams “Canada.” It pairs beautifully with the pumpkin, creating a flavor profile that’s sweet but not cloying.
- One-Bowl Wonder — You don’t need a stand mixer or a dozen bowls. Just one large bowl and a whisk. Cleanup is a breeze, which is huge when you’re hosting a dinner party and trying to keep the kitchen under control.
- Make-Ahead Friendly — This pie actually tastes better the next day. The flavors meld together overnight, making it the perfect stress-free option for Thanksgiving morning. I usually make it the night before so I can focus on the turkey and gravy.
- Gluten-Free Option — If you’re serving guests with dietary restrictions, this works beautifully with a gluten-free crust or even as a crustless custard-style pie. It’s inclusive without sacrificing any of that rich, spiced taste.
This isn’t just another pumpkin pie. It’s my answer to “what’s for dessert?” when I’m exhausted but still want to impress. It’s reliable, it’s fast, and it tastes like autumn in a slice.
Ingredients You’ll Need
Here’s the best part: you probably have most of these ingredients already. This recipe relies on high-quality basics rather than obscure gadgets or hard-to-find items. I’m particular about two things here: the pumpkin and the maple syrup. Don’t skimp on those.
For the Filling
100% Pure Pumpkin Puree (15 ounces / 425g) — I use canned pure pumpkin, not pumpkin pie filling. The pre-mixed cans have added sugar and spices that throw off the balance. Look for cans that just say “100% Pumpkin.” If you’re making your own roasted pumpkin, make sure it’s mashed smooth.
Grade B Maple Syrup (½ cup / 120ml) — This is non-negotiable for the authentic Canadian taste. Grade B is darker and more robust than Grade A. It has that intense molasses flavor that defines this pie. If you can’t find Grade B, use a mix of Grade A Dark and a touch of molasses, but real Grade B is the gold standard.
Heavy Cream (1 cup / 240ml) — Full-fat is essential here. It gives the pie that luxurious, custard-like texture. If you’re worried about richness, you can swap half for whole milk, but the texture won’t be quite as silky. Trust me on this.
Large Eggs (3 whole + 1 yolk) — The eggs bind the filling and give it structure. Using an extra yolk adds richness and ensures the pie sets firmly without being rubbery. Room temperature eggs whisk up more smoothly, so take them out of the fridge 30 minutes before you start.
Granulated Sugar (¼ cup / 50g) — Just a little bit to balance the sweetness of the maple syrup. Since maple syrup is already sweet, you don’t need much sugar. Adjust to taste if you prefer it less sweet.
Ground Cinnamon (1 teaspoon) — Warm and woody. It’s the backbone of the spice profile.
Ground Ginger (½ teaspoon) — Adds a little zing and warmth. Don’t skip it; it complements the maple beautifully.
Nutmeg (¼ teaspoon, freshly grated if possible) — Nutmeg is potent. Freshly grated makes a huge difference. If you’re using pre-ground, use a little less.
Vanilla Extract (1 teaspoon) — Pure vanilla, not imitation. It rounds out the spices and adds depth.
Salt (½ teaspoon) — Crucial. Salt enhances the sweetness and balances the pumpkin’s earthiness. Don’t leave it out.
For the Crust
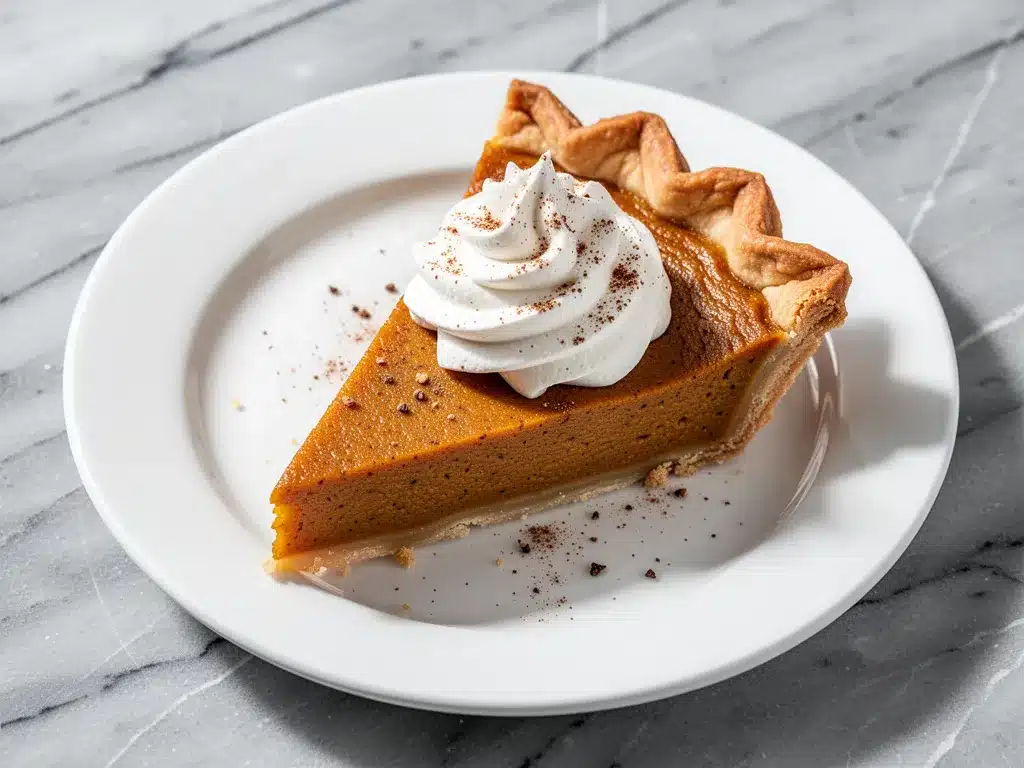
1 Pre-made Pie Crust (9-inch) — I’m not ashamed to admit it: I use a high-quality store-bought crust for this. Brands like Peet’s or even the frozen section at Walmart work great. It saves time and ensures a flaky bottom. If you want to make your own, any standard homemade sourdough bread technique’s principles of hydration and rest apply, but for this quick recipe, store-bought is a time-saver.
1 Egg White — For an egg wash to brush on the crust before baking. This gives it that beautiful golden-brown shine.
Sesame Seeds or Coarse Sugar (Optional) — For a little crunch and visual appeal on top.
Equipment Needed
You don’t need fancy equipment for this. Here’s what I actually use:
Large Mixing Bowl — A 4-quart bowl is perfect. I use a glass one because I can see the consistency as I mix.
Whisk — A standard balloon whisk works best. It incorporates air and ensures no lumps of spice or pumpkin remain.
Measuring Cups and Spoons — Be precise with the spices. A little nutmeg goes a long way.
9-Inch Pie Dish — Glass or ceramic is best for even baking. Metal pans can sometimes over-brown the edges.
Pastry Brush — For the egg wash. A silicone one is easier to clean.
Wooden Spoon — For stirring the filling if you prefer a slower mix.
Aluminum Foil or Pie Shield — To prevent the crust edges from burning. Essential for long bakes.
How to Make It: Step-by-Step
Alright, let’s make this! I’m walking you through exactly how I do it, including the little tricks I’ve picked up over the years.
Step 1: Prep Your Oven and Crust (5 minutes)
Preheat your oven to 375°F (190°C). If you’re using a store-bought crust, let it thaw according to the package instructions. Usually, this means leaving it on the counter for 15-20 minutes. Once it’s pliable, press it into your 9-inch pie dish. Trim the edges so they hang slightly over the rim, or fold them under for a neat look. Don’t worry about perfection; rustic looks great.
Step 2: Mix the Wet Ingredients (3 minutes)
In your large mixing bowl, crack the eggs and egg yolk. Whisk them vigorously for about a minute until they’re pale and slightly frothy. This step is important—it aerates the eggs, leading to a lighter, fluffier pie. Then, add the heavy cream, maple syrup, and vanilla extract. Whisk until everything is fully combined. The mixture should look smooth and uniform.
Step 3: Add the Pumpkin and Spices (2 minutes)
Add the pumpkin puree, sugar, cinnamon, ginger, nutmeg, and salt. Whisk everything together until the pumpkin is completely smooth and there are no streaks of white cream or brown spice. If you’re using a hand mixer, use the lowest speed to avoid incorporating too much air, which can cause cracking.
Step 4: Assemble and Bake (10 minutes prep, 45-50 minutes bake)
Pour the filling into your prepared pie crust. It should be almost full, but leave about half an inch of space at the top. Use a knife to gently swirl the filling to remove any large air bubbles. Brush the crust edges with the egg white, and sprinkle with sesame seeds or coarse sugar if you’re using them.
Place the pie in the center of the oven. Bake for 45-50 minutes. The pie is done when the edges are set but the center still has a slight jiggle, like Jell-O. It will firm up as it cools. If the crust edges start to brown too quickly, cover them with a pie shield or a ring of aluminum foil after the first 20 minutes.
Step 5: Cool Completely (2-3 hours)
This is the hardest part. You must let the pie cool completely on a wire rack. If you cut into it while it’s warm, the filling will be runny. The residual heat continues to cook the center, so patience is key. I usually let it cool for at least 2 hours, but overnight is best for clean slicing.
Expert Tips & Tricks
Here’s everything I’ve learned from making this dozens of times. These tips will save you from my mistakes.
Don’t Overmix the Filling — Once you add the pumpkin, mix just until combined. Overmixing incorporates too much air, which can cause the pie to rise and then crack as it cools. Gentle is better.
Room Temperature Ingredients — Cold eggs and cream can seize the pumpkin, creating lumps. Make sure everything is at room temperature before you start mixing. It’s worth the 30-minute wait.
The Jiggle Test — Don’t rely on a timer alone. The center of the pie should jiggle slightly when you shake the pan. If it’s liquid, it needs more time. If it’s solid, it’s overbaked and will be dry.
Use a Pie Shield — Pumpkin pies bake for a long time, and the edges are vulnerable. A pie shield (or foil) prevents burning. I learned this the hard way with a burnt crust that tasted bitter.
Chill Before Serving — While the pie needs to cool completely, serving it slightly chilled (from the fridge) enhances the maple flavor and makes slicing cleaner. I usually serve it cold with a dollop of whipped cream.
Common Mistakes
- Soggy Bottom: This happens if the crust isn’t pre-baked (blind baked) or if the filling is too watery. For this quick recipe, ensure your pumpkin puree is thick and not watery. If it is, drain it in a cheesecloth for 15 minutes.
- Cracking Top: Usually caused by overbaking or overmixing. Remove the pie when it still jiggles slightly.
- Bland Flavor: Make sure you’re using Grade B maple syrup and fresh spices. Old spices lose their potency.
Variations & Substitutions
Once you’ve nailed the basic version, here’s how you can mix it up. I’ve tried all of these.
Coconut Cream Version — Swap heavy cream for full-fat coconut cream. It adds a tropical twist that pairs surprisingly well with pumpkin. Great for dairy-free guests.
Spiced Latte Flavor — Add a tablespoon of espresso powder to the filling. It enhances the maple and pumpkin flavors without making it taste like coffee. Similar to the depth you get in a copycat Starbucks iced brown sugar oatmilk espresso.
Maple Pecan Pie Hybrid — Sprinkle ½ cup of chopped pecans on top of the filling before baking. It adds crunch and nuttiness.
Gluten-Free Crust — Use a store-bought gluten-free pie crust. They’ve improved a lot in recent years. Just follow the thawing instructions carefully.
Dairy-Free — Use coconut milk instead of heavy cream and a dairy-free butter for the crust. The flavor will be slightly different but still delicious.
Burnt Maple Version — For a deeper, caramelized flavor, bake the maple syrup in a small saucepan until it darkens and thickens slightly before adding it to the filling. Be careful not to burn it.
Serving & Storage
How to Serve: I usually serve this pie with a dollop of whipped cream and a drizzle of extra maple syrup. It’s simple, elegant, and lets the pie shine. It pairs beautifully with a cup of tea or a strong coffee.
Side Dishes: If you’re serving this as part of a larger meal, it goes well with savory dishes like cheesy ground beef goulash or roasted vegetables. The sweetness cuts through the savory richness.
Refrigerator: Store the pie in the refrigerator, covered with plastic wrap or in a pie carrier, for up to 5 days. It actually tastes better after day 2.
Reheating: Pumpkin pie is best served cold or at room temperature. If you prefer it warm, reheat a slice in the microwave for 20-30 seconds. Do not bake the whole pie again, or it will dry out.
Freezing: You can freeze the baked pie for up to 2 months. Wrap it tightly in plastic wrap and then aluminum foil. Thaw it in the refrigerator overnight before serving. The texture may change slightly, but it’s still good.
Pro Tip: If you’re making this for a dinner party, prepare the filling the night before. Store it in the fridge in a covered bowl. In the morning, pour it into the crust and bake. It saves you hours on the big day.
Nutrition Information
I’m not a nutritionist, but here’s the breakdown if you’re tracking. This is a rich, indulgent dessert, so moderation is key.
| Per Serving (1/8 of pie) | Amount |
|---|---|
| Calories | 280 |
| Protein | 5g |
| Carbs | 35g |
| Fiber | 2g |
| Sugar | 22g |
| Fat | 14g |
| Saturated Fat | 8g |
| Cholesterol | 85mg |
| Sodium | 220mg |
What’s Good: The pumpkin adds fiber and vitamins A and C. Maple syrup has antioxidants.
What to Know: It’s high in sugar and saturated fat due to the cream and syrup. If you’re watching your intake, a smaller slice with whipped cream is a good balance.
Final Thoughts
So that’s my Canadian Thanksgiving Maple Pumpkin Pie! It’s my go-to when I need a dessert that feels special but doesn’t require a weekend of baking. It’s creamy, it’s spiced, and it tastes like home.
I’ve made this for family gatherings, office potlucks, and quiet weeknights. It always gets compliments. The key is the quality of the maple syrup and the patience to let it cool. Once you try this, you’ll never go back to the canned stuff.
Make it yours! Try different toppings, swap in your favorite spices, or experiment with different crusts. The best recipes are the ones you adapt to your tastes.
If you make this, drop a comment and let me know what you think! I love hearing how recipes turn out in your kitchen. And if something doesn’t work, tell me that too—I’m here to help troubleshoot.
Happy baking! And I hope your kitchen smells half as good as mine does right now.
Frequently Asked Questions
Can I use maple syrup flavoring instead of real maple syrup?
You can, but it won’t taste the same. Real maple syrup has a complex flavor profile that artificial flavoring can’t replicate. If you must use flavoring, mix it with a little real maple syrup to balance the taste. But for the best results, use real Grade B maple syrup.
Why did my pie crack on top?
Cracking usually happens if the pie is overbaked or if the filling was overmixed. Remove the pie from the oven when the center still jiggles slightly. Also, avoid whisking too vigorously after adding the pumpkin.
Can I make this pie ahead of time?
Yes! This pie is actually better the next day. You can make it 1-2 days in advance. Store it in the refrigerator covered with plastic wrap. It’s perfect for Thanksgiving morning.
Can I use fresh pumpkin instead of canned?
Yes, but you need to roast and puree it first. Make sure the puree is thick and not watery. If it’s too wet, drain it in a cheesecloth. Canned puree is more consistent, but fresh tastes great if you have the time.
How do I store leftover pumpkin pie?
Store it in the refrigerator, covered with plastic wrap or in a pie carrier, for up to 5 days. Do not leave it out at room temperature for more than 2 hours.
Can I freeze this pie?
Yes, you can freeze the baked pie for up to 2 months. Wrap it tightly in plastic wrap and then aluminum foil. Thaw it in the refrigerator overnight before serving.
Pin This Recipe!
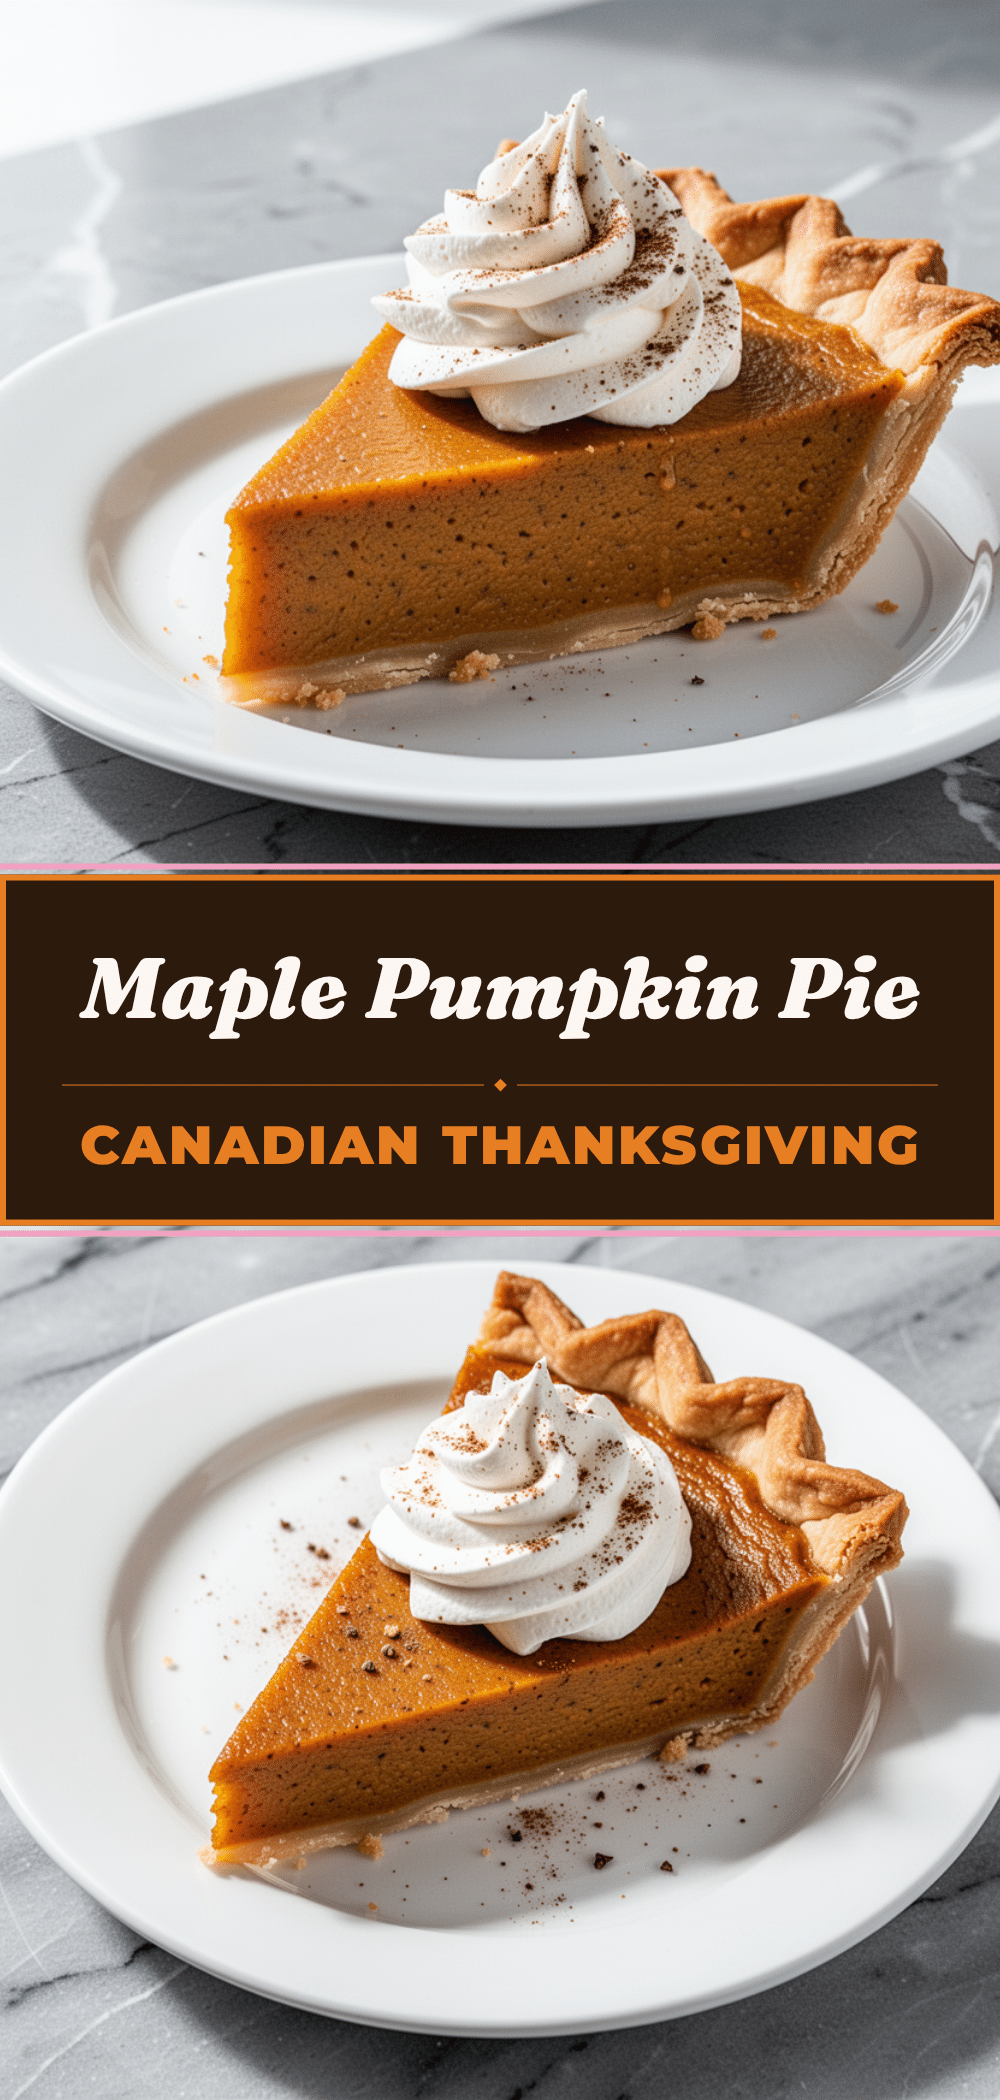
Canadian Thanksgiving Maple Pumpkin Pie: 10-Min Easy Recipe
- Total Time: 1 hour 55 minutes
- Yield: 8 servings 1x
Description
A quick and creamy maple pumpkin pie that requires only 10 minutes of active prep time. This recipe uses Grade B maple syrup and a store-bought crust for a rich, authentic Canadian flavor without the hassle.
Ingredients
- 1 pre-made 9-inch pie crust
- 1 egg white (for egg wash)
- Sesame seeds or coarse sugar (optional)
- 15 ounces (425g) 100% pure pumpkin puree
- 1/2 cup (120ml) Grade B maple syrup
- 1 cup (240ml) heavy cream
- 3 large eggs + 1 egg yolk
- 1/4 cup (50g) granulated sugar
- 1 teaspoon ground cinnamon
- 1/2 teaspoon ground ginger
- 1/4 teaspoon nutmeg
- 1 teaspoon vanilla extract
- 1/2 teaspoon salt
Instructions
- Preheat oven to 375°F (190°C). Let store-bought crust thaw if frozen, then press into a 9-inch pie dish and trim edges.
- In a large mixing bowl, whisk eggs and egg yolk vigorously for one minute until pale and frothy.
- Add heavy cream, maple syrup, and vanilla extract to the eggs. Whisk until fully combined and smooth.
- Add pumpkin puree, sugar, cinnamon, ginger, nutmeg, and salt. Whisk gently until the filling is smooth and no streaks remain.
- Pour filling into the prepared crust, leaving half an inch of space at the top. Swirl gently to remove air bubbles.
- Brush crust edges with egg white and sprinkle with sesame seeds or coarse sugar if desired.
- Bake for 45-50 minutes. The pie is done when edges are set but the center still has a slight jiggle.
- If crust edges brown too quickly, cover with a pie shield or aluminum foil after 20 minutes.
- Cool completely on a wire rack for at least 2 hours (or overnight) before slicing to allow the filling to set.
Notes
Ensure all ingredients are at room temperature to prevent lumps. Do not overmix the filling once pumpkin is added to avoid cracking. The pie tastes better the next day as flavors meld. For a gluten-free version, use a store-bought gluten-free crust.
- Prep Time: 10 minutes
- Cook Time: 45-50 minutes
- Category: Dessert
- Cuisine: Canadian
Nutrition
- Serving Size: 1/8 of pie
- Calories: 280
- Sugar: 22
- Sodium: 220
- Fat: 14
- Saturated Fat: 8
- Carbohydrates: 35
- Fiber: 2
- Protein: 5
Keywords: pumpkin pie, maple syrup, Canadian Thanksgiving, easy dessert, gluten-free option, one-bowl recipe, holiday baking


