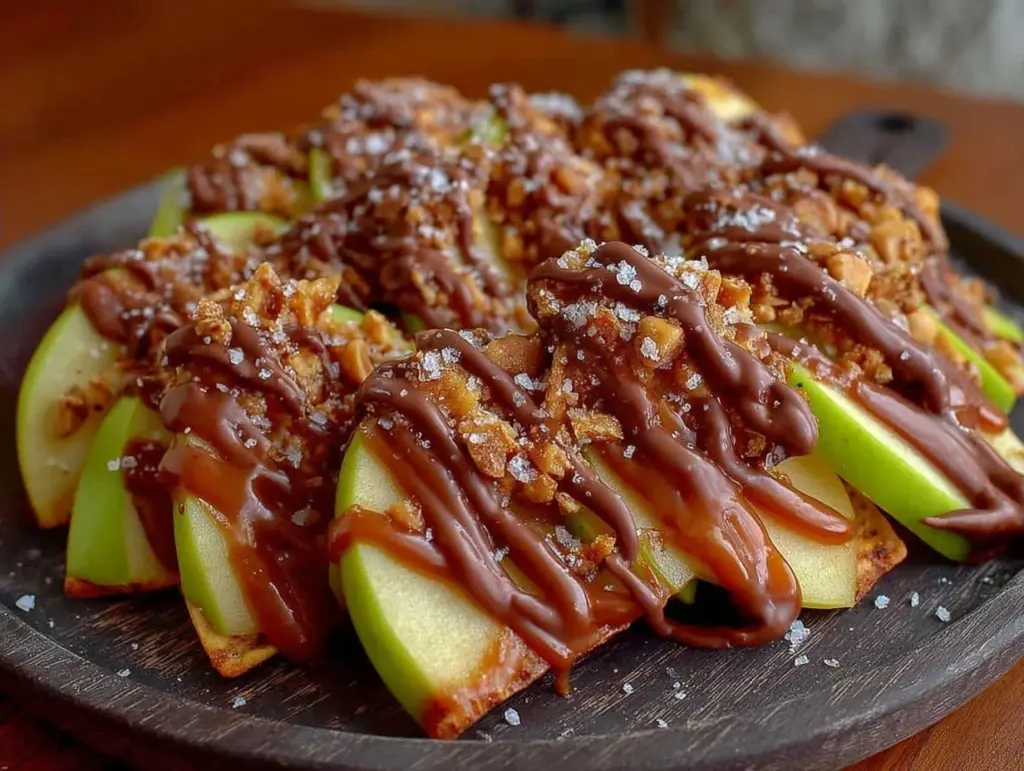
Look, I get it. When you hear “meal prep dessert,” you probably picture something that tastes like cardboard or feels like a chore. But these caramel apple nachos? They’re the exception. They’re the reason I finally stopped buying those sad, pre-packaged fruit cups from the grocery store and started actually enjoying my sweet tooth during the week.
I spent three weeks testing different ways to keep apples from turning brown and caramel from getting soggy in the fridge. I tried chilling the caramel separately. I tried tossing the apples in lemon juice (which made them taste like salad, honestly). I even tried freezing the whole thing, which was a disaster. But this method? It works. It’s efficient, it’s delicious, and it’s the perfect way to have a treat ready to grab without thinking about it.
Here’s why this recipe is a game-changer for your weekly routine:
- Make It Once, Eat It Four Times — Seriously. I make one big batch on Sunday, and it lasts me through Thursday. It’s like having a dessert drawer that refills itself. No more scrambling for something sweet after a long day.
- Zero Waste, Maximum Flavor — By using apples that are slightly past their prime (the “ugly” ones), I save money and reduce waste. These nachos mask any texture issues perfectly because they’re chopped into bite-sized pieces.
- Grab-and-Go Convenience — Portion them into small containers, and you have a perfect after-school snack or a post-dinner treat that doesn’t require heating up the kitchen. My kids love these, and I love that they’re getting fruit with their sugar fix.
- Customizable for Every Craving — Some days I want extra chocolate. Some days I want more crunch. The base is stable, so you can tweak the toppings without messing up the whole batch. It’s like a DIY dessert station that’s already set up for you.
- Freezes Like a Dream — Unlike other fruit desserts, these actually freeze well if you store them right. I’ve made batches that lasted two weeks in the freezer, and they still tasted fresh. That’s meal prep magic.
This isn’t just a recipe; it’s a strategy. It’s about working smarter, not harder, so you can enjoy the good stuff without the stress. And honestly? The smell of toasted peanuts and warm caramel in the house makes the whole week feel a little brighter.
Ingredients You’ll Need
Here’s the best part: you probably have most of this already in your pantry. I’m particular about three things here—the apples, the caramel, and the nuts—but everything else is simple stuff.
For the Base:
Granny Smith Apples (4 large, about 600g) — I use Granny Smith because they hold their shape and have that perfect tartness to cut through the sweetness. Honeycrisp works too, but they get mushy faster. Keep them cold until you’re ready to chop.
Lemon Juice (2 tablespoons / 30ml) — Not for flavor, but for preservation. Tossing the apples in lemon water prevents browning. It’s a small step that makes a huge difference in presentation.
Water (1 cup / 240ml) — Just enough to mix with the lemon juice for the bath.
For the Caramel Drizzle:
Heavy Cream (½ cup / 120ml) — Full-fat is non-negotiable. Low-fat cream will break and become grainy. I use organic heavy cream because it whips and pours better.
Brown Sugar (1 cup / 200g) — Packed. The molasses gives it that deep, toffee-like flavor. Light brown works, but dark brown is richer.
Unsalted Butter (4 tablespoons / 60g) — Room temperature. It melts easier and blends smoother into the sugar.
Salt (½ teaspoon) — Essential. It balances the sweetness. Don’t skip it.
For the Crunch & Chocolate:
Roasted Peanuts (½ cup / 60g) — Salted or unsalted, your choice. I toast them myself for extra flavor (more on that below).
Semi-Sweet Chocolate Chips (½ cup / 85g) — I use Ghirardelli because they melt evenly. Dark chocolate works if you want less sweetness.
Flaky Sea Salt (optional, for finishing) — A little sprinkle on top adds a gourmet touch.
Pro Tip: If you’re short on time, you can use store-bought caramel sauce, but the homemade version is so much better and takes only 5 minutes. It’s worth the effort. Also, I always buy a bag of extra peanuts because I tend to eat them while cooking. No judgment.
Equipment Needed
You don’t need fancy gadgets for this. Here’s what I actually use:
Large Saucepan — For making the caramel. Non-stick is easiest for cleanup, but stainless steel works fine if you watch the heat closely.
Bowl — For soaking the apples. Any size works.
Small Microwave-Safe Bowl — For melting the chocolate. If you don’t have one, a small glass bowl works.
Sharp Knife & Cutting Board — For chopping the apples. A paring knife is best for precision.
Measuring Cups & Spoons — Standard stuff.
Storage Containers — I use small, square plastic containers. They stack neatly in the fridge and are the perfect portion size for one person.
Optional but nice: A small whisk for the caramel. It helps incorporate the cream smoothly. I also love using a small piping bag for the chocolate drizzle—it looks way fancier than just spooning it on.
How to Make It: Step-by-Step
Alright, let’s get this done. I’m walking you through the process, including the little tricks that make meal prep successful.
Step 1: Prep the Apples (10 minutes)
Wash the apples thoroughly. Remove the core and chop them into bite-sized pieces—about 1-inch chunks. The key here is uniformity. If some pieces are tiny and others are huge, they’ll cook and absorb the caramel differently. Place the chopped apples in a bowl of cold water with the lemon juice. Let them soak for 5 minutes. This keeps them crisp and prevents browning. Drain and pat dry with a paper towel. Moisture is the enemy of crisp apples, so dry them well.
Step 2: Make the Caramel Sauce (5 minutes)
In a medium saucepan, combine the butter and brown sugar over medium heat. Stir constantly until the butter melts and the sugar dissolves. This takes about 3-4 minutes. The mixture will bubble up. Once it’s smooth and looks like thick syrup, remove it from the heat. Carefully stir in the heavy cream. It will bubble vigorously, so be careful. Add the salt. Return to low heat and stir for another minute until the sauce thickens slightly. It should coat the back of a spoon. Remove from heat and let it cool for 10 minutes. It will thicken more as it cools. If it gets too thick, microwave it for 15 seconds to loosen it up.
Step 3: Toast the Peanuts (3 minutes)
While the caramel cools, toast the peanuts. I use a dry skillet over medium heat. Toss them constantly for 2-3 minutes until they smell nutty and are slightly golden. Be careful not to burn them—they go from perfect to bitter in seconds. Let them cool, then roughly chop them. You want chunks, not powder.
Step 4: Melt the Chocolate (2 minutes)
Place the chocolate chips in a microwave-safe bowl. Microwave in 30-second intervals, stirring between each, until smooth. If it’s too thick, add a tiny splash of cream or butter. Stir until glossy. Let it cool slightly so it’s not too runny for drizzling.
Step 5: Assemble the Nachos
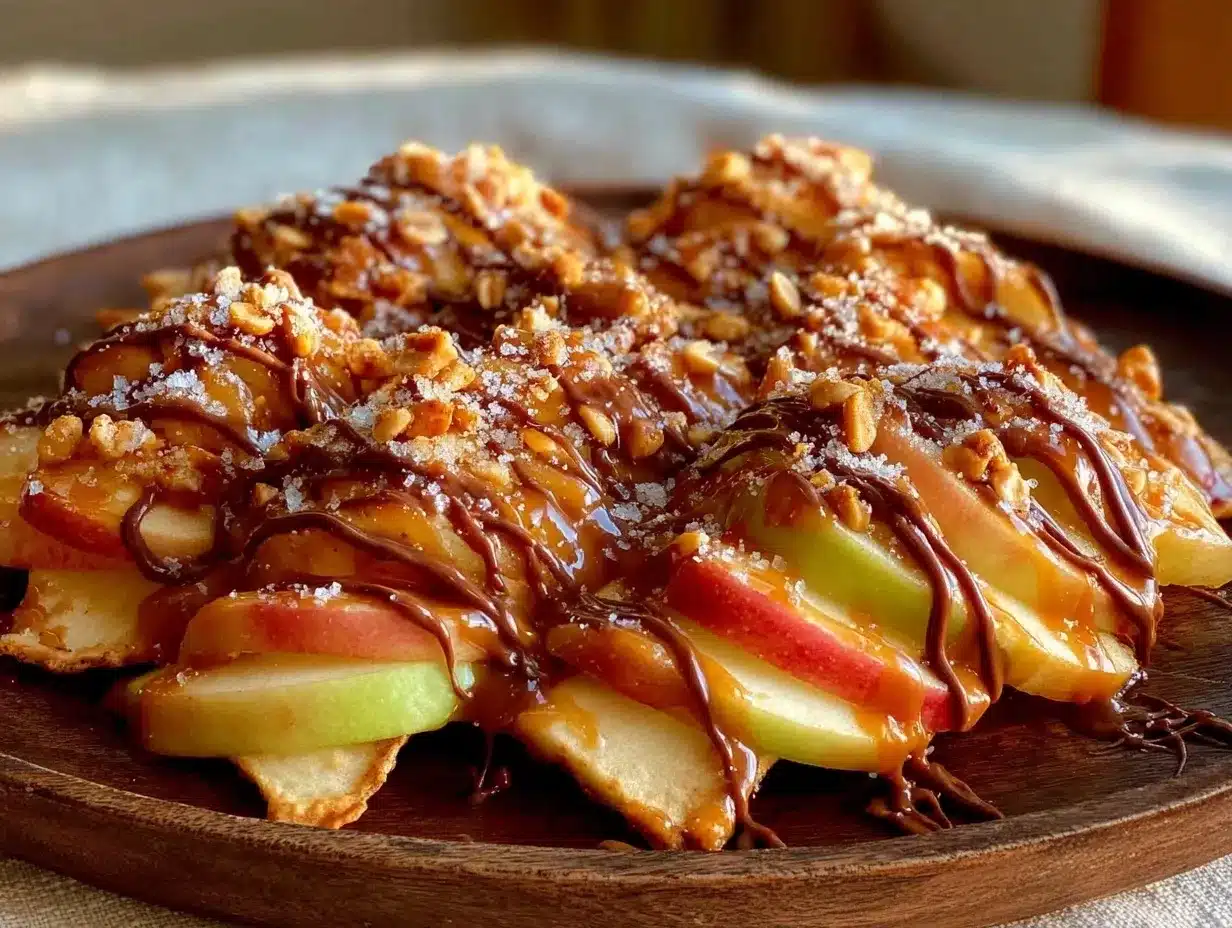
Take a large plate or a shallow baking dish. Arrange the dried apple pieces in a single layer. Drizzle the caramel sauce generously over the apples. Then, drizzle the chocolate over the caramel. Sprinkle the toasted peanuts over everything. Finish with a pinch of flaky sea salt if you’re feeling fancy.
Step 6: Portion and Store
Here’s the meal prep secret. Instead of making one giant platter, divide the assembled nachos into individual containers. This way, you can grab one without disturbing the rest. Seal them tightly. They’ll keep in the fridge for up to 4 days or in the freezer for up to 2 weeks.
Total Time: About 30 minutes. Most of that is hands-off cooling time.
Expert Tips & Tricks
Here’s everything I’ve learned from making these dozens of times. These tips will save you from my mistakes.
Keep the Apples Cold — Warm apples make the caramel slide off. Keep them in the fridge until the last minute. Cold apples also provide a nice texture contrast to the warm caramel if you microwave the portion before eating.
Don’t Skip the Drying — I know it’s annoying, but if the apples are wet, the caramel won’t stick. It’ll just pool at the bottom. Pat them dry with paper towels. Really dry.
Toast Your Own Nuts — Store-bought roasted nuts are fine, but toasting them yourself releases more oils and flavor. It’s a small step that makes a big difference. Plus, it smells amazing.
Control the Drizzle — If you want neat lines, use a spoon or a small piping bag. If you’re lazy, just pour it on. It still tastes good, just less pretty. I usually go for pretty when I’m making these for the week because it makes me more excited to eat them.
Freezing Strategy — If you’re freezing these, don’t add the peanuts until you’re ready to eat. They can get soggy in the freezer. Just store the apple-caramel-chocolate combo in the freezer, and add fresh peanuts when you thaw.
Common Mistakes:
- Caramel is too thin: You didn’t simmer it long enough. Let it reduce for another minute.
- Caramel is too thick: Add a teaspoon of warm cream and stir.
- Apples are brown: You didn’t use enough lemon juice or didn’t drain them well. Next time, soak them longer and pat them drier.
Variations & Substitutions
Once you’ve nailed the basic version, here’s how you can mix it up. I’ve tried all of these.
Butterscotch Version — Swap the brown sugar for white sugar and add ½ teaspoon vanilla extract. It’s milder and sweeter. Great for kids who don’t like the molasses taste.
Cherry Almond — Swap apples for sliced fresh cherries. Use sliced almonds instead of peanuts. Drizzle with white chocolate. It’s like a dessert salad, but better.
Chocolate Peanut Butter — Mix 2 tablespoons of peanut butter into the caramel sauce. It makes it richer and adds a nice swirl. My husband loves this version.
Spiced Apple — Add ½ teaspoon cinnamon and ¼ teaspoon nutmeg to the caramel sauce. It feels like fall in every bite.
Dietary Modifications:
- Gluten-Free: Naturally gluten-free. Just check your chocolate chips and peanuts for cross-contamination labels.
- Dairy-Free: Use coconut cream instead of heavy cream, and dairy-free chocolate chips. It’s creamy and still delicious.
- Vegan: Use vegan butter, coconut cream, and vegan chocolate chips. It works surprisingly well.
Serving & Storage
How to Serve: I usually serve these straight from the container. But if you want to warm them up, microwave for 30-60 seconds. The caramel will be gooey and warm, which is amazing. Serve with a spoon.
Side Dishes: These are a complete dessert. No need for sides. But if you’re having a dinner party, they pair well with a glass of creamy iced caramel latte or a cup of coffee.
Refrigerator: Store in an airtight container for up to 4 days. The apples will soften slightly, but they’ll still be tasty.
Freezer: Store in a freezer-safe container for up to 2 weeks. Thaw in the fridge overnight before eating. If you froze them with peanuts, the peanuts might lose some crunch, so add fresh ones if you can.
Meal Prep Strategy: Make the caramel and chocolate on Sunday. Chop the apples and store them in water in the fridge. Assemble individual portions daily or pre-assemble and store. I usually pre-assemble because it saves time during the week.
Nutrition Information
I’m not a nutritionist, but here’s the breakdown if you’re tracking. This is a treat, so enjoy it in moderation.
Per Serving (based on 6 servings):
- Calories: 280
- Protein: 4g
- Carbs: 42g
- Fiber: 3g
- Sugar: 35g
- Fat: 12g
- Saturated Fat: 7g
- Cholesterol: 20mg
- Sodium: 150mg
What’s Good: You get fruit fiber and some protein from the nuts. It’s better than a candy bar.
What to Know: High in sugar from the caramel and chocolate. Use less caramel or sugar-free chocolate to reduce calories.
My Take: It’s a dessert. Enjoy it. If you want to make it lighter, use less caramel and more apples. But usually? I just eat a reasonable portion and enjoy it.
Final Thoughts
So that’s my go-to caramel apple nachos meal prep strategy. I’ve probably talked your ear off at this point, but when you make a recipe this often, you have a lot to say about it.
This has saved my sweet tooth more times than I can count. It’s my answer to “what’s for dessert” when I’m tired, don’t want to cook, and still want something that tastes really good. My kids are happy, I’m happy, and I’m happy because I’m not stressed about making something new every night.
Make it yours! Try different nuts, swap the chocolate, adjust the caramel. The best recipes are the ones you adapt to your family’s tastes. If you make this, drop a comment and let me know what you think! I love hearing how recipes turn out in your kitchen. And if something doesn’t work, tell me that too—I’m here to help troubleshoot.
Happy cooking! And I hope your kitchen smells half as good as mine does right now.
Frequently Asked Questions
Q: Can I use other fruits instead of apples?
A: Yes! Pears work similarly. Bananas work too, but they brown very fast, so eat them immediately. Strawberries are good but release a lot of water, so the caramel might get runny. Apples are best for meal prep because they hold up well.
Q: Why did my caramel seize up?
A: Usually means water got into the sugar while it was melting. Sugar is very sensitive to moisture. Make sure your pan and utensils are completely dry. Also, add the cream slowly and off heat.
Q: Can I make this ahead for a party?
A: Absolutely. Make the caramel and chocolate a day ahead. Chop the apples the day of. Assemble the night before. They’ll look great and taste fresh. Just keep them refrigerated until serving.
Q: How do I reheat leftovers without it getting dry?
A: Microwave for 30-60 seconds. The caramel will melt and re-coat the apples. If it’s too hot, let it cool for a minute. Don’t overheat or the apples will turn to mush.
Q: Can I use peanut butter instead of peanuts?
A: Yes! Drizzle peanut butter over the top instead of sprinkling nuts. It’s richer and creamier. My kids love this version.
Q: How long do these last in the fridge?
A: Up to 4 days. After that, the apples start to get soft and brown. For longer storage, freeze them. They’ll last up to 2 weeks.
Q: Can I double this recipe?
A: Yes! Double everything. Just use a larger saucepan for the caramel. The cooking times stay the same. I do this when I’m meal-prepping for the whole week.
Pin This Recipe!
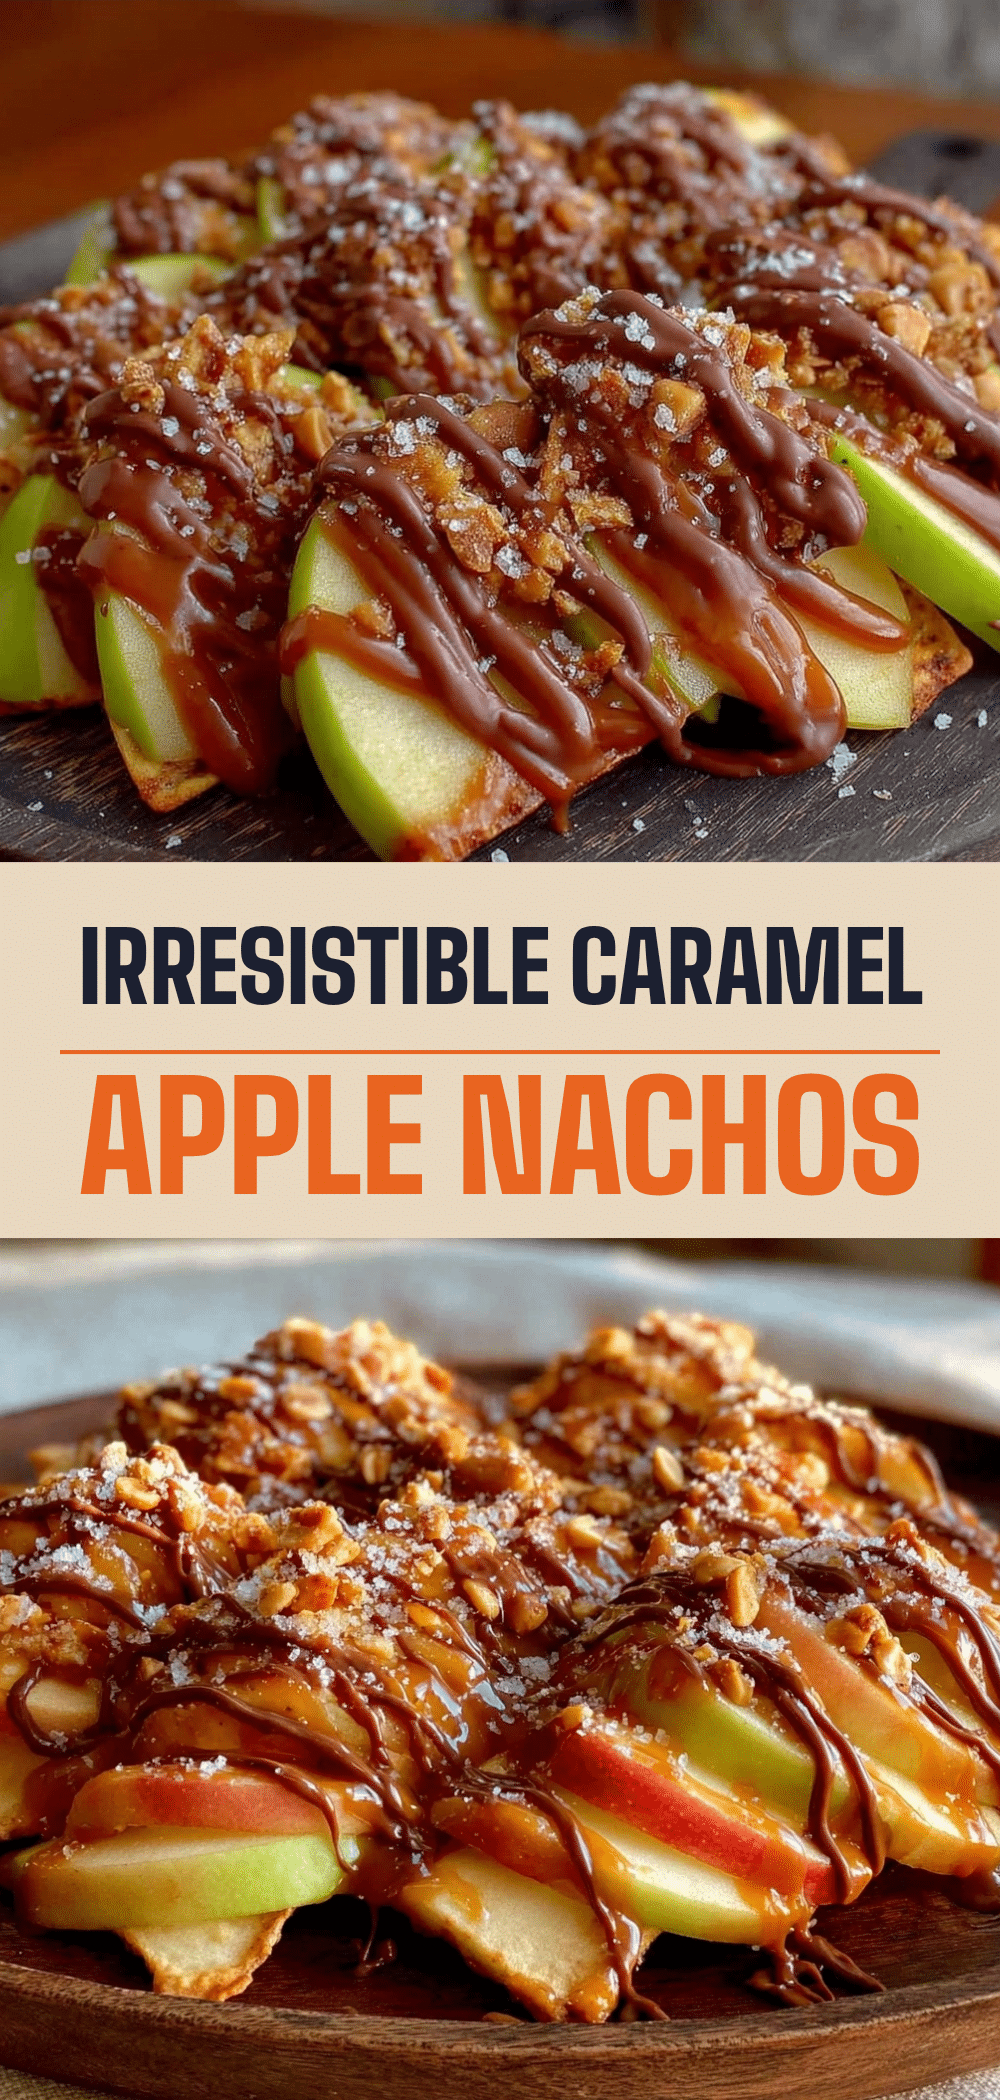

Caramel Apple Nachos: 4-Week Meal Prep Dessert
- Total Time: 30 minutes
- Yield: 6 servings 1x
Description
A convenient and delicious meal prep dessert featuring tart Granny Smith apples drizzled with homemade salted caramel and chocolate, topped with toasted peanuts. Designed to last up to four days in the fridge or two weeks in the freezer.
Ingredients
- 4 large Granny Smith apples (about 600g)
- 2 tablespoons lemon juice
- 1 cup water
- ½ cup heavy cream
- 1 cup packed brown sugar
- 4 tablespoons unsalted butter (room temperature)
- ½ teaspoon salt
- ½ cup roasted peanuts
- ½ cup semi-sweet chocolate chips
- Flaky sea salt (optional, for finishing)
Instructions
- Wash, core, and chop apples into 1-inch chunks. Place in a bowl with water and lemon juice; soak for 5 minutes to prevent browning. Drain and pat dry thoroughly with paper towels.
- In a medium saucepan over medium heat, combine butter and brown sugar. Stir constantly until butter melts and sugar dissolves (3-4 minutes).
- Remove from heat and carefully stir in heavy cream (mixture will bubble). Add salt. Return to low heat and stir for 1 minute until slightly thickened. Remove from heat and let cool for 10 minutes.
- Toast peanuts in a dry skillet over medium heat for 2-3 minutes until fragrant and golden. Let cool and roughly chop.
- Melt chocolate chips in a microwave-safe bowl in 30-second intervals, stirring between each, until smooth. Let cool slightly.
- Arrange dried apple pieces in a single layer on a plate or in storage containers. Drizzle generously with caramel sauce, then drizzle with chocolate. Sprinkle with toasted peanuts and flaky sea salt.
- Portion into individual containers. Store in the fridge for up to 4 days or freeze for up to 2 weeks.
Notes
Keep apples cold until serving to maintain texture. Ensure apples are completely dry before adding caramel to prevent sliding. For freezing, add fresh peanuts after thawing to maintain crunch. Can be made dairy-free using coconut cream and dairy-free chocolate, or vegan using vegan butter and chocolate chips.
- Prep Time: 10 minutes
- Cook Time: 20 minutes
- Category: Dessert
- Cuisine: American
Nutrition
- Serving Size: 1 portion (approx. 1
- Calories: 280
- Sugar: 35
- Sodium: 150
- Fat: 12
- Saturated Fat: 7
- Carbohydrates: 42
- Fiber: 3
- Protein: 4
Keywords: meal prep dessert, caramel apple nachos, healthy dessert, apple recipe, chocolate caramel, peanut dessert, make ahead dessert, gluten-free dessert


