I still remember the first time I made tiramisu for a dinner party. I was twenty-four, living in a tiny apartment with a kitchen that barely had counter space, and I wanted to impress a group of friends who included a guy who claimed he “only liked chocolate.” I’d never made it before. I assumed it was just coffee-soaked ladyfingers with some whipped cream on top—easy, right? Wrong.
I followed a recipe that called for raw eggs (a big no-no in my book now) and I whipped the cream until it was basically butter. When my guests dug in, the texture was grainy, the coffee flavor was nonexistent, and the whole thing collapsed like a house of cards by dessert time. I was mortified. My friend who only liked chocolate actually complimented it, but I knew the truth. It was a disaster.
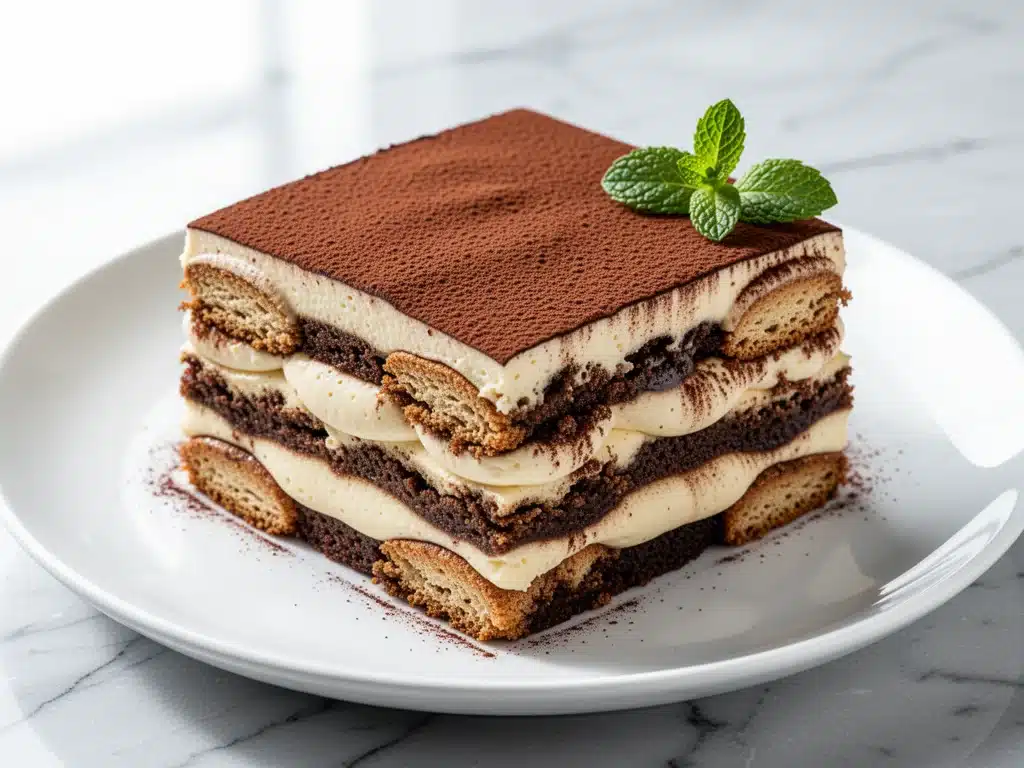
That failure haunted me. For months, I avoided making it. Then, about two years ago, I decided to do it properly. I spent weeks tweaking ratios, swapping out raw eggs for a stable mascarpone cream, and finding the perfect balance of strong espresso and sweet cocoa. The result? This classic homemade tiramisu with mascarpone cream. It’s rich, it’s safe, it’s incredibly elegant, and it actually holds its shape. I’ve made it for weddings, holiday dinners, and random Tuesday nights when I just need a win. It’s become my go-to dessert for special occasions because it looks like you spent hours in a Parisian patisserie, but it’s mostly just assembly.
If you’re looking for a dessert that screams “I put effort into this” without requiring a degree in pastry arts, you need to try this recipe. I’ve tested it so many times that I can now make it in my sleep. And trust me, once you taste the difference between store-bought tiramisu and this version, you’ll never go back.
Why You’ll Love This Tiramisu Recipe
There are a hundred reasons to make this tiramisu, but let’s be real—you probably just want something that tastes amazing and doesn’t stress you out. Here’s why this recipe has earned a permanent spot in my rotation:
- It’s Make-Ahead Friendly — Seriously, this is the best part. Tiramisu needs to chill for at least 4 hours, ideally overnight. That means you can do all the hard work the day before your party. When your guests arrive, you just pull it out of the fridge. Zero last-minute stress. I’ve hosted dinners where this was the only thing I prepped ahead.
- No Raw Eggs Required — I’m a mom, and I’m not messing around with salmonella risks. This recipe uses a cooked egg yolk custard base (or just mascarpone and cream if you want it simpler) that’s completely safe. It’s rich and creamy without the risk. My kids eat it, and I don’t lose sleep.
- Restaurant-Quality Texture — Most home recipes are either too dry or too soupy. This one hits that sweet spot where the ladyfingers are soft but not mushy, and the cream is airy but dense enough to feel indulgent. It’s the kind of texture that makes people close their eyes and sigh.
- Uses Simple Ingredients — You don’t need obscure imports. Mascarpone, espresso, ladyfingers, cocoa powder, and sugar. If you can find these at any grocery store, you can make this. No specialty kitchen trips required.
- It Feels Fancy — There’s something about dusting cocoa powder over a layered dessert that just says “I’m sophisticated.” It’s perfect for date nights, anniversary dinners, or when you want to treat yourself to something special. It tastes like a vacation.
This isn’t just a dessert; it’s a confidence booster. Serve this at your next gathering, and watch people ask for the recipe before they even finish their second bite.
Ingredients You’ll Need
Here’s the thing about tiramisu: the quality of your ingredients matters more than the technique. Since there aren’t many components, each one has to shine. I’m particular about three things here: the coffee, the cheese, and the ladyfingers. Let’s break it down.
For the Mascarpone Cream
Mascarpone cheese (16 oz / 450g) — This is non-negotiable. Don’t substitute cream cheese. Mascarpone is richer, milder, and less tangy. It’s the soul of this dessert. Keep it cold until you’re ready to use it. I buy the tubs from the dairy section, not the blocks, because they’re easier to whip.
Heavy cream (1 cup / 240ml) — You need full-fat heavy cream with at least 35% fat content. Light cream won’t hold peaks. I chill my mixing bowl and whisk attachments in the fridge for 15 minutes before whipping—it helps the cream reach stiff peaks faster.
Granulated sugar (½ cup / 100g) — I use regular white sugar. It dissolves easily into the cream. If you want a deeper flavor, you can substitute half of it with brown sugar, but pure white sugar keeps the flavor clean and lets the coffee shine.
Vanilla extract (1 teaspoon) — Use real vanilla, not imitation. It adds a subtle warmth that balances the bitterness of the coffee. I keep a bottle of Nielsen-Massey vanilla in my pantry because the flavor is consistent.
Egg yolks (3 large) — Optional but recommended for a richer texture. If you’re worried about raw eggs, you can skip them, but cooking them into a custard (like in my homemade vanilla sweet cream cold foam recipe) ensures safety and adds incredible silkiness. If you skip the yolks, just whip the mascarpone and cream together.
For the Coffee Soak
Strong espresso (1 ½ cups / 360ml) — Brewed and cooled. You want this strong. If you don’t have an espresso machine, use a very strong French press or instant espresso powder dissolved in hot water. Let it cool completely before dipping the cookies. Warm coffee will dissolve the ladyfingers too fast.
Dark rum or coffee liqueur (2 tablespoons) — Optional but highly recommended. It adds that adult kick. If you’re making this for kids or non-drinkers, skip it or use extra coffee. I love the depth it adds, but it’s not strictly necessary.
Simple syrup (1 tablespoon) — Optional. If your espresso is bitter, a little sugar helps balance it. Mix equal parts sugar and water, heat until dissolved, and cool.
For Assembly
Ladyfingers (24-30 pieces) — Look for Savoiardi cookies. They’re dry, crunchy, and sponge-like. Avoid the soft, cake-like ladyfingers meant for eating straight out of the box—they’ll fall apart. I buy the Italian brand *Pellegrini* or *Carrara* because they hold up best.
Dutch-process cocoa powder (¼ cup / 20g) — For dusting. Dutch-process cocoa is darker and less bitter than natural cocoa. It gives that beautiful, matte finish. I use *Rodelle* or *Ghirardelli*. Don’t use sweetened cocoa mix—it’s way too sweet.
Dark chocolate shavings (optional) — For garnish. I grate a bar of 70% dark chocolate over the top just before serving. It looks fancy and adds a crunchy contrast.
Equipment Needed
You don’t need fancy gadgets for this. Here’s what I actually use:
Two 9×13 inch baking dishes or a large trifle bowl — I prefer two shallow dishes because they’re easier to store in the fridge and serve from. A trifle bowl is gorgeous for showing off layers, but it’s harder to get the last bites out. I use Pyrex baking dishes because they’re cheap and don’t stain.
Electric mixer — Handheld or stand mixer. Whipping mascarpone and cream by hand is possible but tiring. I use my KitchenAid because it’s consistent. If you don’t have one, a vigorous whisk and arm strength will work.
Whisks and spatulas — A silicone spatula is crucial for folding the cream into the mascarpone without deflating it. I keep a few different sizes.
Shallow dipping dish — A pie plate or shallow bowl for the coffee. You need something wide so you can quickly dip the ladyfingers.
Microplane or fine grater — For the chocolate shavings. Or just use a knife to shave thin curls.
Measuring cups and spoons — Standard stuff. Accuracy matters here because the ratio of cream to cheese affects the texture.
How to Make It: Step-by-Step
Alright, let’s make this! I’m walking you through exactly how I do it, including the little tricks I’ve picked up over the years.
Step 1: Brew and Cool the Espresso
Brew your espresso or strong coffee and let it cool completely. This is critical. If the coffee is even slightly warm, it will turn your ladyfingers into mush instantly. I usually brew it the night before and let it sit in the fridge. Stir in the rum or liqueur if you’re using it, and the simple syrup. Set aside.
Step 2: Prepare the Mascarpone Cream
In a large mixing bowl, combine the mascarpone cheese, sugar, vanilla, and egg yolks (if using). Beat on medium-low speed until smooth and creamy. Scrape down the sides of the bowl. If you’re skipping the yolks, just beat until combined.
In a separate chilled bowl, whip the heavy cream to stiff peaks. You want it firm but not buttery. This takes about 2-3 minutes on medium-high speed.
Gently fold the whipped cream into the mascarpone mixture. Use a spatula and cut down through the center, sweep along the bottom, and flip over. Rotate the bowl and repeat. Do this until just combined. Don’t overmix, or you’ll lose the airiness. The result should be light, fluffy, and spreadable.
Step 3: Dip the Ladyfingers
This is the most important step for texture. Take a ladyfinger and dip it into the coffee mixture for just 1-2 seconds per side. You want it coated, not soaked. It should feel heavy but still hold its shape. If you leave it in too long, it will disintegrate. I usually do three ladyfingers at a time, dipping them quickly and placing them in the dish.
Arrange the dipped ladyfingers in a single layer in your baking dish. They should fit snugly. If you need to break one in half to fill a gap, do it, but try to keep the layer even.
Step 4: Layer the Cream
Spread half of the mascarpone cream over the first layer of ladyfingers. Use an offset spatula or a regular spatula to smooth it out. Try to get the cream into the corners and between the cookies. It doesn’t need to be perfect—rustic is fine.
Step 5: Repeat the Layers
Add a second layer of dipped ladyfingers on top of the cream. Dip them just as quickly as the first layer. Spread the remaining cream over the top. Smooth it out carefully. This is the top layer, so it will be visible, but it doesn’t need to be painter-perfect.
Step 6: Chill
Cover the dish tightly with plastic wrap. Place it in the refrigerator for at least 4 hours, but ideally overnight (8-12 hours). This chilling time is what allows the flavors to meld and the ladyfingers to soften to that perfect cake-like texture. I know it’s hard to wait, but patience pays off. If you cut into it too soon, it’ll be messy.
Step 7: Dust and Serve
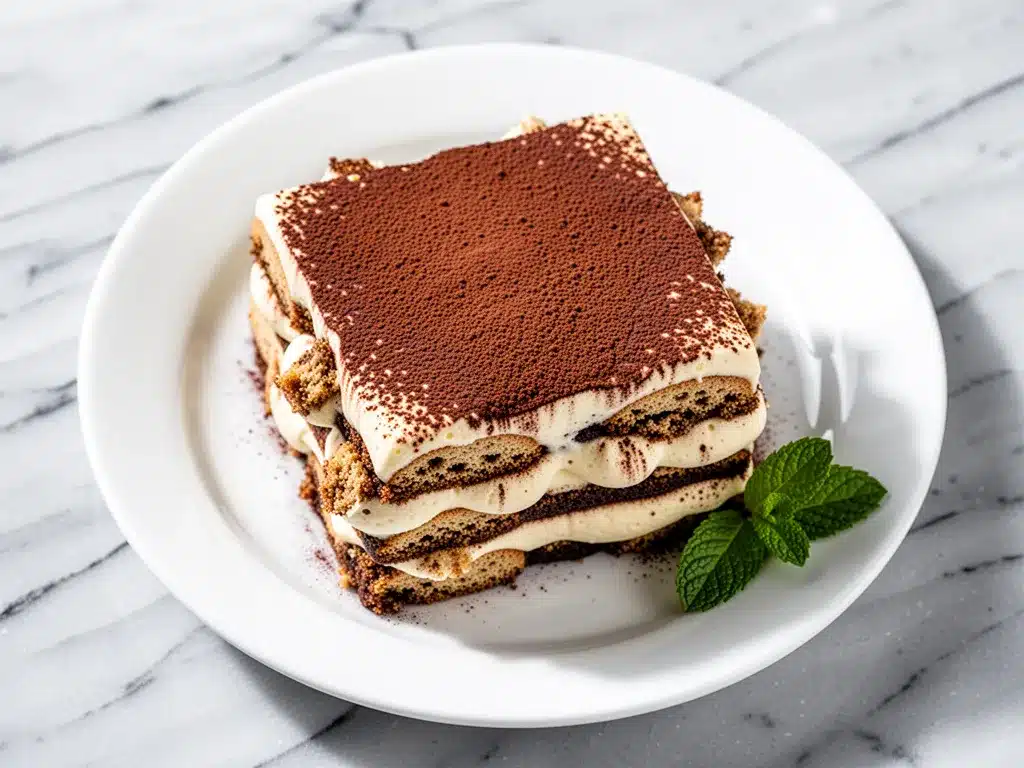
Just before serving, dust the top generously with Dutch-process cocoa powder. Use a fine-mesh sieve for an even, cloud-like layer. I usually do two light dustings to avoid clumps. If you’re using chocolate shavings, sprinkle them on now. Slice with a sharp knife and serve cold.
Total Time: About 30 minutes active, plus 4+ hours chilling.
Expert Tips & Tricks
Here’s everything I’ve learned from making this dozens of times. These tips will save you from my mistakes.
- Don’t Soak the Cookies — I see this mistake all the time. People dip the ladyfingers for 5 seconds each side. No. 1-2 seconds max. They absorb liquid fast. If they get soggy, the whole dessert collapses.
- Keep Everything Cold — Mascarpone and cream are temperature-sensitive. If your cream is warm, it won’t whip. If your mascarpone is warm, it might separate. Keep it chilled until the last minute.
- Use a Sharp Knife — When slicing, use a long, sharp knife. Dip it in hot water and wipe it dry between cuts. This gives you clean, beautiful slices. A dull knife will squish the layers.
- Make It Ahead — This dessert actually improves after 24 hours. The flavors meld and the texture stabilizes. I always make it the day before. It’s the ultimate stress-free dessert.
- Quality Cocoa Matters — Don’t use cheap cocoa powder. It tastes dusty and bitter. Invest in a good Dutch-process cocoa. It makes a huge difference in the final taste and appearance.
Common Mistakes to Avoid
Mistake: The cream is grainy.
Fix: The mascarpone wasn’t smooth before folding. Beat it longer on low speed until it’s creamy. Also, don’t overwhip the cream—soft peaks are fine for folding.
Mistake: The dessert is too wet.
Fix: You soaked the ladyfingers too long. Next time, do a quick dip. Also, make sure your coffee isn’t too watery. It should be strong.
Mistake: The cream separated.
Fix: The mascarpone was too cold or the cream was too warm. Let the mascarpone sit at room temperature for 10 minutes before mixing. Keep the cream cold.
Variations & Substitutions
Once you’ve nailed the basic version, here’s how you can mix it up. I’ve tried all of these.
Non-Alcoholic Version
Skip the rum and use extra espresso or hazelnut syrup. It’s still delicious and great for kids or non-drinkers. I add a teaspoon of orange zest to the cream for a bright, non-alcoholic twist.
Chocolate Tiramisu
Add 2 tablespoons of cocoa powder to the mascarpone cream. It makes it chocolatey and rich. Top with chocolate shavings instead of dusting cocoa. This is a crowd-pleaser.
Strawberry Tiramisu
Add a layer of sliced fresh strawberries between the cream and cookie layers. The acidity cuts through the richness. It’s lighter and perfect for spring.
Gluten-Free Option
Use gluten-free ladyfingers. They can be harder to find, but brands like *Van’s* or *Enjoy Life* work. Dip them quickly—they absorb liquid faster than regular ones.
Dairy-Free Option
Replace mascarpone with a dairy-free cream cheese alternative and use coconut cream instead of heavy cream. It’s not the same, but it’s still tasty. I’ve made this for lactose-intolerant friends, and they loved it.
Serving & Storage
How to Serve
I usually serve this straight from the baking dish with a large spoon. It’s rustic and easy. But here are other ways I’ve enjoyed it:
- Individual Portions — Make it in small glasses or jars for parties. It looks elegant and makes portion control easier.
- With Fruit — Serve with fresh raspberries or strawberries on the side. The tartness balances the sweetness.
- With Coffee — Obviously, serve with a cup of espresso. It’s the perfect pairing.
Storage Instructions
Refrigerator: Store in an airtight container or covered with plastic wrap for up to 5 days. It actually gets better after day 2.
Freezing: Tiramisu doesn’t freeze well. The cream can separate and the texture becomes grainy. I don’t recommend freezing it. Make it fresh or store in the fridge.
Reheating: Do not reheat. Serve cold. If it’s too cold from the fridge, let it sit out for 10 minutes to soften slightly.
Nutrition Information
I’m not a nutritionist, but here’s the breakdown if you’re tracking. This is a rich dessert, so portion control is key.
Per Serving (based on 12 servings):
| Nutrient | Amount |
|---|---|
| Calories | 380 |
| Protein | 6g |
| Carbs | 35g |
| Fiber | 1g |
| Sugar | 22g |
| Fat | 24g |
| Saturated Fat | 14g |
| Cholesterol | 110mg |
| Sodium | 120mg |
What’s Good: High in calcium from the mascarpone. Provides a decent energy boost from the carbs.
What to Know: High in sugar and saturated fat. It’s a treat, not a health food. Enjoy in moderation.
Final Thoughts
So that’s my classic homemade tiramisu with mascarpone cream! I’ve probably talked your ear off at this point, but when you make a recipe this often, you have a lot to say about it.
This has saved my dessert game more times than I can count. It’s my answer to “what do I bring to the party?” when I want to impress but don’t want to stress. My friends are happy, my family is happy, and I’m happy because I know exactly what’s in it and it tastes better than anything from a store.
Make it yours! Try different liqueurs, add fruit, or change the cocoa. The best recipes are the ones you adapt to your tastes. If you make this, drop a comment and let me know what you think! I love hearing how recipes turn out in your kitchen. And if something doesn’t work, tell me that too—I’m here to help troubleshoot.
Happy cooking! And I hope your kitchen smells half as good as mine does right now (it smells like coffee and chocolate, which is basically heaven).
Frequently Asked Questions
Can I use instant espresso instead of brewed coffee?
Yes! Dissolve 2-3 tablespoons of instant espresso powder in 1 ½ cups of hot water. Let it cool completely. It’s actually stronger than brewed coffee, which is good for flavor. Just make sure it’s cool before dipping.
Why did my tiramisu turn out watery?
Usually means you soaked the ladyfingers too long. Dip them for 1-2 seconds max. Also, make sure your cream wasn’t over-whipped or under-chilled, which can cause separation.
Can I make this ahead of time?
Absolutely. This is best made 24 hours ahead. It needs time to set and for flavors to meld. I make it the day before the event and it’s perfect.
Can I use cream cheese instead of mascarpone?
I don’t recommend it. Cream cheese is tangier and denser. Mascarpone is milder and creamier. If you must substitute, mix cream cheese with a little heavy cream to soften it, but the flavor won’t be the same.
How do I store leftovers?
Keep it covered in the fridge for up to 5 days. The top layer might dry out slightly, so add a fresh dusting of cocoa before serving.
Is this recipe safe for pregnant women?
If you use cooked egg yolks (pasteurized) or skip the eggs entirely, it’s safe. Avoid raw eggs. The mascarpone and cream are pasteurized, so they’re safe.
Can I freeze this dessert?
No. The texture of the cream and cookies doesn’t freeze well. It becomes grainy and watery when thawed. Make it fresh or store in the fridge.
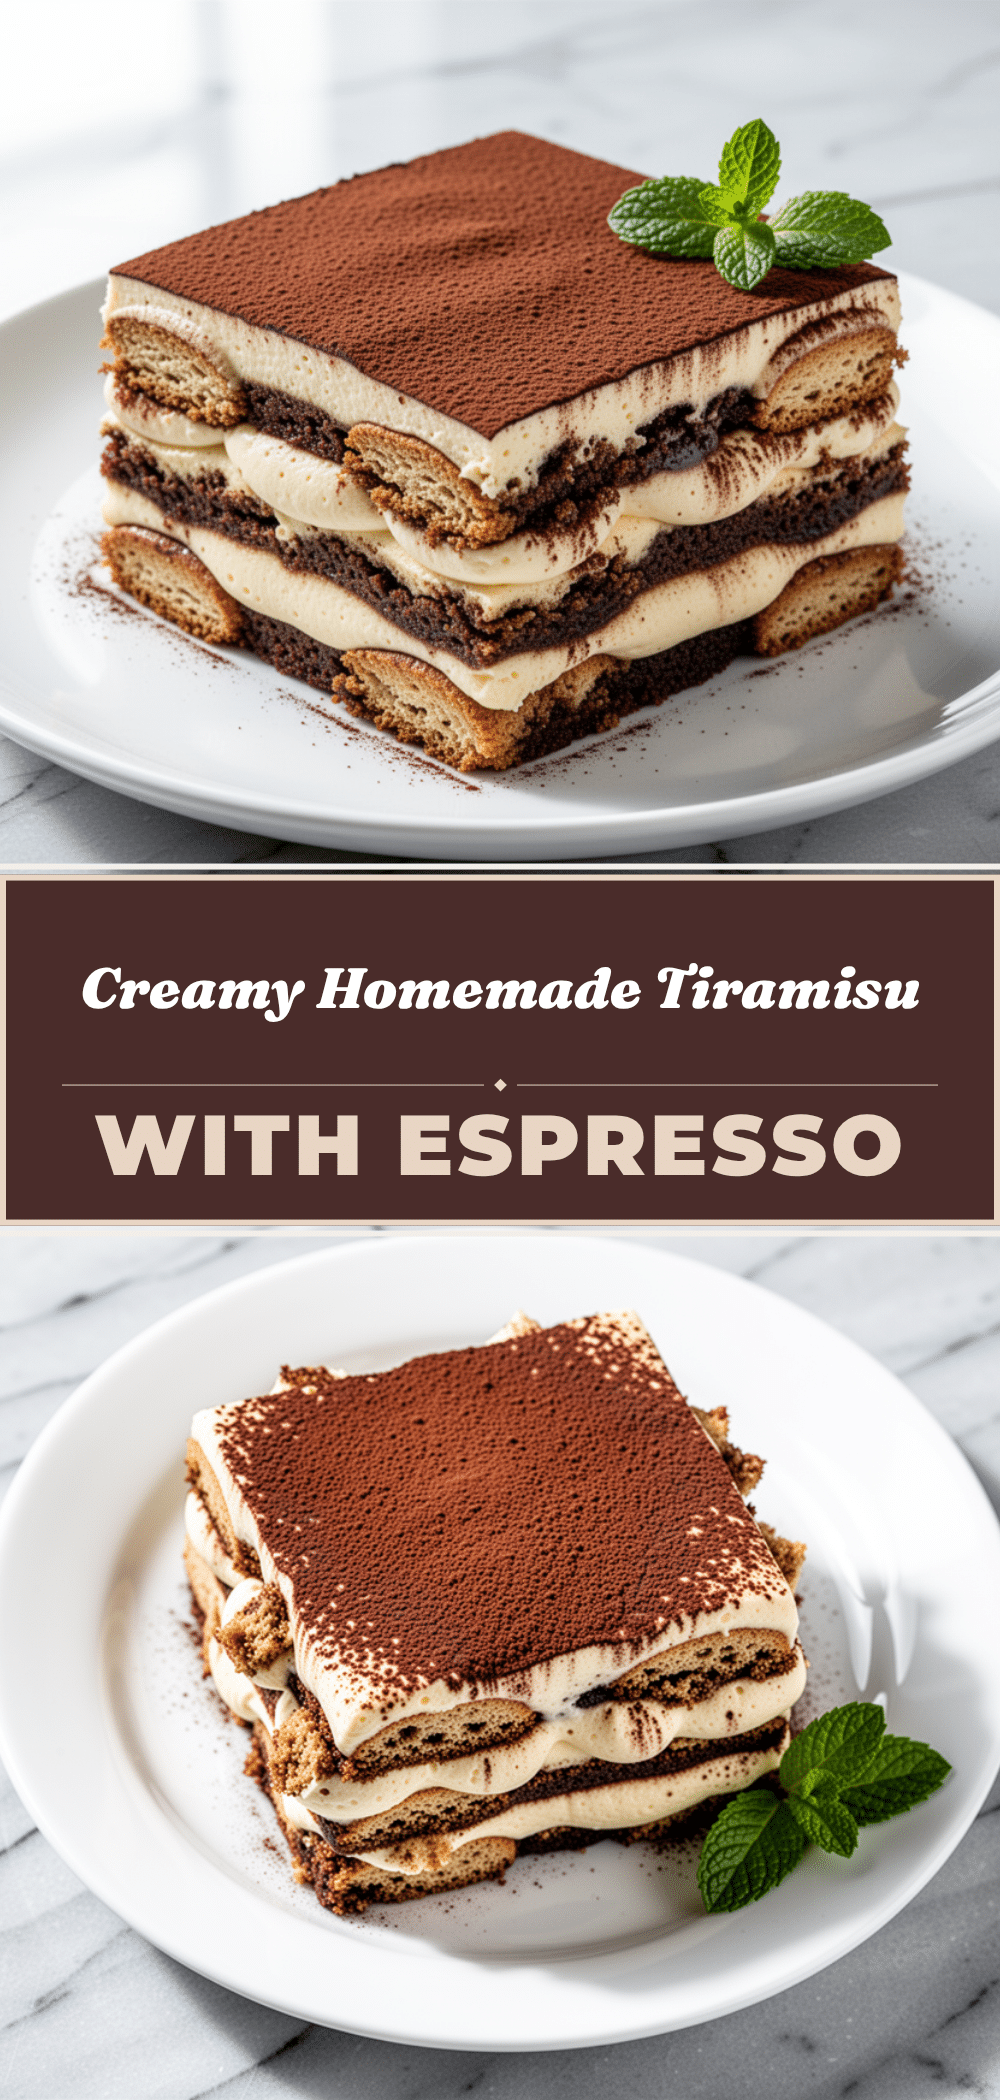
Pin This Recipe!
Classic Homemade Tiramisu with Mascarpone Cream for Special Occasions
- Total Time: 4 hours 30 minutes
- Yield: 12 servings 1x
Description
A rich, elegant, and safe classic tiramisu using a stable mascarpone cream instead of raw eggs. This make-ahead dessert features coffee-soaked ladyfingers and a silky custard-like topping, perfect for impressing guests at special occasions.
Ingredients
- 16 oz (450g) Mascarpone cheese, cold
- 1 cup (240ml) Heavy cream (at least 35% fat), chilled
- ½ cup (100g) Granulated sugar
- 1 teaspoon Vanilla extract
- 3 large Egg yolks (optional, for richer texture)
- 1 ½ cups (360ml) Strong espresso, brewed and cooled completely
- 2 tablespoons Dark rum or coffee liqueur (optional)
- 1 tablespoon Simple syrup (optional, if espresso is bitter)
- 24–30 Ladyfingers (Savoiardi cookies)
- ¼ cup (20g) Dutch-process cocoa powder, for dusting
- Dark chocolate shavings (optional, for garnish)
Instructions
- Brew espresso and let it cool completely. Stir in rum or liqueur and simple syrup if using. Set aside.
- In a large mixing bowl, combine mascarpone, sugar, vanilla, and egg yolks (if using). Beat on medium-low speed until smooth and creamy.
- In a separate chilled bowl, whip heavy cream to stiff peaks (about 2-3 minutes on medium-high speed).
- Gently fold the whipped cream into the mascarpone mixture using a spatula until just combined. Do not overmix.
- Dip each ladyfinger into the coffee mixture for 1-2 seconds per side. They should be coated but not soaked.
- Arrange a single layer of dipped ladyfingers in a 9×13 inch baking dish or trifle bowl.
- Spread half of the mascarpone cream over the first layer of ladyfingers.
- Add a second layer of dipped ladyfingers on top of the cream.
- Spread the remaining mascarpone cream over the top layer and smooth it out.
- Cover the dish tightly with plastic wrap and refrigerate for at least 4 hours, ideally overnight (8-12 hours).
- Just before serving, dust the top generously with Dutch-process cocoa powder using a fine-mesh sieve. Add chocolate shavings if desired.
- Slice with a sharp knife and serve cold.
Notes
Ensure the espresso is completely cool before dipping ladyfingers to prevent them from becoming mushy. Keep mascarpone and cream cold until mixing to ensure proper texture. For a non-alcoholic version, substitute rum with extra espresso or hazelnut syrup. This dessert improves in flavor after 24 hours in the fridge. Do not freeze, as the texture will become grainy.
- Prep Time: 30 minutes
- Cook Time: 0 minutes
- Category: Dessert
- Cuisine: Italian
Nutrition
- Serving Size: 1 slice
- Calories: 380
- Sugar: 22
- Sodium: 120
- Fat: 24
- Saturated Fat: 14
- Carbohydrates: 35
- Fiber: 1
- Protein: 6
Keywords: tiramisu, mascarpone cream, italian dessert, make ahead dessert, no bake dessert, coffee dessert, special occasion dessert, classic tiramisu


