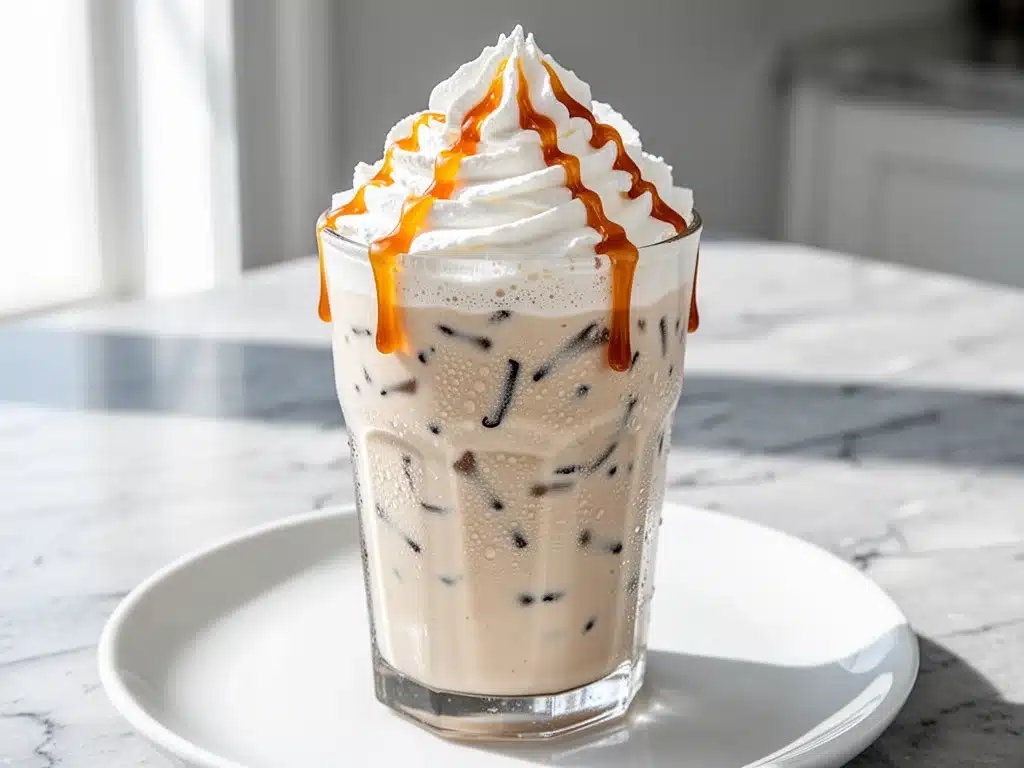
Last Tuesday, I was standing in line at my local Starbucks, staring at the digital menu board like it held the secrets to the universe. It was 7:15 AM. I was tired. I had a deadline looming. And I had a craving for that specific, icy-sweet vanilla bean magic that costs exactly $7.45 plus tax.
I ordered it. I waited. I got it. And you know what? It was fine. But as I walked back to my car, sipping through that thick, waxy straw, I felt that familiar pang of regret. Not because it tasted bad—it tasted good—but because I realized I could make this exact drink at home for about $1.20. And not just “okay” at home. Actually better at home.
This isn’t just a vanilla latte with ice thrown in. This is the Copycat Starbucks Vanilla Bean Frappuccino that I’ve perfected over three years of testing. I’ve blended, tasted, adjusted, and blended again until I cracked the code on the texture. The secret isn’t just the coffee; it’s the vanilla bean paste and the specific ratio of ice to milk that makes it taste like it came from a green apron, not your kitchen counter.
If you’re tired of paying a premium for a drink that’s mostly ice and sugar, you need to try this. I’ve made this Copycat Starbucks Vanilla Bean Frappuccino so many times that my blender probably has a permanent vanilla smell. It’s my go-to for lazy Sundays, busy mornings, and when I need a treat that feels indulgent but takes less time than it does to drive to the coffee shop.
Let’s be real: Starbucks is convenient. But convenience doesn’t have to mean expensive or low-quality. Once you make this at home, you’ll never go back. Seriously. I’ve even used this base to make a copycat Starbucks Iced Brown Sugar Oatmilk Espresso when I want a coffee-forward version, but the vanilla bean one? That’s the classic. That’s the one that wins every time.
Why You’ll Love This Recipe
There are a dozen reasons I keep coming back to this Copycat Starbucks Vanilla Bean Frappuccino, but let’s cut to the chase. It’s not just about saving money (though, hello, $6 savings per drink? That adds up fast). It’s about control, quality, and that weirdly satisfying sound of a blender turning ice into snow.
- It’s Stupidly Fast — Seriously, if you have cold coffee (or can make it fast), this takes 3 minutes. I’ve made this while my kids were still arguing about who gets the iPad. It’s that quick. The actual blending time is under 30 seconds.
- It Tastes Better Than the Real Thing — I’m not saying this lightly. Starbucks uses a pre-made syrup that’s basically sugar water with flavoring. When you use real vanilla bean paste and fresh ingredients, the flavor is deeper, more aromatic, and less cloying. You’ll notice the difference in the first sip.
- Customizable to Hell — Want it sweeter? Add more syrup. Want it weaker? More milk. Want to make it a dessert? Add a scoop of vanilla ice cream (yes, I do this). You control the sugar, the caffeine, and the dairy. It’s your drink, your rules.
- It’s Surprisingly Healthy(ish) — Okay, it’s still a sugary treat. But compared to the 500+ calories and 60g of sugar in a large Starbucks Vanilla Bean Crème Frappuccino, you can make a version that’s lighter, fresher, and without those weird preservatives. I often use less syrup and it still tastes incredible.
- Perfect for Entertaining — I make this for brunches all the time. It’s a great non-alcoholic option for guests, or a fun treat for kids’ parties. Plus, you can prep the coffee base ahead of time. It’s like having your own mini coffee shop at home.
This recipe has completely changed my morning routine. Instead of rushing out the door with a paper cup, I blend this in my pajamas, pour it into a nice glass, and actually enjoy my drink. It’s a small change, but it makes a big difference in how I start my day.
Ingredients You’ll Need
Here’s the best part: you probably have most of this already. The beauty of this Copycat Starbucks Vanilla Bean Frappuccino is that it relies on simple, high-quality ingredients. You don’t need fancy gadgets or obscure powders. Just good basics.
For the Base:
Cold Brew Coffee (1 cup / 240ml) — This is non-negotiable. You need cold coffee so the drink doesn’t melt into a watery mess. I use a strong cold brew concentrate, but any cold coffee works. If you’re in a rush, make a strong batch of hot coffee and chill it in the freezer for 20 minutes. Pro tip: I keep a pitcher of cold brew in the fridge from Sunday prep. It’s a game-changer for weekday mornings.
Vanilla Bean Paste (2 tablespoons / 30ml) — This is the secret weapon. You can use vanilla extract, but paste is thicker, sweeter, and gives you those little black specks that make it look and taste authentic. The specks are real vanilla seeds, and they add so much aroma. If you can’t find paste, use 1 tablespoon of high-quality pure vanilla extract plus 1 teaspoon of sugar.
Heavy Cream (2 tablespoons / 30ml) — This adds that rich, creamy mouthfeel that Starbucks is known for. Don’t skip this. You can use half-and-half if you want it lighter, but heavy cream makes it luxurious. I use the full-fat stuff because life’s too short for skim milk in a treat drink.
Whole Milk (½ cup / 120ml) — This balances the richness. You can use oat milk, almond milk, or soy milk if you’re dairy-free. I’ve tried oat milk in this Copycat Starbucks Vanilla Bean Frappuccino, and it works surprisingly well—it’s creamy and neutral. But whole milk gives the classic taste.
For the Sweetness & Texture:
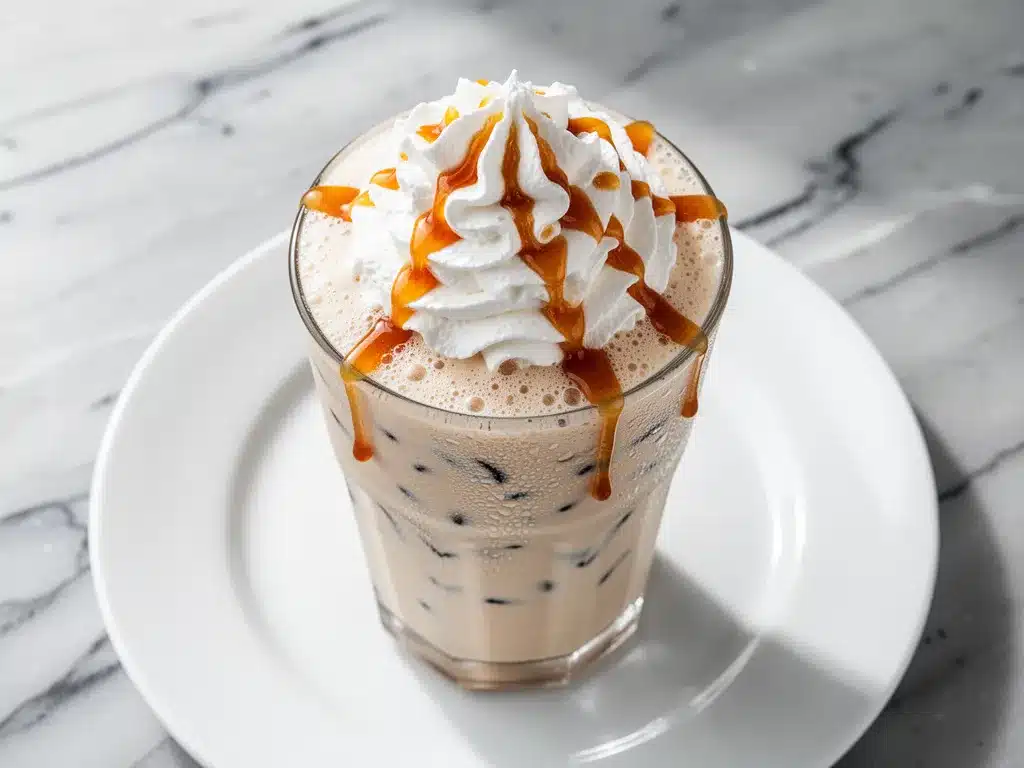
Granulated Sugar (2-3 tablespoons / 25-38g) — Starbucks uses their signature Frappuccino syrup, which is basically sugar and water. To replicate that, I use simple syrup or just granulated sugar. I start with 2 tablespoons and taste. If you like it sweeter, go to 3. This is where you control the sugar level. I usually use 2.5 tablespoons for the perfect balance.
Ice (1.5 cups / packed / about 150g) — The ice is what makes it a Frappuccino. Not a smoothie. Not a milkshake. A Frappuccino. You need enough ice to create that slushy texture but not so much that it dilutes the flavor. I use standard ice cubes. If your ice is huge, crush it a bit first so the blender doesn’t struggle.
Optional Toppings:
Whipped Cream — Yes, please. I whip up a little heavy cream with a teaspoon of sugar and a drop of vanilla. It’s optional, but it makes it feel like a real treat. I buy a canister for convenience, but homemade is better.
Extra Vanilla Bean Paste — Drizzle a little on top for that authentic look. It’s the little details that make people think you bought it.
Quick Note on Sweeteners: If you’re watching sugar, you can use a liquid stevia or monk fruit sweetener. Start with half the amount of sugar and adjust to taste. It won’t be exactly like Starbucks, but it’ll still be delicious.
Equipment Needed
You don’t need fancy equipment for this. Here’s what I actually use.
High-Speed Blender — I use a Vitamix, but a standard Ninja or even a cheap personal blender works fine. The key is that it needs to crush ice smoothly. If your blender is weak, you might end up with chunky ice. In that case, pulse it gently.
Measuring Cups and Spoons — Pretty standard stuff. Dollar store versions work fine. Accuracy helps, especially with the coffee-to-milk ratio.
Venti-Sized Glass or Mug — This recipe makes about 16 ounces, which is a large Venti size. Use a tall glass so you can see the layers and add your whipped cream.
Straws — Thick, wide straws are essential. You need something that can handle the slushy texture. I love those reusable metal or silicone straws. They make the experience feel more special.
Coffee Maker or Cold Brew Jar — You need the cold coffee. If you don’t have a cold brew setup, a French press or even instant coffee (dissolved in a little hot water and chilled) works in a pinch. But fresh cold brew tastes best.
Optional: Ice Cube Trays — If you’re really organized, make coffee ice cubes. Freeze your cold brew in ice cube trays. Then you’re not diluting the drink with regular ice. It’s a pro move, but not necessary.
How to Make It: Step-by-Step
Alright, let’s make this! I’m walking you through exactly how I do it, including the little tricks I’ve picked up.
Step 1: Prep Your Cold Coffee (5 minutes or make ahead)
Before you start blending, make sure your coffee is cold. If you’re using hot coffee, pour it into a glass jar and put it in the freezer for 15-20 minutes. It should be ice-cold. If you’re using cold brew, just stir it up. This step is crucial because warm coffee will melt the ice too fast, and you’ll end up with a weak, watery drink. Trust me on this.
Step 2: Add Ingredients to the Blender (2 minutes)
Start with the liquids. Pour in the cold coffee, heavy cream, and whole milk. Add the vanilla bean paste and the sugar. If you’re using granulated sugar, it helps to add it to the liquids first so it dissolves better. Then, add the ice on top. The ice should be the last thing in, creating a layer on top. This helps the blender blades grab it evenly.
Step 3: Blend Until Smooth (30 seconds)
Put the lid on tight. I’ve learned this the hard way—splattered vanilla milk is a pain to clean. Start blending on low speed to get the ice moving, then gradually increase to high. Blend for 30-45 seconds. You want a thick, slushy consistency. It should look like soft serve ice cream. If it’s too thick, add a splash more milk. If it’s too thin, add more ice and blend again.
Step 4: Taste and Adjust (1 minute)
Stop the blender and taste a tiny bit (be careful, it’s cold!). Is it too bitter? Add a bit more sugar or vanilla. Is it too sweet? Add a splash more coffee. This is where you make it perfect for your palate. I usually find I need a little more vanilla than the recipe says, so I add an extra teaspoon. It’s your drink, so tweak it.
Step 5: Pour and Top (1 minute)
Pour the mixture into your tall glass. It should be thick and pour slowly. If it’s too thick to pour, add a teaspoon of milk and stir. Top with whipped cream. If you’re feeling fancy, drizzle a little extra vanilla bean paste on top of the whipped cream. It looks beautiful and adds an extra hit of flavor.
Total Time: About 5 minutes (mostly prep if you have cold coffee ready).
Built-in Troubleshooting:
- Sauce too thick? Add milk a tablespoon at a time.
- Sauce too thin? Add more ice and blend longer.
- Chunky ice? Blend on high for a few more seconds or use a high-speed blender.
Expert Tips & Tricks
Here’s everything I’ve learned from making this dozens of times. These tips will save you from my mistakes.
Use Cold Brew Concentrate
This is the #1 tip. Regular coffee might be too weak. Cold brew concentrate is strong and smooth, so it stands up to the ice and milk. I make a batch every Sunday and keep it in the fridge. It lasts for a week. If you don’t have concentrate, use ½ cup strong brewed coffee and ½ cup water.
Don’t Skimp on Vanilla
Vanilla is the star here. If you use cheap extract, the drink will taste flat. Use a good quality vanilla bean paste or pure extract. It makes a huge difference. I’ve used $3 extract and $20 paste, and the difference is night and day. Your taste buds will thank you.
Ice Quality Matters
Use fresh, clean ice. Old ice can taste freezer-burned or absorb other smells. If your freezer smells like onions, your Frappuccino will too. I keep a dedicated bag of ice for drinks. Also, crush the ice slightly if your blender is weak. It helps it blend smoother.
Room Temperature Cream
If your heavy cream is ice cold, it can make the drink too thick. Let it sit out for 10 minutes before using. It blends smoother and creates a creamier texture. I forget this sometimes, and the result is just “okay” instead of “amazing.”
Pro Tricks I’ve Learned:
- For Extra Richness — Add a scoop of vanilla ice cream. It sounds weird, but it makes it incredibly creamy and sweet. I do this on weekends when I want a dessert drink.
- For Better Flavor — Add a pinch of salt. It enhances the vanilla and balances the sweetness. Just a tiny pinch goes a long way.
- For Presentation — Rim the glass with vanilla sugar. Dip the rim in a little vanilla extract, then into sugar. It looks fancy and adds flavor to every sip.
Variations & Substitutions
Once you’ve nailed the basic version, here’s how you can mix it up. I’ve tried all of these.
Mocha Version
Add 1 tablespoon of chocolate syrup or cocoa powder. It’s basically a Mocha Frappuccino. My kids love this version. It’s like drinking liquid dessert.
Caramel Version
Add 1 tablespoon of caramel sauce. Drizzle some on the inside of the glass before pouring. It’s sweet, salty, and irresistible. I use store-bought caramel, but homemade is better if you have time.
Java Chip Version
Add chocolate chips to the blender before blending. They’ll get crushed into little chips throughout the drink. It’s chunky and fun. I use semi-sweet chocolate chips.
Dairy-Free Version
Use oat milk or almond milk instead of dairy milk, and coconut cream instead of heavy cream. It’s creamy and delicious. I’ve made this for my lactose-intolerant friend, and she loved it.
Decaf Version
Use decaf cold brew or decaf instant coffee. It’s still a great treat without the caffeine jitters. I make this in the afternoon when I want something sweet but don’t want to stay up all night.
Dietary Modifications:
- Gluten-Free — This is naturally gluten-free. Just check your vanilla paste and syrup for gluten-containing additives.
- Vegan — Use oat milk, coconut cream, and vegan-friendly syrup. It’s creamy and satisfying.
- Low-Sugar — Use stevia or monk fruit sweetener, and skip the whipped cream. It’s still delicious, just lighter.
Serving & Storage
How to Serve:
I usually serve this straight away, while it’s still slushy. It loses its texture if it sits too long. But here are other ways I’ve enjoyed it:
- With Pastries — I pair this with a bakery-style blueberry muffin for a perfect brunch. The sweetness of the muffin complements the vanilla perfectly.
- With Cookies — A chocolate crinkle cookie is a great match. The chocolate and vanilla are a classic combo.
- With Brownies — If you’re feeling indulgent, pair it with a fudgy sea salt caramel brownie. It’s a sugar overload, but a delicious one.
Storage Instructions:
Refrigerator: You can’t really store a Frappuccino because the ice melts. If you blend it without ice and store the mixture in the fridge, it’ll last 2 days. But it won’t have the same texture. Best to make it fresh.
Freezing: Don’t freeze the blended drink. It’ll separate and become grainy. You can freeze the coffee base in ice cube trays for future use. Then just blend with fresh ice when you want it.
Pro tip: If you’re making this for a party, prep the coffee base and vanilla syrup in a pitcher. Keep ice in the freezer. Blend individual portions as guests arrive. It’s fast and keeps the drink fresh.
Nutrition Information
I’m not a nutritionist, but here’s the breakdown if you’re tracking. This is for one serving with full-fat ingredients and standard sugar.
- Calories: 220
- Protein: 4g
- Carbs: 32g
- Fiber: 0g
- Sugar: 28g
- Fat: 9g
- Saturated Fat: 5g
- Sodium: 45mg
What’s Good:
- It’s a treat, so enjoy it. It’s not a health food.
- You control the sugar, so you can reduce it if you want.
- It has some protein from the milk and cream.
What to Know:
- Higher in sugar than you might think. Use less syrup if you’re watching sugar.
- Contains dairy. Use alternatives if needed.
- Contains caffeine (unless you use decaf).
My Take:
Look, this is a treat. It’s sweet, creamy, and delicious. It’s not a salad. But compared to the Starbucks version, it’s often lower in calories and sugar because you control the ingredients. When I make it, I usually use 1.5 tablespoons of sugar instead of 3, and it’s still sweet enough. It’s a guilt-free indulgence if you’re mindful.
Final Thoughts
So that’s my Copycat Starbucks Vanilla Bean Frappuccino! I’ve probably talked your ear off at this point, but when you make a recipe this often, you have a lot to say about it.
This has saved me hundreds of dollars and countless trips to the coffee shop. It’s my answer to “I want a treat” when I’m at home. My kids love it, my husband loves it, and I love it because it’s easy, customizable, and tastes incredible.
Make it yours! Try different toppings, swap in your favorite milk, adjust the sweetness. The best recipes are the ones you adapt to your tastes. And if you want to try another coffee drink, check out my copycat Starbucks Iced Brown Sugar Oatmilk Espresso. It’s a bit different, but just as good.
If you make this, drop a comment and let me know what you think! I love hearing how recipes turn out in your kitchen. And if something doesn’t work, tell me that too—I’m here to help troubleshoot.
Happy blending! And I hope your kitchen smells half as good as mine does right now.
Frequently Asked Questions
Can I use hot coffee instead of cold brew?
You can, but you need to chill it first. If you use hot coffee directly, it will melt the ice too quickly, and your Frappuccino will be watery. I recommend brewing strong coffee and putting it in the freezer for 20 minutes, or using ice cubes made from coffee.
Why is my Frappuccino too watery?
This usually means you used too much milk or not enough ice. The ratio is key. I use 1 cup coffee, ½ cup milk, and 1.5 cups ice. If it’s still watery, blend it longer or add more ice. Also, make sure your coffee is very cold.
Can I make this ahead of time?
Not really. The ice melts, and the texture changes. But you can prep the coffee base and vanilla mixture in the fridge for up to 2 days. Then just blend with fresh ice when you’re ready. It saves time without sacrificing quality.
Can I use vanilla extract instead of vanilla bean paste?
Yes, but the flavor won’t be as intense, and you won’t get the pretty black specks. If you use extract, use 1 tablespoon plus a little extra sugar to compensate for the lack of sweetness in the paste. Paste is worth the extra cost for this recipe.
How do I make this dairy-free?
Simply swap the dairy milk for oat milk or almond milk, and use coconut cream instead of heavy cream. Oat milk is the best substitute because it’s creamy and neutral. It blends beautifully and tastes almost identical to the dairy version.
Can I make this without caffeine?
Absolutely. Use decaf cold brew or decaf instant coffee. You can also use half regular coffee and half water. It’s still a delicious vanilla treat without the caffeine kick.
Why does my Frappuccino taste bitter?
This usually means the coffee is too strong or the ice diluted it too much. Make sure you’re using a good quality cold brew. If it’s still bitter, add a bit more sugar or vanilla. Sometimes the balance is just off, and a little extra sweetness helps.
Pin This Recipe!
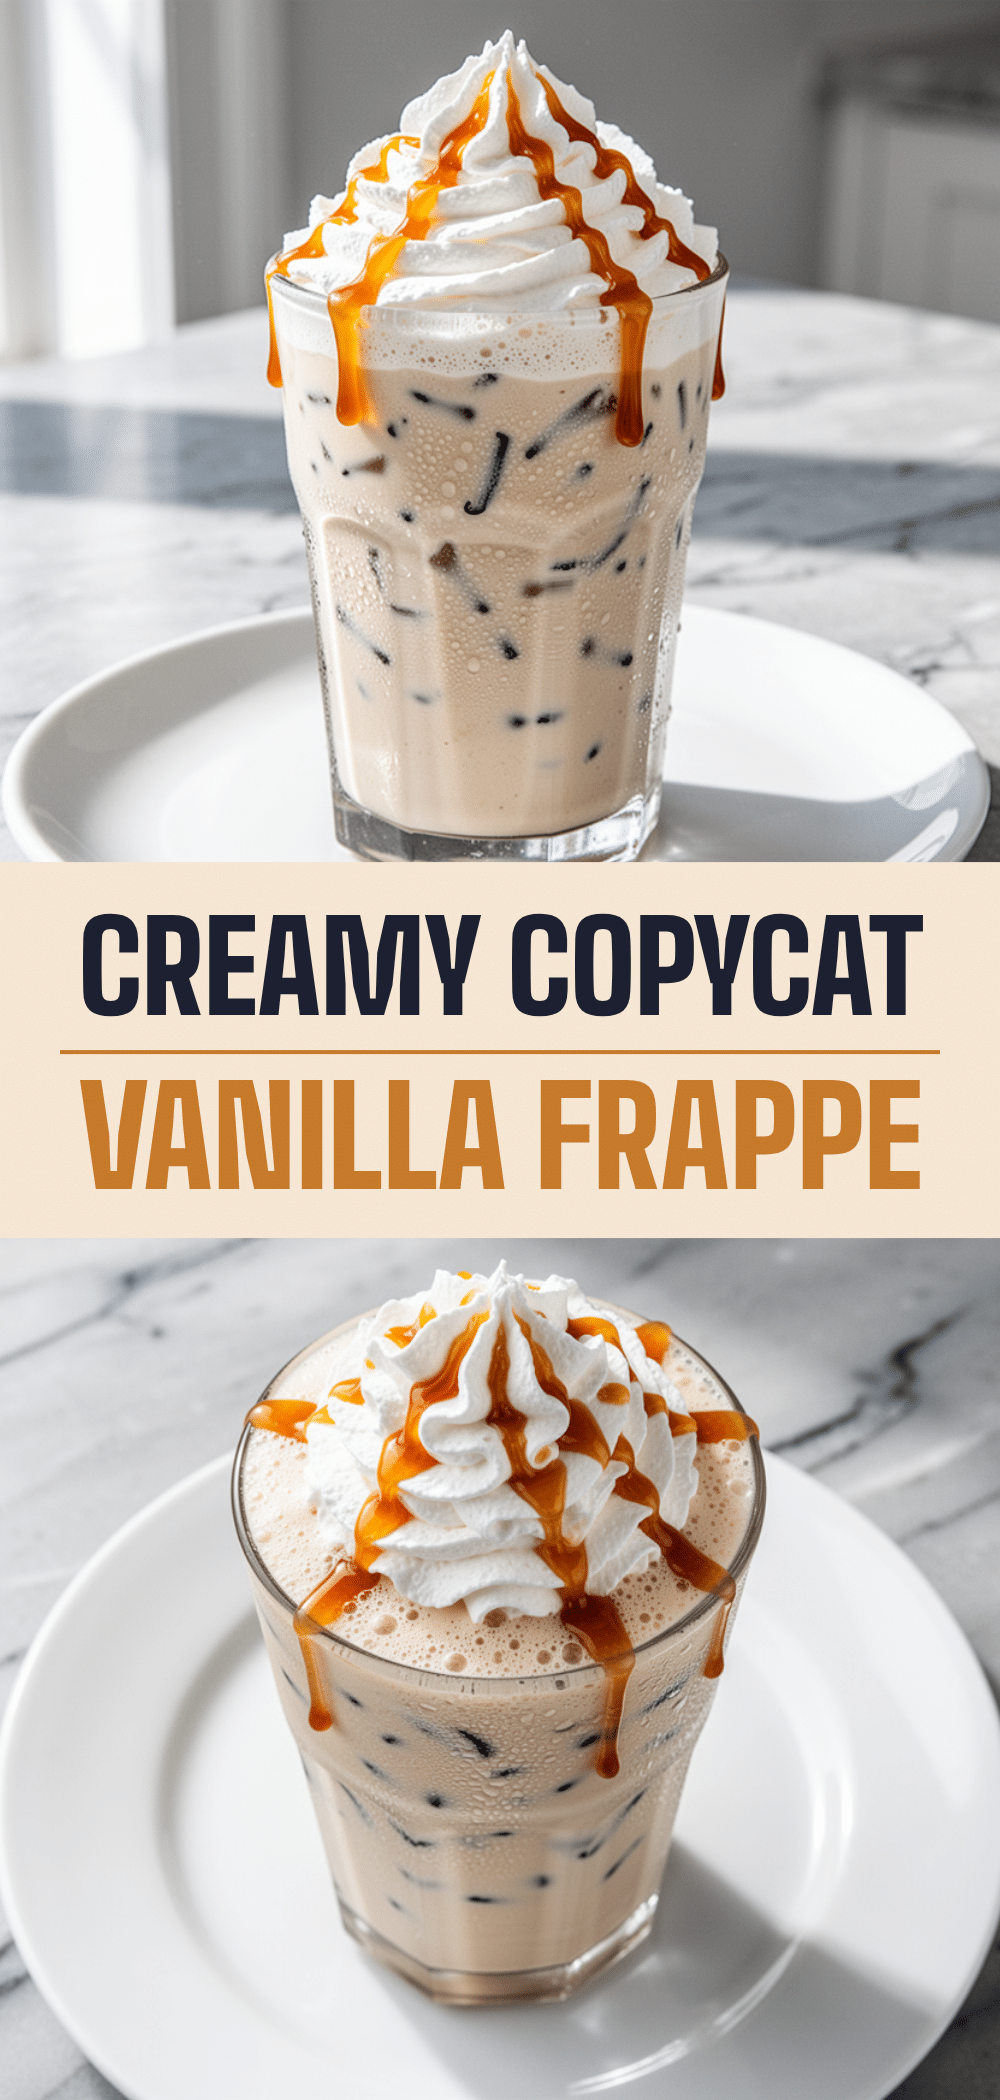
Copycat Starbucks Vanilla Bean Frappuccino
- Total Time: 5 minutes
- Yield: 1 serving 1x
Description
A homemade version of the popular Starbucks drink that is faster, cheaper, and customizable. This recipe uses cold brew coffee, vanilla bean paste, and ice to create a thick, slushy texture that rivals the coffee shop original.
Ingredients
- 1 cup cold brew coffee
- 2 tablespoons vanilla bean paste
- 2 tablespoons heavy cream
- 1/2 cup whole milk
- 2–3 tablespoons granulated sugar
- 1.5 cups ice
- Whipped cream (optional, for topping)
- Extra vanilla bean paste (optional, for drizzle)
Instructions
- Ensure the coffee is ice-cold. If using hot coffee, chill it in the freezer for 15-20 minutes.
- Add cold coffee, heavy cream, whole milk, vanilla bean paste, and sugar to a blender.
- Add the ice on top of the liquid ingredients.
- Blend on low speed initially, then increase to high. Blend for 30-45 seconds until the mixture is thick and slushy, resembling soft serve ice cream.
- Taste and adjust sweetness or coffee strength if necessary.
- Pour into a tall glass and top with whipped cream and a drizzle of vanilla bean paste if desired.
Notes
For best results, use cold brew concentrate. If the drink is too thick, add a splash of milk. If too thin, add more ice. You can substitute dairy milk with oat or almond milk for a dairy-free version, and use decaf coffee for a caffeine-free option.
- Prep Time: 5 minutes
- Cook Time: 0 minutes
- Category: Beverage
- Cuisine: American
Nutrition
- Serving Size: 16 ounces (Venti siz
- Calories: 220
- Sugar: 28
- Sodium: 45
- Fat: 9
- Saturated Fat: 5
- Carbohydrates: 32
- Protein: 4
Keywords: Starbucks copycat, vanilla bean frappuccino, cold brew recipe, homemade frappuccino, iced coffee drink, vanilla latte


