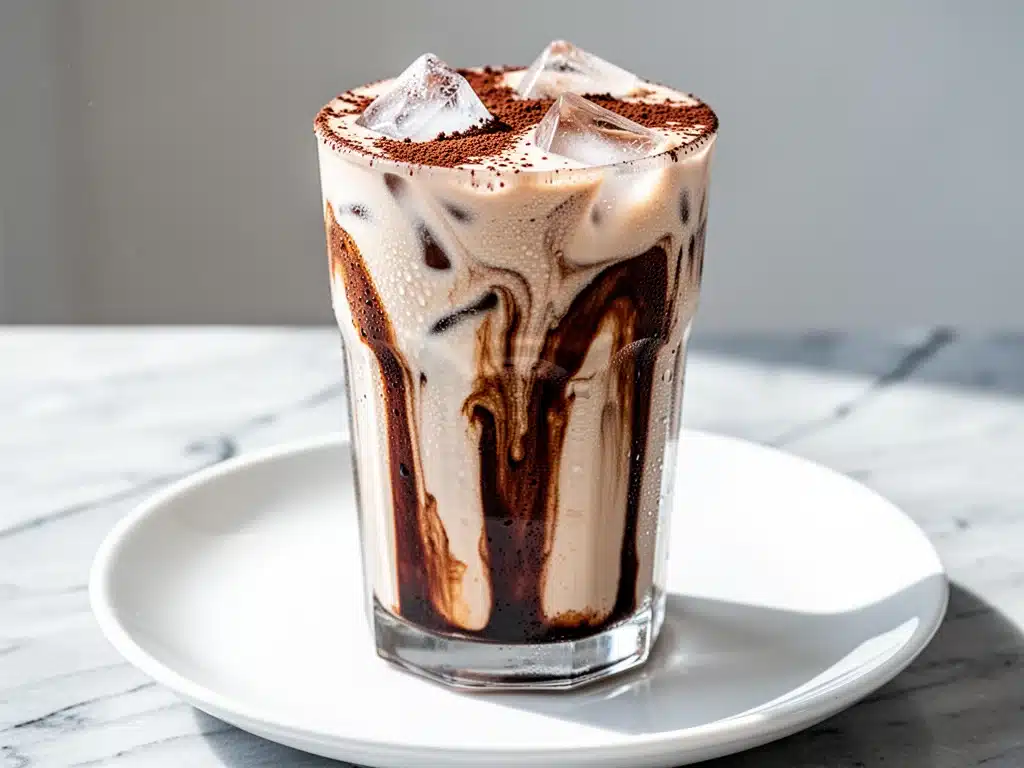
It was 7:15 AM on a Tuesday, and I was standing in line at the coffee shop, staring at the digital menu board like it held the secrets to the universe. My phone was buzzing with emails, my boss was expecting a report by noon, and I was pretty sure I hadn’t slept more than four hours in the last three days. I knew I needed caffeine. I needed it fast. But I also needed something that didn’t taste like burnt water and didn’t cost $8.
I ordered the usual—something with oat milk, obviously, because I’ve been dairy-free for a few years now—and took it home to realize it tasted like sugar and disappointment. I’ve been there. You know that feeling? You pay a premium for “artisanal” coffee, but it’s just syrup and foam. So that morning, I made a decision. I was done. I was going to make my own dairy-free iced mocha with oat milk at home. And not just any version—I was going to make the one that actually tastes like the fancy stuff, but better, cheaper, and ready in five minutes.
That was six months ago. Now, this dairy-free iced mocha with oat milk for busy mornings is my morning religion. I’ve tested probably two dozen variations, tweaking the chocolate-to-coffee ratio until it hit that perfect sweet spot. It’s rich, it’s creamy, and it wakes me up without giving me the jitters. If you’re tired of spending a fortune on coffee shop drinks or struggling to find a dairy-free option that doesn’t taste watery, this is the recipe for you. It’s simple, it’s fast, and it’s going to change your morning routine.
Why You’ll Love This Dairy-Free Iced Mocha
Look, I get it. You have about ten things you need to do before 8 AM. You don’t have time for complicated rituals. That’s exactly why I fell in love with this dairy-free iced mocha with oat milk. It’s not just a drink; it’s a lifeline. Here’s why it’s become a staple in my kitchen:
- Stupid Simple — Seriously, if you can boil water and pour milk, you can make this. No fancy espresso machine required (though it helps). I’ve made this while half-asleep, and it still turns out amazing. It’s the definition of low-effort, high-reward.
- Lightning Fast — 5 minutes from start to sip. That’s it. I make this on weekdays when I’m rushing to get the kids to school or before I head to the office. It’s faster than driving to the drive-thru and waiting in line.
- Creamy Without the Dairy — This is the big one. Oat milk is naturally sweet and creamy, which makes it the perfect partner for chocolate and coffee. It doesn’t separate or curdle like some other plant milks. It just works. If you like my homemade vanilla sweet cream cold foam iced coffee, you’ll love this even more because the base is so smooth.
- Budget-Smart — Making this at home costs about $1.50 per drink. That’s less than a single muffin at the coffee shop. I save probably $100 a month just by making this instead of buying lattes. And honestly? It tastes better.
- Customizable — Want it sweeter? Add a splash of syrup. Want it stronger? Use a double shot of espresso. This dairy-free iced mocha with oat milk for busy mornings adapts to your mood. Some days I want it chocolatey; other days I want it bold and coffee-forward.
This is my go-to when I need a pick-me-up that doesn’t involve leaving the house. No complicated techniques, no weird ingredients, just reliable, delicious fuel that starts my day right.
Ingredients You’ll Need
Here’s the best part: you probably have most of this already. This dairy-free iced mocha with oat milk for busy mornings relies on pantry staples and one or two key items. I’m particular about the chocolate, and I’ll tell you exactly why.
For the Base:
Strong Coffee or Espresso (2 shots / about 60ml) — You need something bold. If you don’t have an espresso machine, brew a strong cup of coffee using a French press or pour-over. Cold brew concentrate works too, but it’s milder, so you might need to use a bit more. I use a dark roast because it stands up to the chocolate better. Light roasts get lost.
Oat Milk (1 cup / 240ml) — This is the star. I always use barista-style oat milk because it froths better and has a richer texture. Oatly and Califia Farms are my go-tos, but any creamy oat milk works. Do not use skim milk or almond milk here—they’re too thin and will make the mocha taste watery. You need that creaminess.
Ice Cubes (1 cup) — Standard stuff. If you don’t have ice, just serve it over fresh coffee and skip the ice, but the iced version is so much more refreshing on a warm morning.
For the Chocolate Flavor:
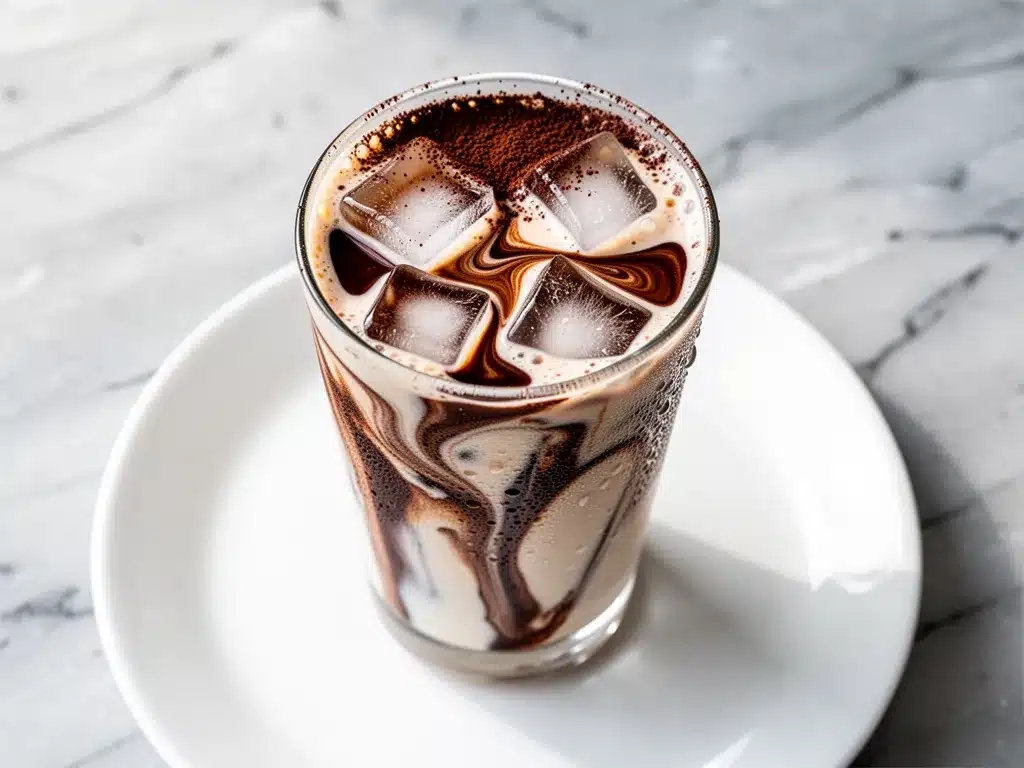
Chocolate Syrup (2 tablespoons) — I use Hershey’s or a high-quality chocolate syrup like Monin. You can make your own if you’re feeling fancy (see the variations below), but store-bought is fine for busy mornings. Make sure it’s thick and rich. Avoid chocolate sauces that are more caramel than chocolate.
Cocoa Powder (1 teaspoon, optional) — For extra chocolate depth, I add a teaspoon of unsweetened cocoa powder. It makes the mocha taste more like a real mocha and less like sweetened milk. I use Hershey’s Special Dark for a slightly bitter, rich taste.
For the Sweetness (Optional):
Vanilla Syrup (1 teaspoon) — Just a splash to round out the flavors. If you’re using a sweetened chocolate syrup, you might not need this. I taste-test and decide on the fly.
Whipped Cream (optional) — Dairy-free whipped cream works great here. I use Reddi-wip Coconut Cream when I want to treat myself. Skip it if you’re keeping it simple.
Pro Tip: I keep a bottle of chocolate syrup and oat milk in the fridge at all times. It’s like having a coffee shop in my own kitchen. If you run out, just grab a carton of oat milk—it keeps for weeks in the fridge.
Equipment Needed
You don’t need fancy equipment for this. Here’s what I actually use:
Mug or Glass — I use a 16-ounce glass so I can see the layers. It looks pretty, which makes the morning feel special.
Measuring Spoons — For the chocolate syrup and cocoa powder. I use the little plastic ones from the drawer. They’re easy to wash.
Spoon — A long spoon for stirring. I use a metal one because it’s sturdy. A wooden spoon works too, but it can absorb the chocolate smell.
Blender (Optional) — If you want a frothy, thick mocha, blend the ingredients. But honestly? Stirring by hand is faster for busy mornings.
Coffee Maker or Espresso Machine — Obviously. I use a Keurig for quick mornings and an espresso machine for weekends. Both work.
Ice Tray — You need ice. If you don’t have one, just buy a bag. I know it sounds obvious, but I’ve been caught without ice before. It’s a tragedy.
Tool Tip: Don’t have a blender? No problem. Just stir the chocolate syrup into the hot coffee first, then add the oat milk and ice. The heat from the coffee will melt the syrup easily.
How to Make It: Step-by-Step
Alright, let’s make this! I’m walking you through exactly how I do it, including the little tricks I’ve picked up.
Step 1: Brew Your Coffee (2-3 minutes)
Start by brewing your coffee or espresso. You want it strong because the ice and milk will dilute it. If you’re using a Keurig, use the “cup” setting, not the “travel mug” setting, to get a stronger brew. Let it cool for a minute—hot coffee melts ice too fast, and you don’t want a watery drink.
Step 2: Prep Your Glass (30 seconds)
Take your 16-ounce glass and fill it with ice cubes. Don’t skimp on the ice. If you use too little, the drink will get warm and watery quickly. I fill it to the top. It looks nice, and it keeps the drink cold for longer.
Step 3: Add the Chocolate (1 minute)
Scoop 2 tablespoons of chocolate syrup into the glass with the ice. Add 1 teaspoon of cocoa powder if you’re using it. If you want it sweeter, add a teaspoon of vanilla syrup now. The syrup will stick to the sides of the glass, which looks pretty when the milk is poured over it. This is the “latte art” part, but lazy-style.
Step 4: Pour the Coffee (1 minute)
Pour your hot (or warm) coffee over the ice and chocolate. Stir it well with your spoon. You want the chocolate to melt into the coffee completely. If you see clumps of cocoa powder, keep stirring. It should look like a rich, dark liquid. This step is crucial—if the chocolate isn’t fully dissolved, your mocha will taste chunky.
Step 5: Add the Oat Milk (1 minute)
Slowly pour the oat milk over the coffee. Pour it gently so it layers on top, creating that pretty mocha effect. If you’re blending it, pour everything into the blender now. But for most busy mornings, I just pour it in. The oat milk will mix with the coffee as you drink, creating a creamy, chocolatey flavor with every sip.
Step 6: Top It Off (Optional)
If you’re feeling fancy, add a dollop of dairy-free whipped cream on top. I usually skip it on weekdays, but on weekends, I like the extra richness. You can also sprinkle a little cocoa powder on top for garnish.
Total Time: About 5 minutes (3 minutes active, 2 minutes brewing).
Expert Tips & Tricks
Here’s everything I’ve learned from making this dozens of times. These tips will save you from my mistakes.
Use Barista-Style Oat Milk
This is the #1 tip. Regular oat milk can be thin and watery. Barista-style oat milk has added fats and stabilizers that make it creamy and frothy. It makes a huge difference in texture. I learned this the hard way with a thin, disappointing mocha that tasted like sweetened water.
Don’t Skip the Cocoa Powder
Chocolate syrup is sweet, but it’s not very chocolatey. Adding a teaspoon of unsweetened cocoa powder adds depth and makes it taste more like a real mocha. It’s a small step that makes a big difference. My husband always asks, “Is this the special mocha?” when I add the cocoa.
Let the Coffee Cool Slightly
If you pour boiling coffee over ice, it melts the ice too fast and dilutes the drink. Let the coffee sit for 1-2 minutes after brewing. It should be warm, not scalding. This keeps the ice from melting immediately.
Stir the Chocolate First
Always stir the chocolate syrup into the coffee before adding the milk. If you add the milk first, the chocolate syrup sinks to the bottom and you get a sweet mess at the bottom of the glass. Stir it in while the coffee is still warm to ensure it dissolves completely.
Common Mistakes (and how to avoid them):
Mistake: Drink is too weak
Fix: Use less ice or brew stronger coffee. If you’re using cold brew, use half cold brew and half milk to concentrate the flavor.
Mistake: Drink is too sweet
Fix: Reduce the chocolate syrup to 1 tablespoon. Oat milk is naturally sweet, so you might not need as much syrup as you think.
Mistake: Chocolate doesn’t melt
Fix: Use warm coffee, not cold coffee. The heat is needed to melt the chocolate syrup. If you’re using cold brew, warm the chocolate syrup slightly in the microwave for 10 seconds.
Pro Tricks I’ve Learned:
For a Frothy Texture
If you have a blender, blend all ingredients for 10 seconds. It creates a thick, creamy texture similar to a Frappuccino. I do this on weekends when I have time.
For Extra Flavor
Add a pinch of cinnamon or nutmeg to the chocolate syrup. It adds a warm, cozy flavor that pairs well with the chocolate. I love this in the winter.
For Better Presentation
Use a clear glass and pour the oat milk slowly over the back of a spoon. It creates a layered effect that looks beautiful. I post these on Instagram, and everyone asks for the recipe.
Variations & Substitutions
Once you’ve nailed the basic version, here’s how you can mix it up. I’ve tried all of these.
Tested Variations:
Mocha Latte (Hot Version)
Skip the ice and pour hot oat milk over the chocolate and coffee. Stir well and serve in a mug. I make this when it’s cold outside. It’s like a warm hug in a cup.
White Mocha
Swap the chocolate syrup for white chocolate sauce. It’s sweeter and creamier. I use this when I want something less intense. It’s a crowd-pleaser with my kids.
Spicy Mocha
Add a pinch of cayenne pepper or cinnamon to the chocolate mixture. It adds a kick that wakes you up. I tried this once and loved it—now I make it when I need a boost.
Protein Mocha
Add a scoop of vanilla protein powder to the blender version. It turns your mocha into a breakfast drink. I make this when I’m trying to be “healthy.” It’s not as smooth, but it works.
Dietary Modifications:
Vegan
This recipe is already vegan if you use dairy-free whipped cream. Check your chocolate syrup to make sure it doesn’t contain dairy (most don’t, but some do).
Sugar-Free
Use sugar-free chocolate syrup and unsweetened oat milk. It’s less sweet, but still tasty. I use this when I’m cutting back on sugar.
Gluten-Free
Most oat milk and chocolate syrups are gluten-free, but check the labels. I use certified gluten-free oat milk to be safe.
Different Flavors:
Mint Mocha
Add a drop of peppermint extract. It’s like a mocha peppermint patty. Great for holidays.
Caramel Mocha
Add a swirl of caramel syrup on top. It’s sweet and salty. I love this combination.
Serving & Storage
How to Serve:
I usually serve this straight from the glass at the kitchen counter—it looks rustic and stays cold. But here are other ways I’ve enjoyed it:
Side Dishes:
– A piece of toast with butter
– A banana
– My high-protein peanut butter banana oat smoothie (if I’m having a big breakfast)
Toppings Bar:
When I have guests, I put out: dairy-free whipped cream, chocolate shavings, caramel drizzle. Everyone customizes their drink.
Storage Instructions:
Refrigerator:
The coffee mixture can be stored in an airtight container for up to 3 days. The oat milk should be added fresh. I make a batch of coffee on Sunday and use it all week.
Reheating:
This is an iced drink, so reheating isn’t typical. But if you want a hot mocha, just heat the oat milk and mix with the coffee mixture.
Freezing:
You can freeze the coffee mixture in ice cube trays. Then, blend the coffee cubes with oat milk and chocolate syrup for a frozen mocha. It’s like a Frappuccino at home.
Pro tip: If you’re making this ahead, keep the chocolate syrup and coffee separate. Mix them when you’re ready to drink. This prevents the chocolate from settling.
Nutrition Information
I’m not a nutritionist, but here’s the breakdown if you’re tracking.
Per Serving (based on 1 drink):
- Calories: 220
- Protein: 4g
- Carbs: 32g
- Fiber: 2g
- Sugar: 24g
- Fat: 8g
- Saturated Fat: 1.5g
- Cholesterol: 0mg
- Sodium: 150mg
- Calcium: 300mg
What’s Good:
– Low in saturated fat
– Good source of calcium from oat milk
– Vegan-friendly
– Quick energy boost
What to Know:
– Higher in sugar from chocolate syrup
– Contains oats (gluten-free if certified)
– Moderate calories
My Take:
Look, this is a treat. It’s not a health food. But it’s way better than the coffee shop version, costs less, and I know exactly what’s in it. When I want to make it lighter, I use sugar-free syrup and unsweetened oat milk. But usually? I just enjoy it and move on.
Final Thoughts
So that’s my go-to dairy-free iced mocha with oat milk for busy mornings! I’ve probably talked your ear off at this point, but when you make a recipe this often, you have a lot to say about it.
This has saved me from spending a fortune on coffee shop drinks and from drinking watery, sugary nonsense. It’s my answer to “what’s for breakfast?” when I’m tired, don’t want to cook, and still want something that tastes really good. My kids are happy, my husband’s happy, and I’m happy because I’m not stressed about coffee.
Make it yours! Try different add-ins, swap in your favorite chocolate, adjust the sweetness. The best recipes are the ones you adapt to your tastes. If you make this, drop a comment and let me know what you think! I love hearing how recipes turn out in your kitchen. And if something doesn’t work, tell me that too—I’m here to help troubleshoot.
Happy coffee making! And I hope your kitchen smells half as good as mine does right now.
Frequently Asked Questions
Q: Can I use almond milk instead of oat milk?
A: You can, but the texture will be thinner and less creamy. Oat milk is naturally sweeter and creamier, which makes it the best choice for mochas. If you must use almond milk, choose a barista-style version to get closer to the creamy texture. I’ve tried it, and it’s okay, but not as good.
Q: Can I make this without coffee?
A: Yes! Use decaf coffee or skip the coffee entirely and just mix chocolate syrup with oat milk and ice. It’s basically a chocolate milk, but still delicious. I make this for my kids sometimes when they want a treat.
Q: Why did my chocolate not melt?
A: The coffee was probably too cold. Always stir the chocolate syrup into warm coffee first. The heat helps it dissolve. If you’re using cold brew, warm the chocolate syrup slightly in the microwave for 10 seconds.
Q: Can I freeze this drink?
A: Not directly, because the oat milk can separate when frozen. But you can freeze the coffee mixture in ice cube trays, then blend the cubes with oat milk and chocolate syrup for a frozen mocha. It works great!
Q: How many calories are in this drink?
A: It depends on the oat milk and chocolate syrup you use. My version is about 220 calories. If you use sugar-free syrup and unsweetened oat milk, it’s around 100 calories. Check the labels for accurate info.
Q: Can I use cocoa powder instead of chocolate syrup?
A: Yes, but you’ll need to add a sweetener. Cocoa powder is unsweetened, so mix it with a little honey or maple syrup before adding to the coffee. It’s a healthier option, but the texture is different.
Q: What’s the best oat milk for coffee?
A: Barista-style oat milk is the best. Oatly Barista Edition and Califia Farms Oat Barista are my favorites. They froth well and don’t curdle in hot coffee. Regular oat milk works, but it’s thinner.
Pin This Recipe!
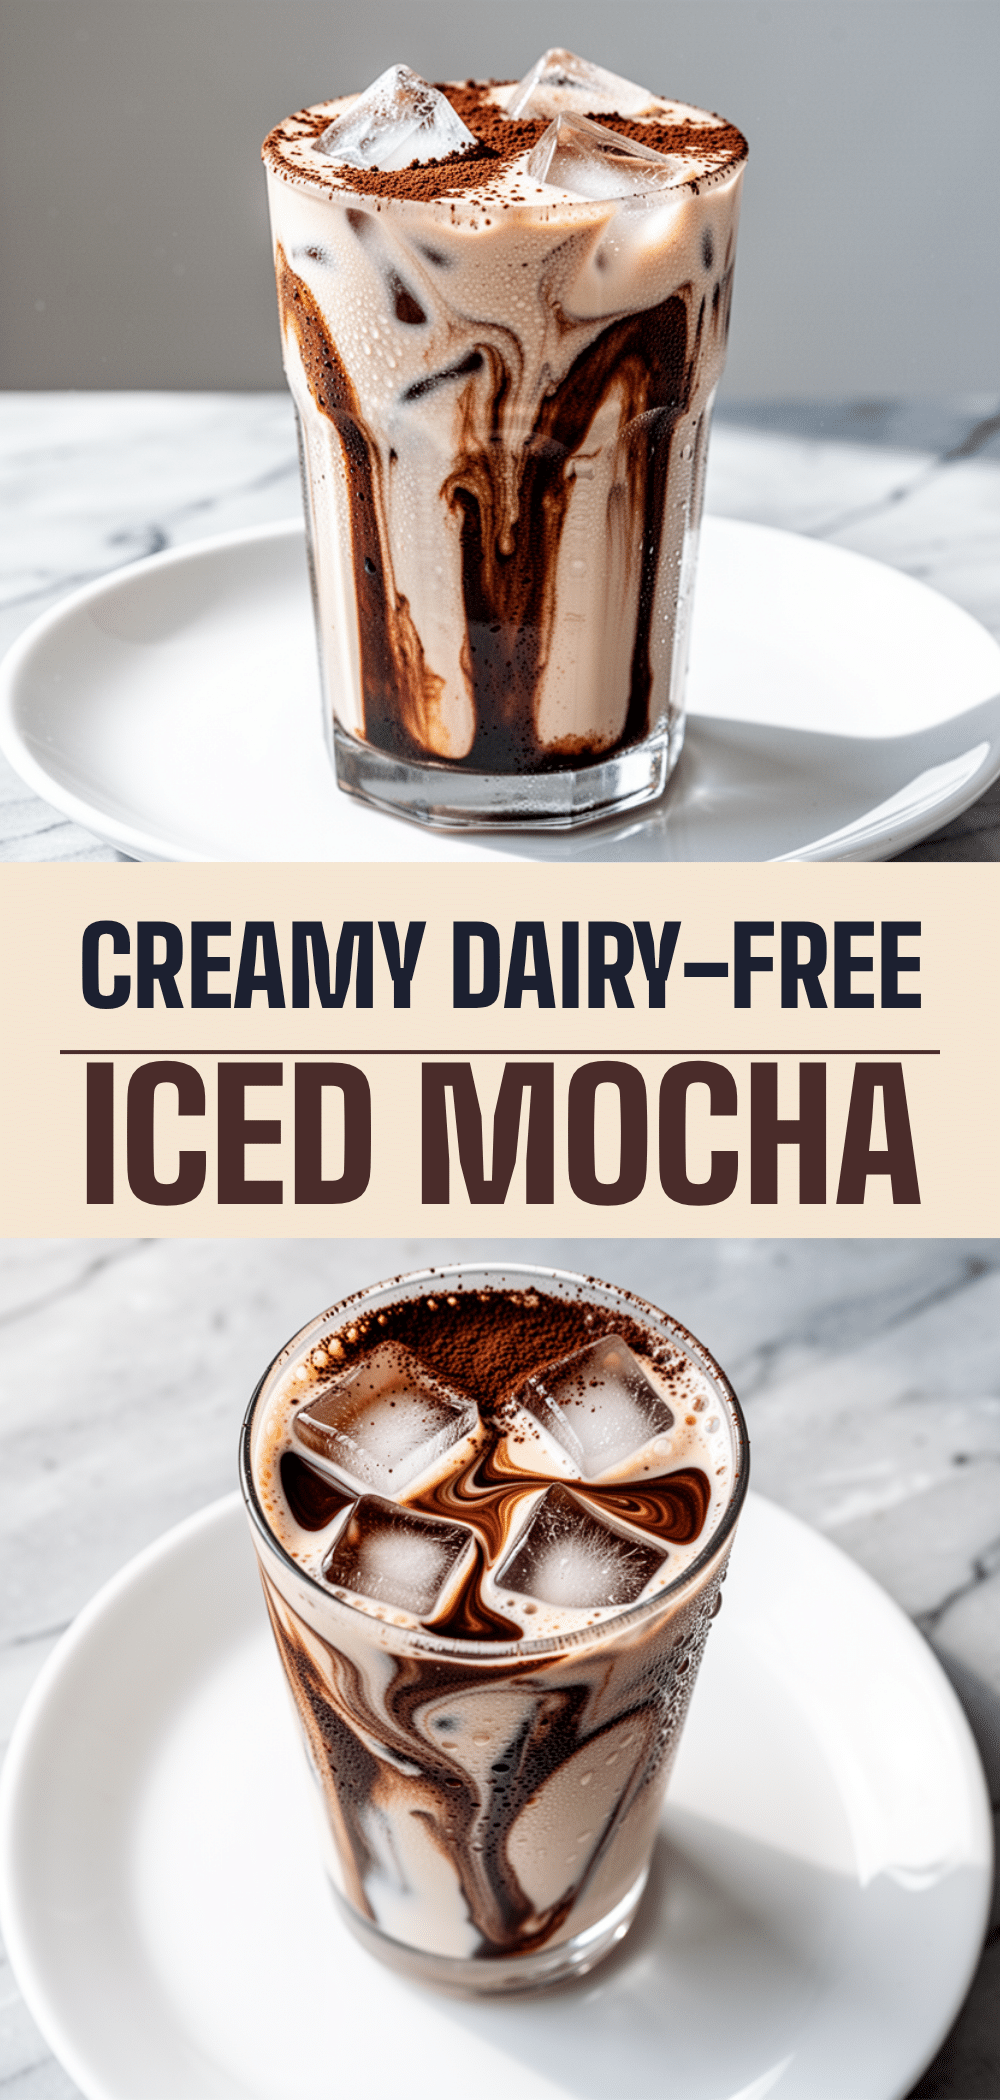
Dairy-Free Iced Mocha: Easy Oat Milk Recipe
- Total Time: 5 minutes
- Yield: 1 serving 1x
Description
A quick, creamy, and budget-friendly dairy-free iced mocha made with oat milk, chocolate syrup, and strong coffee. Ready in just 5 minutes, this recipe is perfect for busy mornings and tastes better than coffee shop versions.
Ingredients
- 2 shots strong coffee or espresso (about 60ml)
- 1 cup (240ml) barista-style oat milk
- 1 cup ice cubes
- 2 tablespoons chocolate syrup
- 1 teaspoon unsweetened cocoa powder (optional)
- 1 teaspoon vanilla syrup (optional)
- Dairy-free whipped cream (optional, for topping)
Instructions
- Brew strong coffee or espresso and let it cool slightly for 1-2 minutes so it is warm but not scalding.
- Fill a 16-ounce glass with ice cubes.
- Add chocolate syrup and cocoa powder (if using) to the glass with the ice.
- Pour the warm coffee over the ice and chocolate, stirring well until the chocolate is fully dissolved.
- Slowly pour the oat milk over the coffee to create layers.
- Top with dairy-free whipped cream or a sprinkle of cocoa powder if desired.
- Serve immediately.
Notes
Use barista-style oat milk for the creamiest texture. Stir chocolate syrup into warm coffee first to ensure it dissolves completely. If using cold brew, warm the chocolate syrup slightly in the microwave for 10 seconds. For a frothy texture, blend all ingredients for 10 seconds.
- Prep Time: 3 minutes
- Cook Time: 2 minutes
- Category: Beverage
- Cuisine: American
Nutrition
- Serving Size: 1 drink (16 oz)
- Calories: 220
- Sugar: 24
- Sodium: 150
- Fat: 8
- Saturated Fat: 1.5
- Carbohydrates: 32
- Fiber: 2
- Protein: 4
Keywords: dairy-free iced mocha, oat milk coffee, iced mocha recipe, vegan coffee, quick breakfast, coffee shop copycat, oat milk latte


