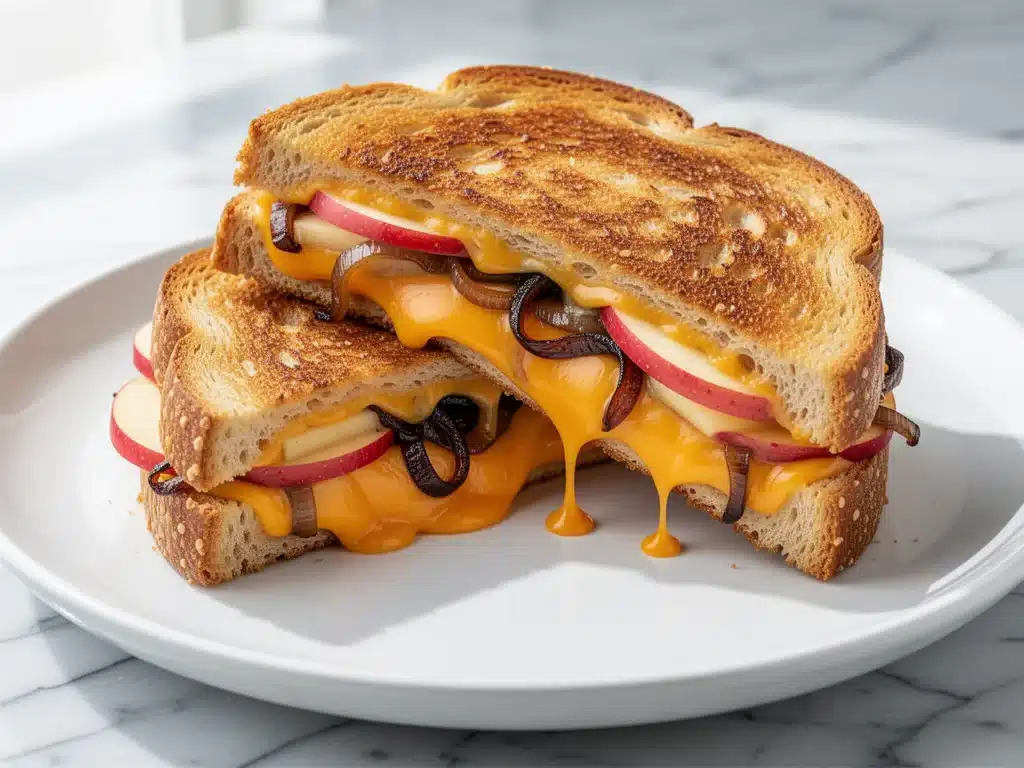
Last Tuesday, the temperature dropped so fast I could feel my windows rattling. The kind of drop that makes you want to cancel plans, order takeout, and hide under three weighted blankets. But I was hungry. And not just “hungry,” but that specific type of craving that only one thing can satisfy: a grilled cheese so good it feels like a warm hug from the inside out.
I didn’t want just any grilled cheese. I wanted something that screamed “fall.” Something that balanced the sharp bite of cheese with the sweet crunch of apples and the deep, savory richness of caramelized onions. So I threw together what I thought would be a decent lunch. Ten minutes later, my partner walked in, saw what I was eating, and quietly slid into the chair across from me. We didn’t speak for a solid twenty minutes. Just chewing. Just enjoying.
That is the power of this fall apple cheddar grilled cheese with caramelized onions. It’s not complicated. It’s not fancy in a pretentious way. But it hits every single comfort food note you’re desperate for when the leaves start turning and the air gets crisp. I’ve made this sandwich at least a dozen times since that rainy Tuesday—some days as a quick lunch, some days as a fancy dinner with a side salad, and once even as a late-night snack when I forgot to eat dinner (don’t judge).
Here’s the thing about grilled cheese: most people treat it like an afterthought. Toast bread, add cheese, press it. Done. But when you add the right elements—specifically, slow-cooked onions and tart apples—you transform a simple sandwich into something memorable. This recipe has become my go-to when I need dinner to just work, or when I want to impress guests without spending hours in the kitchen. It’s the kind of food that makes you forget about your stress for a few bites.
If you’ve been looking for a way to use up those apples sitting in your fruit bowl, or if you just want to upgrade your sandwich game, this is the one. I’ve tested it with different cheddars, different breads, and different apple varieties. And I’ve narrowed it down to the perfect combination. This fall apple cheddar grilled cheese with caramelized onions is hands-down the best sandwich I’ve made all season.
Why You’ll Love This Recipe
There are about ten reasons I keep making this, but here are the big ones. This isn’t just a sandwich; it’s a mood. It’s a vibe. It’s the culinary equivalent of a flannel blanket.
Stupid Simple
Seriously, if you can boil water and chop an onion, you can make this. I’ve walked my teenage niece through it over FaceTime while she was home alone for the weekend. The caramelized onions take time, yes, but it’s mostly passive time. You’re just watching them turn golden brown. You’re not babysitting them. Once the onions are done, the sandwich comes together in five minutes.
Perfectly Balanced Flavors
This is the secret sauce. The sharpness of the cheddar cuts through the sweetness of the apples. The caramelized onions add a deep, umami-rich savory note that ties it all together. It’s sweet, salty, savory, and crunchy in every single bite. I’ve tried adding honey, but it’s unnecessary. The apples and onions provide enough natural sweetness on their own.
Lightning Fast (Once the Onions Are Ready)
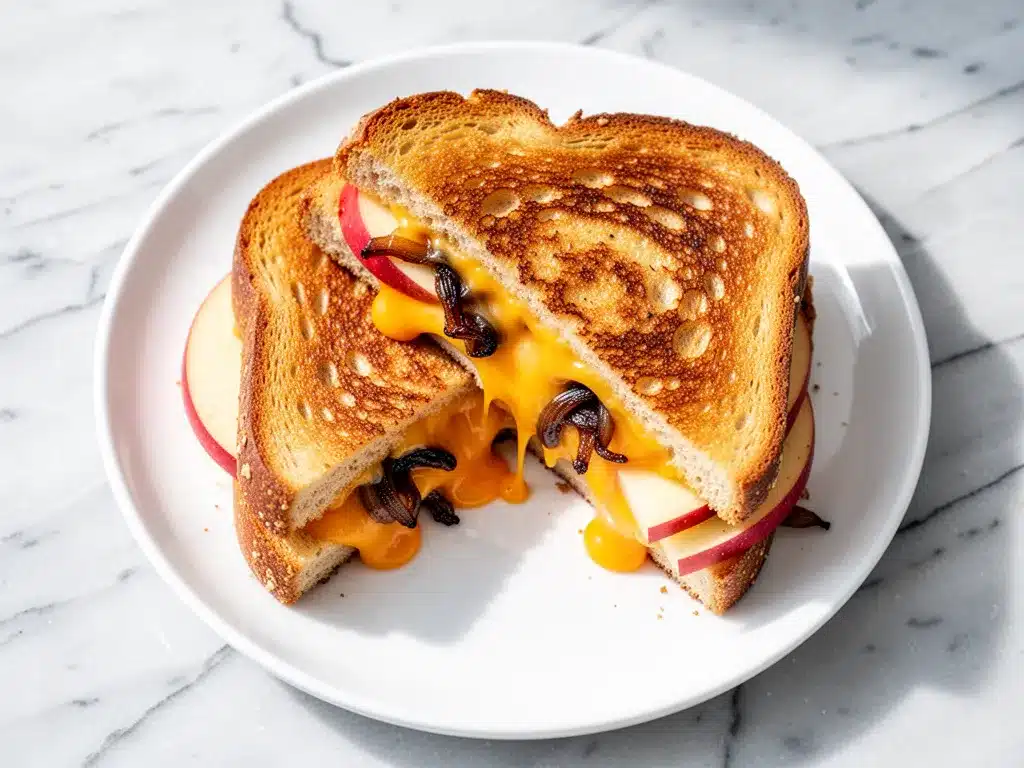
The onions take about 20-25 minutes to caramelize properly. But honestly? That’s a good thing. It gives you time to get cozy. Put on a podcast, sip some coffee, maybe even bake a batch of easy one-bowl banana bread while they cook. The actual assembly and grilling of the sandwich takes less than 10 minutes. It’s the perfect lazy weekend project.
Crowd-Pleaser
I’ve served this to my meat-eating brother, my vegetarian friend, and my food-snobby mother-in-law. Everyone loved it. The combination of textures—crispy bread, gooey cheese, soft onions, crisp apples—works for everyone. It’s fancy enough for a dinner party but casual enough for a Tuesday night. I even made this for my kids last week, and they didn’t even realize they were eating vegetables (well, fruit, technically). Win-win.
Makes Amazing Leftovers
Okay, let’s be real. Grilled cheese leftovers can be tricky. The bread gets soggy. But this version? It holds up surprisingly well if you store it properly. The next day, I’ll often reheat it in a skillet with a tiny bit of butter to restore that crunch. It tastes almost as good as fresh. I deliberately make extra for lunch the next day, and I’m not even embarrassed about it.
This is my go-to when I need dinner to just work. No complicated techniques, no weird ingredients, just reliable, delicious food that makes everyone happy. It’s comfort food, simplified.
Ingredients You’ll Need
Here’s the best part: you probably have most of this already in your kitchen. This looks like a short list, but the quality of each ingredient matters more than the quantity. I’m particular about a few things here, and I’ll tell you exactly why.
For the Base
Sourdough bread (8 slices, 1-inch thick) — I swear by sourdough for grilled cheese. The tangy flavor pairs beautifully with the cheddar, and the sturdy crust holds up to the moisture from the apples and onions without getting soggy. Thick-cut is non-negotiable. Thin bread tears. I use a local bakery’s sourdough, but any good, thick artisan loaf works. If you’re in a rush, a sturdy whole wheat works too, but sourdough is the gold standard.
Sharp cheddar cheese (8 ounces, grated) — Yes, grate your own cheese. Pre-shredded cheese has cellulose in it to prevent clumping, and that cellulose stops it from melting smoothly. You want that gooey, stretchy melt. Buy a block of sharp cheddar and grate it yourself. It takes two minutes and makes a world of difference. I like a mix of sharp and extra-sharp for maximum flavor.
Butter (4 tablespoons, softened) — Softened butter is key. If you use cold butter, it won’t spread evenly, and you’ll get burnt spots. Softened butter spreads like a dream and creates that perfect golden-brown crust. I use unsalted butter so I can control the salt level. Salted butter works, just reduce any added salt.
For the Filling
Yellow onions (2 medium, thinly sliced) — Yellow onions are the best for caramelizing. They have the right balance of sugar and sulfur to turn sweet and jammy. White onions are too sharp, and red onions get too soft and lose their structure. Slice them thinly and evenly so they cook at the same rate. I use a mandoline if I’m feeling fancy, but a sharp knife works fine.
Apples (2 medium, sliced thin) — This is where you get to have fun. I recommend Honeycrisp or Fuji apples. They hold their shape when heated and have a nice tart-sweet balance. Granny Smith is too sour for this, and Red Delicious gets mushy. Slice them into thin half-moons. Not paper-thin, but thin enough to cook through in the sandwich. You want bites of apple, not whole chunks.
Balsamic vinegar (1 tablespoon) — A splash of balsamic vinegar in the onions adds depth and complexity. It enhances the caramelization without making the onions taste like vinegar. Just a drizzle. Don’t go overboard.
Salt and pepper — To taste. Always season your onions and apples. It brings out their natural flavors.
Optional Add-ins
Prosciutto — A few slices of prosciutto add a salty, savory crunch that elevates this to restaurant level. I add this when I’m feeling fancy.
Apple butter — A thin layer of apple butter on the bread adds extra sweetness and moisture. I use this when the apples aren’t very sweet.
Thyme — Fresh thyme leaves scattered on the onions add an earthy, herbal note. It’s subtle but sophisticated.
Personal Tips
Brand recommendations: I always use local sourdough from my favorite bakery. If you’re buying store-bought, look for something with a chewy crust. For cheese, I buy Kirkland Signature sharp cheddar from Costco—it’s a great value and melts perfectly.
Shopping shortcuts: If you’re short on time, buy pre-sliced onions, but grate your own cheese. It’s worth the extra minute.
Substitutions: No cheddar? Gouda or Gruyère work beautifully too. Gouda adds a smoky sweetness, and Gruyère is classic French. But cheddar is the traditional choice for a reason—it’s sharp and bold.
Equipment Needed
You don’t need fancy equipment for this. Here’s what I actually use.
Large skillet or griddle — I use a 12-inch cast-iron skillet. It holds heat evenly and gives that perfect crust. If you don’t have cast iron, a heavy-bottomed stainless steel skillet works too. Non-stick is okay, but you won’t get the same crispy texture. I prefer cast iron because it’s durable and adds flavor over time.
Sharp knife — For slicing onions and apples. A dull knife makes you cry more and slices unevenly. I use my Japanese chef’s knife for this. It’s sharp enough to slice paper-thin apples without crushing them.
Grater — Box grater or microplane for the cheese. I use a box grater because it’s faster for 8 ounces of cheese. Microplane is great for smaller amounts.
Wooden spoon or spatula — For stirring the onions. Silicone works too. Don’t use metal on non-stick, but cast iron can handle metal.
Butter knife — For spreading the softened butter on the bread. A regular table knife works in a pinch.
Plate and tongs — For flipping the sandwich. Tongs give you better control so you don’t squish the filling.
Optional but nice: A sandwich press. If you have one, use it! It ensures even cooking and a nice flat shape. But it’s not necessary. I usually just use my skillet.
How to Make It: Step-by-Step
Alright, let’s make this! I’m walking you through exactly how I do it, including the little tricks I’ve picked up over the years. This process is forgiving, but there are a few key steps to get it right.
Step 1: Caramelize the Onions (20-25 minutes)
This is the foundation of the sandwich. Slice your onions thinly and evenly. Heat a large skillet over medium-low heat. Add a tablespoon of butter and a teaspoon of olive oil (the oil prevents the butter from burning). Add the onions and a pinch of salt. Stir to coat.
Let them cook undisturbed for 5 minutes. Then stir. Cook for another 5 minutes. Repeat this cycle. The onions will release water, then start to brown. Add the balsamic vinegar after 15 minutes. It will sizzle and deglaze the pan, adding flavor. Cook until the onions are deep golden brown, jammy, and sweet. This takes patience. Don’t rush it. If they’re burning, lower the heat. You want slow and steady.
Step 2: Prep the Apples (5 minutes)
While the onions are cooking, core and slice your apples into thin half-moons. Season them lightly with salt and pepper. If you’re adding thyme, sprinkle it on now. Set aside.
Step 3: Assemble the Sandwiches (5 minutes)
Take your sourdough slices. Spread softened butter on one side of each slice. This is the outside of the sandwich—the part that will touch the pan.
On the unbuttered side, layer your ingredients. Start with a handful of grated cheddar. Then add a generous spoonful of caramelized onions. Top with apple slices. Add another handful of cheddar on top of the apples. This “cheese sandwich” method helps the cheese act as glue, holding the filling together.
Step 4: Grill the Sandwiches (5-6 minutes)
Heat your skillet over medium-low heat. Place the sandwiches in the pan, buttered-side down. Cook for 3-4 minutes until the bottom is golden brown and crispy. Flip carefully with tongs.
Cook the other side for another 3-4 minutes. Press down gently with a spatula to help the cheese melt. If the bread is browning too fast but the cheese isn’t melted, lower the heat and cover the pan with a lid for a minute. The steam helps melt the cheese.
Step 5: Rest and Serve (2 minutes)
Remove the sandwiches from the pan and let them rest on a cutting board for 1-2 minutes. This allows the cheese to set slightly so it doesn’t slide out when you cut. Slice diagonally (because it’s more delicious) and serve immediately.
Total Time: About 35 minutes (25 minutes active/passive for onions, 10 minutes active for sandwich).
Expert Tips & Tricks
Here’s everything I’ve learned from making this dozens of times. These tips will save you from my mistakes.
Low and Slow for Onions
The biggest mistake people make is turning up the heat to speed up caramelization. Don’t do it. High heat burns the sugars and makes the onions bitter. Medium-low heat is the sweet spot. If you’re impatient, you’ll end up with burnt, bitter onions. Trust the process. It’s worth the wait.
Grate Your Own Cheese
I can’t stress this enough. Pre-shredded cheese contains anti-caking agents that prevent smooth melting. You’ll end up with a grainy, separated mess. Grate your own cheese from a block. It takes two minutes and ensures that perfect, gooey melt. My husband can tell when I’ve been lazy and used pre-shredded. He’ll make a face. Don’t make him make that face.
Butter the Bread, Not the Pan
Some people butter the pan. I butter the bread. Buttering the bread gives you more control over the coverage and prevents burnt spots in the pan. It also ensures every bite has that rich, buttery flavor. Spread it all the way to the edges for a uniform crust.
Use Thick Bread
Thin bread tears under the weight of the filling. Thick sourdough holds up beautifully. If you must use thin bread, double-stack it, but thick is better. It creates a better texture contrast.
Don’t Overfill
It’s tempting to pile on the cheese and apples, but if the sandwich is too heavy, it will fall apart when you flip it. Use a moderate amount of filling. You want a balance of bread, cheese, and filling. Less is more here.
Rest Before Cutting
Hot cheese is liquid cheese. If you cut the sandwich immediately, the filling will slide out. Let it rest for 1-2 minutes. The cheese will thicken slightly and hold the sandwich together. Patience pays off.
Variations & Substitutions
Once you’ve nailed the basic version, here’s how you can mix it up. I’ve tried all of these, and they’re all delicious.
Prosciutto Version
Add a few slices of prosciutto between the cheese and apples. The salty, cured meat pairs beautifully with the sweet apples and sharp cheddar. It adds a sophisticated crunch. This is my favorite variation when I’m hosting brunch.
Gouda & Apple
Swap the cheddar for smoked Gouda. The smokiness adds a BBQ-like depth that’s incredible with apples. This version tastes like a gourmet deli sandwich. I love this for fall evenings.
Vegetarian with Walnut Pesto
Add a thin layer of walnut pesto to the bread before adding the cheese. The nuttiness complements the apples and adds richness. It’s a lovely twist on the classic.
Spicy Kick
Add a few slices of jalapeño or a dash of cayenne pepper to the filling. The heat cuts through the richness of the cheese and butter. It’s a surprising but delicious combination.
Gluten-Free
Use gluten-free sourdough or thick gluten-free bread. Make sure it’s sturdy enough to hold the filling. I’ve used Dave’s Killer Bread Gluten Free, and it works well. Just be careful not to overfill, as GF bread can be more fragile.
Dairy-Free
Use dairy-free butter and dairy-free cheddar-style shreds. Many brands have improved significantly. Miyoko’s Creamery makes excellent dairy-free cheddar that melts well. It’s not exactly the same, but it’s still delicious.
Breakfast Style
Add a fried egg on top of the cheese before closing the sandwich. The runny yolk acts as a sauce. This is amazing for brunch. Pair it with a fluffy egg and cheese breakfast sandwich vibe, but sweeter.
Serving & Storage
How to Serve
I usually serve this straight from the skillet at the dinner table. It looks rustic and stays warm. But here are other ways I’ve enjoyed it:
- With a side salad: A simple arugula salad with balsamic vinaigrette cuts through the richness. The peppery arugula is a perfect match.
- With tomato soup: Classic combo. The acidity of the soup balances the sweet and savory sandwich. It’s nostalgic and comforting.
- With apple cider: A warm cup of spiced apple cider is the perfect drink. It ties the whole meal together.
Toppings Bar
When I have guests, I put out extra caramelized onions, apple slices, and different cheeses. Everyone customizes their sandwich. It’s interactive and fun.
Storage Instructions
Refrigerator: Store leftovers in an airtight container for up to 2 days. The bread may soften, but the flavors meld nicely.
Reheating: Best method: Reheat in a skillet over medium-low heat with a little butter. This restores the crispiness. Microwave reheating makes the bread soggy. Avoid it if you can.
Freezing: You can freeze the assembled sandwiches before cooking. Wrap tightly in plastic wrap and foil. Cook from frozen, adding a few extra minutes to the cooking time. The onions and apples freeze well. The bread might be slightly softer, but it’s still good.
Pro tip: If you’re meal prepping, make the caramelized onions in bulk. They last 5 days in the fridge. Assemble and cook the sandwiches fresh each day. It takes 10 minutes and tastes way better than fully reheated.
Nutrition Information
I’m not a nutritionist, but here’s the breakdown if you’re tracking. This is a rich, indulgent sandwich, so keep that in mind.
Per Serving (based on 2 sandwiches):
- Calories: 650
- Protein: 22g
- Carbs: 58g
- Fiber: 4g
- Sugar: 12g
- Fat: 35g
- Saturated Fat: 18g
- Sodium: 850mg
What’s Good:
Decent protein from the cheese and bread. Fiber from the onions and apples. It’s filling and satisfying.
What to Know:
Higher in calories and fat from the butter and cheese. Moderate sodium. If you’re watching your intake, use less butter and a lighter cheese, or eat half a sandwich with a big salad.
My Take:
Look, this is comfort food. It’s not a diet recipe. But it’s way better than takeout, costs less, and I know exactly what’s in it. When I want to make it lighter, I use less butter and add more vegetables. But usually? I just eat a reasonable portion and enjoy it. Life is short. Eat the grilled cheese.
Final Thoughts
So that’s my go-to fall apple cheddar grilled cheese with caramelized onions! I’ve probably talked your ear off at this point, but when you make a recipe this often, you have a lot to say about it.
This has saved lazy weekends more times than I can count. It’s my answer to “what’s for lunch” when I’m tired, don’t want takeout, and still want something that tastes really good. My partner is happy, my friends are happy, and I’m happy because I’m not stressed about cooking. It’s simple, but it’s special.
Make it yours! Try different apples, swap in your favorite cheese, adjust the onions. The best recipes are the ones you adapt to your family’s tastes. If you make this, drop a comment and let me know what you think! I love hearing how recipes turn out in your kitchen. And if something doesn’t work, tell me that too—I’m here to help troubleshoot.
Happy cooking! And I hope your kitchen smells half as good as mine does right now.
Frequently Asked Questions
Can I use pre-sliced apples?
You can, but fresh-sliced apples taste better. Pre-sliced apples often oxidize and turn brown, which affects the flavor and appearance. If you must use them, toss them in a little lemon juice to prevent browning. But fresh is best.
Why did my sandwich fall apart?
Usually, this happens because the sandwich was too heavy or wasn’t flipped carefully. Use a moderate amount of filling. Flip with tongs, not a spatula, to avoid squishing. Also, make sure the cheese is melted enough to act as glue. If it’s too cold, it won’t stick.
Can I make the caramelized onions ahead of time?
Absolutely! This is my favorite part of the recipe. Make the onions up to 3 days ahead and store them in the fridge. Reheat them gently before assembling the sandwich. It saves so much time on busy days.
What kind of bread is best?
Sourdough is my top choice because of its tangy flavor and sturdy crust. But thick-cut brioche, challah, or even rustic whole wheat work well. Avoid thin sandwich bread—it tears too easily.
Can I use a panini press?
Yes! A panini press works beautifully for this sandwich. It ensures even cooking and a nice flat shape. Just be careful not to overfill, as the press will push the filling out. Cook for 3-4 minutes until golden brown.
Why are my onions burning?
The heat is too high. Caramelizing onions requires low and slow heat. If they’re browning too quickly, lower the heat and add a splash of water or broth to deglaze the pan. It will help them cook through without burning.
Pin This Recipe!
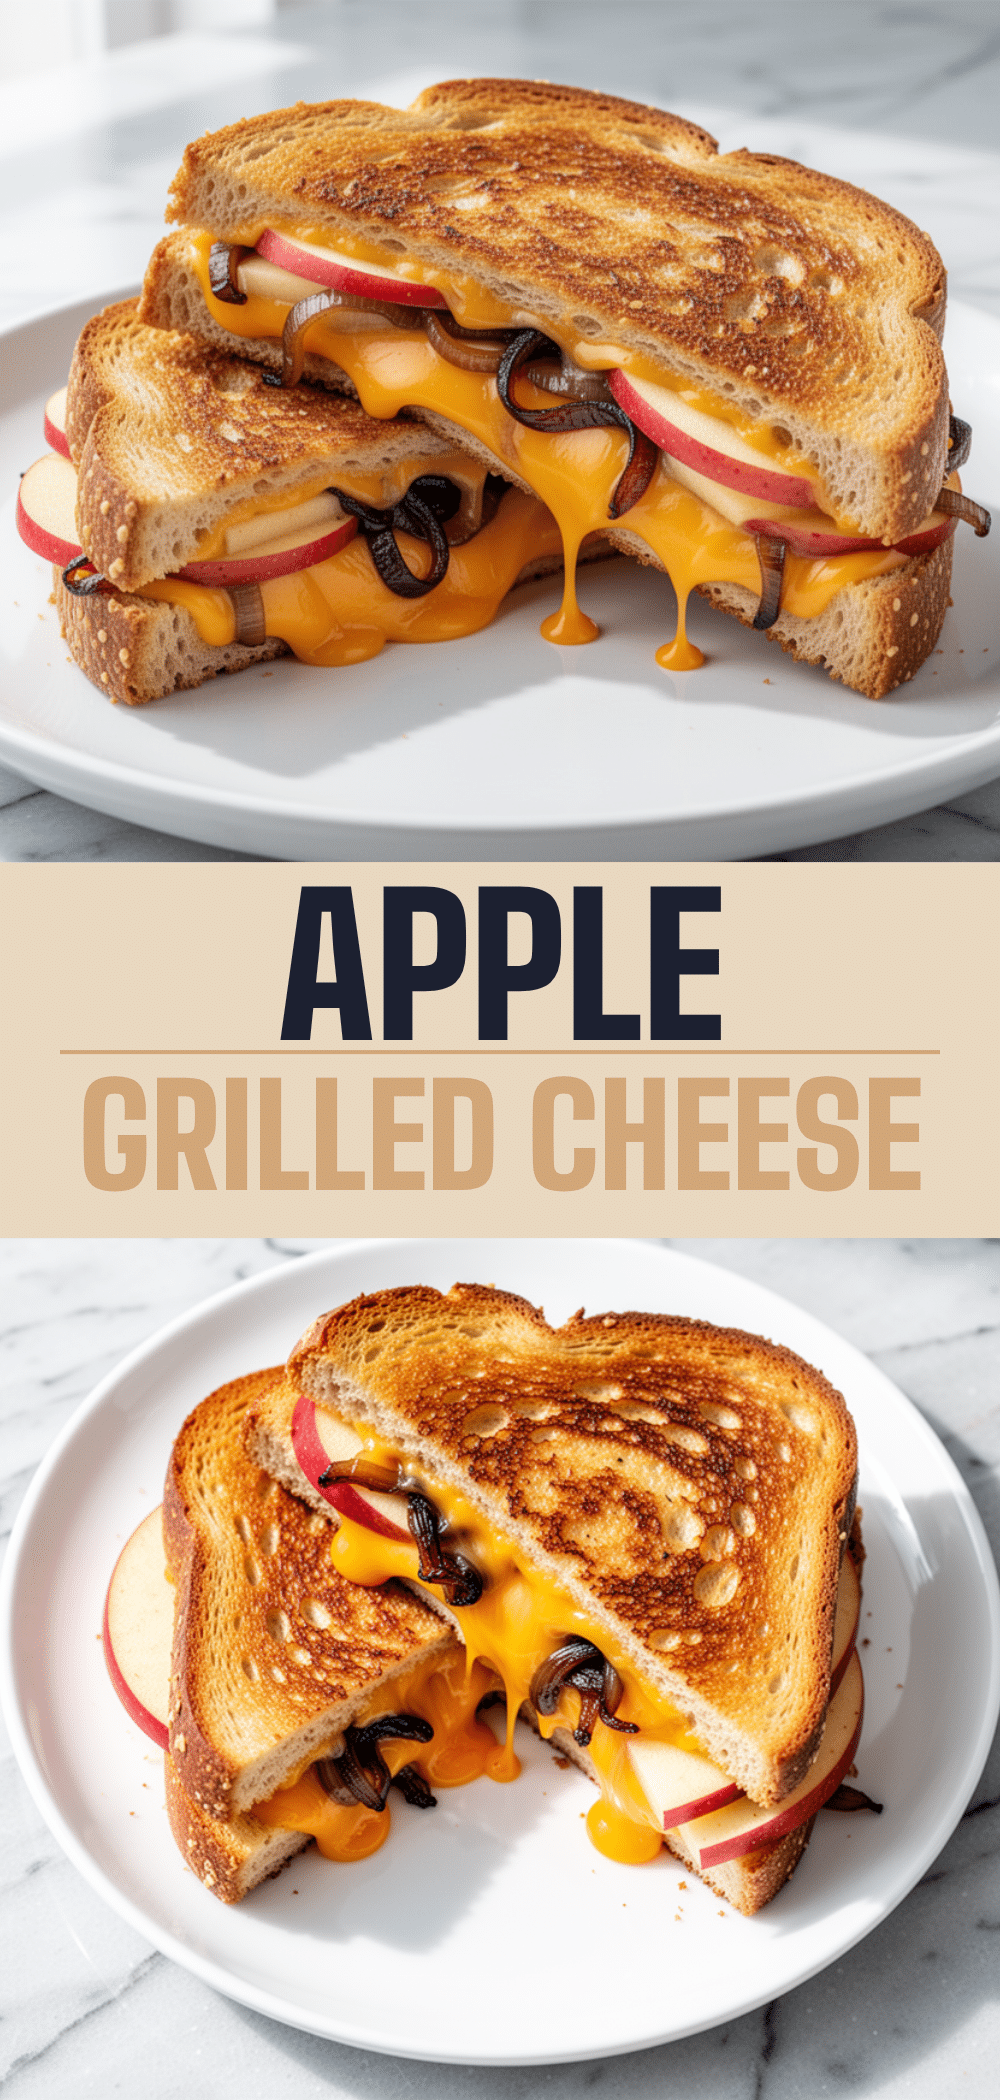

Fall Apple Cheddar Grilled Cheese with Caramelized Onions
- Total Time: 35 minutes
- Yield: 2 servings 1x
Description
A comforting fall sandwich featuring sharp cheddar, tart apples, and deeply caramelized onions on thick sourdough bread, offering a perfect balance of sweet, savory, and crunchy textures.
Ingredients
- 8 slices sourdough bread (1-inch thick)
- 8 ounces sharp cheddar cheese (grated)
- 4 tablespoons unsalted butter (softened)
- 2 medium yellow onions (thinly sliced)
- 2 medium apples (Honeycrisp or Fuji, sliced thin)
- 1 tablespoon balsamic vinegar
- Salt and pepper to taste
- 1 teaspoon olive oil (for caramelizing onions)
Instructions
- Slice onions thinly and evenly. Heat a large skillet over medium-low heat with butter and olive oil.
- Add onions and a pinch of salt. Cook undisturbed for 5 minutes, then stir. Repeat this cycle for 20-25 minutes until deep golden brown and jammy.
- Add balsamic vinegar after 15 minutes of cooking to deglaze the pan and add flavor.
- While onions cook, core and slice apples into thin half-moons. Season lightly with salt and pepper.
- Spread softened butter on one side of each bread slice (this will be the outside).
- Assemble sandwiches: Layer grated cheddar, caramelized onions, apple slices, and another layer of cheddar on the unbuttered side of the bread.
- Heat skillet over medium-low heat. Place sandwiches buttered-side down.
- Cook for 3-4 minutes until golden brown and crispy. Flip carefully with tongs.
- Cook the other side for another 3-4 minutes. Press gently with a spatula. If browning too fast, lower heat and cover with a lid for a minute to melt cheese.
- Remove from pan and rest for 1-2 minutes before slicing diagonally and serving.
Notes
Grate your own cheese to ensure smooth melting. Use thick sourdough bread to prevent tearing. Caramelize onions low and slow to avoid bitterness. Rest the sandwich before cutting to allow cheese to set.
- Prep Time: 10 minutes
- Cook Time: 25 minutes
- Category: Main Course
- Cuisine: American
Nutrition
- Serving Size: 1 sandwich
- Calories: 650
- Sugar: 12
- Sodium: 850
- Fat: 35
- Saturated Fat: 18
- Carbohydrates: 58
- Fiber: 4
- Protein: 22
Keywords: grilled cheese, apple cheddar, caramelized onions, fall recipe, comfort food, sourdough, lunch, dinner


