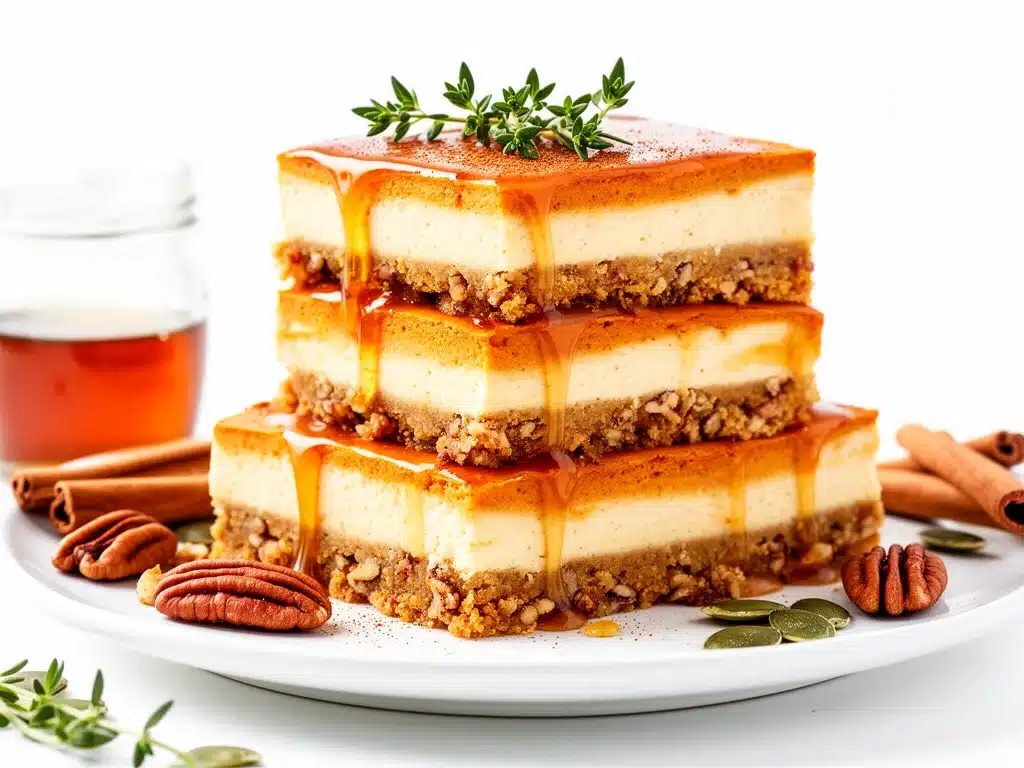
Last October, I found myself scrambling for a dessert that felt like fall in every bite but didn’t require an all-day baking marathon. I had a craving for pumpkin but wasn’t in the mood for the usual pie, and honestly, I was low on fancy ingredients. So I threw together these Fall Maple Pumpkin Cheesecake Bars using just a handful of simple things I had on hand, and wow—they turned out even better than I hoped. The maple adds this warm, cozy sweetness that pairs perfectly with the pumpkin’s earthiness, and the cheesecake layer makes it feel indulgent without being over the top.
Since that first batch, I’ve made these bars over and over—sometimes for weekday treats, sometimes for potlucks—and every time they disappear fast. What’s the secret? Simple ingredients, a quick method, and flavors that just scream fall comfort. If you love desserts that deliver big flavor without fuss, these bars might just become your new go-to.
Why You’ll Love This Recipe
These Fall Maple Pumpkin Cheesecake Bars have completely changed my autumn baking game. There are a bunch of reasons I keep coming back to this recipe, but here are the big ones:
- Simple Ingredients — No weird spices or hard-to-find stuff. You probably have everything in your pantry right now.
- Quick and Easy — From start to finish, you’re looking at about 45 minutes, including baking. Perfect for busy days when you want something homemade but not complicated.
- Perfectly Balanced Flavors — The maple syrup adds just the right touch of sweetness, and the pumpkin keeps it cozy and seasonal without being cloying.
- Make-Ahead Friendly — These bars taste even better the next day. I usually make a batch on Sunday and enjoy them all week.
- Great for Sharing — Whether it’s a school event, a casual get-together, or just a comforting family dessert, these bars get rave reviews every time.
Honestly, these bars have become my answer to “I want pumpkin, but not pie,” and they never disappoint. Plus, they’re a fun switch-up if you’re tired of the usual pumpkin recipes and want to surprise your family or friends with something that feels special but is actually easy.
Ingredients You’ll Need
Here’s the best part: you probably already have most of these ingredients in your kitchen. I’m picky about a few things here, so I’ll explain my tips as we go.
- Graham cracker crumbs (1 ½ cups / 150g) — This is the base for the crust. I like using slightly crushed graham crackers for texture. You can substitute with digestive biscuits if you’re outside the US.
- Butter (6 tablespoons / 85g, melted) — Use unsalted so you can control the saltiness. I always melt it gently to avoid burning.
- Cream cheese (16 ounces / 450g, softened) — Full-fat only here. This is what makes the cheesecake layer creamy and rich. Take it out of the fridge at least 30 minutes before starting.
- Pumpkin puree (1 cup / 240g) — Use pure pumpkin, not pumpkin pie filling. The latter is already sweetened and spiced, which will throw off the balance.
- Maple syrup (½ cup / 120ml) — Real maple syrup, not pancake syrup. It adds a subtle depth of flavor that’s hard to beat.
- Sugar (½ cup / 100g) — Granulated sugar for sweetness. You can swap half with brown sugar for a more caramel-like note.
- Eggs (2 large) — Room temperature eggs help everything come together smoothly.
- Vanilla extract (1 teaspoon) — Fresh vanilla makes a difference. I always keep a bottle on hand.
- Ground cinnamon (1 teaspoon) — Adds warmth. You can also try a pinch of nutmeg or allspice if you like.
- Salt (¼ teaspoon) — Balances the sweetness and brings out the flavors.
Optional add-ins: I sometimes toss in a handful of chopped pecans on top for crunch or swirl in some caramel sauce before baking for extra indulgence.
Equipment Needed
You don’t need fancy tools to make these Fall Maple Pumpkin Cheesecake Bars. Here’s what I actually use:
- 9×9-inch baking pan — I line mine with parchment paper so the bars come out easily. You can use an 8×8 pan, but the bars will be thicker and may need a few extra minutes baking.
- Mixing bowls — One for the crust, one for the cheesecake filling.
- Electric mixer — A handheld or stand mixer makes the cream cheese mixture smooth and lump-free. You can whisk by hand if you’re patient.
- Measuring cups and spoons — Accuracy helps here, especially with the spices.
- Spatula — For folding and scraping down the bowl.
- Whisk — Helpful for mixing the pumpkin mixture evenly.
Nice to have: A food processor to crush graham crackers quickly, but a plastic bag and rolling pin work just fine too.
How to Make It: Step-by-Step
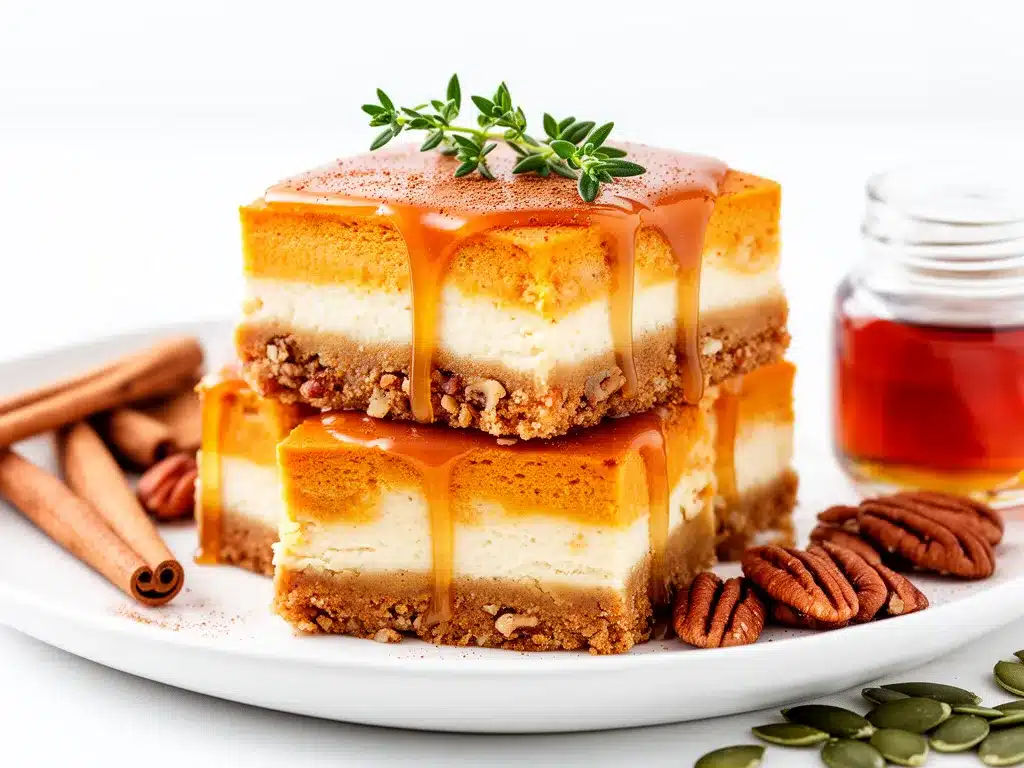
Alright, let’s make these bars! I’m walking you through exactly how I do it, including the little tricks that make all the difference.
Step 1: Prep Your Crust (10 minutes)
Start by preheating your oven to 350°F (175°C). In a medium bowl, mix the graham cracker crumbs with the melted butter until it looks like wet sand. Press this mixture firmly into the bottom of your lined baking pan. I use the bottom of a glass to really pack it down evenly. Bake the crust for 10 minutes, then set it aside to cool slightly while you make the filling.
Step 2: Make the Cheesecake Filling (10 minutes)
In a large bowl, beat the softened cream cheese with an electric mixer until smooth and creamy—no lumps! Add the sugar and maple syrup and beat again to combine. Next, add the eggs one at a time, mixing well after each. Stir in the vanilla extract and salt.
In a separate bowl, mix the pumpkin puree with the cinnamon. Gently fold the pumpkin mixture into the cream cheese batter until just combined. Be careful not to overmix; you want the filling smooth but airy.
Step 3: Assemble and Bake (25-30 minutes)
Pour the filling over the pre-baked crust and smooth the top with a spatula. If you want, sprinkle chopped pecans or swirl in caramel sauce now. Bake in the preheated oven for 25-30 minutes. The edges should be set, and the center should still jiggle slightly (like classic cheesecake).
Step 4: Cool and Chill (at least 2 hours)
Remove from the oven and let cool on a wire rack for 30 minutes. Then cover and refrigerate for at least 2 hours, or overnight if you can wait that long (I know, it’s hard!). Chilling helps the bars set properly and develop that creamy texture.
Step 5: Serve
Once chilled, lift the bars out using the parchment paper edges and cut into squares. Serve plain or with a dollop of whipped cream. If you want to get fancy, a sprinkle of cinnamon sugar on top is lovely.
Expert Tips & Tricks
Here’s everything I’ve learned after making these bars dozens of times. These tips will save you from my early mistakes:
- Don’t skip chilling: The cheesecake filling needs time to firm up. I’ve tried cutting the bars too soon and ended up with gooey messes.
- Use room temperature cream cheese and eggs: Cold ingredients make lumps in your batter. I take mine out early or zap them in short bursts in the microwave if I forget.
- Press the crust firmly: A packed crust holds together better when cutting and eating.
- Watch the baking time: Overbaking makes the cheesecake dry. The slight jiggle in the center is perfect.
- Maple syrup matters: Real maple syrup adds depth you just can’t fake. It’s worth the splurge for this recipe.
- Customize your spices: If you prefer, swap cinnamon for pumpkin pie spice or add a pinch of ground ginger for a little extra warmth.
Variations & Substitutions
Once you’ve nailed this basic recipe, here’s how to mix it up and keep things interesting. I’ve tried all of these:
- Pecan Crust Swap: Replace graham crackers with finely chopped pecans mixed with the butter for a nutty crust.
- Vegan Version: Use dairy-free cream cheese and maple syrup, swap eggs for flax eggs (2 tablespoons ground flaxseed + 6 tablespoons water), and use coconut oil instead of butter for the crust.
- Spiced Up: Add ½ teaspoon ground nutmeg and ¼ teaspoon ground cloves for a deeper spice profile.
- Chocolate Twist: Sprinkle mini chocolate chips over the filling before baking or drizzle melted dark chocolate on top after cooling.
- Gluten-Free: Use gluten-free graham crackers or almond flour for the crust. Almond flour crust gives a slightly different texture but tastes amazing.
Serving & Storage
These Fall Maple Pumpkin Cheesecake Bars are super versatile when it comes to serving and storing.
How to Serve
I usually serve them chilled straight from the fridge, but they’re also great at room temperature if you’re entertaining. A dollop of whipped cream or a sprinkle of cinnamon sugar amps things up. For a cozy fall vibe, serve alongside a warm cup of coffee or chai tea.
If you want to turn dessert into a full fall spread, pair these bars with a fresh green salad and some baked apple cinnamon oatmeal cups for breakfast or brunch that feels like a celebration.
Storage Instructions
- Refrigerate: Store in an airtight container for up to 5 days. The flavors actually deepen after a day.
- Freeze: Wrap tightly in plastic wrap and foil, and freeze for up to 3 months. Thaw in the fridge overnight before serving.
- Reheating: These bars are best cold or at room temperature. If you prefer warm, microwave for 15-20 seconds, but don’t overdo it or the texture can get grainy.
Nutrition Information
I’m not a nutritionist, but here’s a rough breakdown per serving (based on 16 bars):
| Calories | 210 |
|---|---|
| Protein | 4g |
| Carbohydrates | 25g |
| Fiber | 1g |
| Sugar | 16g |
| Fat | 10g |
| Saturated Fat | 6g |
| Cholesterol | 40mg |
| Sodium | 140mg |
| Calcium | 80mg |
What’s good? You get a decent protein boost from the cream cheese, plus calcium from the dairy. The pumpkin adds some fiber and vitamins, making these bars feel a little better than your typical dessert. Just keep in mind, the maple syrup and sugar do add sweetness and calories, so enjoy in moderation.
Final Thoughts
So that’s my easy recipe for Fall Maple Pumpkin Cheesecake Bars—a simple, cozy dessert you’ll want to make again and again. I’ve probably talked your ear off by now, but when a recipe becomes a staple in my kitchen, I naturally have a lot to say about it.
This recipe has saved me more than once when I needed a quick fall dessert that feels homemade and special. It’s my answer to “I want something pumpkin but different,” and it’s perfect for sharing with family, friends, or just keeping tucked away for yourself (no judgment here).
Make it yours! Add nuts, chocolate, or extra spices to suit your taste. The best recipes are the ones you tweak and love. And if you’re looking for other easy fall treats, I love pairing these bars with a cup of hot chocolate or alongside a batch of soft honey garlic pretzel bites for a sweet and salty combo that’s hard to beat.
If you try this recipe, drop a comment and let me know how it went! I seriously love hearing your kitchen wins and mishaps alike. Happy baking, and may your house smell like fall all season long.
Frequently Asked Questions
Q: Can I use canned pumpkin pie filling instead of pumpkin puree?
A: I wouldn’t recommend it. Pumpkin pie filling is already sweetened and spiced, which can throw off the balance in the bars. Stick with plain pumpkin puree for the best flavor and texture.
Q: Can I make these bars ahead of time?
A: Absolutely! They actually taste better after chilling overnight, so making them a day ahead is perfect. Just keep them covered in the fridge until ready to serve.
Q: Can I substitute the graham cracker crust for something else?
A: Yes! Crushed digestive biscuits or even crushed gingersnaps work well. For a gluten-free option, almond flour or gluten-free cookie crumbs make a tasty crust too.
Q: My cheesecake layer cracked—what did I do wrong?
A: Cracking usually happens if you overbake or the oven temperature is too high. Try baking until the center jiggles slightly and avoid opening the oven door while baking. Also, make sure your cream cheese is fully softened before mixing.
Q: Can I use artificial sweeteners instead of sugar and maple syrup?
A: You can experiment, but keep in mind that sugar and maple syrup contribute to both flavor and texture. Using artificial sweeteners might change the taste and how the bars set. I haven’t tested this recipe with substitutes, so if you try it, let me know!
Q: How do I store leftover bars?
A: Store leftovers in an airtight container in the fridge for up to 5 days. They’re best cold or at room temperature. You can also freeze them wrapped well for up to 3 months.
Q: Can I double this recipe?
A: Definitely! Just double all the ingredients and use a larger pan or two pans. Baking time might increase slightly, so keep an eye on them and test for doneness with the jiggle method.
Pin This Recipe!
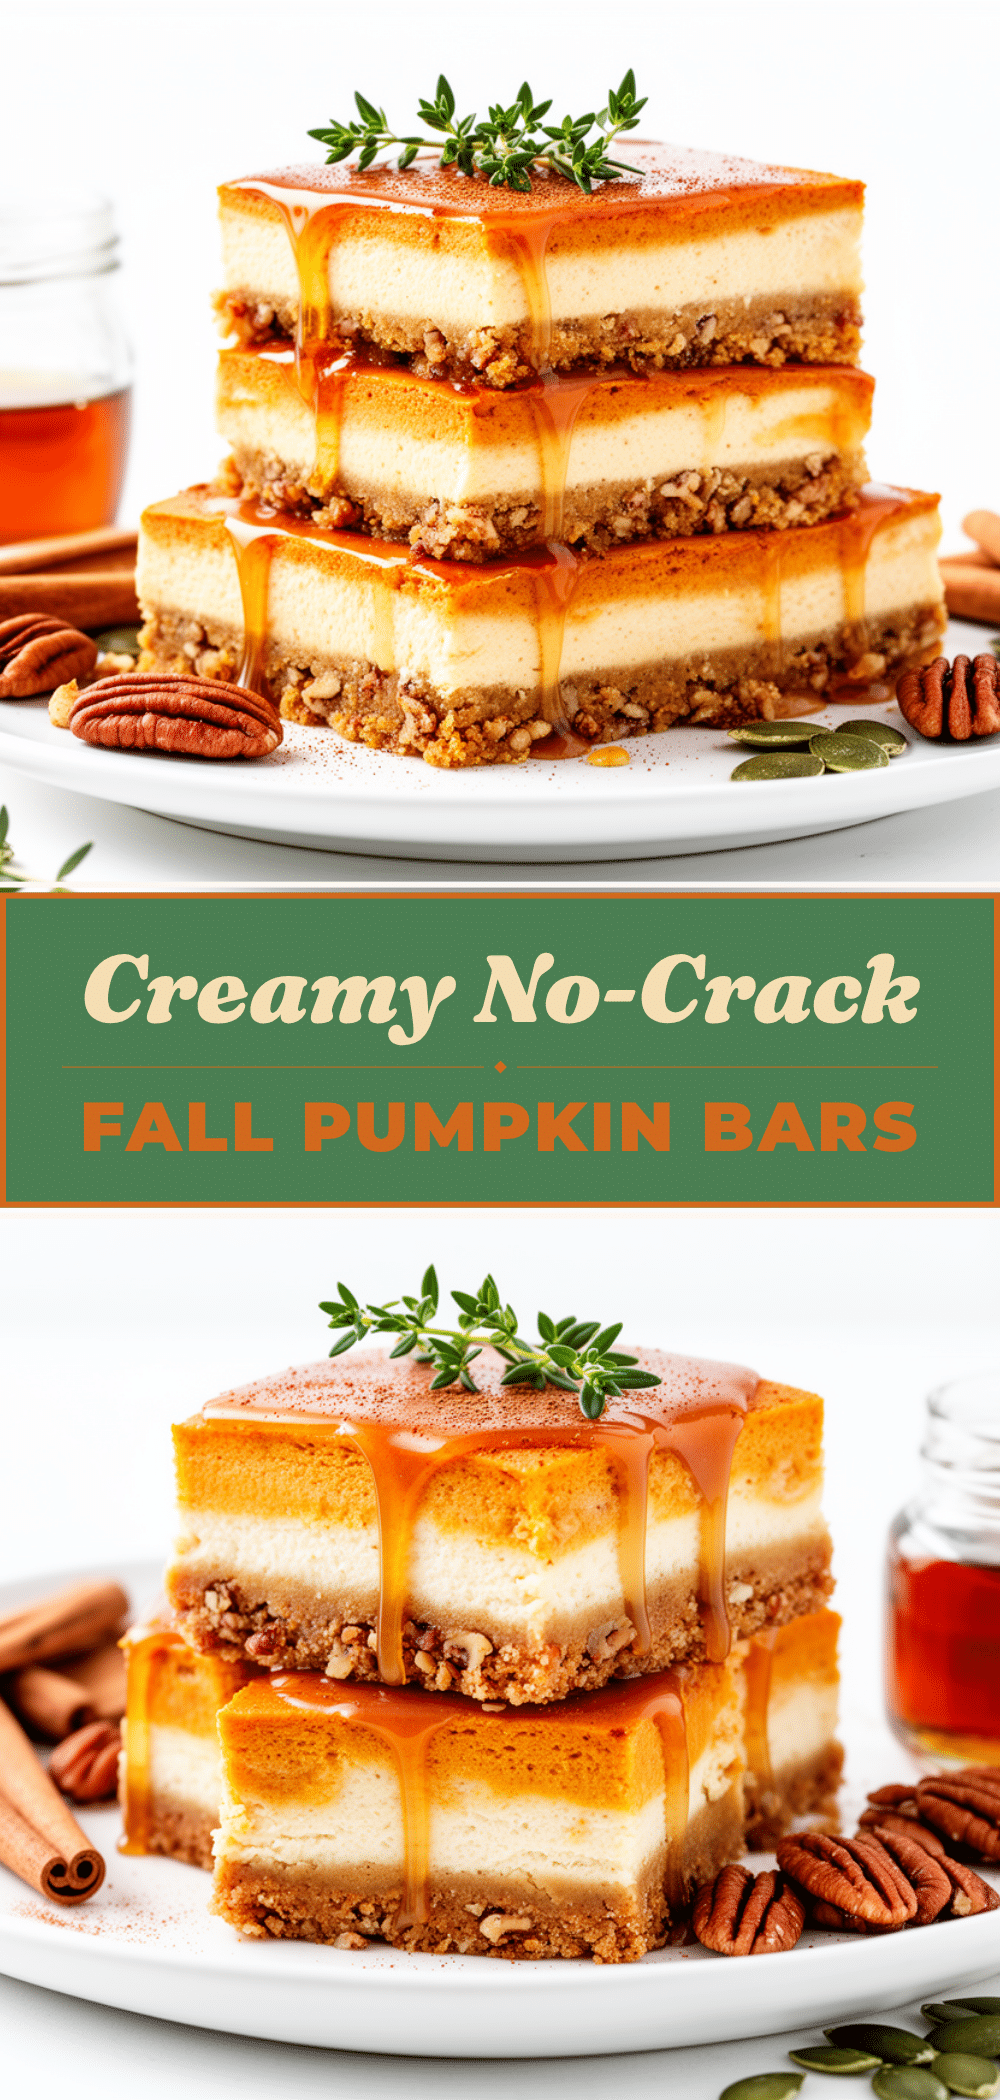
Fall Maple Pumpkin Cheesecake Bars
- Total Time: 2 hours 55 minutes
- Yield: 16 bars 1x
Description
These Fall Maple Pumpkin Cheesecake Bars combine simple ingredients to create a cozy, indulgent dessert perfect for autumn. The maple syrup adds warmth while the pumpkin keeps it seasonal and comforting.
Ingredients
- 1 ½ cups graham cracker crumbs (150g)
- 6 tablespoons unsalted butter, melted (85g)
- 16 ounces full-fat cream cheese, softened (450g)
- 1 cup pumpkin puree (240g)
- ½ cup real maple syrup (120ml)
- ½ cup granulated sugar (100g)
- 2 large eggs, room temperature
- 1 teaspoon vanilla extract
- 1 teaspoon ground cinnamon
- ¼ teaspoon salt
- Optional: chopped pecans for topping
- Optional: caramel sauce for swirling
Instructions
- Preheat oven to 350°F (175°C). In a medium bowl, mix graham cracker crumbs with melted butter until mixture resembles wet sand. Press firmly into the bottom of a lined 9×9-inch baking pan. Bake crust for 10 minutes and set aside to cool slightly.
- In a large bowl, beat softened cream cheese with an electric mixer until smooth and creamy. Add sugar and maple syrup and beat to combine. Add eggs one at a time, mixing well after each. Stir in vanilla extract and salt.
- In a separate bowl, mix pumpkin puree with cinnamon. Gently fold pumpkin mixture into cream cheese batter until just combined, being careful not to overmix.
- Pour filling over pre-baked crust and smooth the top. Optionally, sprinkle chopped pecans or swirl in caramel sauce.
- Bake for 25-30 minutes until edges are set and center jiggles slightly.
- Remove from oven and cool on a wire rack for 30 minutes. Cover and refrigerate for at least 2 hours or overnight to set.
- Lift bars out using parchment paper edges and cut into squares. Serve chilled or at room temperature, optionally topped with whipped cream or cinnamon sugar.
Notes
Use room temperature cream cheese and eggs to avoid lumps. Press crust firmly for better texture. Bake until center jiggles slightly to avoid overbaking. Real maple syrup is recommended for best flavor. Chilling overnight improves texture and flavor. Optional add-ins include chopped pecans or caramel sauce. For gluten-free, substitute crust with gluten-free graham crackers or almond flour.
- Prep Time: 20 minutes
- Cook Time: 35 minutes
- Category: Dessert
- Cuisine: American
Nutrition
- Serving Size: 1 bar (1/16th of rec
- Calories: 210
- Sugar: 16
- Sodium: 140
- Fat: 10
- Saturated Fat: 6
- Carbohydrates: 25
- Fiber: 1
- Protein: 4
Keywords: pumpkin, cheesecake bars, maple syrup, fall dessert, easy recipe, pumpkin dessert, autumn baking


