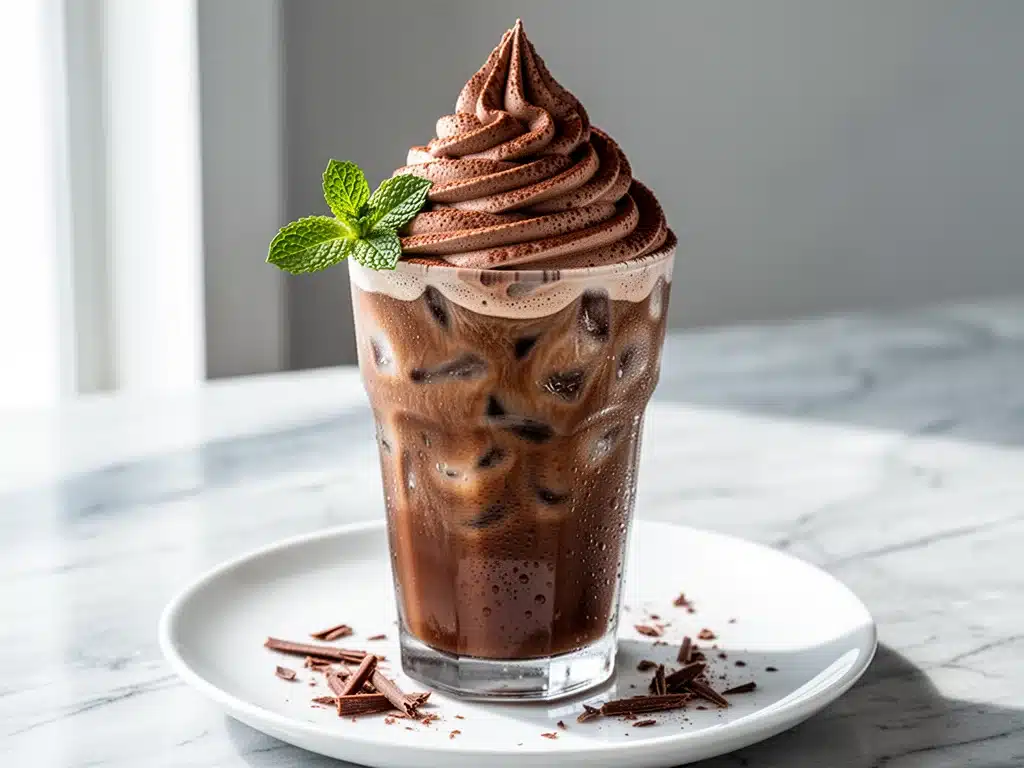
There is a specific kind of magic that happens when you can make a café-quality drink in under five minutes. I’ve spent way too many Saturday mornings standing in line at the local coffee shop, watching the steam fog up the windows, while my friends and I waited 20 minutes just to get our caffeine fix. It’s expensive, it’s crowded, and honestly? It’s stressful. That was until I stumbled across this frozen mocha coffee blend recipe. I made it one lazy Sunday morning because I had ice, espresso, and a bag of chocolate chips, and I was too tired to leave the house. Three sips later, I realized I never had to go back.
This isn’t just another iced coffee. It’s a dessert in a glass that somehow works for breakfast. The texture is thick, creamy, and slushy in the best way possible. It tastes like a chocolate milkshake that has been infused with a high-quality espresso. I’ve tested this recipe at least a dozen times, tweaking the coffee-to-chocolate ratio until it hit that sweet spot where it’s rich but not overwhelming. Now, it’s the star of our brunch spread, sitting right next to our sourdough french toast and a plate of crispy bacon.
What I love most is how simple it is. You don’t need an expensive espresso machine or a fancy blender with twenty settings. Just a standard blender, some strong coffee, and a few pantry staples. It’s become my secret weapon for impressing guests without spending hours in the kitchen. If you’re looking for a drink that feels indulgent but comes together faster than you can boil water, this is it. Let’s dive into why this frozen mocha is about to become your new weekend obsession.
Why You’ll Love This Frozen Mocha Coffee Blend
I know there are a million iced coffee recipes out there. So why this one? Because it solves the biggest problem with homemade iced drinks: the ice melts too fast, and you end up with watery, sad coffee by the time you finish your first sip. This frozen mocha blend uses a specific technique that keeps the drink thick and cold for the entire duration. Here’s why I keep coming back to it:
- It’s Faster Than a Drive-Through — Seriously. From grabbing the ingredients to pouring the drink takes about 5 minutes. I’ve made this while wearing pajamas, waiting for the coffee to cool slightly, and I’m still faster than the barista at the shop. Perfect for those mornings when you want to treat yourself but hate rushing.
- Texture That Actually Matters — Most frozen drinks turn into slush immediately. This one stays creamy. The secret is in the ratio of milk to ice and the addition of the chocolate. It has that thick, velvety mouthfeel you get from a high-end café, but homemade. It’s like a chocolate milkshake meets a latte.
- Customizable Sweetness — Store-bought drinks are usually drowning in syrup. With this recipe, you control the sugar. I use a little chocolate syrup for depth, but you can skip it if you prefer dark chocolate. You can also adjust the coffee strength. Love strong coffee? Use espresso shots. Prefer milder? Use cold brew concentrate.
- Brunch-Ready Presentation — This drink looks incredible in a glass. The contrast of the dark mocha against the white whipped chocolate cream is stunning. It makes even a simple plate of toast look like a fancy brunch spread. My friends always ask me, “Did you buy this?” before they take the first sip.
- Cost-Effective Luxury — A drink like this at a café costs between $6 and $8. Making it at home costs about $1.50 per serving. Over a year, that’s a lot of money saved. Plus, you get to drink it while sitting in your living room, not on a uncomfortable plastic chair outside.
This recipe has completely changed my morning routine. It’s no longer just about waking up; it’s about starting the day with something that feels special. It’s the kind of drink that makes you smile before you even take a bite of your breakfast.
Ingredients You’ll Need
Here’s the best part: you probably have most of these ingredients already. This isn’t a recipe that requires a special trip to three different specialty stores. I’m particular about a few things here, but mostly, it’s about quality over quantity. Let’s break down what you need and why each piece matters.
For the Frozen Mocha Base
Strong Brewed Coffee (2 cups / 480ml) — This is the foundation. Do not use weak coffee. If you use drip coffee, make it twice as strong as usual. I prefer using cold brew concentrate because it’s less acidic and smoother, but freshly brewed espresso or strong drip coffee works great too. Let it cool to room temperature before blending; hot coffee will melt the ice too fast and make the drink watery.
Heavy Cream (½ cup / 120ml) — This adds the richness and helps create that thick, creamy texture. Don’t skip this for skim milk if you want the authentic mocha experience. If you’re watching calories, you can use half-and-half, but it will be slightly less thick. I use full-fat heavy cream because it whips beautifully and tastes luxurious.
Whole Milk (½ cup / 120ml) — This balances out the heavy cream and coffee. It adds volume without making the drink too heavy. You can use oat milk or almond milk for a dairy-free version, but keep in mind that plant-based milks can sometimes separate slightly when blended with ice.
Chocolate Syrup (3 tablespoons / 45ml) — This is what makes it a mocha. Use a good quality chocolate syrup, not hot fudge (which is too thick) or cocoa powder (which doesn’t dissolve well in cold drinks). Hershey’s is a classic, but I love using a richer, darker chocolate syrup for a more intense flavor. If you’re using unsweetened cocoa powder, you’ll need to add an extra sweetener.
Vanilla Extract (1 teaspoon / 5ml) — Just a teaspoon. It enhances the chocolate and coffee flavors without making it taste like vanilla ice cream. Pure vanilla is best here; imitation vanilla can taste artificial in cold drinks.
Sugar (1-2 tablespoons / 15-30g) — Optional, depending on how sweet your chocolate syrup is. Taste your syrup first. If it’s very sweet, you might not need any extra sugar. If you’re using unsweetened cocoa, add 2 tablespoons of granulated sugar or a sugar substitute.
Ice (1.5 cups / roughly 150g) — This is crucial. Use large, dense ice cubes if you can. They blend slower and create a thicker drink. Standard small ice cubes work too, but the drink might be slightly more watery. Don’t use crushed ice; it melts instantly.
For the Whipped Chocolate Cream
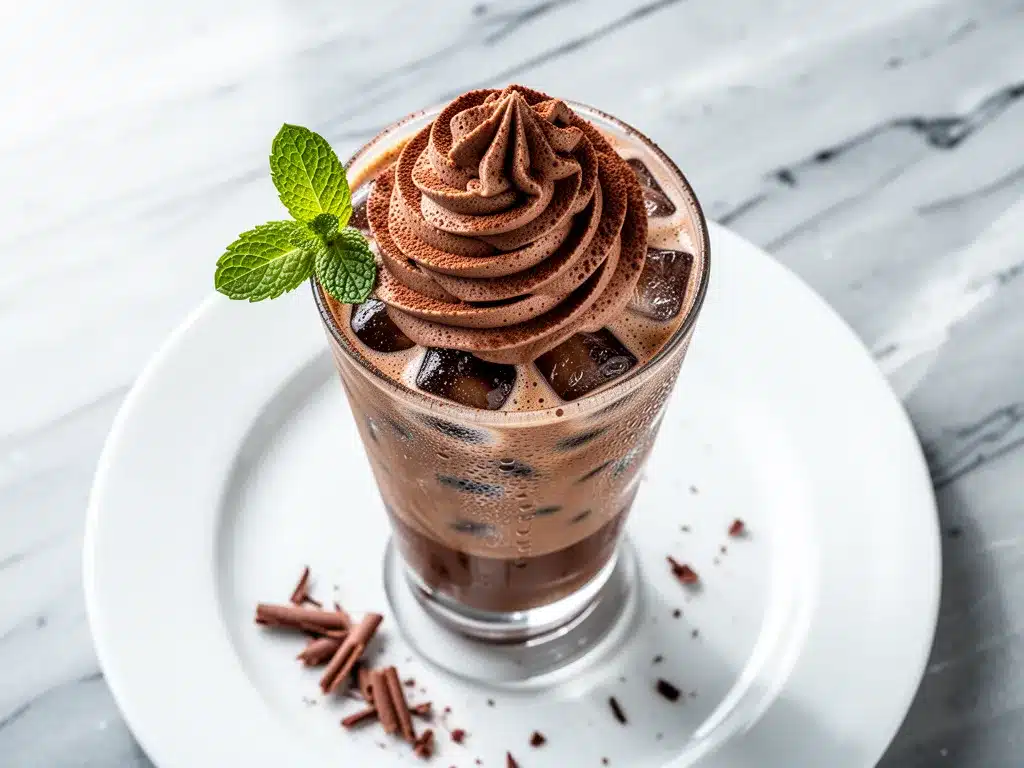
Heavy Whipping Cream (½ cup / 120ml) — Must be very cold. Straight from the fridge. If it’s warm, it won’t whip. This is the same cream you use for the base, but keep it separate for the topping.
Cocoa Powder (1 tablespoon / 5g) — Unsweetened cocoa powder adds a rich chocolate flavor to the cream without adding too much sweetness. It gives the topping that dark, mocha-like appearance.
Powdered Sugar (1 tablespoon / 8g) — This dissolves easily into the cream. Granulated sugar won’t dissolve in cold cream, so stick with powdered.
Vanilla Extract (½ teaspoon / 2.5ml) — For flavor.
Chocolate Shavings (For garnish) — Optional, but it makes the drink look professional. Use a vegetable peeler on a bar of dark chocolate for easy curls.
Equipment Needed
You don’t need fancy equipment for this. Here’s what I actually use.
High-Speed Blender — I use a Vitamix, but a standard blender works fine too. The key is that it needs to crush the ice finely. If your blender struggles, you might need to add a little more liquid or blend in stages.
Measuring Cups and Spoons — Standard stuff. Dollar store versions work fine.
Milk Frother or Small Whisk — For the whipped cream. An electric milk frother makes it super easy, but a hand whisk works if you have a little arm strength.
Glasses — I like using tall pint glasses or mason jars. They show off the layers and the whipped cream topping nicely.
Vegetable Peeler — For making chocolate shavings. It’s the easiest way to get those pretty curls.
How to Make It: Step-by-Step
Alright, let’s make this! I’m walking you through exactly how I do it, including the little tricks I’ve picked up. This process is fast, but timing matters.
Step 1: Prepare Your Coffee
If you’re using hot coffee, brew it now and let it cool completely. I usually brew a strong pot on Friday night and put it in the fridge overnight. Cold coffee blends much better than hot coffee. If you’re using espresso, pull two shots and let them cool for 5 minutes. The coffee needs to be cold or room temperature; otherwise, your ice will melt immediately.
Step 2: Blend the Frozen Mocha Base
Add the cold coffee, heavy cream, whole milk, chocolate syrup, vanilla extract, and sugar to your blender. Pulse it a few times to mix the liquids. Then, add the ice. Cover the blender and start on low speed, gradually increasing to high. Blend for 30-45 seconds until the mixture is smooth and slushy. It should look like a thick milkshake. If it’s too thick to blend, add a splash more milk. If it’s too thin, add a few more ice cubes.
Step 3: Make the Whipped Chocolate Cream
While the mocha is blending, prepare the topping. In a small bowl, combine the cold heavy whipping cream, cocoa powder, powdered sugar, and vanilla. Using an electric mixer or a hand whisk, beat the mixture until soft peaks form. You don’t want stiff peaks like for a cake; you want them soft and creamy so they spoon easily onto the drink. Be careful not to overbeat it, or it will turn into butter.
Step 4: Assemble the Drink
Pour the frozen mocha into your glasses, leaving about an inch of space at the top. Spoon a generous dollop of the whipped chocolate cream on top of each drink. Use the back of the spoon to spread it slightly, creating a nice layer.
Step 5: Garnish and Serve
Top with chocolate shavings or a drizzle of extra chocolate syrup. Serve immediately with a thick straw. The drink will start to melt slightly after 10 minutes, so enjoy it while it’s thick and cold.
Expert Tips & Tricks
Here’s everything I’ve learned from making this dozens of times. These tips will save you from my mistakes.
Keep Everything Cold — The colder your ingredients, the thicker your drink. I keep my milk and cream in the fridge until the very last second. If you have time, put your glasses in the freezer for 10 minutes before serving. It keeps the drink cold longer.
Don’t Skimp on the Coffee — It’s easy to get lazy and use weak coffee. But remember, the ice dilutes the flavor. If your coffee isn’t strong enough, the final drink will taste watery and bland. Use espresso or cold brew for the best results.
Quality Chocolate Matters — Since chocolate is a main flavor, don’t use the cheapest syrup you can find. A richer chocolate syrup makes a huge difference in taste. If you’re using cocoa powder, make sure it’s unsweetened and high quality.
Whip the Cream Correctly — The key to good whipped cream is cold equipment. If your bowl and beaters are warm, the cream won’t whip. Put them in the fridge for 15 minutes before you start. Also, stop whipping when you see soft peaks. Over-whipped cream becomes grainy and separates.
Customize the Sweetness — Everyone’s taste is different. Start with less sugar and taste as you go. You can always add more, but you can’t take it away. If you’re using a very sweet chocolate syrup, you might not need any extra sugar at all.
Variations & Substitutions
Once you’ve nailed the basic version, here’s how you can mix it up. I’ve tried all of these.
Decaf Version — Use decaf coffee or decaf espresso. The rest of the recipe stays the same. Perfect for evening brunches or if you’re sensitive to caffeine.
Vegan Mocha — Substitute the heavy cream and whole milk with oat milk or coconut milk. Use vegan chocolate syrup and coconut cream for the whipped topping. It’s surprisingly creamy and delicious.
Mocha Latte Style — If you want a coffee-forward drink, reduce the milk and increase the coffee. Use 3 cups of cold brew and only ¼ cup of milk. This is for true coffee lovers.
Peppermint Mocha — Add ½ teaspoon of peppermint extract to the base and top with crushed candy canes. Great for the holidays.
Caramel Mocha — Swap the chocolate syrup for caramel syrup, or add a drizzle of caramel on top. This is my husband’s favorite variation.
Serving & Storage
How to Serve: I usually serve this straight from the blender into tall glasses. It looks rustic and stays cold. Pair it with our fluffy egg and cheese breakfast sandwich or some bakery style blueberry muffins for a complete brunch.
Side Dishes: This drink pairs well with savory brunch items. The sweetness balances out salty bacon, sausage, or eggs. It’s also great with sweet pastries like croissants or pancakes.
Storage: This drink is best made fresh. The ice will melt if you store it, and the texture will change. If you need to prep ahead, you can blend the coffee, milk, cream, and syrup (without ice) and store it in the fridge for up to 24 hours. When ready to serve, blend with ice.
Freezing: Do not freeze the finished drink. It will separate and become grainy. You can freeze the coffee concentrate in ice cube trays for easy blending later.
Nutrition Information
I’m not a nutritionist, but here’s the breakdown if you’re tracking. This is a treat, so enjoy it mindfully.
Per Serving (based on 2 servings):
- Calories: 380
- Protein: 6g
- Carbs: 42g
- Fiber: 2g
- Sugar: 38g
- Fat: 20g
- Saturated Fat: 12g
Look, this is a dessert drink. It’s got cream, sugar, and chocolate. It’s not a health food. But it’s better than buying a similar drink for $8, and you control the ingredients. If you want to lighten it up, use skim milk and reduce the sugar. But usually? I just enjoy it as a special weekend treat.
Final Thoughts
So that’s my go-to frozen mocha coffee blend! I’ve probably talked your ear off at this point, but when you find a recipe that works this well, you have a lot to say about it. This drink has saved my weekend mornings. It’s my answer to “what should we drink for brunch?” when I want something fancy but don’t want to spend an hour making it.
Make it yours! Try different chocolates, adjust the coffee strength, or experiment with different toppings. The best recipes are the ones you adapt to your family’s tastes. If you make this, drop a comment and let me know what you think! I love hearing how recipes turn out in your kitchen.
Happy brewing! And I hope your kitchen smells half as good as mine does right now.
Frequently Asked Questions
Can I use instant coffee instead of brewed coffee?
You can, but it’s not ideal. Instant coffee can taste bitter and metallic in cold drinks. If you must use it, dissolve 2-3 tablespoons of instant coffee in a little hot water, then let it cool completely before blending. Freshly brewed or cold brew is always better.
Why is my frozen mocha too watery?
This usually happens if the ice melts too fast or if there’s too much liquid. Make sure your coffee is cold before blending. Also, check your blender speed. If it’s not crushing the ice finely, the drink will be watery. Try blending in shorter bursts and letting the blender rest if it’s struggling.
Can I make this ahead of time?
You can prep the liquid base (coffee, milk, cream, syrup) and store it in the fridge for up to 24 hours. When ready to serve, add ice and blend. Do not pre-blend with ice, as it will melt and become watery.
How do I make the whipped chocolate cream thicker?
Make sure your heavy cream is very cold, and chill your bowl and beaters before whipping. Also, don’t add too much liquid. If you need more stability, add a little more powdered sugar or a tiny bit of cornstarch (½ teaspoon).
Can I use almond milk or oat milk?
Yes, but the texture will be slightly less creamy. Oat milk is the closest to dairy in terms of creaminess. Coconut milk works well too but will add a coconut flavor. If using plant-based milk, you might want to add a little more heavy cream or a spoon of Greek yogurt for richness.
Is this drink too sweet?
It’s moderately sweet, but you can adjust it. If you find it too sweet, reduce the chocolate syrup to 2 tablespoons and omit the added sugar. Use dark chocolate syrup or unsweetened cocoa powder to balance the sweetness.
Can I use espresso shots?
Absolutely! Espresso shots are actually the best choice for this drink. They provide a strong, concentrated coffee flavor that stands up to the ice and chocolate. Just let them cool for 5 minutes before blending.
Pin This Recipe!
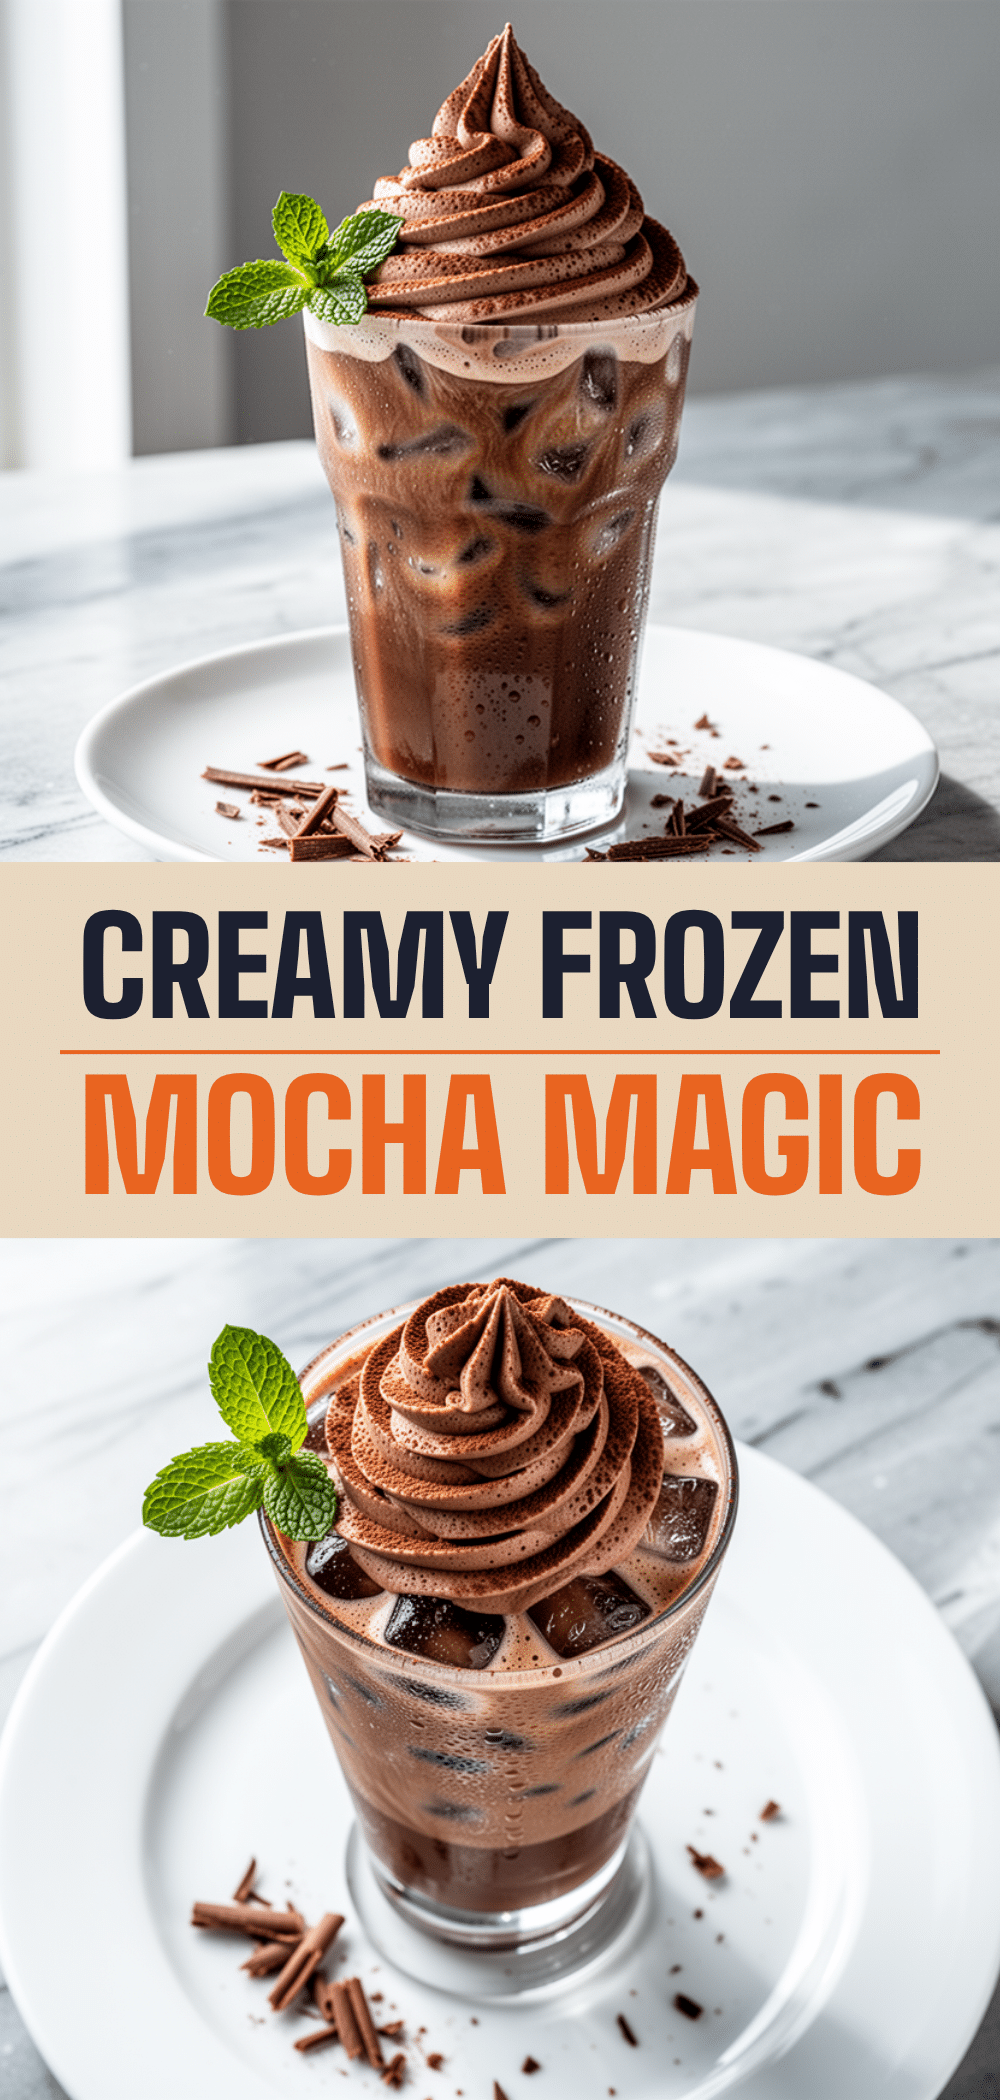
Frozen Mocha Coffee Blend: 5-Step Easy Brunch Recipe
- Total Time: 5 minutes
- Yield: 2 servings 1x
Description
A thick, creamy, and slushy frozen mocha coffee blend that tastes like a chocolate milkshake infused with high-quality espresso. This dessert-in-a-glass drink is perfect for brunch and comes together in under five minutes.
Ingredients
- 2 cups (480ml) strong brewed coffee, cooled
- 1/2 cup (120ml) heavy cream
- 1/2 cup (120ml) whole milk
- 3 tablespoons (45ml) chocolate syrup
- 1 teaspoon vanilla extract
- 1–2 tablespoons sugar (optional)
- 1.5 cups (150g) ice
- 1/2 cup (120ml) heavy whipping cream (for topping)
- 1 tablespoon (5g) unsweetened cocoa powder (for topping)
- 1 tablespoon (8g) powdered sugar (for topping)
- 1/2 teaspoon vanilla extract (for topping)
- Chocolate shavings (for garnish)
Instructions
- Brew strong coffee and let it cool completely to room temperature or chill in the fridge.
- In a blender, combine the cold coffee, heavy cream, whole milk, chocolate syrup, vanilla extract, and sugar. Pulse to mix liquids.
- Add the ice to the blender. Cover and blend on low speed, gradually increasing to high, for 30-45 seconds until smooth and slushy.
- In a separate bowl, combine the cold heavy whipping cream, cocoa powder, powdered sugar, and vanilla extract.
- Beat the cream mixture with an electric mixer or hand whisk until soft peaks form.
- Pour the frozen mocha into tall glasses, leaving about an inch of space at the top.
- Spoon a generous dollop of the whipped chocolate cream on top of each drink.
- Garnish with chocolate shavings or a drizzle of extra chocolate syrup.
- Serve immediately with a thick straw.
Notes
Keep all ingredients cold for the thickest texture. Do not freeze the finished drink as it will separate. You can prep the liquid base (without ice) up to 24 hours in advance. For a vegan version, substitute dairy with oat or coconut milk and use vegan chocolate syrup.
- Prep Time: 5 minutes
- Cook Time: 0 minutes
- Category: Beverage
- Cuisine: American
Nutrition
- Serving Size: 1 glass
- Calories: 380
- Sugar: 38
- Fat: 20
- Saturated Fat: 12
- Carbohydrates: 42
- Fiber: 2
- Protein: 6
Keywords: frozen mocha, iced coffee, brunch recipe, coffee blend, mocha drink, homemade iced coffee, chocolate coffee


