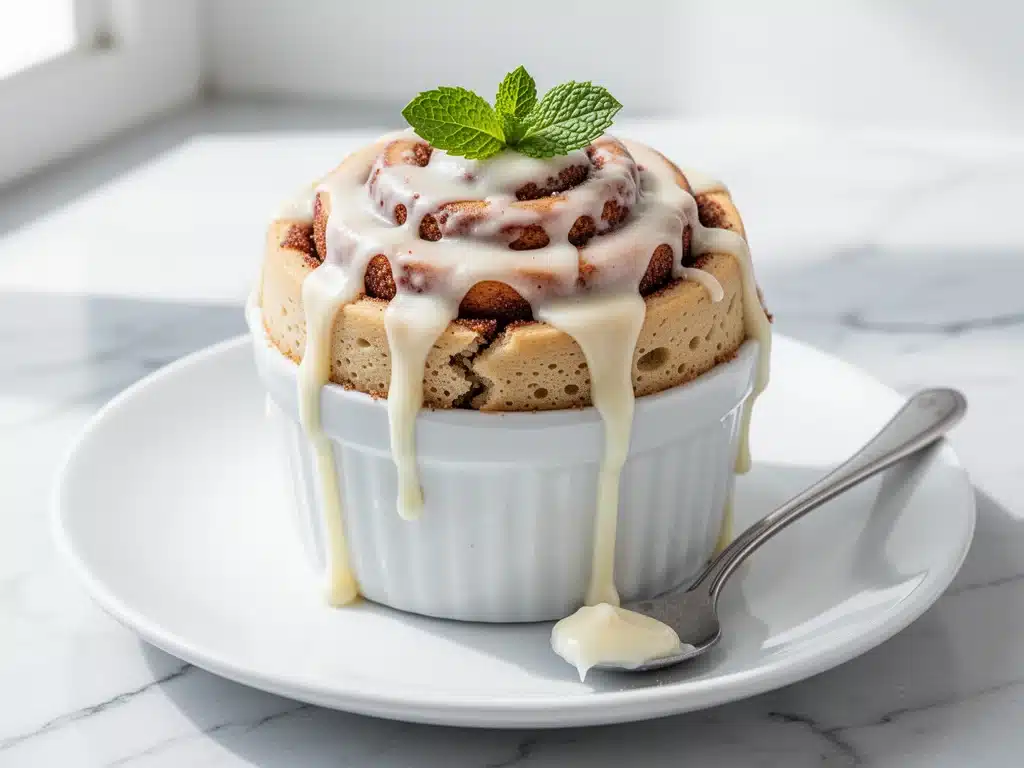
It was 10:45 PM on a Tuesday. The house was finally quiet, the dishes were done, and I was lying in bed trying to fall asleep. But my brain wasn’t ready to shut off. It was stuck on one thing: cinnamon rolls. Not just any cinnamon rolls, but those soft, gooey, cinnamon-sugar clouds I used to get at the bakery on my way to work before I got serious about my health. I wanted them so badly it actually hurt. But I also knew that eating a whole bakery roll would derail my keto progress for the next three days. The guilt was already setting in.
Instead of giving in to the vending machine or waking up my family to order delivery, I stumbled into the kitchen. I had zero energy to bake. I didn’t want to preheat the oven, clean a mixing bowl, or wait an hour for dough to rise. I just wanted sugar. I wanted warm, sweet comfort, but I needed it to fit my low-carb lifestyle. That night, I threw together a few ingredients in a mug, microwaved it for ninety seconds, and ate it straight from the mug while standing over the sink. It was messy. It was warm. It was perfect.
That was the birth of my keto cinnamon roll mug cake. I’ve made this recipe probably fifty times since that sleepless night. Sometimes I eat it as a late-night snack. Sometimes I make it for breakfast when I need something sweet but filling. Sometimes I make two mugs and share it with my husband because he’s not doing keto but he loves the taste just as much. This keto cinnamon roll mug cake has saved me from countless midnight binges. It’s the ultimate cheat code for when you want dessert but don’t have the time, energy, or carbs to handle a full batch of baked goods.
If you’ve ever stood in your kitchen at night, staring into the fridge, wondering if you can have one sweet thing without ruining your diet, you need this recipe. It’s fast, it’s delicious, and it tastes like you actually put in effort. Here’s exactly how to make it, along with all the secrets I’ve learned to make it taste less like “diet food” and more like a genuine treat.
Why You’ll Love This Keto Cinnamon Roll Mug Cake
Look, I get it. Keto desserts have a reputation. For a long time, they tasted like cardboard with a hint of sweetener. I’ve tried so many low-carb baked goods that left me feeling disappointed and deprived. But this mug cake is different. It’s not just “good for keto.” It’s just good. Here’s why this has become a staple in my kitchen rotation:
Lightning Fast — Seriously, if you can measure flour and stir, you can make this. From start to finish, it takes five minutes. I know, right? Five minutes. That’s faster than waiting for a delivery driver. I make this on nights when I’m exhausted and just want to be done with dinner.
Zero Guilt — This is the main selling point. One mug cake has about 2-3 net carbs. That’s it. You can eat the whole thing and still be in ketosis. I’ve made this after heavy dinners when I’m trying to stay in a calorie deficit, and it keeps me satisfied without the sugar crash that follows regular dessert.
One Dish Cleanup — This is huge for me. I hate doing dishes, especially at night. Since everything mixes and cooks in the same mug, cleanup is literally just rinsing out the mug. No bowls, no spoons, no measuring cups cluttering the counter. It’s the most efficient dessert recipe I own.
Customizable — Once you master the base, you can change it up. Add chocolate chips? Go for it. Add nuts? Sure. Swap the cream cheese glaze for a simple powdered sweetener dusting? Easy. It’s your canvas. I like to keep it simple, but I know some people love their mug cakes loaded with add-ins.
Perfect Portion Control — When you’re trying to manage your weight or your macros, portion control is key. A whole cake invites you to eat half of it. A mug cake is one serving. You eat it, you’re done, and you don’t have to stare at a leftover slice for three days, tempting yourself to eat more. It’s psychologically helpful for me.
This is my go-to when I need a sweet fix that doesn’t feel like a punishment. It’s warm, it’s comforting, and it respects your dietary goals. No complicated techniques, no weird ingredients you can’t pronounce, just reliable, delicious food that makes you feel good.
Ingredients You’ll Need
Here’s the best part: you probably have most of these ingredients already. If you’re doing keto, you likely have almond flour and erythritol or monk fruit sweetener in your pantry. If not, these are cheap and easy to find. I’m particular about three things here, and I’ll tell you exactly why.
Almond Flour (3 tablespoons / 15g) — This is your base. Use finely ground almond flour. If you buy whole almonds and grind them yourself, make sure it’s fine. Chunky flour makes the cake gritty. I prefer blanched almond flour for a lighter color and milder taste. It’s pricier than regular almond meal, but the texture difference is worth it.
Swerve or Monk Fruit Sweetener (2 tablespoons / 15g) — I use granulated erythritol-based sweeteners like Swerve or Lakanto. They measure like sugar. Avoid powdered sweeteners unless you adjust the liquid, as they contain fillers that change the texture. I’ve tried stevia drops, but the aftertaste is too strong for a cinnamon roll flavor. Stick to granulated for the best result.
Psyllium Husk Powder (1 teaspoon / 2g) — This is the secret weapon. Psyllium husk gives the cake structure and that chewy, bread-like texture that almond flour alone can’t provide. You need the *powder*, not the whole husks. Whole husks will make it gummy and unpleasant. If you can’t find psyllium powder, you can skip it, but the texture will be more like a dense muffin than a fluffy roll. I never skip it.
Baking Powder (½ teaspoon) — Just a little bit to help it rise. Don’t overdo it, or it’ll taste metallic. Standard aluminum-free baking powder works fine.
Salt (¼ teaspoon) — Essential for balancing the sweetness. Don’t skip this. It makes the cinnamon flavor pop.
Butter or Coconut Oil (1 tablespoon / 14g) — Melted butter gives the best flavor, but if you’re dairy-free, refined coconut oil works well. It adds moisture and richness. I usually just melt a cube of butter in the mug before mixing.
Almond Milk (2-3 tablespoons / 30-45ml) — Unsweetened almond milk is best. You need just enough to make a batter. It shouldn’t be runny like milk; it should be thick like pancake batter. Adjust based on your flour’s absorption.
Cinnamon (1 teaspoon) — Use good quality cinnamon. Ceylon cinnamon is milder and sweeter, but Cassia is stronger and more “cinnamon roll” tasting. I use Cassia for that authentic bakery smell.
For the Glaze:
Cream Cheese (1 tablespoon / 15g) — Full-fat, softened. This is what makes it a “cinnamon roll” and not just a cinnamon cake. It adds that tangy richness.
Heavy Cream or Almond Milk (1 teaspoon) — Just enough to thin the cream cheese into a drizzle.
Optional Add-ins:
Sugar-Free Chocolate Chips — A handful of these turns it into a cinnamon roll with chocolate chunks. Delicious.
Walnuts or Pecans — Chopped nuts add crunch and authenticity. I love the texture contrast.
Vanilla Extract — A drop or two in the batter adds depth. It’s subtle, but my husband always says it tastes “more homemade” when it’s there.
Equipment Needed
You don’t need fancy equipment for this. Here’s what I actually use. If you don’t have these exact items, you can substitute.
Microwave-Safe Mug — I use a standard 12-ounce ceramic mug. Avoid small espresso mugs; the batter will overflow. Avoid metal mugs or mugs with gold trim—those will spark in the microwave. I have a specific mug I use for this so I don’t have to think about it.
Small Fork or Spoon — For mixing. A fork works better for breaking up the cream cheese clumps. A spoon is fine for stirring the batter.
Measuring Spoons — Precision matters here. Too much psyllium husk will make it rubbery. Too little, and it falls apart. I use a standard set of measuring spoons.
Microwave — Standard microwave. Power levels vary, so you might need to adjust the time. I have a 1000-watt microwave, so my times are based on that.
Small Bowl (Optional) — If you’re mixing the glaze in a separate tiny bowl, you’ll need one. But honestly, you can mix the glaze right in the mug if you’re lazy. I usually just mix it in the mug to save a dish.
Knife — For cutting the cinnamon swirl if you want to make layers. Not strictly necessary, but it helps with the visual appeal.
Paper Towel — I always put a paper towel under the mug in the microwave. Just in case it bubbles over, it saves your microwave from a sticky mess. I learned this the hard way after a psyllium husk explosion.
How to Make It: Step-by-Step
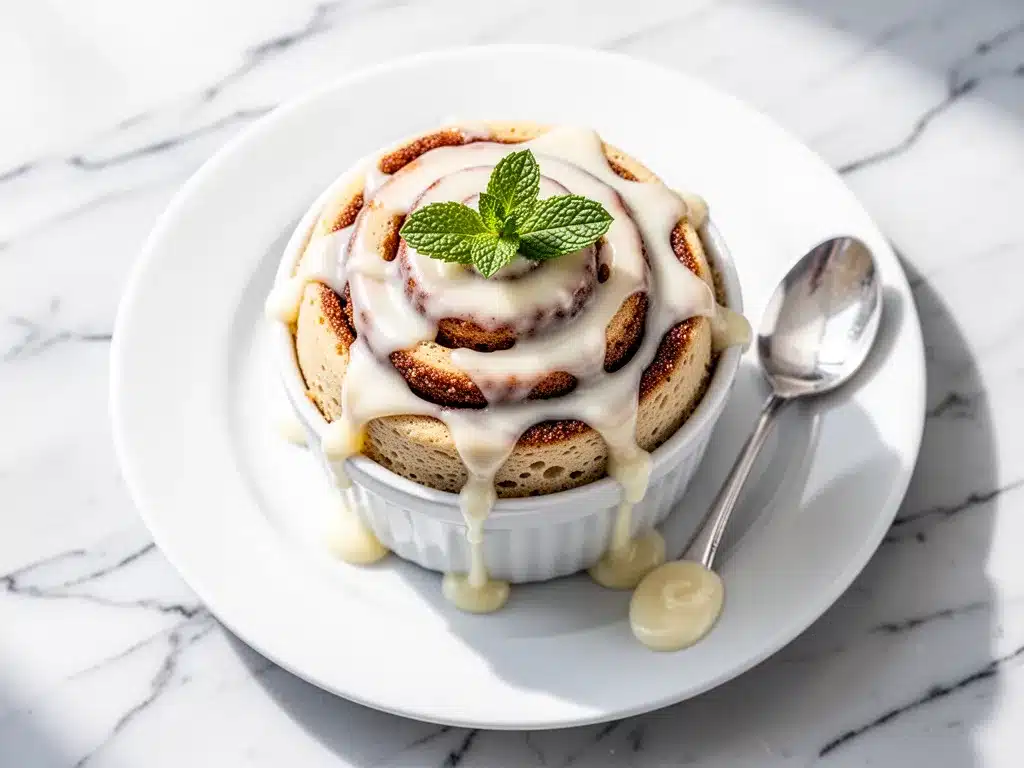
Alright, let’s make this! I’m walking you through exactly how I do it, including the little tricks I’ve picked up to ensure it’s fluffy and not dense.
Step 1: Prep Your Mug and Butter (1 minute)
Take your microwave-safe mug and add the tablespoon of butter. If your microwave is powerful, you can microwave the empty mug for 10 seconds to melt the butter, then swirl it around to coat the bottom and sides. This prevents sticking and adds flavor. If you’re using coconut oil, just add it in solid form and it’ll melt during cooking. I prefer butter for the taste.
Step 2: Mix the Dry Ingredients (1 minute)
Add the almond flour, sweetener, psyllium husk powder, baking powder, salt, and cinnamon to the mug. Use your fork to mix them thoroughly. You want to make sure the psyllium husk is evenly distributed. If you don’t mix it well, you’ll get pockets of bitter, chewy psyllium in your cake. Whisk it until it looks like uniform sand.
Step 3: Add Wet Ingredients and Stir (1 minute)
Pour in the almond milk and any optional add-ins like vanilla or chocolate chips. Stir vigorously. The batter will thicken quickly as the psyllium husk absorbs the liquid. It should look like thick pancake batter or dough. If it’s too dry and crumbly, add another teaspoon of milk. If it’s too runny, add a teaspoon more almond flour. You want a sticky, cohesive dough that holds together.
Step 4: Create the Swirl (1 minute)
This is the fun part. In a small bowl (or directly on top of the batter in the mug), mix the softened cream cheese with the teaspoon of heavy cream or almond milk until smooth. Spoon this cream cheese mixture on top of the batter. Take a knife and gently swirl it into the batter. Don’t overmix! You want distinct ribbons of cream cheese, not a uniform beige color. I make three or four gentle swirls and then lift the knife slightly to create a marbled effect.
Step 5: Microwave (60-90 seconds)
Microwave on high for 60 seconds. Check the center. It should be set, not jiggly. If it’s still wet in the middle, microwave for another 15-30 seconds. Do not overcook! Almond flour dries out quickly. If you microwave it for 2 minutes, you’ll get a rubbery disk. I usually do 75 seconds. The top should look slightly dry but moist underneath.
Step 6: Cool and Serve (2 minutes)
Let it sit for 2 minutes. It will continue to cook slightly from residual heat and will firm up as it cools. This is crucial for the texture. Eat it warm. It’s best served immediately, right out of the mug. I like to sprinkle a little extra cinnamon on top for that fresh-baked smell.
Expert Tips & Tricks
Here’s everything I’ve learned from making this dozens of times. These tips will save you from my mistakes.
Watch the Psyllium Husk
This is the most common mistake. Psyllium husk is a sponge. If you use too much, the cake becomes chewy and gummy. If you use too little, it collapses. One teaspoon is the sweet spot for a 3-tablespoon flour base. Measure carefully. And make sure it’s powder, not whole husks.
Don’t Overmix the Batter
Once you add the liquid, mix just until combined. Overmixing develops the fibers in the psyllium too much, making the texture tough. Gentle folds are better than vigorous stirring.
Adjust for Your Microwave
Not all microwaves are created equal. If you have a high-powered microwave (1000+ watts), start with 60 seconds. If you have a lower-powered one, you might need 90 seconds. Always check at 60 seconds. The cake should look set on the edges and slightly soft in the center.
Use Softened Cream Cheese
If your cream cheese is cold and hard, it won’t swirl nicely. It will just sit on top in chunks. Let it sit on the counter for 10-15 minutes before making the cake. Or microwave it for 5 seconds to soften it up.
Let It Cool
I know it’s tempting to eat it right away, but letting it cool for 2 minutes makes a huge difference. The structure sets, and the flavors meld. It’s much easier to eat and less likely to fall apart.
Common Mistakes (and how to avoid them):
Mistake: Cake is dry and crumbly
Fix: You didn’t add enough liquid, or you overcooked it. Next time, add an extra teaspoon of milk and reduce cooking time by 15 seconds.
Mistake: Cake is rubbery
Fix: Too much psyllium husk. Reduce to ½ teaspoon next time, or ensure you’re using powder, not whole husks.
Mistake: Glaze didn’t swirl
Fix: Cream cheese was too cold or too thick. Thin it with a little more milk or cream before swirling.
Variations & Substitutions
Once you’ve nailed the basic version, here’s how you can mix it up. I’ve tried all of these.
Chocolate Cinnamon Roll
Add 1 tablespoon of unsweetened cocoa powder to the dry ingredients. Add a handful of sugar-free chocolate chips. It tastes like a chocolate cinnamon roll. My kids love this version.
Apple Cinnamon
Replace the cinnamon with apple pie spice. Add 1 tablespoon of finely diced apple (skin on) to the batter. It’s like a cinnamon roll meets an apple cake. Delicious.
Pumpkin Spice
Replace the cinnamon with pumpkin pie spice. Add 1 tablespoon of pumpkin puree (not pie filling) and reduce the almond milk by 1 tablespoon. Great for fall.
Maple Bacon
Add a drop of maple extract to the batter. Top with crumbled cooked bacon after microwaving. It’s sweet and salty. Sounds weird, but it’s amazing.
Dairy-Free Version
Use coconut oil instead of butter. Use almond milk instead of dairy milk. Use a dairy-free cream cheese alternative for the glaze. It works surprisingly well.
High-Protein Boost
Add a scoop of unflavored or vanilla whey protein isolate. You’ll need to add an extra tablespoon of liquid. It makes the cake denser but adds a nice protein punch. I do this after workouts.
Serving & Storage
How to Serve:
I usually serve this straight from the mug. It’s rustic and comforting. But here are other ways I’ve enjoyed it:
- With Whipped Cream: A dollop of sugar-free whipped cream on top is heavenly.
- With Coffee: Pairs perfectly with my homemade vanilla sweet cream cold foam iced coffee. The coffee cuts through the sweetness.
- As a Breakfast Treat: I make this on weekends for a lazy breakfast. It’s sweet, filling, and ready in minutes.
Storage Instructions:
Refrigerator: This is best eaten fresh. If you must store it, keep it in an airtight container in the fridge for up to 2 days. Reheat in the microwave for 20-30 seconds before eating. It will be less fluffy than fresh.
Freezing: I don’t recommend freezing mug cakes. The texture changes too much, and the psyllium husk can become weirdly chewy when thawed. It’s just not worth it. Make it fresh.
Pro Tip: If you’re meal prepping, you can mix the dry ingredients in a jar ahead of time. Just shake it up when you’re ready to cook. Add wet ingredients and microwave. Saves even more time.
Nutrition Information
I’m not a nutritionist, but here’s the breakdown if you’re tracking. Note that nutrition can vary based on the specific brands of almond flour and sweetener you use.
Per Serving (1 mug cake):
- Calories: 280
- Protein: 12g
- Total Carbs: 8g
- Fiber: 4g
- Sugar: 1g (from almond flour)
- Sugar Alcohols: 3g
- Net Carbs: 1g
- Fat: 24g
What’s Good:
- Very low net carbs
- Good amount of healthy fats from almond flour
- Decent protein
- High fiber from psyllium husk
What to Know:
- Calories are moderate due to almond flour and cream cheese
- Contains nuts
- High in fat, which is typical for keto
My Take:
Look, this is a treat. It’s not a salad. But it’s a very controlled, low-carb treat. The macros are solid, and it satisfies the sweet tooth without spiking your blood sugar. I consider it a balanced dessert option within a keto diet.
Final Thoughts
So that’s my go-to keto cinnamon roll mug cake! I’ve probably talked your ear off at this point, but when you make a recipe this often, you have a lot to say about it. This has saved me from countless midnight binges and guilt-filled snack attacks. It’s my answer to “I want something sweet” when I’m tired, don’t want to bake, and still want to stick to my goals.
Make it yours! Try different add-ins, swap in your favorite sweetener, adjust the cinnamon. The best recipes are the ones you adapt to your tastes. And if you’re looking for other quick keto treats, check out these no-bake peanut butter energy balls for a protein-packed snack, or these fudgy sea salt caramel brownies if you’re in the mood for chocolate.
If you make this, drop a comment and let me know what you think! I love hearing how recipes turn out in your kitchen. And if something doesn’t work, tell me that too—I’m here to help troubleshoot. Happy cooking! And I hope your kitchen smells half as good as mine does right now.
Frequently Asked Questions
Can I use coconut flour instead of almond flour?
Not directly. Coconut flour is much more absorbent. If you want to substitute, you’ll need to use about 1/3 the amount of coconut flour (1 tablespoon instead of 3) and add more liquid (maybe 4-5 tablespoons of milk). The texture will be different—more cake-like and less chewy. I haven’t tested this ratio extensively, so start with small adjustments.
Why did my mug cake turn out rubbery?
This almost always happens because of too much psyllium husk or using whole husks instead of powder. Psyllium husk forms a gel when wet. If you use too much, it becomes gummy. Make sure you’re using 1 teaspoon of psyllium *powder*, not whole husks. Also, don’t overcook it.
Can I make this in the oven?
Yes, but you’ll need to adjust the time. Pour the batter into a small ramekin and bake at 350°F (175°C) for 15-20 minutes. It will be more like a small cake than a mug cake. The microwave version is faster and has a different texture, but the oven version works if you don’t have a microwave.
Is this recipe gluten-free?
Yes! Almond flour and psyllium husk are naturally gluten-free. Just make sure your baking powder and sweetener are certified gluten-free, as some brands process them in facilities with gluten. This is a great gluten-free dessert option.
Can I double this recipe?
You can, but you’ll need a larger mug (at least 16 ounces) to prevent overflow. Double the cooking time by about 15-20 seconds. I usually just make two separate mugs because it’s easier to control the cooking time for each.
What if I don’t have psyllium husk powder?
You can try using xanthan gum (1/4 teaspoon) instead, but the texture won’t be quite the same. It will be more like a standard almond flour muffin. Psyllium is the key to that bread-like chewiness, so I highly recommend getting it if you plan to make this often. It’s cheap and lasts a long time.
Does this taste like real cinnamon rolls?
It’s the closest you’ll get in 5 minutes! It’s not exactly like a yeast-raised cinnamon roll, but it captures the flavor profile beautifully. The cream cheese glaze is what makes it taste authentic. If you’ve tried fluffy cinnamon roll pancakes, you’ll recognize that same tangy-sweet vibe here.
Pin This Recipe!
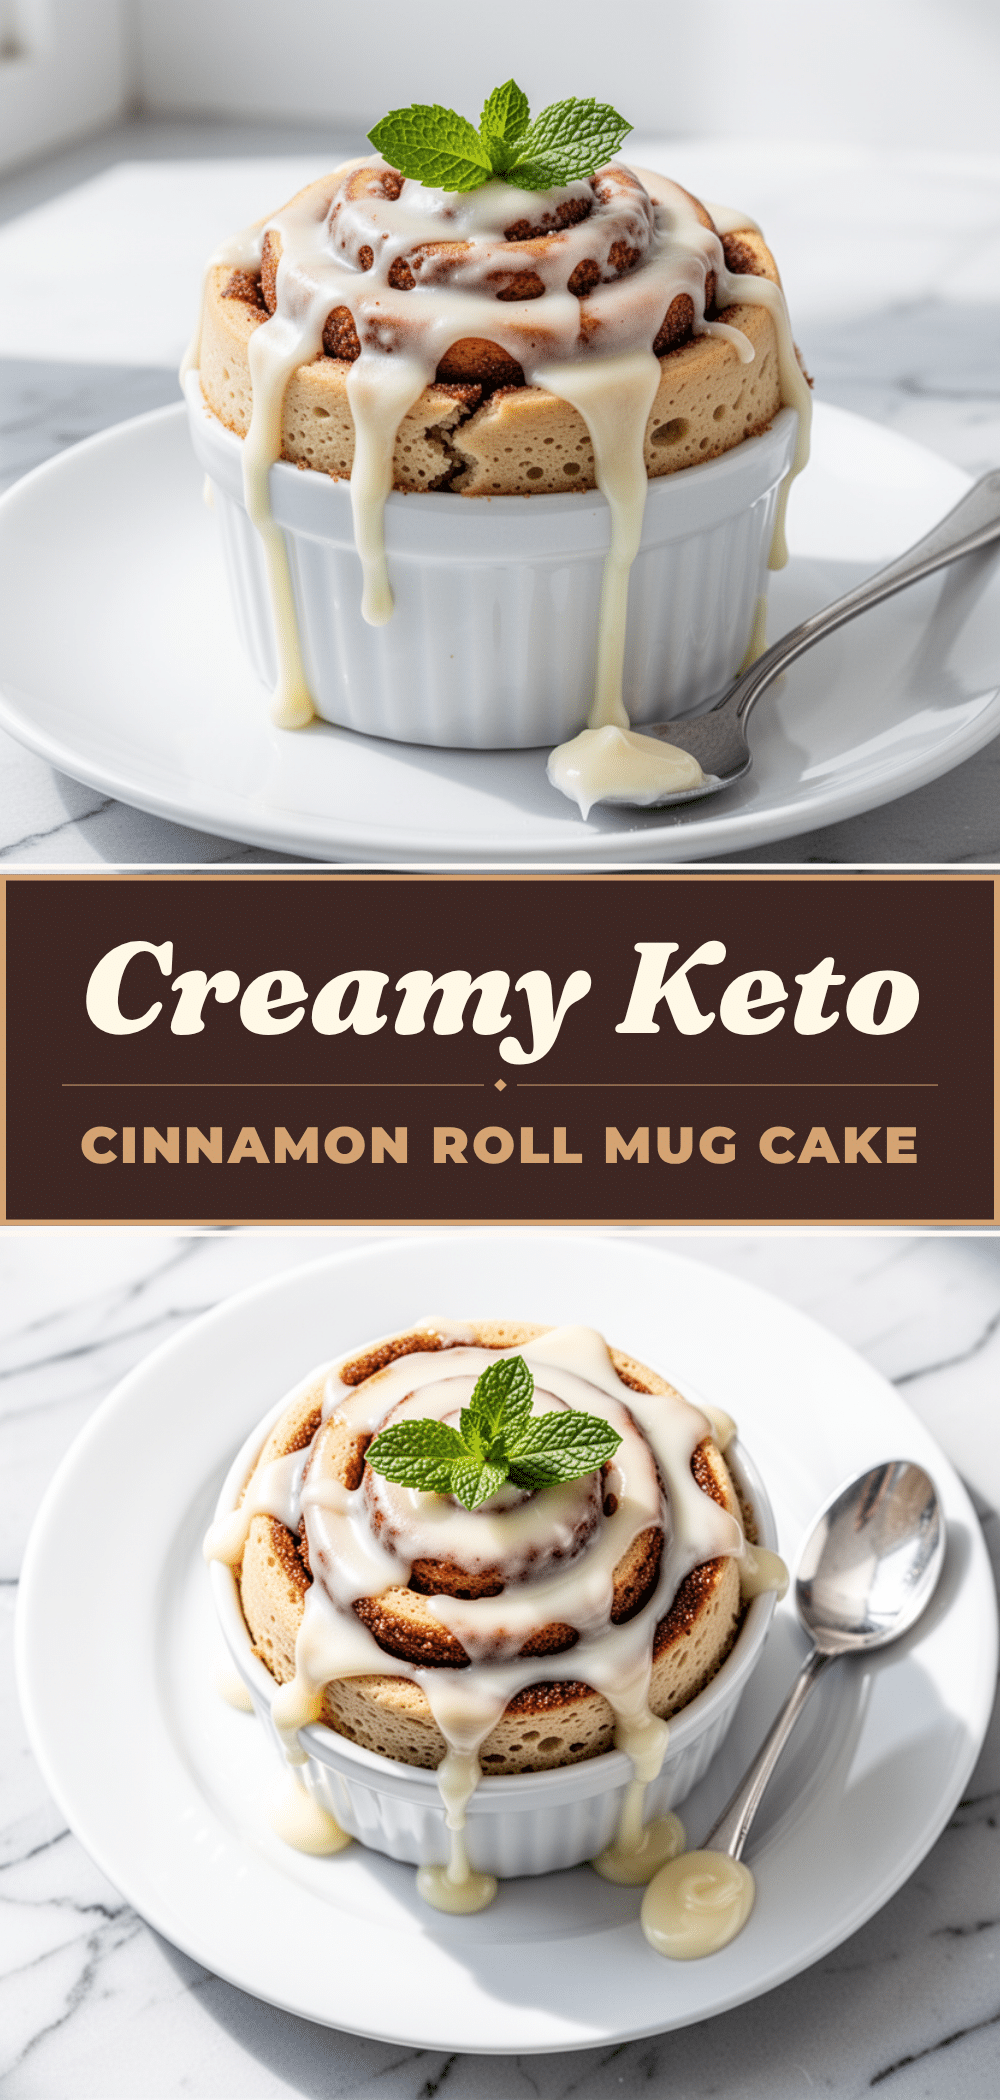

Keto Cinnamon Roll Mug Cake: 5-Min Easy Low Carb Recipe
- Total Time: 5 minutes
- Yield: 1 serving 1x
Description
A fast, low-carb cinnamon roll mug cake that is ready in just 5 minutes. This keto-friendly dessert uses almond flour and psyllium husk for a chewy, bread-like texture with a creamy cream cheese swirl, perfect for late-night cravings without the guilt.
Ingredients
- 3 tablespoons (15g) finely ground blanched almond flour
- 2 tablespoons (15g) granulated erythritol-based sweetener (e.g., Swerve or Lakanto)
- 1 teaspoon (2g) psyllium husk powder
- 1/2 teaspoon aluminum-free baking powder
- 1/4 teaspoon salt
- 1 tablespoon (14g) melted butter or refined coconut oil
- 2–3 tablespoons (30-45ml) unsweetened almond milk
- 1 teaspoon Cassia cinnamon
- 1 tablespoon (15g) full-fat softened cream cheese
- 1 teaspoon heavy cream or almond milk (for glaze)
- Optional: Sugar-free chocolate chips, chopped walnuts or pecans, vanilla extract
Instructions
- Add the tablespoon of butter to a microwave-safe mug and melt it (either in the microwave for 10 seconds or by swirling it in). Swirl to coat the bottom and sides.
- Add the almond flour, sweetener, psyllium husk powder, baking powder, salt, and cinnamon to the mug. Mix thoroughly with a fork until the mixture resembles uniform sand.
- Pour in the almond milk and any optional add-ins (like vanilla or chocolate chips). Stir vigorously until the batter thickens to the consistency of thick pancake batter. Adjust liquid or flour if needed.
- In a small bowl or directly on top of the batter, mix the softened cream cheese with the teaspoon of heavy cream or almond milk until smooth.
- Spoon the cream cheese mixture on top of the batter. Use a knife to gently swirl it into the batter to create ribbons; do not overmix.
- Microwave on high for 60 seconds. Check the center; if it is still jiggly, microwave for another 15-30 seconds. Do not overcook.
- Let the mug cake sit for 2 minutes to cool and firm up. Sprinkle with extra cinnamon if desired and serve warm.
Notes
Ensure psyllium husk is in powder form, not whole husks, to avoid a gummy texture. Do not overmix the batter after adding liquid to prevent toughness. Let the cake cool for 2 minutes to allow the structure to set. If using a high-powered microwave (1000+ watts), start with 60 seconds. This recipe is best eaten fresh; freezing is not recommended as the texture may become chewy.
- Prep Time: 4 minutes
- Cook Time: 1-2 minutes
- Category: Dessert
- Cuisine: American
Nutrition
- Serving Size: 1 mug cake
- Calories: 280
- Sugar: 1
- Sodium: 150
- Fat: 24
- Saturated Fat: 10
- Carbohydrates: 8
- Fiber: 4
- Protein: 12
Keywords: keto, low carb, cinnamon roll, mug cake, quick dessert, gluten-free, dairy-free option, psyllium husk, almond flour


