I have a confession to make. About six months ago, I declared I was done with desserts. Not “dieting” done—just done. Done with the sugar crashes, done with the bloating after a slice of cake, and definitely done with spending $8 at the bakery for a tiny square of something that tasted like cardboard. I thought I had successfully retrained my palate to enjoy black coffee and plain yogurt. Life was good. Simple. Boring, but healthy.
Then my husband came home with a bag of almond flour and a jar of natural peanut butter. He looked at me with those puppy-dog eyes and said, “I just want one sweet thing.” Just one. So I threw together what I thought would be a sad, protein-heavy substitute for a real dessert. I mixed cream cheese, sweetener, peanut butter, and melted chocolate. I didn’t even bother with a proper recipe. I just guessed.
I took a bite. And then another. Then I ate half the pan before my husband even got his fork out.
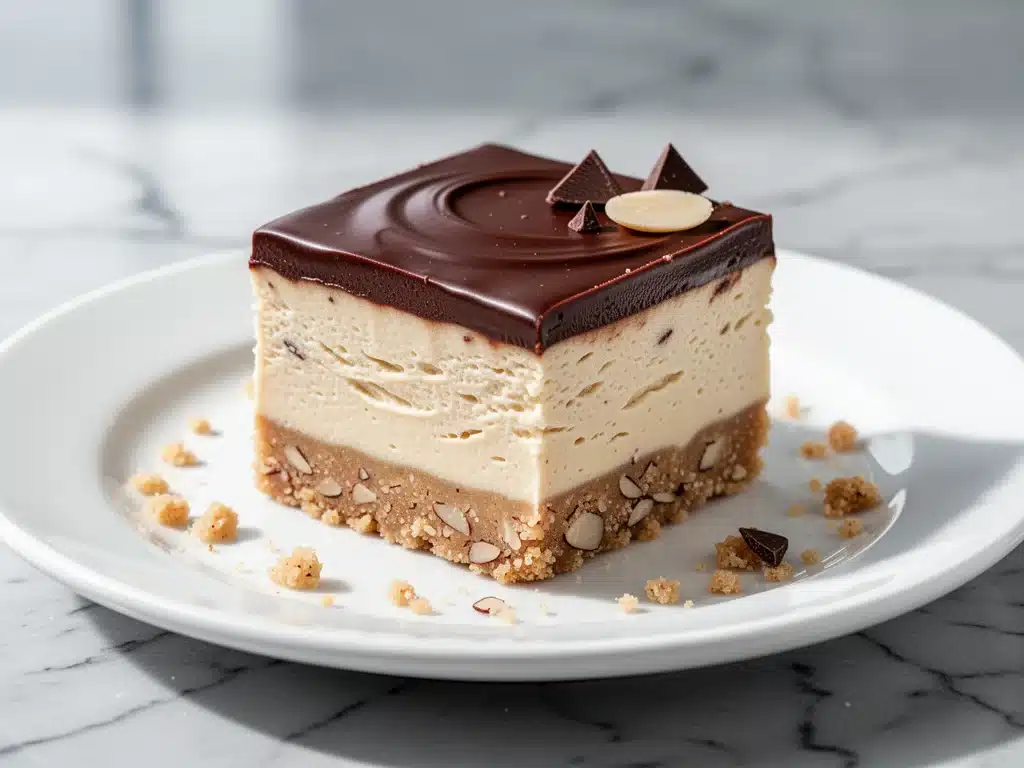
That was the night I discovered keto peanut butter chocolate cheesecake bars with almond crust. I’ve made them probably fifty times since then. Fifty. And every single time, they are better than anything you’ll find in a store. They are rich, fudgy, creamy, and crunchy all at once. The best part? They’re so simple that if you can use a blender and a microwave, you can make them. No fancy techniques. No tempering chocolate. No hours of standing over a water bath.
This isn’t just a “diet dessert.” It’s a legitimate, indulgent treat that satisfies the deepest chocolate cravings without spiking your blood sugar. It’s the reason I keep almond flour stocked at all times. It’s the reason I buy the expensive cream cheese instead of the tub version. And it’s definitely the reason my husband now asks me, “Are those the chocolate peanut butter bars?” before he even says hello.
If you’re on keto, low-carb, or just trying to cut back on sugar but you’re terrified of giving up sweets, you need to make these. Seriously. They are the ultimate comfort food hack.
Why You’ll Love This Recipe
There are a hundred reasons I keep coming back to these bars, but let’s be real—you don’t need a list of ten reasons. You need to know why this works when other keto desserts fail. Here’s the deal.
Actually Tastes Like Dessert
Most keto sweets taste like “healthy food that’s trying too hard.” They’re chalky, overly sweet, or have that weird aftertaste from sugar alcohols. These bars? They taste like a high-end dessert shop. The peanut butter is salty and nutty, the chocolate is rich and dark, and the cheesecake layer is impossibly creamy. It’s the full experience.
Only Four Core Ingredients
I’m not exaggerating. The base is almond flour and butter. The filling is cream cheese, sweetener, and peanut butter. The top is just chocolate and coconut oil. That’s it. If you can count to four, you can make this. It’s perfect for those nights when you want something sweet but don’t want to go to the store for a dozen ingredients.
No-Bake Convenience
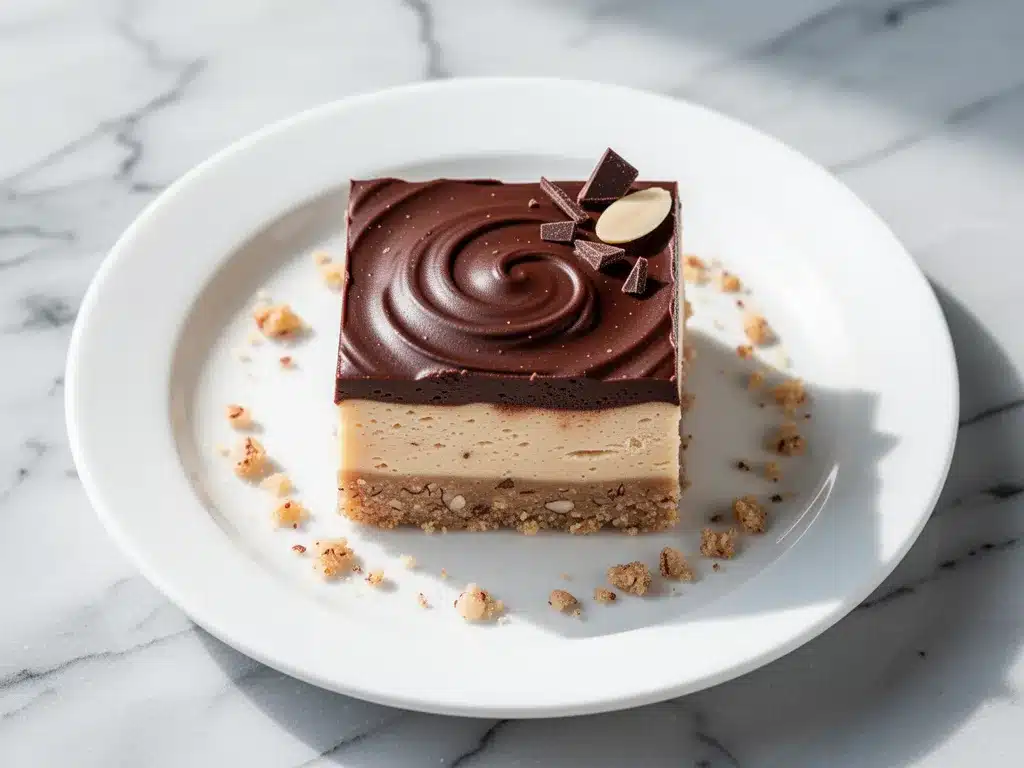
Remember those churro cheesecake bars that require baking, a water bath, and three hours of chilling? I love those too, but sometimes I just want dessert *now*. These bars are no-bake. You mix, you press, you chill, you eat. Total active time is about 15 minutes. The rest is just waiting for the fridge to do its job.
Perfectly Portioned
One of the hardest parts of keto is portion control with sweets. A whole cheesecake is tempting, but eating half of it in one sitting feels like a failure. These bars come out of the pan in neat, square bites. One bar is a perfect treat. Two bars is a “I’m having a really bad day” treat. You have total control.
Meal Prep Friendly
I make a batch every Sunday. I keep them in the fridge for the week. They actually get *better* after a day or two as the flavors meld together. They’re the perfect grab-and-go snack for when I’m heading to work or need something to tide me over between lunch and dinner. It’s like having no-bake energy balls but, you know, with chocolate and cream cheese.
Ingredients You’ll Need
Here’s the good news: you probably have most of this in your pantry or fridge already. This recipe relies on simple, high-quality ingredients because there’s nowhere to hide. If your peanut butter tastes like burnt plastic, the bars will too.
For the Almond Crust
Almond flour (1 cup / 100g) — This is non-negotiable. Do not use almond meal (which has skins on) unless you want a gritty texture. Look for fine, blanched almond flour. It creates that tender, cookie-like base. I prefer brands like Blue Diamond or Bob’s Red Mill.
Unsalted butter (3 tablespoons / 42g) — Melted. This binds the almond flour together. If you’re dairy-free, you can use coconut oil, but the flavor changes slightly. Butter gives it that rich, shortbread quality.
Granulated erythritol or monk fruit blend (2 tablespoons / 20g) — Since almond flour has a mild nutty sweetness, we add a little sweetener to the crust. I use a monk fruit/erythritol blend because it measures 1:1 like sugar and doesn’t have the cooling aftertaste. If you don’t want it sweet, skip it—the filling is sweet enough.
For the Cheesecake Layer
Full-fat cream cheese (8 ounces / 225g) — This needs to be softened to room temperature. Cold cream cheese creates lumps that are impossible to beat out. I take it out of the fridge 30 minutes before I start. Do not use the “light” version; it has too much water and starch, and your bars will be runny.
Natural peanut butter (½ cup / 125g) — Look for ingredients that say just “peanuts” (and maybe salt). No added sugar or hydrogenated oils. The oils might separate, which is fine—just stir them back in before measuring. This is the star flavor, so use the good stuff. I love MaraNatha or Justin’s.
Vanilla extract (1 teaspoon) — Pure vanilla, not imitation. It rounds out the peanut butter flavor and makes it taste more like a cheesecake.
For the Chocolate Ganache Topping
Dark chocolate chips (½ cup / 85g) — Use chips that are at least 70% cocoa. They melt smoothly and aren’t overly sweet. If you can’t find chips, chop up a bar of good quality dark chocolate. Avoid baking chocolate bars unless you adjust the fat content, as they can be too bitter.
Coconut oil (1 tablespoon / 14g) — This is the secret to a smooth, snap-able ganache. It keeps the chocolate soft enough to cut but firm enough to hold its shape in the fridge. If you’re in a hot climate, this is essential. If you’re in a cold climate, you can skip it, but the ganache will be harder.
Pinch of sea salt — A tiny pinch enhances the chocolate and peanut butter flavors. It’s the difference between “good” and “addictive.”
Equipment Needed
You don’t need a fancy kitchen for this. Here’s what you actually need to get the job done.
8×8 inch baking pan — This is the standard size for these bars. Line it with parchment paper, leaving an overhang on the sides. This is crucial for lifting the bars out later. Without it, you’re digging them out with a spoon, and that’s messy.
Blender or Food Processor — I know you can use a bowl and spoon, but a blender makes the crust perfectly uniform and the filling incredibly smooth. I use my Vitamix for this. If you don’t have one, a hand mixer works, but you’ll need to be diligent about scraping the sides.
Microwave-safe bowl — For melting the chocolate chips and coconut oil. I microwave in 20-second bursts, stirring in between. It prevents burning.
Spatula — A silicone spatula is best for scraping the bowl clean and spreading the ganache evenly.
Measuring cups and spoons — Precision matters less in baking than in bread, but with keto recipes where sweeteners can be potent, measuring is important.
How to Make It: Step-by-Step
Alright, let’s make these. It’s going to be quick, easy, and surprisingly satisfying to watch come together.
Step 1: Prep Your Pan
Line your 8×8 inch baking pan with parchment paper. Leave a few inches of overhang on the long sides—this acts as handles to lift the bars out later. Spray it lightly with cooking spray just to be safe. This step takes 2 minutes but saves you a lot of frustration later.
Step 2: Make the Almond Crust
In your blender or food processor, combine the almond flour, melted butter, and sweetener (if using). Pulse until the mixture looks like wet sand. It should clump together when you squeeze it in your hand. If it’s too dry, add another tablespoon of butter. If it’s too wet, add a sprinkle more almond flour.
Pour the mixture into your prepared pan. Use the bottom of a measuring cup or your fingers to press it down firmly and evenly. You want a tight, compact layer. If it’s loose, your bars will fall apart. Place the pan in the freezer for 5 minutes while you make the filling. This sets the crust.
Step 3: Make the Cheesecake Filling
In a large bowl (or back in your blender if you’re lazy about washing), combine the softened cream cheese, peanut butter, vanilla extract, and remaining sweetener. If you’re using a hand mixer, beat on medium-high for 2-3 minutes until completely smooth and creamy. If using a blender, pulse until smooth, but don’t over-blend or you’ll incorporate too much air, which can make the texture weird.
The mixture should be thick and glossy. If it looks too thick to spread, add a teaspoon of milk or cream to loosen it up.
Step 4: Assemble the Bars
Take the pan out of the freezer. Pour the cheesecake mixture over the cold crust. Use a spatula to spread it evenly. Try to get the edges all the way to the corners. Tap the pan gently on the counter a few times to release any air bubbles.
Return the pan to the freezer for 15-20 minutes. This is critical. You need the cheesecake layer to be firm to the touch before you add the chocolate. If you skip this, your chocolate will mix with the cream cheese, and you’ll get a muddy, swirly mess instead of distinct layers.
Step 5: Make the Chocolate Ganache
In a microwave-safe bowl, combine the dark chocolate chips and coconut oil. Microwave in 20-second intervals, stirring well between each. Stop when there are just a few unmelted chips left, then stir vigorously—the residual heat will melt the rest. It should be smooth, glossy, and pourable. If it’s too thick, microwave for another 10 seconds. If it’s too thin, let it sit for a minute to thicken.
Pour the chocolate over the chilled cheesecake layer. Use a spatula to spread it evenly. Don’t worry if it’s not perfect; the goal is coverage, not artistry.
Step 6: Chill and Serve
Place the pan in the refrigerator for at least 2 hours, or overnight. The longer it chills, the firmer the bars will be. Once set, lift the bars out of the pan using the parchment paper. Use a sharp knife to cut them into squares. I like 16 squares, but make them as big or small as you want.
Enjoy immediately, or store them in the fridge. They’re best eaten cold, straight from the fridge.
Expert Tips & Tricks
Here’s everything I’ve learned from making these dozens of times. These tips will save you from common pitfalls.
Room Temperature is Key
I cannot stress this enough: your cream cheese MUST be room temperature. If it’s cold, you’ll get lumps. If you forgot to take it out, cut it into small cubes and microwave it for 10-15 seconds. It doesn’t need to be liquid, just soft enough to press a finger into.
Don’t Skimp on the Chill Time
I know it’s tempting to eat them right away. But the chocolate layer needs time to set. If you cut them while the chocolate is still soft, they’ll smear. Patience pays off. A 2-hour chill is minimum; overnight is best.
Use a Sharp Knife
For clean cuts, use a sharp chef’s knife. Wipe the blade with a warm, damp cloth between cuts. This prevents the chocolate and cream cheese from sticking to the knife and ruining your neat squares.
Adjust Sweetness to Taste
Sweeteners vary wildly in potency. Monk fruit blends are often sweeter than erythritol. Taste your peanut butter and chocolate first. If they’re unsweetened, you might want to add an extra tablespoon of sweetener to the filling. If they’re already sweet, you might not need any.
Storage Matters
These bars are best stored in the fridge. They can go bad if left out for more than 2 hours. If you want to keep them longer, freeze them. They freeze beautifully for up to 3 months. Just thaw in the fridge overnight before eating.
Variations & Substitutions
Once you’ve mastered the base recipe, here’s how you can mix it up. I’ve tried all of these, and they all work.
Chocolate Peanut Butter Cup Style
After spreading the cheesecake layer, drizzle a little extra peanut butter on top in a zigzag pattern before adding the chocolate. It creates those classic peanut butter cup swirls.
Sea Salt Chocolate
After pouring the chocolate ganache, sprinkle flaky sea salt (like Maldon) over the top. The salt contrasts beautifully with the sweet chocolate and nutty peanut butter. It’s addictive.
Nut-Free Option
If you have nut allergies, you can swap the almond flour for oat flour (make sure it’s certified gluten-free) or sunflower seed flour. The texture will be slightly different, but the flavor profile still works. I’ve used sunflower seed flour, and it’s surprisingly good.
Protein Boost
Add a scoop of vanilla or chocolate protein powder to the cheesecake layer. Start with 2 tablespoons and add more if needed. This makes the bars more filling and great for post-workout snacking. Just note that protein powder can make the texture a bit denser.
Mini Cupcakes
You can make these in a muffin tin! Press the crust into the cups, fill with cheesecake mixture, and top with chocolate. Bake time isn’t needed, but chill time is the same. Makes 12-15 mini bars.
Serving & Storage
These bars are versatile. Here’s how I enjoy them.
How to Serve
I usually serve them straight from the fridge. They’re firm and satisfying. But if you want a warmer treat, let them sit at room temperature for 10 minutes before eating. The chocolate softens, and the flavors become more intense. They pair wonderfully with a hot cup of coffee or a glass of cold almond milk.
Side Dishes
Since these are rich and heavy, I don’t usually serve them with other desserts. But they go well with a light fruit salad or a cup of berries on the side. If you’re having a dinner party, serve them with frozen piña colada drinks for a tropical twist, or just stick to coffee.
Storage Instructions
Refrigerator: Store in an airtight container for up to 5 days. They taste best within the first 3 days. After that, they might start to dry out slightly.
Freezer: Stack the bars between sheets of parchment paper in an airtight container or freezer bag. They last up to 3 months. Thaw in the fridge overnight. Do not thaw at room temperature, or the chocolate will sweat and look white.
Reheating: I don’t recommend reheating these. The texture changes when heated, and they’re best cold. If you must, warm them in the microwave for 5 seconds max.
Nutrition Information
I’m not a nutritionist, but here’s the breakdown if you’re tracking macros. This is per bar (1 of 16).
Calories: 180
Total Fat: 14g
Total Carbs: 4g
Fiber: 2g
Net Carbs: 2g
Protein: 5g
Sugar: 1g (from natural sources)
What’s Good:
- Very low net carb count, perfect for keto.
- Good source of healthy fats from almonds and peanut butter.
- Decent protein content from cream cheese and almonds.
What to Know:
- High in calories due to the density of fats. Portion control is key.
- Contains nuts. Not suitable for nut allergies.
- Sweetener type affects net carbs. Erythritol has 0 net carbs, but allulose has 1 net carb per gram.
Final Thoughts
So there you have it—my go-to keto peanut butter chocolate cheesecake bars. I’ve talked your ear off at this point, but when you find a recipe that works this well, you have to share it. These bars have saved me from so many dessert disasters. They’re my answer to “I need something sweet” when I’m tired, don’t want to bake, and still want to stay on track.
Make them yours! Try different nut butters, add sprinkles, or drizzle white chocolate on top. The best recipes are the ones you adapt to your tastes. If you make these, drop a comment and let me know what you think! I love hearing how recipes turn out in your kitchen. And if something doesn’t work, tell me that too—I’m here to help troubleshoot.
Happy cooking! And I hope your kitchen smells half as good as mine does right now.
Frequently Asked Questions
Can I use sugar-free peanut butter?
Yes, but be careful. Some sugar-free peanut butters have additives like maltodextrin or sugar alcohols that can affect the texture or digestibility. Natural peanut butter (just peanuts and salt) is always the best choice for keto. If you must use sugar-free, check the label for hidden carbs.
Why did my ganache separate?
This usually happens if the chocolate was overheated. Microwave in short bursts and stir often. If it separates, add a teaspoon of warm water or cream and whisk vigorously. It should come back together. Also, ensure your coconut oil is melted and liquid before adding it to the chocolate.
Can I freeze these bars?
Absolutely. They freeze very well. Place them in a single layer in an airtight container with parchment paper between layers. They’ll last up to 3 months. Thaw in the fridge overnight before eating. Do not thaw at room temperature, as the chocolate will sweat.
What if I don’t have a blender?
You can use a hand mixer or a fork. For the crust, mix the ingredients in a bowl until it resembles wet sand. For the filling, beat the cream cheese and peanut butter until smooth. It might take a bit more elbow grease, but it will work.
Can I use honey or maple syrup?
No, those are high in sugar and not keto-friendly. Stick to keto-approved sweeteners like erythritol, monk fruit, stevia, or allulose. Honey and maple syrup will spike your blood sugar and take you out of ketosis.
How long do these bars last in the fridge?
They last up to 5 days in an airtight container in the fridge. However, they are best eaten within the first 3 days for optimal texture and freshness. After that, they may start to dry out.
Can I make these in a 9×13 pan?
Yes, but you’ll need to double the recipe. The bars will be thinner, so the chill time might be slightly shorter. Keep an eye on them to ensure the crust sets properly.
Pin This Recipe!
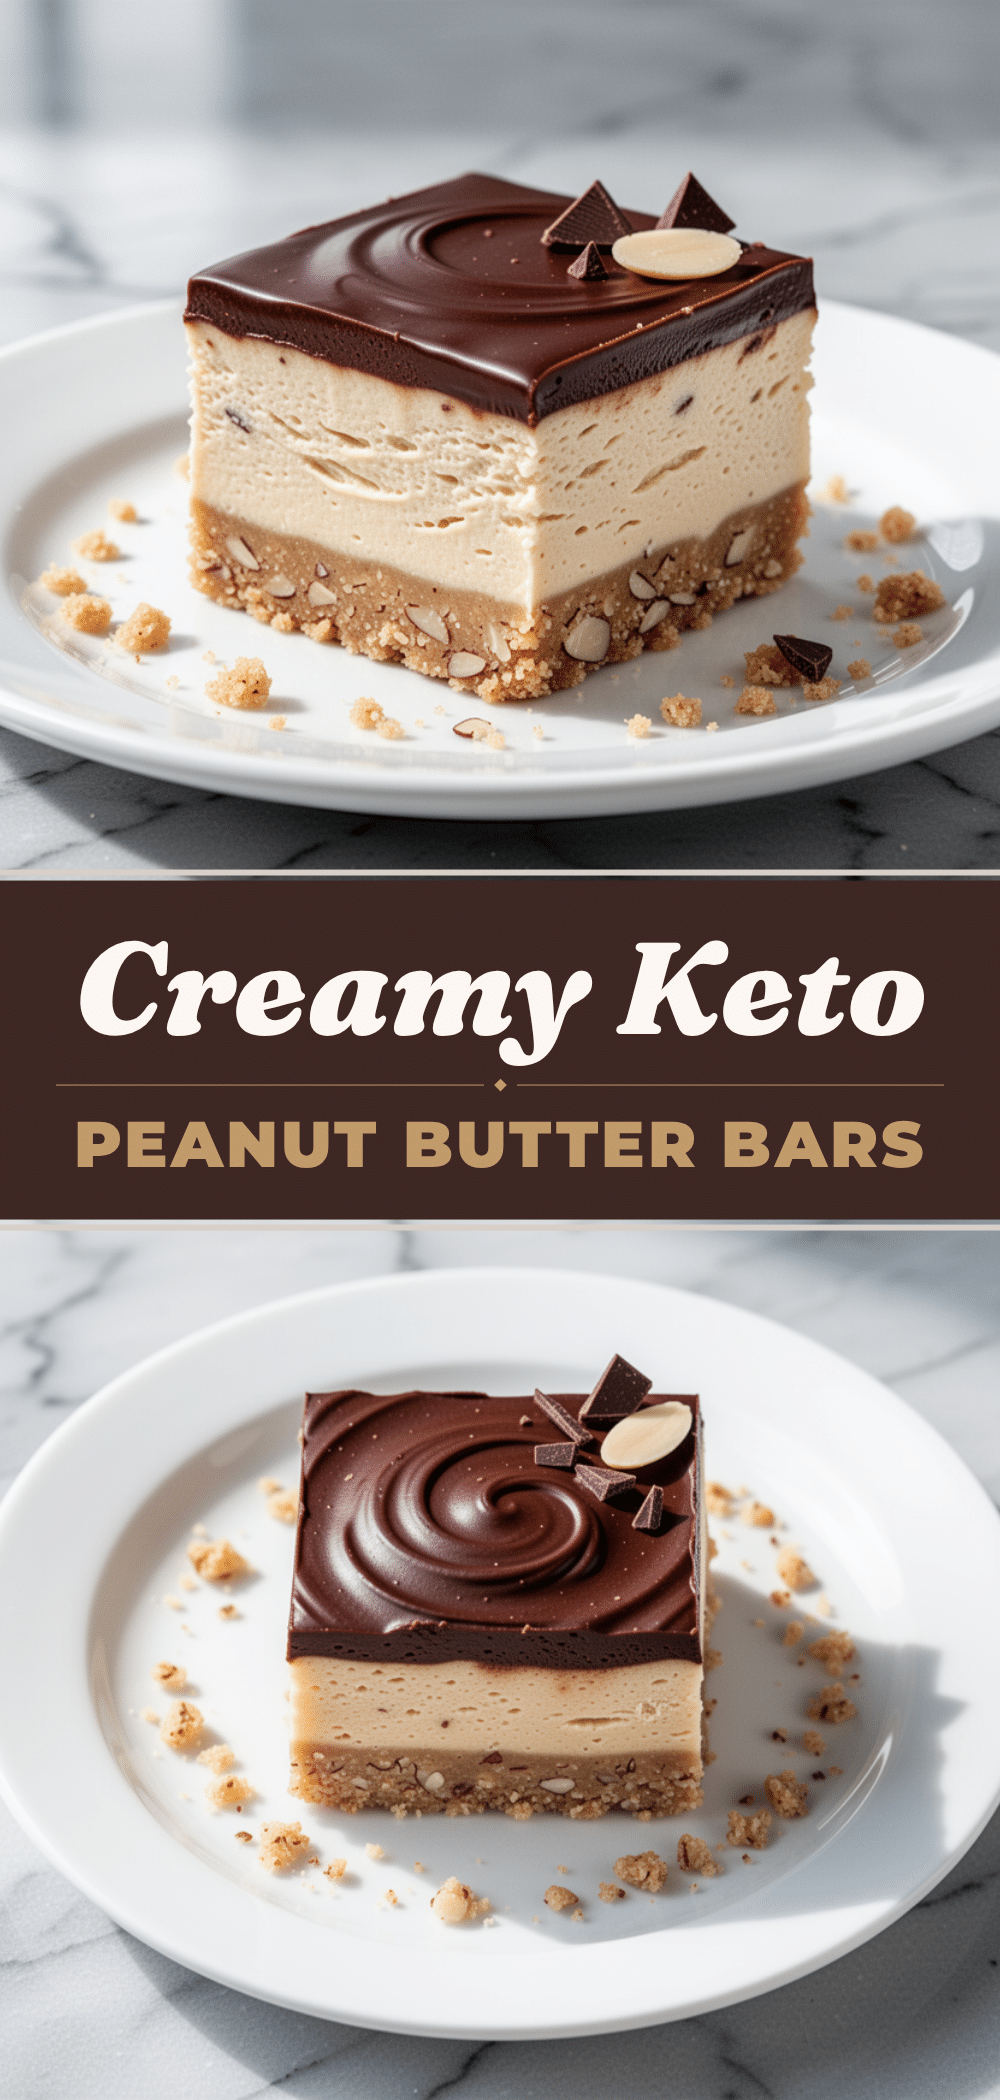
Keto Peanut Butter Chocolate Cheesecake Bars
- Total Time: 2 hours 15 minutes
- Yield: 16 servings 1x
Description
Rich, fudgy, and creamy no-bake keto cheesecake bars with an almond flour crust and chocolate ganache topping. Made with just a few simple ingredients for a low-carb dessert that satisfies sweet cravings.
Ingredients
- 1 cup (100g) fine blanched almond flour
- 3 tablespoons (42g) unsalted butter, melted
- 2 tablespoons (20g) granulated erythritol or monk fruit blend
- 8 ounces (225g) full-fat cream cheese, softened to room temperature
- 1/2 cup (125g) natural peanut butter
- 1 teaspoon pure vanilla extract
- 1/2 cup (85g) dark chocolate chips (at least 70% cocoa)
- 1 tablespoon (14g) coconut oil
- Pinch of sea salt
Instructions
- Line an 8×8 inch baking pan with parchment paper, leaving an overhang on the sides, and lightly spray with cooking spray.
- In a blender or food processor, combine almond flour, melted butter, and sweetener. Pulse until the mixture resembles wet sand and clumps together when squeezed.
- Press the crust mixture firmly and evenly into the prepared pan. Place in the freezer for 5 minutes to set.
- In a large bowl or blender, combine softened cream cheese, peanut butter, vanilla extract, and remaining sweetener. Beat or pulse until completely smooth and creamy.
- Pour the cheesecake filling over the chilled crust and spread evenly. Tap the pan gently to release air bubbles.
- Return the pan to the freezer for 15-20 minutes until the cheesecake layer is firm to the touch.
- In a microwave-safe bowl, combine dark chocolate chips and coconut oil. Microwave in 20-second intervals, stirring between each, until smooth and glossy.
- Pour the chocolate ganache over the chilled cheesecake layer and spread evenly.
- Refrigerate for at least 2 hours or overnight until fully set.
- Lift the bars out of the pan using the parchment paper and cut into 16 squares. Serve cold.
Notes
Ensure cream cheese is at room temperature to avoid lumps. Do not skip the chilling time between layers as it is critical for clean cuts. Store in the fridge for up to 5 days or freeze for up to 3 months. Use fine blanched almond flour for the best texture.
- Prep Time: 15 minutes
- Cook Time: 0 minutes
- Category: Dessert
- Cuisine: American
Nutrition
- Serving Size: 1 bar
- Calories: 180
- Sugar: 1
- Sodium: 45
- Fat: 14
- Saturated Fat: 6
- Carbohydrates: 4
- Fiber: 2
- Protein: 5
Keywords: keto, low carb, no bake, peanut butter, chocolate, cheesecake bars, almond flour, gluten free, sugar free, dessert


