I still remember the exact morning I realized my old breakfast routine was a disaster. It was a Tuesday in November, raining sideways, and I was running late for work. My plan had been a simple omelet. But by the time I found the eggs, realized the milk was sour, and figured out I didn’t have bell peppers, I was already 20 minutes behind schedule. I ended up eating a stale granola bar standing over the sink while my coffee sat cold.
That was the last straw. I have always loved breakfast. It’s my favorite meal. But I have never loved the morning prep. The chopping, the whisking, the scrubbing of the skillet—it kills the joy of waking up early.
So, I started experimenting. I tried meal-prepping smoothies, but they got watery. I tried overnight oats, but my family got bored after three days. Then I tried making a breakfast casserole on Sunday. It was good, but reheating it in the microwave turned the eggs rubbery. It just didn’t feel right.
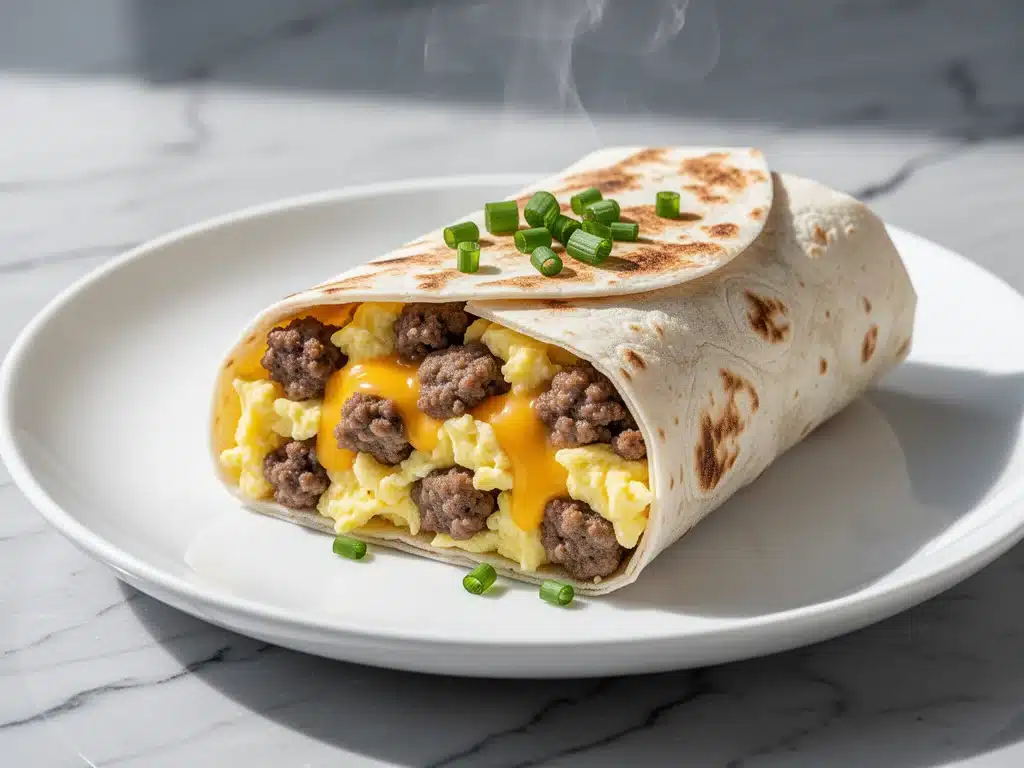
Then I discovered freezer breakfast burritos. Specifically, these make-ahead freezer breakfast burritos with sausage and eggs. I was skeptical. I thought they’d be dry, tough, or bland. But after my first batch, I was hooked. Now, I have a whole drawer in my freezer packed with them. On busy mornings, I just pull one out, wrap it in a damp paper towel, and microwave it for two minutes. It steams perfectly. The sausage stays juicy, the eggs stay fluffy, and I have time to actually sit down and drink my hot coffee.
This isn’t just about convenience (though it’s huge). It’s about reclaiming your mornings. It’s about having a hot, homemade meal ready to go without the stress. I’ve tested this recipe dozens of times, tweaking the spice levels and the cheese ratios, until I landed on the perfect balance. These burritos are hearty, flavorful, and freeze beautifully. If you’ve ever stared at the clock in the morning wishing you had more time, this recipe is your answer.
Why You’ll Love These Freezer Breakfast Burritos
There are a lot of reasons I keep making these burritos on repeat, but here are the big ones that keep my family coming back for seconds (and thirds).
- Zero Morning Stress — Seriously, if you can heat up a burrito, you can make this work. On weekdays, my morning routine takes five minutes. I grab a burrito, microwave it, and I’m out the door. No chopping, no cooking, no cleanup.
- Actually Tastes Good Reheated — This is the biggest hurdle with freezer food. Most egg dishes turn into gray rubber when frozen and reheated. Not these. The technique I use (slightly undercooking the eggs and wrapping them tightly) keeps them moist and tender. They taste almost as good fresh as they do straight out of the pan.
- Customizable for Everyone — My husband likes his extra spicy. My daughter prefers just cheese and eggs. I like mine with peppers and onions. Because you assemble them individually, everyone gets exactly what they want. No arguments at the table.
- Freezer-Friendly and Budget-Smart — I buy sausage in bulk when it’s on sale and freeze it raw. The tortillas are cheap. Eggs are affordable. I can feed a family of four for about $15 a week with these, and that’s plenty of food. It’s way cheaper than buying those frozen burritos at the grocery store.
- Meal Prep Magic — I make a big batch once a month. It takes about an hour of active time on a lazy Sunday afternoon. Then I’m set for weeks. It’s the ultimate “cook once, eat all week” strategy.
These burritos have completely changed our household dynamic. Mornings are no longer a race; they’re a calm start to the day. And if you’re looking for something a bit lighter, I also have a recipe for high-protein egg and turkey sausage breakfast bowl that’s great if you want to skip the carbs sometimes.
Ingredients You’ll Need
Here’s the best part: you probably have most of this already. It’s simple, honest food. No weird additives or hard-to-find items. I’m particular about three ingredients here, and I’ll tell you exactly why they matter.
For the Filling
Breakfast Sausage (1 pound / 450g) — I use pork breakfast sausage because it has the best fat content and flavor. If you want to keep it lean, turkey sausage works, but it can dry out faster. Look for links or bulk sausage with sage and fennel. Avoid the ones with too much added sugar.
Eggs (12 large) — Fresh eggs make a difference in flavor, but any grade A large eggs will work. I usually buy the dozen from the farmer’s market if I can. The key is to not overbeat them; you want distinct curds, not scrambled egg soup.
Shredded Cheddar Cheese (2 cups / 200g) — Use a block and shred it yourself. Pre-shredded cheese is coated in cellulose (wood pulp) to prevent clumping, which stops it from melting smoothly. Real melted cheese binds the burrito together and adds creaminess.
Onion and Bell Pepper (1 medium onion, 1 bell pepper) — Yellow onion and a mix of red/green peppers add sweetness and crunch. Sauté these until they’re soft. If you’re not a fan of onions, you can skip them, but they add a lot of depth.
Heavy Cream or Milk (¼ cup / 60ml) — I add a splash of cream to the eggs before cooking. It keeps them rich and prevents them from drying out in the freezer. If you’re watching dairy, skip it, but the texture will be slightly less tender.
Seasonings — Salt, black pepper, and red pepper flakes. I use about 1 teaspoon of salt and ½ teaspoon of pepper for the whole batch. Red pepper flakes add a nice kick that wakes up your palate.
For the Wrap
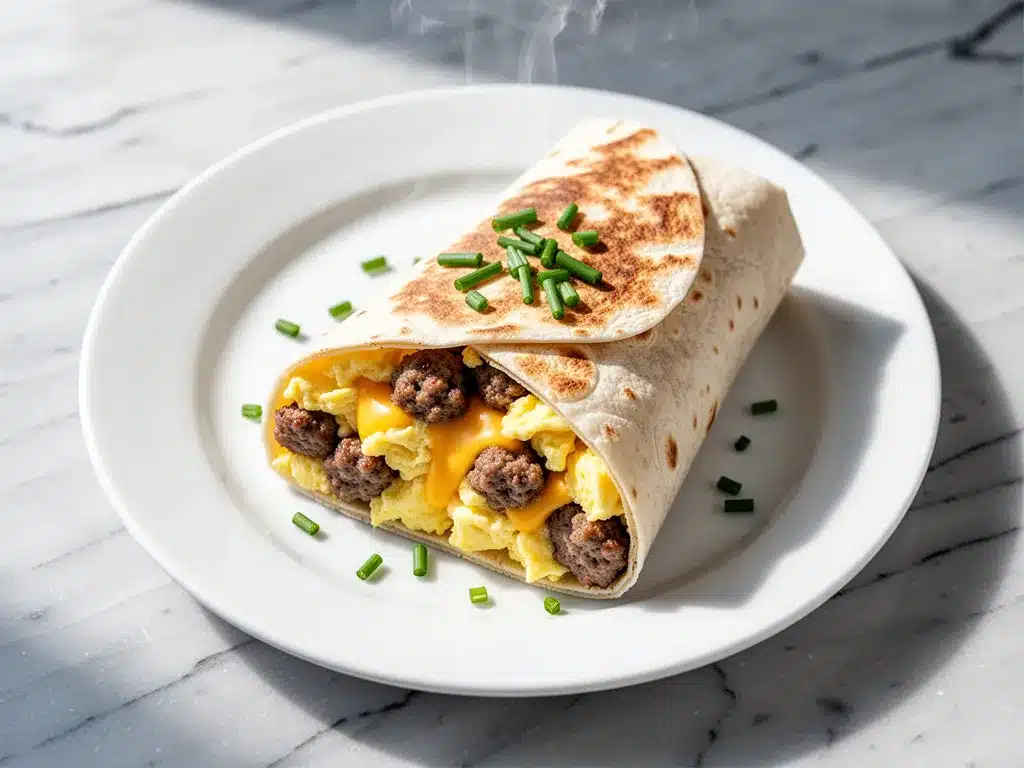
Flour Tortillas (8-10 large, 10-inch) — This is crucial. Do not use small 6-inch tortillas. They will burst. Do not use corn tortillas; they crack when frozen and reheated. You need large, soft, flour tortillas that can stretch. I like the ones from the refrigerated section, not the dry aisle.
Butter (2 tablespoons) — Optional, but I brush the outside of the burritos with butter before freezing. It helps them brown nicely if you pan-fry them later, and it keeps the tortilla from getting tough.
Optional Add-ins
Salsa or Hot Sauce — I add a tablespoon of salsa inside some burritos for extra moisture and tang. It prevents the filling from being too dry.
Bacon — If you’re feeling fancy, crumble in some crispy bacon. It adds a smoky flavor that pairs perfectly with the sage sausage.
Hash Browns — I sometimes add shredded hash browns for extra carbs. Just make sure they’re pre-cooked or very finely shredded, or they won’t cook through in the microwave.
Equipment Needed
You don’t need fancy equipment for this. Here’s what I actually use.
Large Skillet or Cast Iron Pan — I use a 12-inch skillet. It needs to be big enough to cook all the sausage and veggies in one batch. A non-stick pan works best for the eggs so they don’t stick.
Mixing Bowl — For whisking the eggs. Any size works.
Wooden Spoon or Spatula — For breaking up the sausage and stirring the eggs.
Parchment Paper — Essential for wrapping. Do not skip this. You need to wrap each burrito individually in parchment before putting them in the freezer bag. This prevents them from sticking together.
Freezer Bags — Heavy-duty quart-sized or gallon-sized freezer bags. Label them with the date!
Microwave — For reheating. Obviously.
Optional: Aluminum Foil — Some people wrap in foil, but I find parchment is easier to peel off and less wasteful.
How to Make It: Step-by-Step
Alright, let’s make this! I’m walking you through exactly how I do it, including the little tricks I’ve picked up over the years.
Step 1: Cook the Sausage and Veggies (10 minutes)
Start by browning the sausage in your large skillet over medium heat. Break it up into small crumbles as it cooks. You want it fully cooked and slightly crispy on the edges. If you’re using onions and peppers, add them to the pan during the last 3-4 minutes of cooking. Cook until they’re soft and translucent. Drain any excess grease if there’s a lot of it. You don’t want a soggy burrito.
Step 2: Scramble the Eggs (5 minutes)
Push the sausage and veggies to one side of the pan (or remove them to a bowl). Crack the eggs into a bowl and whisk them with the cream, salt, and pepper. Pour them into the empty side of the skillet. Let them sit for a few seconds, then gently push them around. Important: Do not overcook these. You want them to be slightly underdone, still soft and creamy. They will continue to cook in the microwave later. If you cook them until they’re firm now, they’ll be rubbery later. Remove them from the heat as soon as they look mostly set.
Step 3: Mix the Filling
Combine the sausage, veggies, and eggs in a large bowl. Stir in the shredded cheese. Taste a tiny bit (don’t worry, it’s safe) to check seasoning. Add more salt or pepper if needed. Let the mixture cool for 5-10 minutes. If you assemble the burritos while the filling is hot, the tortillas will steam and get soggy, and the cheese will melt into a greasy mess.
Step 4: Assemble the Burritos
Lay a tortilla flat on your counter. Spoon about ½ to ¾ cup of filling onto the center, leaving a 2-inch border on the sides. If you’re adding salsa, add it now. Fold the bottom of the tortilla up over the filling, fold in the sides, and roll it up tightly. It should be a tight cylinder, not a loose taco. If it’s loose, it will fall apart in the freezer.
Step 5: Wrap for Freezing
Place the rolled burrito seam-side down on a sheet of parchment paper. Roll it tightly in the parchment. Repeat with the rest of the burritos. You can also wrap them in foil if you prefer, but parchment is my go-to.
Step 6: Freeze
Place the wrapped burritos in a large freezer bag. Squeeze out as much air as possible before sealing. Label the bag with the date and contents. They will keep in the freezer for up to 3 months.
Expert Tips & Tricks
Here’s everything I’ve learned from making this dozens of times. These tips will save you from my mistakes.
- Don’t Overfill — It’s tempting to pack them full, but if you overfill, the tortilla will tear. Stick to ½ to ¾ cup of filling per burrito. It’s easier to add a little extra cheese on top than to deal with a burst burrito.
- Cool the Filling Completely — This is the #1 reason people fail. Hot filling = soggy tortilla. Let the mixture sit out for 10 minutes before assembling. You can even put it in the fridge for 15 minutes to speed it up.
- Use Large Tortillas — 10-inch is the minimum. If you can find 12-inch, even better. The extra surface area makes rolling much easier.
- Roll Tightly — Roll it like a sleeping bag. Tight. Secure. If it feels loose, roll it again. The seam should be on the bottom so it doesn’t unravel.
- Double Wrap for Long-Term Storage — If you plan to keep them for more than a month, wrap them in parchment, then in foil. This prevents freezer burn.
Common Mistake: The Burrito is Dry
Fix: You overcooked the eggs in step 2. Next time, take them off the heat when they’re still slightly wet. Also, adding a bit of salsa or a splash of cream to the filling helps retain moisture.
Common Mistake: The Tortilla Cracks
Fix: You used corn tortillas or small tortillas. Or, you reheated them too long in the microwave without a damp paper towel. Always use large flour tortillas and microwave with moisture.
Variations & Substitutions
Once you’ve nailed the basic version, here’s how you can mix it up. I’ve tried all of these.
- Turkey Sausage Version — Swap pork sausage for turkey sausage. It’s leaner and healthier. Just make sure to add a little extra oil to the pan so it doesn’t stick.
- Veggie-Loaded — Add spinach, mushrooms, or zucchini to the mix. Sauté the veggies until all moisture is gone before adding them to the egg mixture. This is how I get my kids to eat vegetables.
- Spicy Jalapeño — Add diced jalapeños to the sausage mix and use pepper jack cheese instead of cheddar. This is my personal favorite.
- Hash Brown Burritos — Add shredded hash browns to the filling. Make sure they’re pre-cooked or very finely shredded. This makes them extra filling.
- Gluten-Free — Use gluten-free flour tortillas. They can be more brittle, so handle them gently and don’t overfill. I’ve used the brand “Toufayan” and they work well.
- Egg-Free — Skip the eggs and add extra sausage, beans, and cheese. Or use a tofu scramble for a vegan version.
Serving & Storage
How to Reheat:
Take the burrito out of the freezer. Remove the parchment paper. Wrap it in a damp paper towel. Microwave on high for 2-3 minutes, flipping halfway through. The damp paper towel creates steam, which keeps the tortilla soft. If you’re in a huge hurry, you can microwave it without the paper towel, but the tortilla might get chewy.
From Frozen to Pan:
You can also thaw the burrito in the fridge overnight and then pan-fry it in a little butter. This gives you a crispy outside and a soft inside. It’s like a breakfast quesadilla.
Storage:
Store in the freezer for up to 3 months. Keep them in a single layer in the bag if possible to prevent crushing. Label with the date so you know which ones to eat first.
Serving Suggestions:
Serve with a side of fresh fruit, a dollop of sour cream, or a drizzle of hot sauce. I also like to pair them with a glass of homemade vanilla sweet cream cold foam iced coffee for a complete weekend brunch vibe, even if it’s a Tuesday morning.
Nutrition Information
I’m not a nutritionist, but here’s the breakdown if you’re tracking. This is per burrito (based on 8 burritos).
- Calories: 450
- Protein: 22g
- Carbs: 35g
- Fat: 24g
- Fiber: 2g
- Sugar: 2g
What’s Good: Decent protein from the eggs and sausage. It’s filling and keeps you full until lunch. What to Know: Higher in calories from the cheese and tortilla. If you’re watching calories, use turkey sausage and a smaller tortilla. But usually? I just enjoy it as a hearty breakfast.
Final Thoughts
So that’s my go-to make-ahead freezer breakfast burritos! I’ve probably talked your ear off at this point, but when you make a recipe this often, you have a lot to say about it. These burritos have saved my mornings more times than I can count. They’re my answer to “what’s for breakfast” when I’m tired, don’t want to cook, and still want something that tastes really good.
Make it yours! Try different add-ins, swap in your favorite vegetables, adjust the spice level. The best recipes are the ones you adapt to your family’s tastes. If you make this, drop a comment and let me know what you think! I love hearing how recipes turn out in your kitchen. And if something doesn’t work, tell me that too—I’m here to help troubleshoot.
Happy cooking! And I hope your kitchen smells half as good as mine does right now.
Frequently Asked Questions
Can I freeze these burritos without thawing?
Yes! You can microwave them straight from the freezer. Just add an extra minute or two to the cooking time. I usually just grab one and throw it in the microwave while I’m getting dressed. It’s that convenient.
Why did my tortilla crack?
This usually happens if you used corn tortillas or if the tortilla was too cold. Flour tortillas are more flexible. If your tortillas are stiff, you can warm them up in the microwave for 10 seconds before assembling. This makes them pliable and less likely to crack.
Can I make these ahead and refrigerate instead of freeze?
You can, but they’re best eaten within 24 hours. The tortilla will start to get soggy after a day in the fridge. Freezing is the way to go for meal prep. They’ll last up to 3 months.
Can I use egg whites instead of whole eggs?
Yes, but the texture will be different. Egg whites can become rubbery when frozen and reheated. If you use egg whites, add a little extra cream or milk to help keep them moist. Or, use a mix of whole eggs and egg whites.
How do I reheat these in the oven?
You can, but it takes longer. Thaw the burrito in the fridge overnight. Wrap it in foil and bake at 350°F for 20-25 minutes. This gives you a crispier exterior, which some people prefer. But the microwave is faster and easier.
Can I double this recipe?
Absolutely! I often double it when I have a big family coming over for brunch. Just use a larger skillet and a bigger mixing bowl. The cooking times stay the same.
What if I don’t like sausage?
No problem! Swap the sausage for bacon, ham, or just extra veggies. The recipe is very flexible. I’ve made these with just cheese and peppers, and they’re still delicious. It’s all about what you like.
Pin This Recipe!
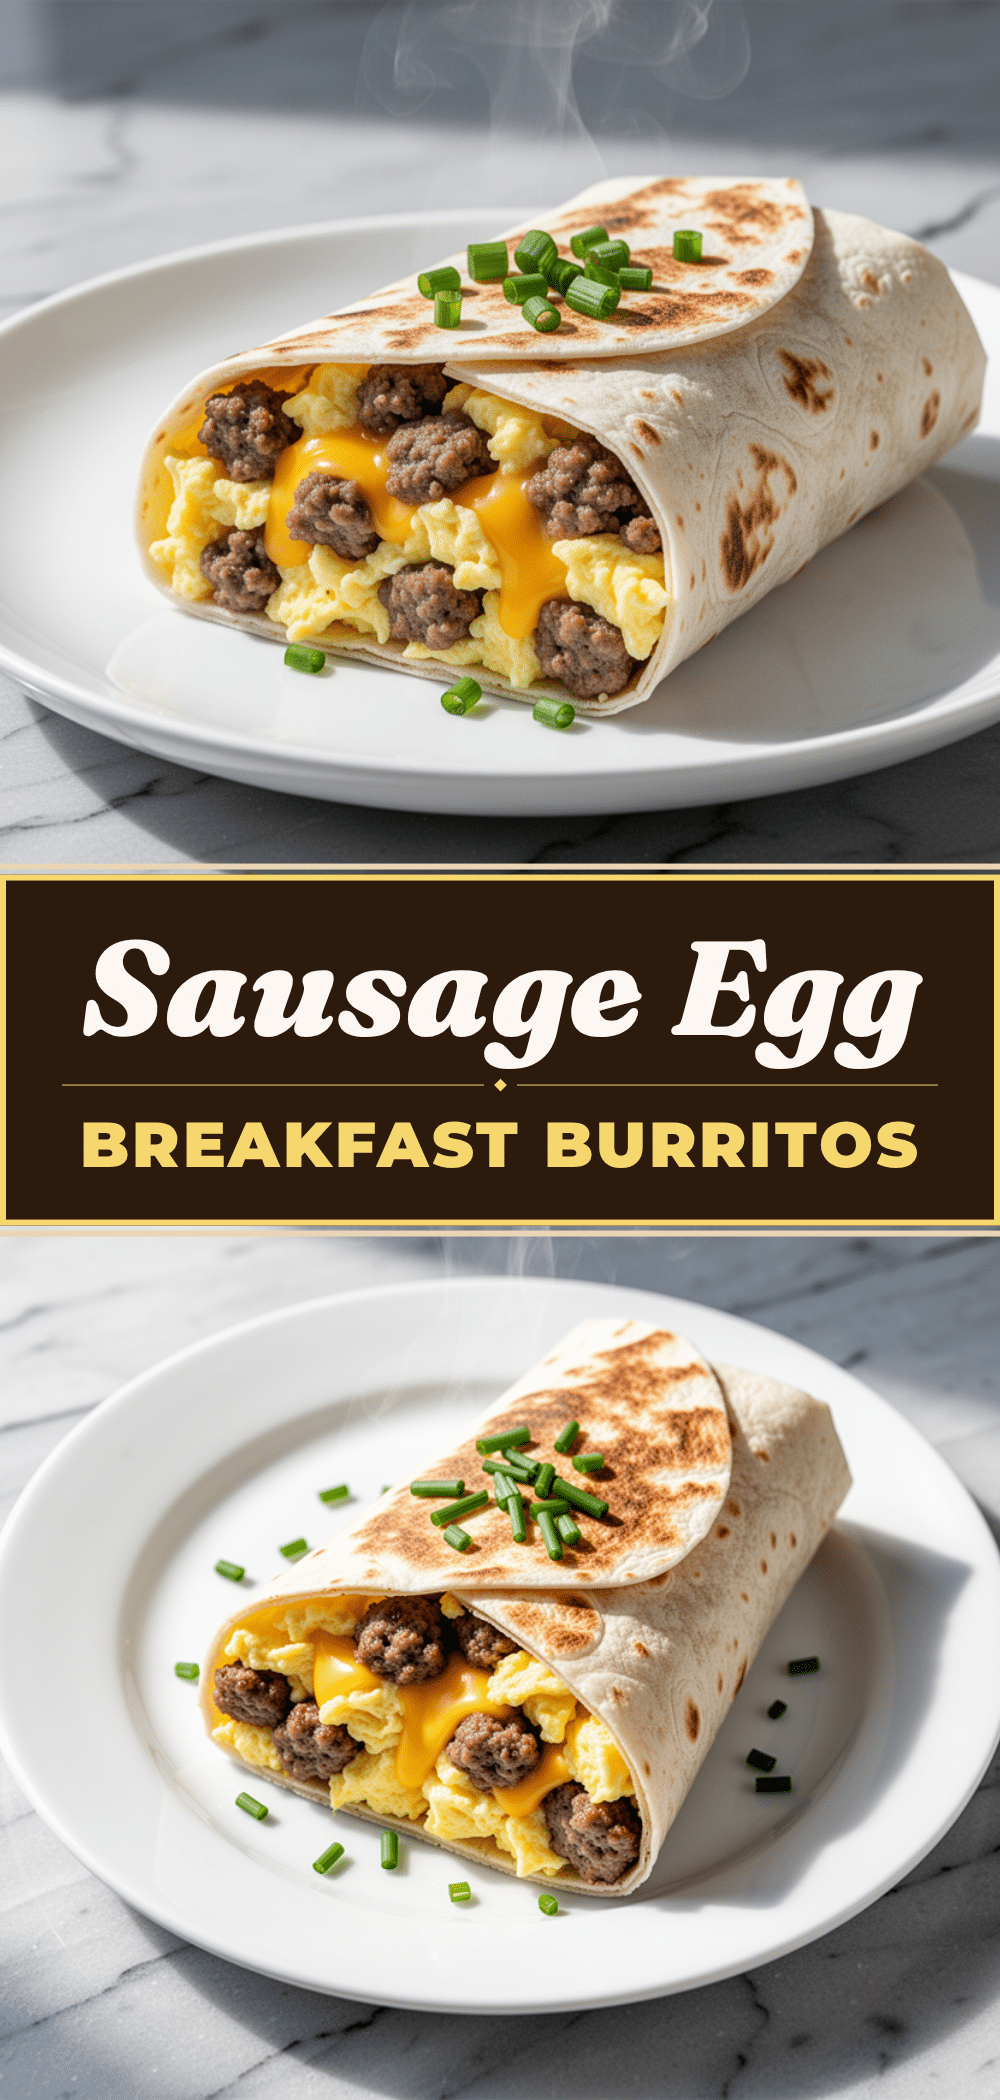
Make-Ahead Freezer Breakfast Burritos: 5 Easy Sausage & Egg Recipes
- Total Time: 30 minutes
- Yield: 8 servings 1x
Description
These make-ahead freezer breakfast burritos are a stress-free morning solution. Featuring juicy sausage, fluffy eggs, and melted cheddar wrapped in large flour tortillas, they freeze beautifully and reheat perfectly in the microwave.
Ingredients
- 1 pound (450g) breakfast sausage (pork or turkey)
- 12 large eggs
- 2 cups (200g) shredded cheddar cheese
- 1 medium yellow onion, diced
- 1 bell pepper, diced
- ¼ cup (60ml) heavy cream or milk
- 1 teaspoon salt
- ½ teaspoon black pepper
- Red pepper flakes (optional)
- 8–10 large (10-inch) flour tortillas
- 2 tablespoons butter (optional, for brushing)
- Salsa or hot sauce (optional add-in)
- Parchment paper and heavy-duty freezer bags
Instructions
- Brown the sausage in a large skillet over medium heat, breaking it into crumbles. Add onions and peppers during the last 3-4 minutes and cook until soft. Drain excess grease.
- Push sausage and veggies to one side. Whisk eggs with cream, salt, and pepper. Pour into the empty side of the skillet and scramble gently until slightly underdone and soft. Remove from heat.
- Combine sausage, veggies, and eggs in a large bowl. Stir in shredded cheese. Let the mixture cool completely (5-10 minutes) to prevent soggy tortillas.
- Lay a tortilla flat. Spoon ½ to ¾ cup of filling onto the center, leaving a 2-inch border. Fold bottom up, fold in sides, and roll tightly into a cylinder.
- Place each burrito seam-side down on parchment paper and roll tightly.
- Place wrapped burritos in freezer bags, squeeze out air, label with date, and freeze for up to 3 months.
Notes
Do not overcook the eggs; they will continue to cook in the microwave. Ensure the filling is completely cool before assembling to prevent soggy tortillas. Use large (10-inch) flour tortillas as corn or small tortillas will crack. For long-term storage, double wrap in parchment and foil to prevent freezer burn.
- Prep Time: 15 minutes
- Cook Time: 15 minutes
- Category: Breakfast
- Cuisine: American
Nutrition
- Serving Size: 1 burrito
- Calories: 450
- Sugar: 2
- Sodium: 800
- Fat: 24
- Saturated Fat: 10
- Carbohydrates: 35
- Fiber: 2
- Protein: 22
Keywords: freezer breakfast, breakfast burritos, meal prep, sausage and eggs, make ahead breakfast, easy breakfast, microwave breakfast


