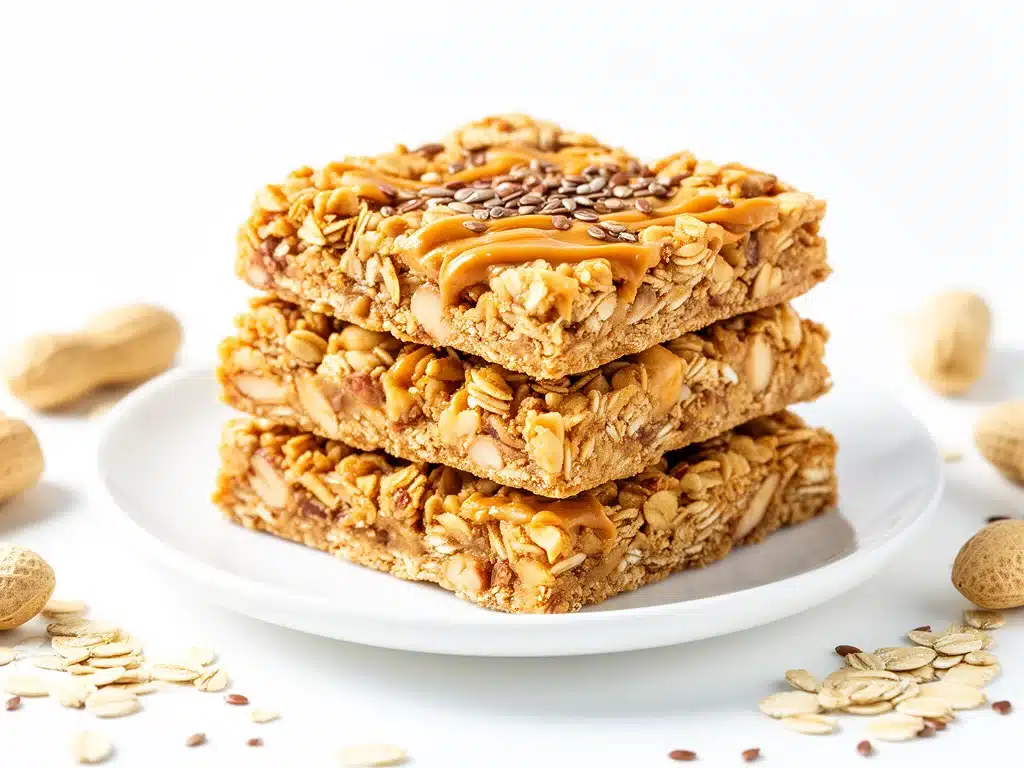
One hectic Thursday afternoon last fall, I found myself scrambling to pack a quick snack for my kids before their after-school activities. The clock was ticking, the pantry was looking sad, and the usual granola bars were nowhere to be found. So, I grabbed some peanut butter, oats, and a few staples, tossed everything together, and crossed my fingers. To my surprise, those no-bake peanut butter granola bars turned out to be a total game-changer—not just for that day, but for every busy weeknight since.
These Back-to-School No-Bake Peanut Butter Granola Bars became my secret weapon when I needed something fast, wholesome, and kid-approved. They’re perfect for those nights when homework battles and dinner prep collide, yet you still want to offer a snack that’s a little more thoughtful than store-bought wrappers. I’ve made these bars so many times, tweaking the mix until they’re just right—chewy, nutty, and satisfying without any oven fuss.
Here’s the thing: no-bake recipes can sometimes feel like a compromise, but this one is the real deal. It’s simple, fast, and uses ingredients you probably already have. Plus, it’s flexible enough to customize depending on your pantry situation (and your kids’ preferences). I’m sharing everything I’ve learned so you can nail these bars on your first try, whether you’re packing lunchboxes or grabbing a quick bite after a long day.
Why You’ll Love This No-Bake Peanut Butter Granola Bars Recipe
This recipe has completely changed how I handle snack time during the school year. There are a bunch of reasons I keep coming back to these bars, but let me highlight the big ones:
- Super Quick and Easy — These bars come together in less than 15 minutes. No baking, no waiting—just mix, press, and chill. I’ve made them while helping my son with his math homework, and they still turn out perfectly.
- Kid-Approved — My picky eaters gobble these up every time. The peanut butter flavor is just right—not too sweet, not too bland. I’ve even had my daughter ask for them instead of candy after school.
- Pantry-Friendly Ingredients — You probably have most of what you need already: oats, peanut butter, honey, and some mix-ins like chocolate chips or dried fruit. It’s a pantry staple recipe I keep bookmarked for emergencies.
- Perfect for Busy Weeknights — When dinner is still a ways off but the kids are hungry, these bars fill the gap without stress. I often pair them with a quick homemade snack like the turkey and cheese pinwheels for a full mini-meal.
- Customizable — Whether you want to add nuts, swap peanut butter for almond butter, or toss in some coconut flakes, this recipe handles tweaks like a champ.
Honestly, these bars aren’t just snacks—they’re a lifesaver. They keep my family fueled, happy, and out of the drive-thru line on those crazy evenings.
Ingredients You’ll Need
Here’s the best part: almost everything in this recipe is a pantry staple. I’m very particular about a few ingredients, and I’ll explain why as we go.
- Old-Fashioned Rolled Oats (2 cups / 180g) — The base of these bars. Avoid instant oats; they get mushy. Rolled oats give the chewy texture everyone loves.
- Natural Peanut Butter (1 cup / 250g) — Use a creamy or chunky version, but make sure it’s natural with no added sugars or oils. This keeps the bars wholesome and rich without being overly sweet.
- Honey (½ cup / 120ml) — Acts as the natural sweetener and binder. Raw honey works well if you have it, but regular honey is fine too.
- Vanilla Extract (1 teaspoon) — Just a splash to brighten the flavors.
- Salt (¼ teaspoon) — Balances the sweetness and enhances the peanut butter flavor.
- Mini Chocolate Chips (½ cup / 90g) — Optional, but highly recommended. They add pockets of melty chocolate that kids adore.
- Chopped Nuts or Seeds (½ cup / 60g) — I like chopped almonds or sunflower seeds for extra crunch and nutrition, but this is totally optional.
- Dried Fruit (¼ cup / 30g) — Chopped dried cranberries or raisins are great mix-ins if you want a touch of chewiness and natural sweetness.
Quick note: If you or your kids have peanut allergies, almond or sunflower seed butter works well here. Just be sure to stick with natural versions to keep the texture right.
Equipment Needed
You don’t need anything fancy to make these bars. Here’s what I actually use:
- Mixing Bowl — Any medium bowl will do. I sometimes use my large glass bowl because I like to see the ingredients better.
- Wooden Spoon or Silicone Spatula — For mixing everything together. Silicone spatulas are great for scraping the sides clean.
- 8×8 Inch Baking Pan — I line it with parchment paper for easy removal. If you don’t have this size, a similar sized dish works fine.
- Measuring Cups and Spoons — Standard stuff. I like using glass measuring cups for liquids so I can see the levels clearly.
- Plastic Wrap or Foil — To cover the bars while they chill.
Optional but handy:
- Food Processor — If you want to chop nuts or oats finely for a different texture.
How to Make No-Bake Peanut Butter Granola Bars: Step-by-Step
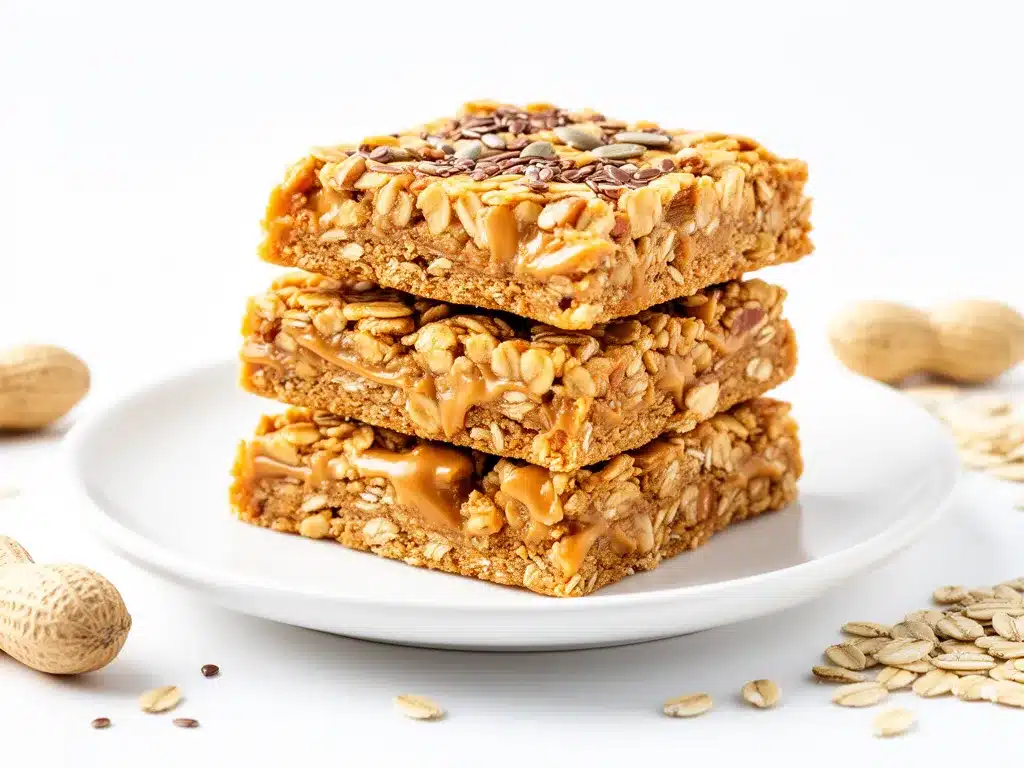
Alright, let’s get these bars going! I’m walking you through my exact method, including the little tricks I’ve picked up along the way.
Step 1: Prep Your Mixing Bowl (3 minutes)
Line your 8×8 inch baking pan with parchment paper, leaving some overhang on the sides. This makes it super easy to lift the bars out later without sticking. Set aside.
Step 2: Combine Wet Ingredients (3 minutes)
In your mixing bowl, add the peanut butter, honey, vanilla extract, and salt. Warm the peanut butter and honey slightly in the microwave (about 20 seconds) to make them easier to mix. Stir until smooth and well combined. The mixture should be glossy and pourable, but still thick.
Step 3: Add Dry Ingredients (3 minutes)
Pour in the rolled oats, mini chocolate chips, chopped nuts or seeds, and dried fruit if using. Stir with your wooden spoon or spatula until everything is evenly coated and sticky. The oats should be well covered with the peanut butter and honey mixture—this is what holds the bars together.
Step 4: Press Into Pan (3 minutes)
Transfer the mixture to your lined pan. Use the back of a spoon or your hands (dampened slightly to prevent sticking) to press the granola bar mixture firmly and evenly into the pan. The firmer you press, the better the bars will hold together once chilled.
Step 5: Chill and Set (at least 1 hour)
Cover the pan with plastic wrap or foil, and pop it into the fridge for at least an hour. This step is essential for the bars to firm up so they won’t crumble when you cut them.
Step 6: Slice and Serve
Once chilled, lift the entire slab out of the pan using the parchment paper overhang. Place on a cutting board and slice into 10-12 bars (or squares). Store them in an airtight container in the fridge for up to a week—if they last that long!
Expert Tips & Tricks
- Warm the peanut butter and honey just enough to make mixing easier. If they’re too cold, you’ll struggle to combine everything evenly.
- Press firmly into the pan to avoid crumbly bars. I’ve learned this the hard way after a few failed batches.
- Use parchment paper for easy removal. Trying to scoop bars out without it is a sticky nightmare.
- Don’t skip chilling—that hour in the fridge is when magic happens. Bars firm up and slice cleanly.
- Customize mix-ins depending on what you have. Sunflower seeds add a lovely crunch, and chopped dried apricots bring sweetness without extra sugar.
- For nut-free versions, swap peanut butter for sunflower seed butter and skip nuts. Still delicious!
Variations & Substitutions
Once you’ve nailed the basic recipe, feel free to mix things up. I’ve tried all these variations with great results:
- Almond Butter Swap — Use almond butter instead of peanut butter for a milder, nuttier flavor.
- Tropical Twist — Add shredded coconut and chopped dried pineapple to the mix for a sunshine vibe.
- Chocolate Lovers — Double the chocolate chips and add a tablespoon of cocoa powder to the wet mixture for extra richness.
- Protein Boost — Stir in a scoop of your favorite protein powder. Just add a splash of extra honey or peanut butter if it feels too dry.
- Seed Mix — Mix pumpkin seeds, chia seeds, and flaxseeds for a nutrition-packed bar.
For some inspiration on easy back-to-school recipes that pair well with these bars, check out the Thermos Mac and Cheese or the Crunchy Ranch Chicken Wraps. Both are quick and kid-friendly options for busy evenings.
Serving & Storage
How to Serve: These granola bars are perfect on their own as a quick snack or alongside a light lunch. I sometimes pack them with a fresh fruit cup or a small yogurt for a balanced snack box. They travel well too, making them a great choice for lunchboxes, after-school snacks, or even a quick breakfast on busy mornings.
Storage: Keep your bars in an airtight container in the fridge for up to a week. The cooler temp helps them hold their shape and keeps the mix-ins fresh. If you want to store them longer, they freeze beautifully—wrap bars individually in plastic wrap and place them in a freezer-safe bag for up to 3 months. Thaw at room temperature before eating.
Reheating: These bars are best enjoyed cold or at room temp. If you like them softer, a quick 10-second zap in the microwave will do the trick.
Nutrition Information
| Nutrient | Per Serving (based on 12 bars) |
|---|---|
| Calories | 180 |
| Protein | 5g |
| Carbohydrates | 22g |
| Fiber | 3g |
| Sugar | 10g |
| Fat | 8g |
| Saturated Fat | 1.5g |
| Sodium | 90mg |
I’m no nutritionist, but here’s the gist: these bars offer a decent protein boost from the peanut butter and nuts, plus fiber from the oats and any seeds or dried fruit you add. The sugar mostly comes from natural honey and chocolate chips, so it’s not empty sweetness. They’re filling enough to keep hunger at bay between meals, especially when paired with fresh fruit or yogurt.
Final Thoughts
So that’s my go-to recipe for no-bake peanut butter granola bars. I’ve probably talked your ear off, but when you make a snack this often, you gather some stories and tips. These bars have saved my sanity on more than a few busy weeknights, slipping effortlessly from fridge to lunchbox to after-school snack plate.
Make them your own! Experiment with mix-ins, swap nut butters, or double the batch for meal prep. The best part is how easy it is to whip up a batch that feels homemade and wholesome without any oven time. If you try them, drop a comment—I love hearing how recipes turn out in your kitchen. And if something’s off, tell me that too. I’m here to help.
Happy snacking! May your weeknights be a little less hectic and a lot more delicious.
Frequently Asked Questions
Q: Can I use almond butter instead of peanut butter?
A: Absolutely! Almond butter works beautifully here and gives the bars a milder, nuttier flavor. Just make sure to use a natural almond butter without added oils or sugars for the best texture.
Q: My bars are falling apart—what did I do wrong?
A: Most likely, you didn’t press the mixture firmly enough into the pan or skipped chilling long enough. Press down hard when you transfer the mixture, and let the bars chill for at least an hour. This helps them set and hold together.
Q: Can I substitute maple syrup for honey?
A: Yes, maple syrup is a great substitute if you want a different flavor or need a vegan option. The texture might be slightly softer, so pressing firmly and chilling well is even more important.
Q: How long do these bars last in the fridge?
A: Stored in an airtight container, they stay fresh for up to a week. If you want to keep them longer, freezing is your friend. Just thaw before eating.
Q: Can I add protein powder to this recipe?
A: Definitely! Adding a scoop of your favorite protein powder can boost nutrition. Just be sure to mix it well with the wet ingredients, and add a bit more honey or peanut butter if the mixture feels dry.
Q: Are these bars gluten-free?
A: They can be! Make sure to use certified gluten-free oats, as regular oats may be cross-contaminated. All other ingredients are naturally gluten-free.
Q: Can I make these without chocolate chips?
A: Of course! The chocolate chips are optional. You can swap them out for more nuts, seeds, or dried fruit if you prefer.
Pin This Recipe!
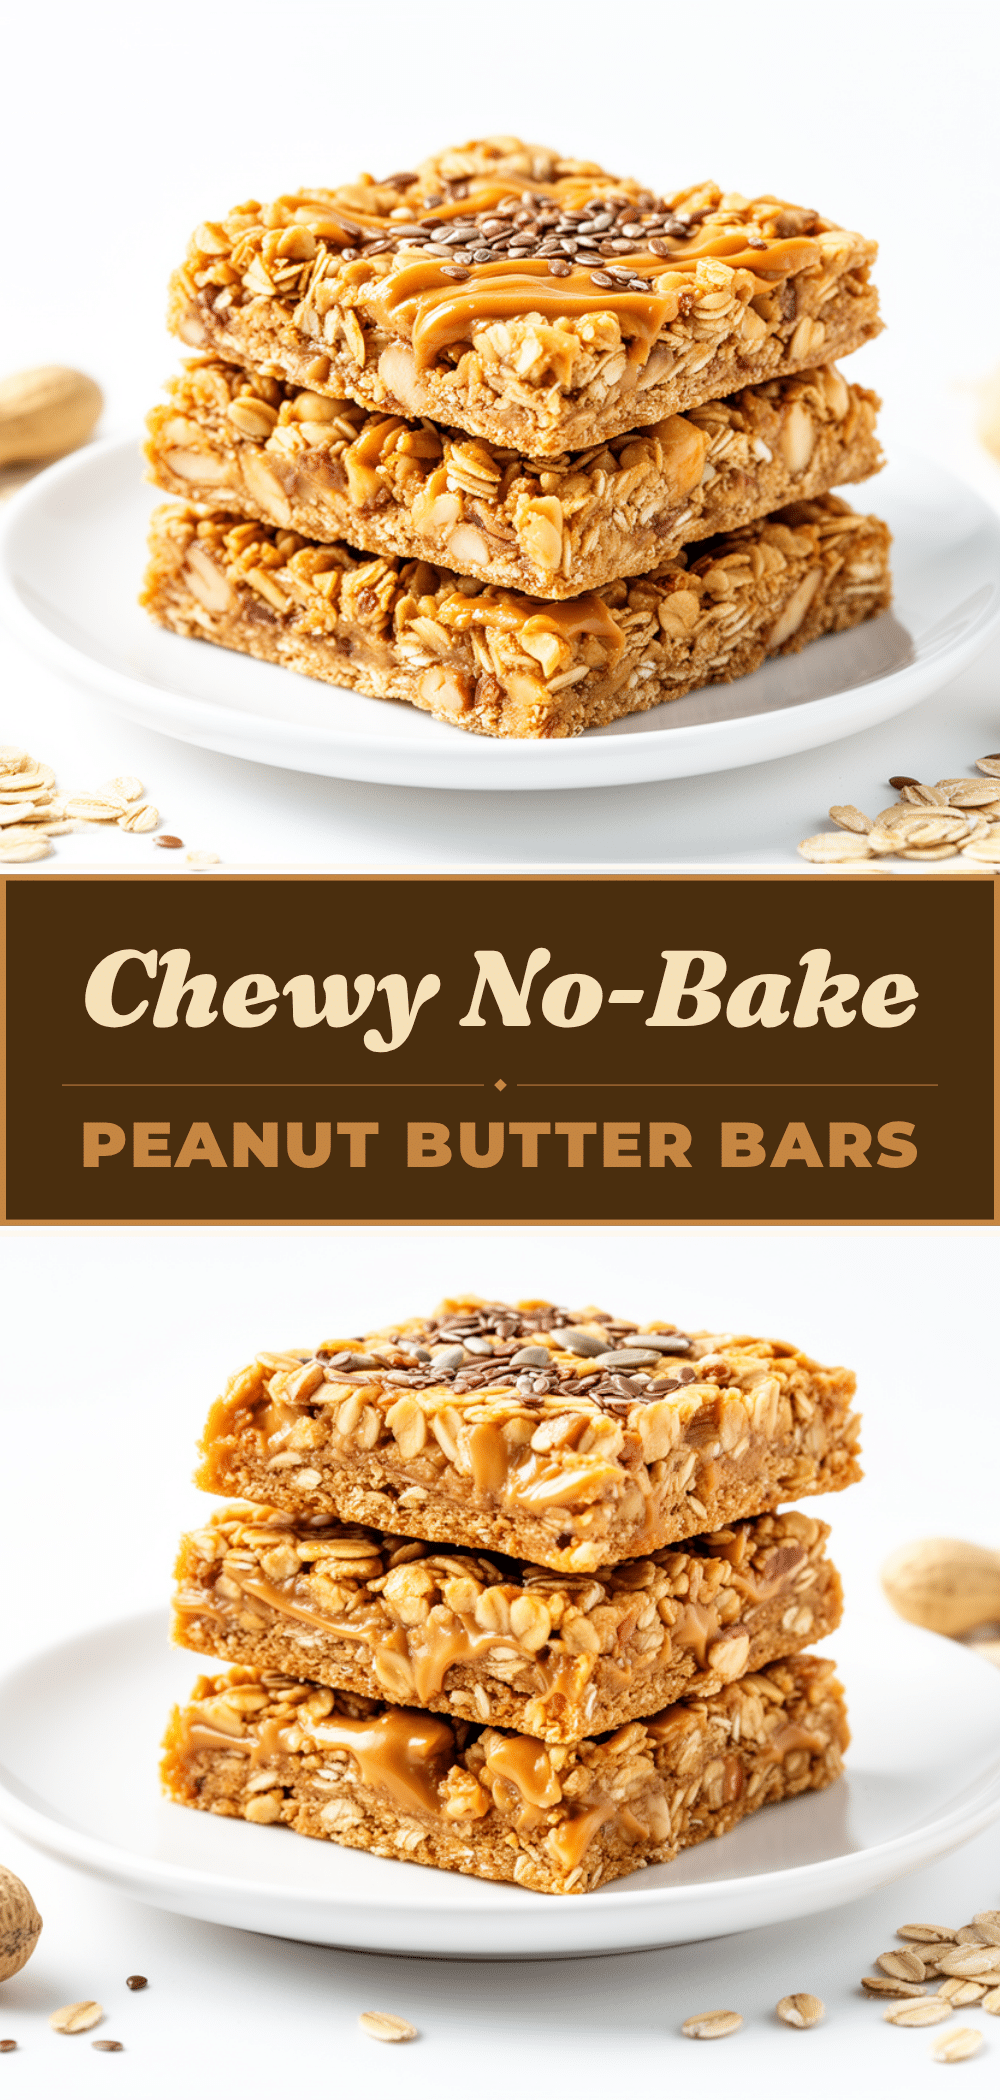
No-Bake Peanut Butter Granola Bars
- Total Time: 1 hour 12 minutes
- Yield: 10-12 bars 1x
Description
Quick and easy no-bake granola bars made with peanut butter, oats, honey, and optional mix-ins like chocolate chips and dried fruit. Perfect for busy weeknights and kid-approved snacks.
Ingredients
- 2 cups old-fashioned rolled oats (180g)
- 1 cup natural peanut butter (250g)
- ½ cup honey (120ml)
- 1 teaspoon vanilla extract
- ¼ teaspoon salt
- ½ cup mini chocolate chips (90g) – optional
- ½ cup chopped nuts or seeds (60g) – optional
- ¼ cup dried fruit (30g) – optional
Instructions
- Line an 8×8 inch baking pan with parchment paper, leaving some overhang on the sides.
- In a mixing bowl, add peanut butter, honey, vanilla extract, and salt. Warm peanut butter and honey slightly in the microwave (about 20 seconds) to make mixing easier. Stir until smooth and well combined.
- Add rolled oats, mini chocolate chips, chopped nuts or seeds, and dried fruit if using. Stir until everything is evenly coated and sticky.
- Transfer the mixture to the lined pan. Press firmly and evenly into the pan using the back of a spoon or dampened hands.
- Cover the pan with plastic wrap or foil and chill in the refrigerator for at least 1 hour to set.
- Lift the slab out using the parchment paper overhang and slice into 10-12 bars. Store in an airtight container in the fridge for up to a week.
Notes
[‘Warm the peanut butter and honey slightly to make mixing easier.’, ‘Press the mixture firmly into the pan to avoid crumbly bars.’, ‘Use parchment paper for easy removal of bars.’, ‘Chill for at least one hour to allow bars to set properly.’, ‘Customize mix-ins based on preference and pantry availability.’, ‘For nut-free versions, use sunflower seed butter and skip nuts.’, ‘Bars can be frozen for up to 3 months; thaw before eating.’]
- Prep Time: 12 minutes
- Cook Time: 0 minutes
- Category: Snack
- Cuisine: American
Nutrition
- Serving Size: 1 bar (if sliced int
- Calories: 180
- Sugar: 10
- Sodium: 90
- Fat: 8
- Saturated Fat: 1.5
- Carbohydrates: 22
- Fiber: 3
- Protein: 5
Keywords: no-bake, peanut butter, granola bars, easy snack, kid-friendly, healthy snack, quick recipe, no oven


