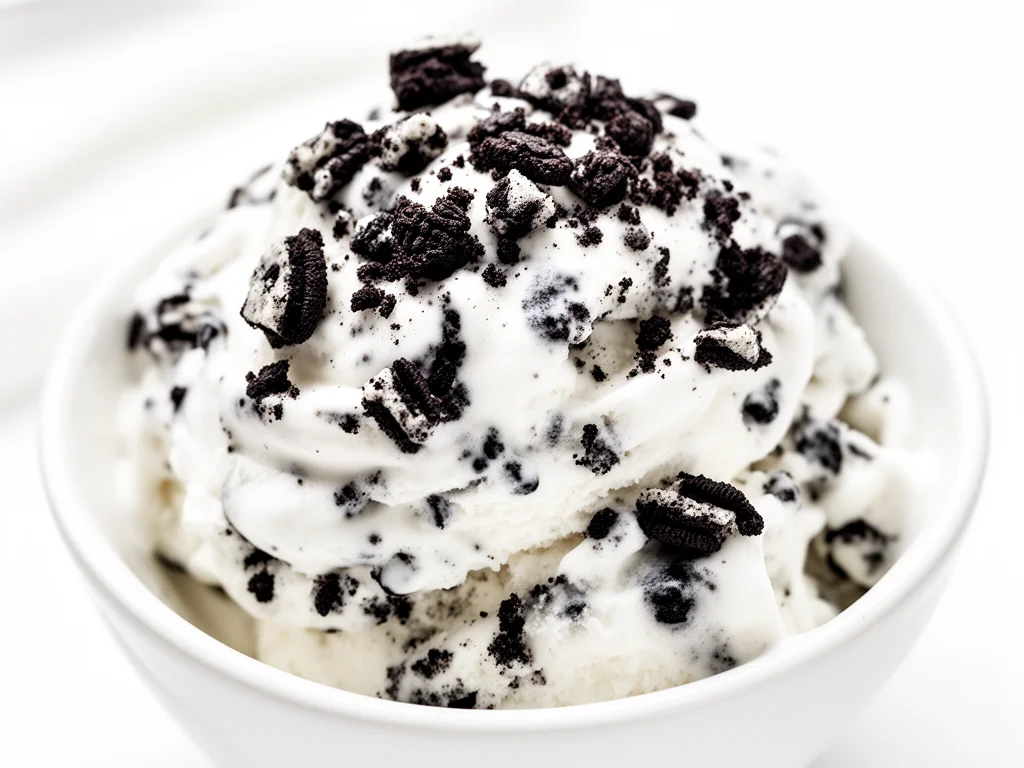
One summer afternoon, I found myself staring into the freezer, wondering how to cool off without the hassle of hauling out my ice cream maker. Truth be told, I don’t own one—something I never thought would be a problem until I desperately wanted cookies and cream ice cream. So, I scavenged my pantry and fridge, grabbed a few simple ingredients, and whipped up this no-churn cookies and cream ice cream that blew my mind. It’s creamy, packed with cookie chunks, and so easy that I ended up making it twice that week.
Here’s the thing—this recipe isn’t just for lazy summer days. It’s for those moments when you want a homemade dessert that tastes indulgent but doesn’t require a kitchen full of gadgets or a ton of ingredients. I’ve tested it multiple times (because yes, I do love eating ice cream for dinner), and each batch gets better. If you love simple ingredients and crave that classic cookies and cream flavor, this no-churn ice cream is about to become your new obsession.
Why You’ll Love This No-Churn Cookies and Cream Ice Cream Recipe
There are a bunch of reasons I keep coming back to this recipe, but here are the big ones that actually matter:
- Ridiculously Easy — No ice cream maker, no fancy tools. Just a bowl, a whisk, and a freezer. I’ve made this while juggling work emails and a toddler begging for snacks.
- Simple Ingredients — You only need five things: heavy cream, sweetened condensed milk, vanilla, and your favorite sandwich cookies. No weird stabilizers or additives, just pantry staples.
- Incredibly Creamy — The secret? Whipping the heavy cream to soft peaks and folding in the sweetened condensed milk gently. You get that rich, smooth texture every time.
- Perfect Cookies and Cream Flavor — Those cookie chunks don’t just float around; they get evenly distributed so every bite has that satisfying crunch.
- Make-Ahead Friendly — Whip it up in 10 minutes, freeze overnight, and you’ve got a crowd-pleasing dessert ready whenever you want. It’s perfect for last-minute get-togethers or easy after-school treats.
- Kid-Approved — My kids are cookie fanatics, and this ice cream is their favorite treat. Plus, it’s a fun way to sneak in some homemade goodness instead of store-bought sugar bombs.
This recipe has saved me more than once when I needed a quick, impressive dessert with zero fuss. Seriously, if you can whip cream, you can do this. And that makes it a total winner in my book.
Ingredients You’ll Need
Here’s the best part: you probably have most of these ingredients sitting in your kitchen right now. I’m a stickler for quality cookies here—use the ones you love eating straight from the package.
- Heavy cream (2 cups / 480ml) — This is the base that makes the ice cream creamy and fluffy. Use chilled heavy cream straight from the fridge for best results. Avoid whipping cream with lower fat; it won’t hold the soft peaks well.
- Sweetened condensed milk (1 can, 14 ounces / 396g) — The magic sweetener and thickener that keeps this ice cream smooth without churning. I always stock up on this for quick desserts.
- Vanilla extract (1 teaspoon) — Pure vanilla adds warmth and depth. I don’t mess with imitation here; it’s worth the little extra.
- Chocolate sandwich cookies (about 15 cookies, crushed / 150g) — Oreos are classic and perfect. I crumble them into bite-sized chunks—no need for fine crumbs. The contrast of creamy ice cream and crunchy cookie bits is what makes this special.
Optional add-ins:
- Mini chocolate chips (¼ cup / 40g) — If you want an extra chocolate kick, toss these in with the cookies.
- Sea salt flakes — A tiny sprinkle on top before serving can elevate the flavor.
Equipment Needed
You don’t need fancy equipment to make this no-churn cookies and cream ice cream. Here’s what I use:
- Mixing bowl — A large bowl to whip your cream. Glass or metal works best.
- Electric hand mixer or stand mixer — This seriously saves time and effort. I tried whipping by hand once—it was a workout and the cream never quite got there.
- Spatula — For folding in the condensed milk and cookie chunks gently.
- Freezer-safe container — A loaf pan or any airtight container works. I prefer one with a lid to prevent freezer burn.
- Measuring cups and spoons — Standard stuff, nothing fancy.
- Optional: Food processor or rolling pin — To crush the cookies if you want more uniform chunks.
How to Make No-Churn Cookies and Cream Ice Cream: Step-by-Step
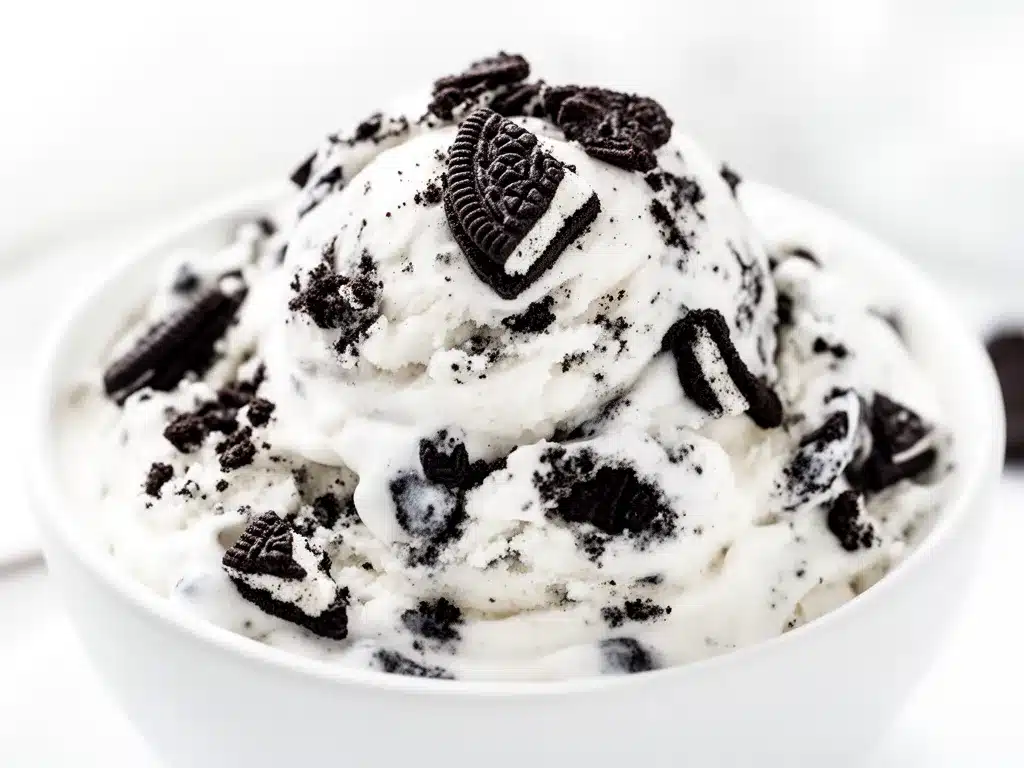
Alright, let’s make this! I’m walking you through exactly how I do it, including the little tricks I’ve picked up to get that perfect creamy texture.
Step 1: Whip the Heavy Cream (5 minutes)
Start with cold heavy cream in a large bowl. Using your electric mixer, whip on medium-high speed until soft peaks form. That means when you lift the beaters, the cream holds a gentle peak but still looks soft and fluffy. Don’t go too far or you’ll get butter. This step is key for creamy ice cream.
Step 2: Fold in Sweetened Condensed Milk and Vanilla (2 minutes)
Slowly add the entire can of sweetened condensed milk and the vanilla extract to the whipped cream. Use a spatula to gently fold everything together. The goal is to keep as much air in the mixture as possible, so don’t stir vigorously.
Step 3: Prepare the Cookies (3 minutes)
While you’re folding, roughly crush your chocolate sandwich cookies. I like bite-sized chunks—not too fine—so you get that cookie crunch in every spoonful. You can do this in a plastic bag with a rolling pin or pulse a few times in a food processor.
Step 4: Fold in Cookie Chunks (1-2 minutes)
Gently fold the cookie pieces into the ice cream base until evenly distributed. Save a few chunks for sprinkling on top later if you want to get fancy.
Step 5: Freeze (6+ hours or overnight)
Transfer the mixture to your freezer-safe container and smooth the top with a spatula. Cover tightly with a lid or plastic wrap. Freeze for at least 6 hours, preferably overnight. The texture will firm up beautifully without turning icy.
Step 6: Serve and Enjoy
Before serving, let the ice cream sit at room temperature for about 5 minutes—it makes scooping easier. Scoop into bowls or cones, sprinkle with leftover cookie crumbs or a pinch of sea salt if you like. You’re in for a treat.
Expert Tips & Tricks
- Use cold cream and chilled bowl: I keep my bowl in the fridge for 10 minutes before whipping. It helps the cream whip faster and hold peaks better.
- Don’t overmix: When folding in the condensed milk and cookies, be gentle. Overmixing deflates the whipped cream and your ice cream will be less fluffy.
- Cookie chunks size matters: Too small and they disappear; too big and it’s all cookie no cream. I aim for chunks about ½ inch wide.
- Freeze time is key: Don’t rush it. Six hours is minimum, but overnight is best. The texture improves with time.
- Make it your own: Try swapping in your favorite sandwich cookies or add mini chocolate chips for extra texture.
Variations & Substitutions
Once you have the basic recipe down, here are some fun ways to switch it up. I’ve tried all of these and they work great:
- Mint Cookies and Cream — Use mint-flavored sandwich cookies and add a few drops of peppermint extract instead of vanilla.
- Peanut Butter Swirl — Gently swirl in ½ cup of creamy peanut butter before freezing for a salty-sweet twist.
- Strawberries and Cream — Fold in chopped fresh strawberries and use golden sandwich cookies for a fruity version.
- Vegan Version — Use canned coconut cream whipped in place of heavy cream and sweetened condensed coconut milk.
If you’re looking for other no-fuss desserts, you might enjoy my baked apple cinnamon oatmeal cups—perfect for breakfast or a snack—and the soft honey garlic pretzel bites that my kids can’t get enough of after school.
Serving & Storage
Serving: I like to serve this ice cream plain or with a drizzle of chocolate syrup. It’s also amazing paired with warm brownies or a slice of crunchy ranch chicken wraps for a fun dessert contrast. Leftover cookie crumbs sprinkled on top give that extra oomph.
Storage: Store leftover ice cream in an airtight container in the freezer for up to 2 weeks. The texture stays creamy, but try to eat it sooner rather than later for best flavor. When you want to re-scoop, let it soften at room temperature for 5-10 minutes. Avoid refreezing melted ice cream, or it’ll get icy.
Nutrition Information
| Nutrient | Per Serving (1/8 of recipe) |
|---|---|
| Calories | 300 |
| Protein | 3g |
| Carbohydrates | 30g |
| Fat | 18g |
| Saturated Fat | 11g |
| Sugar | 25g |
| Sodium | 120mg |
Look, this is treat food—rich, creamy, and sweet. Not something to eat every day, but perfect when you want a homemade dessert that beats store-bought ice cream any day. Plus, you control the ingredients and can skip artificial flavors or preservatives.
Final Thoughts
So that’s my easy, no-churn cookies and cream ice cream recipe made with simple ingredients you probably already have. I’ve probably talked your ear off, but when a recipe is this straightforward and delicious, I can’t help it. This ice cream has saved me on hot days, last-minute dinners, and even as a sweet surprise for my kids after school.
Make it your own—try different cookies or add-ins, and don’t be shy about doubling the cookies if you like more crunch (I do). If you make this, drop a comment and let me know how it turned out. I love hearing from you, and if something feels off, I’m here to help you troubleshoot.
Happy scooping! I hope your kitchen smells half as good as mine does right now.
Frequently Asked Questions
Q: Can I use milk instead of heavy cream?
A: Milk won’t whip up like heavy cream, so the ice cream won’t get that fluffy, creamy texture. You could try mixing milk with a thickener like gelatin or cornstarch, but honestly, it’s not the same. If you want a lighter option, use half-and-half and expect a softer texture.
Q: How do I crush the cookies without a food processor?
A: Easy—just put the cookies in a zip-top bag and gently smash them with a rolling pin or the bottom of a heavy pan. Aim for chunks, not crumbs. It’s satisfying and makes the cookies feel homemade.
Q: Why is my ice cream icy instead of creamy?
A: Usually because the cream wasn’t whipped enough or the mixture wasn’t folded gently. Also, make sure you freeze it in a shallow container for quicker freezing, which helps avoid large ice crystals.
Q: Can I add other mix-ins?
A: Absolutely! Chocolate chips, chopped nuts, or even swirls of caramel or peanut butter work great. Just fold them in gently like the cookies.
Q: How long does this ice cream last in the freezer?
A: I recommend eating it within 2 weeks for best flavor and texture. Keep it in an airtight container to prevent freezer burn.
Q: Can I double the recipe?
A: Yes! Just use a bigger bowl and container. The whipping time might be a bit longer, but everything else stays the same.
Q: What’s the best way to scoop no-churn ice cream?
A: Let it sit out at room temperature for 5-10 minutes before scooping. This softens it just enough to scoop easily without melting too fast.
Pin This Recipe!

No-Churn Cookies and Cream Ice Cream
- Total Time: 6 hours 10 minutes
- Yield: 8 servings 1x
Description
A creamy, easy-to-make homemade cookies and cream ice cream that requires no ice cream maker and uses simple pantry ingredients.
Ingredients
- 2 cups (480 ml) heavy cream, chilled
- 1 can (14 ounces / 396 g) sweetened condensed milk
- 1 teaspoon vanilla extract
- About 15 chocolate sandwich cookies (150 g), crushed into bite-sized chunks
- Optional: 1/4 cup (40 g) mini chocolate chips
- Optional: Sea salt flakes for sprinkling
Instructions
- Whip the cold heavy cream in a large bowl using an electric mixer on medium-high speed until soft peaks form (about 5 minutes).
- Slowly fold in the sweetened condensed milk and vanilla extract gently with a spatula, keeping as much air in the mixture as possible.
- Roughly crush the chocolate sandwich cookies into bite-sized chunks using a rolling pin or food processor.
- Gently fold the cookie chunks into the ice cream base until evenly distributed, reserving some for topping if desired.
- Transfer the mixture to a freezer-safe container, smooth the top, cover tightly, and freeze for at least 6 hours or overnight.
- Before serving, let the ice cream sit at room temperature for about 5 minutes to soften, then scoop and enjoy with optional cookie crumbs or sea salt flakes.
Notes
Use chilled heavy cream and a chilled bowl for best whipping results. Fold ingredients gently to keep the mixture airy. Freeze for at least 6 hours or overnight for best texture. Let ice cream soften at room temperature before scooping. Avoid refreezing melted ice cream to prevent iciness.
- Prep Time: 10 minutes
- Cook Time: 0 minutes
- Category: Dessert
- Cuisine: American
Nutrition
- Serving Size: 1/8 of the recipe
- Calories: 300
- Sugar: 25
- Sodium: 120
- Fat: 18
- Saturated Fat: 11
- Carbohydrates: 30
- Protein: 3
Keywords: no-churn ice cream, cookies and cream, homemade ice cream, easy dessert, no ice cream maker, simple ingredients


