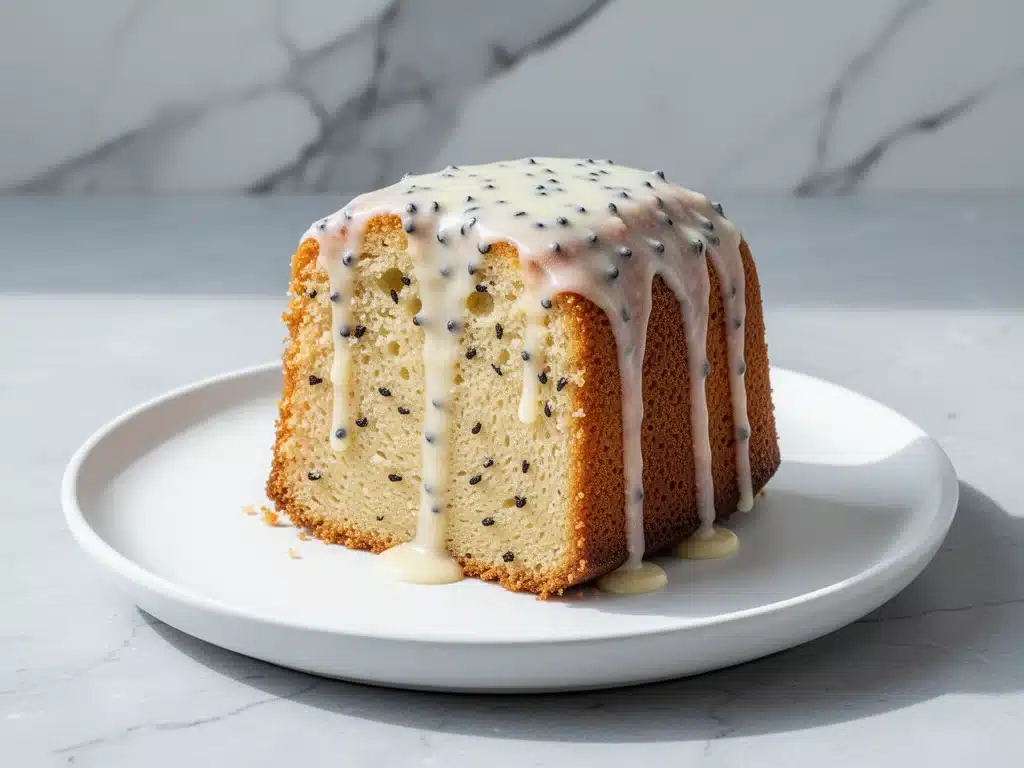
I still remember the first time I made this old-fashioned buttermilk pound cake. It was a rainy Sunday in November, the kind where you just want to stay under the covers but the smell of baking cookies is somehow irresistible. I had a jug of buttermilk in the fridge that was about to expire—because that’s how dairy works—and I was determined not to let it go to waste. I wasn’t trying to reinvent the wheel or create some fancy, modernist dessert. I just wanted something warm, comforting, and ridiculously moist.
What came out of the oven was honestly shocking. It wasn’t just a cake; it was a slice of pure nostalgia. The crumb was dense enough to satisfy a carb craving but light enough to melt in your mouth. And that vanilla bean glaze? Don’t even get me started. I drizzled it over the warm loaf, and it seeped into the cracks, turning the top into a sugary, vanilla-scented crust that I immediately wanted to scrape off with my fingers.
Since that rainy Sunday, this old-fashioned buttermilk pound cake with vanilla bean glaze has become my go-to for everything. It’s the centerpiece of our holiday breakfasts, the gift I bring to neighbors, and the dessert I make when I need a hug from the oven. I’ve tested this recipe more times than I care to admit—adjusting the butter temperature, the glaze consistency, the baking time—until it was absolutely foolproof. And here’s the truth: once you try this, you’ll wonder why you ever bought dry, crumbly cake mixes from the store. This is real baking. Simple, honest, and deeply satisfying.
Why You’ll Love This Recipe
There are a hundred reasons I keep coming back to this old-fashioned buttermilk pound cake with vanilla bean glaze, but here are the ones that really matter:
- It’s Actually Moist — Most pound cakes dry out by Tuesday. Not this one. The buttermilk breaks down the gluten just enough to keep it tender for days. I’ve kept slices on the counter for three days, and they’re still soft. Seriously.
- Pantry-Friendly Ingredients — You don’t need exotic flours or fancy extracts. Just butter, sugar, eggs, flour, baking powder, salt, buttermilk, and vanilla. If you can make basic cookies, you can make this.
- Glaze That Actually Sticks — I’ve tried so many glazes that slide right off or turn into hard candy. This one stays soft and chewy. It’s the perfect balance of sweet and vanilla.
- Perfect for Gifting — Wrapped up in cellophane with a ribbon, this cake looks like it came from a high-end bakery. I’ve given this as hostess gifts more times than I can count, and people always ask for the recipe.
- Breakfast or Dessert — It’s versatile enough to be served with coffee in the morning or alongside ice cream at night. I usually eat it for breakfast because it feels fancy but tastes like home.
This recipe takes the stress out of baking. No complicated techniques, no special equipment, just reliable, delicious food that makes everyone happy. It’s the kind of cake that reminds you of your grandmother’s kitchen, but with a few modern tweaks to make it easier.
Ingredients You’ll Need
Here’s the best part: you probably have most of this already. This old-fashioned buttermilk pound cake with vanilla bean glaze relies on simple, high-quality ingredients. The fewer ingredients you have, the more each one matters.
For the Cake:
Unsalted butter (1 cup / 226g) — Room temperature is non-negotiable. I mean it. If it’s cold, it won’t cream properly. If it’s melted, the texture will be wrong. Leave it out for at least an hour.
Granulated sugar (2 cups / 400g) — Don’t skimp. The sugar isn’t just for sweetness; it helps tenderize the crumb. I use regular white sugar, not brown. This cake should be pale and golden, not dark.
Eggs (4 large) — Room temperature too. Cold eggs can cause the batter to curdle when you add the buttermilk. Take them out of the fridge with the butter.
All-purpose flour (3 cups / 375g) — Spoon it into the measuring cup and level it off. Don’t scoop directly from the bag, or you’ll pack in too much flour and get a dry cake. I use Gold Medal or King Arthur.
Baking powder (2 teaspoons) — Make sure it’s fresh. Old baking powder makes flat, dense cakes. I check the date on my can every time I bake.
Salt (1 teaspoon) — Enhances the flavor. Don’t skip it.
Buttermilk (1 cup / 240ml) — This is the star. It adds tang and moisture. If you don’t have buttermilk, make your own: add 1 tablespoon of lemon juice or vinegar to 1 cup of milk, let it sit for 5 minutes. It works surprisingly well.
Vanilla extract (2 teaspoons) — Good quality here makes a difference. I use pure vanilla extract, not imitation.
For the Vanilla Bean Glaze:
Confectioners’ sugar (2 cups / 240g) — Sifted. Lumps in glaze are the worst. I sift mine into a bowl before adding liquids.
Heavy cream (3-4 tablespoons) — Add gradually. You want a thick but pourable consistency.
Vanilla bean paste (1 teaspoon) — Or seeds from half a vanilla bean. This gives you those beautiful black specks and intense vanilla flavor. If you can’t find paste, use 1 teaspoon of vanilla extract, but you’ll miss the specks.
Salt (pinch) — Balances the sweetness.
Equipment Needed
You don’t need fancy equipment for this. Here’s what I actually use:
9×5 inch loaf pan — I use a metal loaf pan. Dark pans can cause the top to burn, so if you have one, line it with parchment paper. I always line the bottom and let the paper hang over the sides for easy removal.
Stand mixer or hand mixer — Creaming the butter and sugar takes effort. A stand mixer with the paddle attachment is ideal. If you’re using a hand mixer, be prepared to spend 5-7 minutes. By arm, I mean it.
Mixing bowls — One large for the dry ingredients, one medium for the wet.
Whisk — For sifting sugar and mixing glaze.
Offset spatula — For spreading the glaze smoothly. Or just use a butter knife if you’re being lazy.
Cooling rack — Essential for letting the cake cool completely before glazing. Warm cake + glaze = melted, runny mess.
How to Make It: Step-by-Step
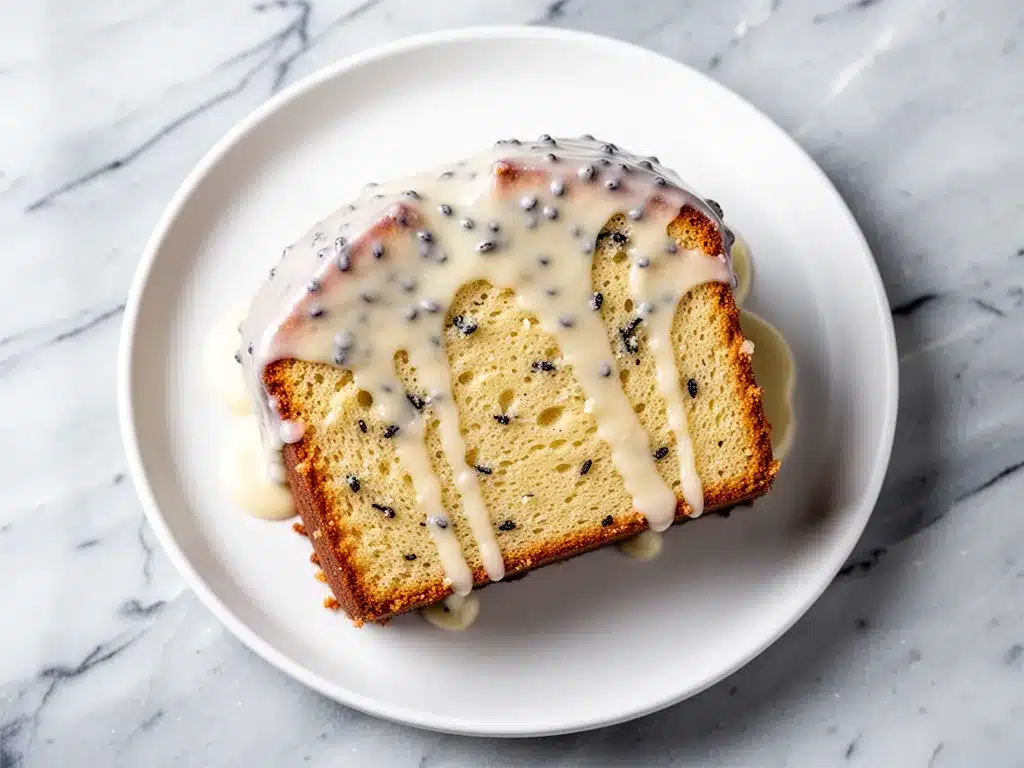
Alright, let’s make this! I’m walking you through exactly how I do it, including the little tricks I’ve picked up over the years.
Step 1: Prep Your Oven and Pan (5 minutes)
Preheat your oven to 325°F (165°C). This is a low and slow bake, which helps the cake cook evenly without a domed top. Grease your 9×5 loaf pan with butter or non-stick spray. Then, line the bottom with parchment paper. I don’t grease the sides—just the bottom—so the cake can climb up the sides as it bakes.
Step 2: Cream the Butter and Sugar (5-7 minutes)
In the bowl of your stand mixer fitted with the paddle attachment, beat the room-temperature butter and sugar on medium-high speed. This is the most important step. Beat for 5-7 minutes until the mixture is very pale, fluffy, and almost white. It should look like whipped butter. If you rush this, your cake will be dense. I know it takes time, but trust me.
Step 3: Add Eggs and Vanilla (3 minutes)
Reduce speed to medium. Add the eggs one at a time, beating well after each addition. Scrape down the sides of the bowl with a spatula. Add the vanilla extract. The mixture might look slightly curdled at this point—that’s normal. It will come together when you add the dry and wet ingredients.
Step 4: Mix Dry Ingredients (2 minutes)
In a separate bowl, whisk together the flour, baking powder, and salt. This ensures even distribution of the leavening agent.
Step 5: Combine Wet and Dry (3-4 minutes)
With the mixer on low speed, add the dry ingredients in three additions, alternating with the buttermilk in two additions. Start and end with the dry ingredients. Mix just until combined. Do not overmix! Overmixing develops gluten and makes the cake tough. The batter will be thick and heavy.
Step 6: Bake (60-70 minutes)
Pour the batter into the prepared loaf pan and smooth the top. Bake for 60-70 minutes. At 50 minutes, check the top. If it’s browning too fast, tent it loosely with aluminum foil. The cake is done when a toothpick inserted into the center comes out clean or with just a few moist crumbs. The top should be golden brown and spring back when lightly touched.
Step 7: Cool Completely (1 hour)
Let the cake cool in the pan for 10 minutes, then turn it out onto a wire rack to cool completely. This is hard, but if you glaze a warm cake, the glaze will melt off. Patience is key.
Step 8: Make the Glaze (5 minutes)
While the cake cools, whisk the sifted confectioners’ sugar, vanilla bean paste, salt, and 3 tablespoons of heavy cream in a bowl. Add more cream, one teaspoon at a time, until you reach a thick but pourable consistency. It should drip off the whisk slowly.
Step 9: Glaze and Serve
Place the cooled cake on a wire rack over a baking sheet (to catch drips). Pour the glaze over the top, letting it cascade down the sides. Let it set for 15 minutes before slicing. The glaze will become slightly chewy and delicious.
Expert Tips & Tricks
Here’s everything I’ve learned from making this dozens of times. These tips will save you from my mistakes.
Room Temperature Ingredients Are Key
I cannot stress this enough. Cold butter, cold eggs, cold buttermilk—they all lead to a dense, uneven cake. Plan ahead. Take your butter and eggs out of the fridge in the morning. If you’re in a hurry, you can warm the eggs in a bowl of warm water for 5 minutes.
Don’t Overmix the Batter
Once you add the flour, mix until you *just* can’t see streaks of flour. Overmixing makes the cake tough. It’s better to have a few tiny lumps than to mix it too much. The batter should be thick and heavy, not smooth like pancake batter.
Low and Slow Baking
325°F is the sweet spot. Higher temperatures will cause the outside to burn before the inside is cooked. If you want a flat top (some people love that classic pound cake look), bake at 350°F, but watch it closely. I prefer the even bake at 325°F.
The Toothpick Test
Don’t trust the time on the clock. Ovens vary. Start checking at 55 minutes. If the toothpick comes out wet with batter, keep baking. If it comes out clean, it’s done. If it comes out with moist crumbs, it’s perfect.
Glaze Consistency
The glaze should be thick enough to coat the back of a spoon but thin enough to pour. If it’s too thick, add more cream. If it’s too thin, add more sugar. You want it to drip nicely but not run off the cake like water.
Variations & Substitutions
Once you’ve nailed the basic version, here’s how you can mix it up. I’ve tried all of these.
Lemon Buttermilk Pound Cake
Swap the vanilla bean paste for the zest of one lemon and 1 tablespoon of lemon juice in the glaze. The tangy lemon pairs beautifully with the buttermilk. It’s refreshing and bright.
Chocolate Chip Pound Cake
Fold 1 cup of semi-sweet chocolate chips into the batter after mixing. Don’t add them with the flour—they’ll sink. I use Ghirardelli chips for the best melt.
Berry Pound Cake
Toss 1 cup of fresh blueberries or raspberries in 1 tablespoon of flour, then gently fold into the batter. The flour coating helps prevent them from sinking. Bake for an extra 5-10 minutes.
Gluten-Free Version
Use a 1:1 gluten-free flour blend (like Bob’s Red Mill). The texture will be slightly different but still delicious. Make sure your baking powder is gluten-free.
Dairy-Free Version
Use dairy-free butter (like Miyoko’s) and almond milk with lemon juice for the buttermilk substitute. The glaze can be made with coconut cream. It’s not quite the same, but it works.
Spiced Variation
Add 1 teaspoon of cinnamon and ½ teaspoon of nutmeg to the dry ingredients. It gives a cozy, autumnal flavor that’s perfect for fall.
Serving & Storage
How to Serve:
I usually serve this straight from the counter, sliced thick. It’s perfect with a cup of coffee or tea. For a special occasion, serve it with fresh berries and whipped cream. I also love it toasted lightly for breakfast—it brings out the buttery flavor.
Storage Instructions:
Room Temperature: Store in an airtight container for up to 3 days. The glaze will stay soft. If your kitchen is very humid, the glaze might get sticky, so refrigerate.
Refrigerator: If you need to store it longer, wrap it tightly in plastic wrap and store in the fridge for up to 5 days. Let it come to room temperature before serving for the best texture.
Freezing: Yes, you can freeze this! Wrap the whole loaf (or individual slices) tightly in plastic wrap, then in aluminum foil. It will keep for up to 3 months. Thaw overnight in the fridge or at room temperature. The glaze might crack slightly when thawing, but it still tastes great.
Pro Tip: If the cake starts to dry out after a few days, wrap it in a damp paper towel and microwave for 10 seconds. It’ll be soft again instantly.
Nutrition Information
I’m not a nutritionist, but here’s the breakdown if you’re tracking. This is a rich cake, so a little goes a long way.
Per Serving (based on 10 slices):
- Calories: 380
- Protein: 5g
- Carbs: 52g
- Fiber: 1g
- Sugar: 32g
- Fat: 16g
- Saturated Fat: 10g
What’s Good:
- It’s satisfying, so you’re less likely to overeat.
- Contains some protein from the eggs and butter.
What to Know:
- Higher in sugar and fat due to the glaze and butter.
- Contains gluten and dairy.
Look, this is comfort food. It’s not a diet recipe. But it’s way better than store-bought cake, and you know exactly what’s in it. When I want to make it lighter, I skip the glaze or use less sugar. But usually? I just enjoy a small slice and savor it.
Final Thoughts
So that’s my go-to old-fashioned buttermilk pound cake with vanilla bean glaze! I’ve probably talked your ear off at this point, but when you make a recipe this often, you have a lot to say about it.
This has saved me more times than I can count. It’s my answer to “what can I bring to the potluck?” or “what dessert should I make when I’m feeling nostalgic?” It’s reliable, delicious, and always makes people happy. My family loves it, my friends beg for it, and I love making it.
Make it yours! Try different variations, swap in your favorite extracts, or just enjoy it as is. The best recipes are the ones you adapt to your tastes. If you make this, drop a comment and let me know what you think! I love hearing how recipes turn out in your kitchen. And if something doesn’t work, tell me that too—I’m here to help troubleshoot.
Happy baking! And I hope your kitchen smells half as good as mine does right now.
Frequently Asked Questions
Q: Can I use milk instead of buttermilk?
A: You can, but the cake won’t be as tender or tangy. If you must, make your own buttermilk by adding 1 tablespoon of lemon juice or white vinegar to 1 cup of milk. Let it sit for 5-10 minutes until it curdles slightly. It works surprisingly well.
Q: Why did my pound cake dome so much?
A: This is normal for pound cakes. If you want a flatter top, bake at 350°F instead of 325°F, or use a baking strip around the pan to insulate the sides. Some people love the dome—it’s classic pound cake style!
Q: Can I double this recipe?
A: Yes, but you’ll need two loaf pans or a larger pan. Increase the baking time by 10-15 minutes. Check for doneness with a toothpick.
Q: Why is my cake dense?
A: Overmixing the batter is the most common cause. Also, make sure your butter and eggs are room temperature, and don’t pack the flour into the measuring cup.
Q: Can I make this ahead?
A: Yes! Bake the cake a day ahead, let it cool completely, wrap it tightly, and store at room temperature. Glaze it the day you serve it for the best presentation.
Q: How do I store leftovers?
A: In an airtight container at room temperature for up to 3 days. For longer storage, freeze it wrapped tightly in plastic and foil.
Q: Can I use vanilla extract instead of vanilla bean paste?
A: Yes, use 1 teaspoon of vanilla extract. You’ll miss the pretty black specks, but the flavor will still be delicious.
Pin This Recipe!
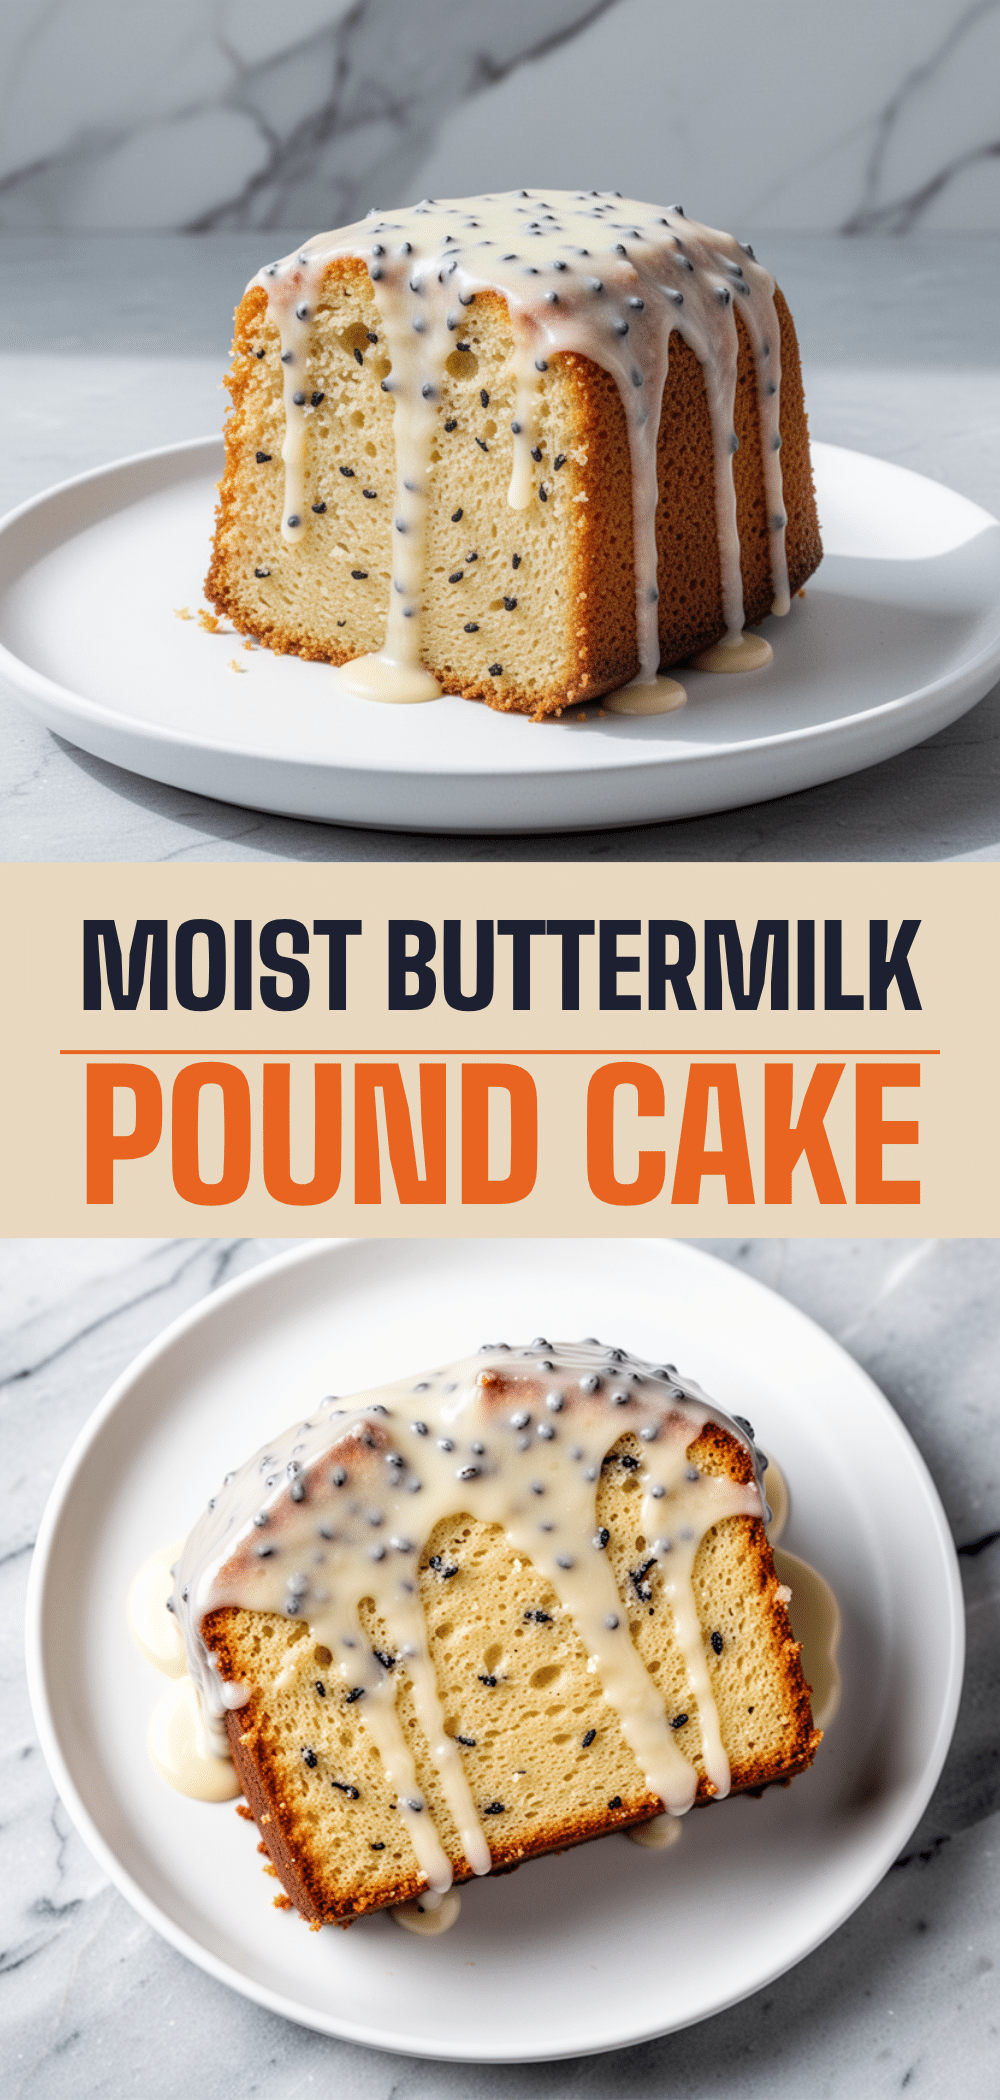
Old-Fashioned Buttermilk Pound Cake with Vanilla Bean Glaze
- Total Time: 1 hour 90 minutes
- Yield: 10 servings 1x
Description
A moist, tender, and nostalgic old-fashioned buttermilk pound cake topped with a soft, chewy vanilla bean glaze. This simple, pantry-friendly recipe yields a dense yet light crumb that stays fresh for days.
Ingredients
- 1 cup (226g) unsalted butter, room temperature
- 2 cups (400g) granulated sugar
- 4 large eggs, room temperature
- 3 cups (375g) all-purpose flour
- 2 teaspoons baking powder
- 1 teaspoon salt
- 1 cup (240ml) buttermilk
- 2 teaspoons vanilla extract
- 2 cups (240g) confectioners’ sugar, sifted
- 3–4 tablespoons heavy cream
- 1 teaspoon vanilla bean paste (or seeds from half a vanilla bean)
- pinch of salt
Instructions
- Preheat oven to 325°F (165°C). Grease a 9×5 inch loaf pan with butter or non-stick spray and line the bottom with parchment paper.
- In a stand mixer fitted with the paddle attachment, beat the room-temperature butter and sugar on medium-high speed for 5-7 minutes until pale, fluffy, and almost white.
- Reduce speed to medium. Add eggs one at a time, beating well after each addition. Scrape down the sides of the bowl. Add vanilla extract.
- In a separate bowl, whisk together the flour, baking powder, and salt.
- With the mixer on low speed, add the dry ingredients in three additions, alternating with the buttermilk in two additions. Start and end with the dry ingredients. Mix just until combined; do not overmix.
- Pour batter into the prepared loaf pan and smooth the top. Bake for 60-70 minutes. If the top browns too quickly, tent loosely with aluminum foil after 50 minutes. The cake is done when a toothpick inserted into the center comes out clean or with moist crumbs.
- Let the cake cool in the pan for 10 minutes, then turn it out onto a wire rack to cool completely.
- While the cake cools, whisk sifted confectioners’ sugar, vanilla bean paste, pinch of salt, and 3 tablespoons of heavy cream. Add more cream one teaspoon at a time until a thick but pourable consistency is reached.
- Place the cooled cake on a wire rack over a baking sheet. Pour the glaze over the top, letting it cascade down the sides. Let set for 15 minutes before slicing.
Notes
Room temperature ingredients are crucial for proper creaming and texture. Do not overmix the batter to avoid a tough cake. For a flatter top, bake at 350°F. Store in an airtight container at room temperature for up to 3 days, or freeze for up to 3 months.
- Prep Time: 20 minutes
- Cook Time: 60-70 minutes
- Category: Dessert
- Cuisine: American
Nutrition
- Serving Size: 1 slice
- Calories: 380
- Sugar: 32
- Sodium: 350
- Fat: 16
- Saturated Fat: 10
- Carbohydrates: 52
- Fiber: 1
- Protein: 5
Keywords: buttermilk pound cake, vanilla bean glaze, old-fashioned cake, homestyle baking, moist pound cake, easy dessert, holiday breakfast


