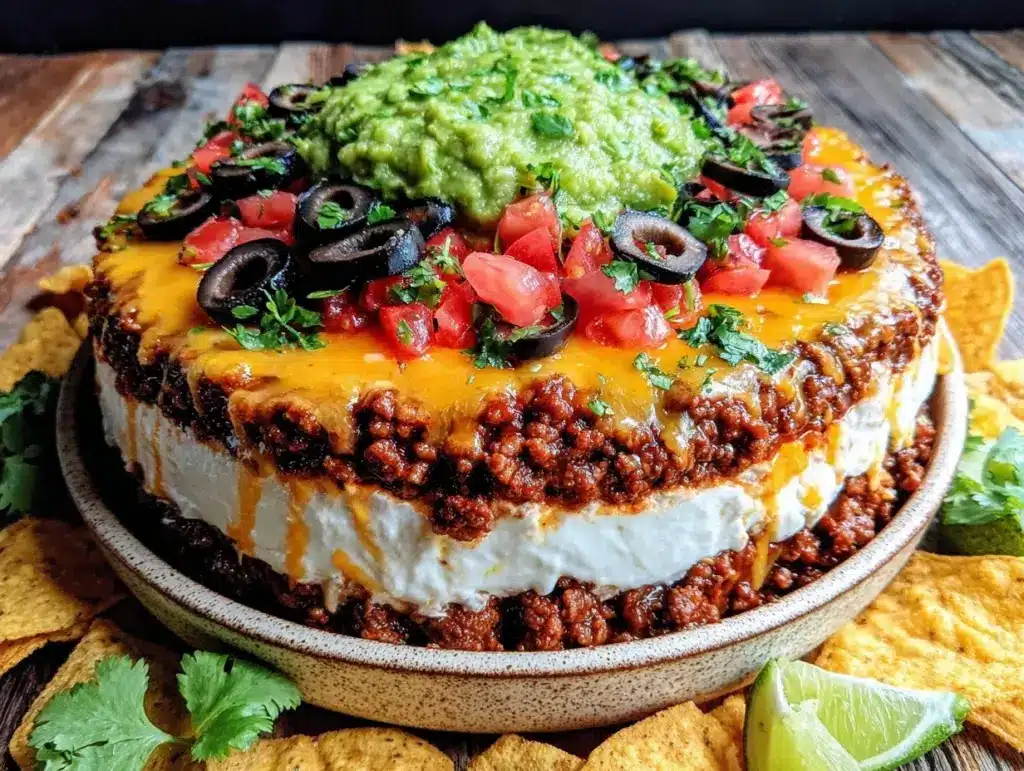
I still remember the panic. It was the fourth quarter of the Super Bowl, the score was tied, and my husband was eyeing the empty snack bowl like it was a personal insult. I had promised “easy appetizers.” I had planned to buy those fancy store-bought dips that cost $12 each and tasted like salt and regret. But then I remembered I had a bag of chips, some cheese, and a can of beans in the pantry.
I threw together what I thought would be a quick, messy compromise. Twenty minutes later, that bowl was gone. Not a crumb left. My kids were scraping the bottom of the dish with tortilla chips, and my husband actually asked for the recipe. That was three years ago. Since then, this seven layer taco dip has become the undisputed king of our game day table. It’s cheap, it’s colorful, and it feeds a crowd without breaking the bank.
If you’ve ever stared at a blank pantry wondering how to feed ten hungry people on a budget, this is your answer. This seven layer taco dip for game day crowds isn’t just convenient; it’s a lifesaver. I’ve made it for tailgates, for Super Bowl parties, and even for quiet Tuesday nights when we just want something fun. It’s got everything: crunch, creaminess, spice, and savory goodness. And the best part? You probably have half the ingredients already.
Why You’ll Love This Recipe
There are a million dip recipes out there, but this one keeps coming back to my list. Here’s why it’s become my go-to for feeding a hungry crowd without stressing out.
Stupid Simple Assembly — Seriously, if you can open cans and sprinkle cheese, you can make this. I’ve walked my teenage son through it over FaceTime while he was away at college. He made it for his roommates, and they thought he’d hired a caterer.
Lightning Fast — 15 minutes from start to finish. That’s it. No baking, no chopping onions until your eyes water. Just layer, chill, and serve. I make this on weeknights when I get home at 7pm and need dinner to just work.
Pantry-Friendly — You probably have 80% of these ingredients already. I keep canned beans, salsa, and shredded cheese stocked specifically for nights like this. It’s my emergency plan for unexpected guests.
Crowd-Pleaser — I’ve served this to my vegetarian sister, my gluten-free neighbor (who brings her own chips), and my I-only-eat-chicken dad. Everyone loves it. The layers make it feel fancy, but it’s comfort food at its core.
Makes Amazing Leftovers — Actually tastes better the next day. The flavors meld together overnight. I deliberately make extra for lunch throughout the week. It’s like a deconstructed taco salad in a bowl.
Budget-Smart — Feeds 4-6 people for under $15. That’s less than one meal at a fast-food place. I buy the family-sized bags of chips and the large containers of cheese to keep the cost down.
This is my go-to when I need dinner to just work. No complicated techniques, no weird ingredients, just reliable, delicious food that makes everyone happy.
Ingredients You’ll Need
Here’s the best part: you probably have most of this already. I’m particular about three ingredients here, and I’ll tell you exactly why. This looks like a short list, but it packs a punch.
For the Base Layers
Canned black beans (15 oz / 425g) — Rinse and drain them well. This removes that metallic can taste and keeps the texture smooth. I use low-sodium so I can control the salt. If you can’t find black beans, pinto beans work too, but black beans hold their shape better in the layers.
Refried beans (16 oz / 450g) — This is the glue that holds the dip together. I use a vegetarian brand because it’s creamy and mild. If you’re not vegetarian, regular refried beans are fine, but check the label for lard if you want to keep it plant-based. Warm them up slightly before spreading so they’re easy to layer.
Cheddar cheese (2 cups / 225g, shredded) — Buy the block and shred it yourself. Pre-shredded cheese has cellulose in it that prevents it from melting smoothly. I know it takes 5 extra minutes, but fresh-shredded cheddar makes a huge difference in texture and flavor. Sharp cheddar is best for that tangy kick.
For the Flavor
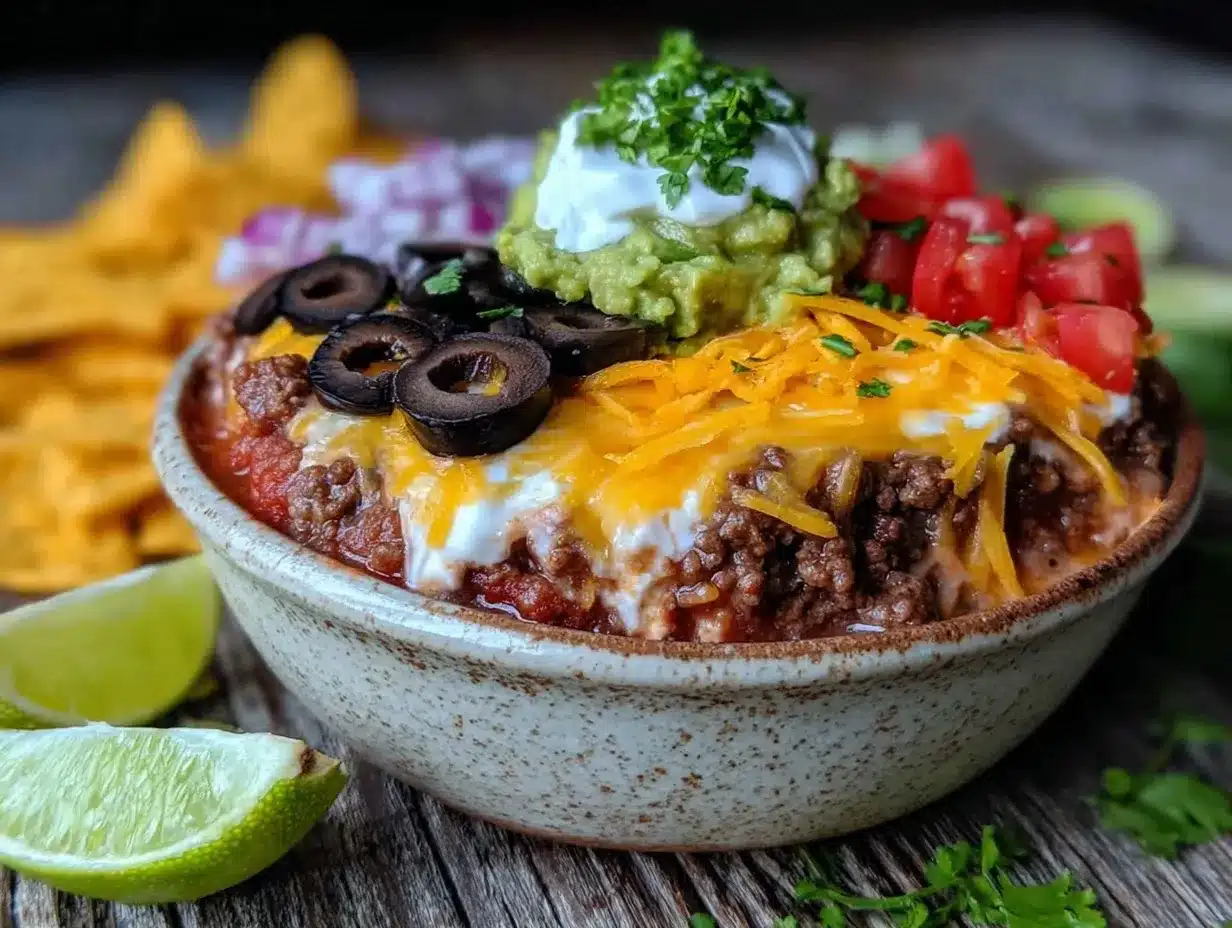
Salsa (16 oz / 450g) — I use a medium-chunk salsa. It adds moisture and flavor without making the dip too watery. If you like heat, use a hot salsa. If you’re serving kids, stick to mild. I always keep a bottle of salsa in the pantry just for this.
Sour cream (1 cup / 240g) — Full-fat only. Light sour cream can separate and look weird when it sits. I use it as a base layer to balance the spice from the salsa and beans.
Taco seasoning (1 packet / 28g) — Or make your own mix. I use a store-bought packet for convenience, but if you’re watching sodium, a homemade blend of cumin, chili powder, paprika, and garlic powder works great. Just use about 2 tablespoons.
For the Topping
Green onions (4 stalks, sliced) — Adds a fresh, oniony crunch. I use both the white and green parts. If you’re sensitive to raw onions, just use the green tops.
Black olives (½ cup / 75g, sliced) — Optional, but I think they add a nice salty contrast. If your crowd doesn’t like olives, skip them or swap for diced jalapeños.
Tortilla chips (1 large bag / 13 oz / 368g) — For dipping. I buy the family-sized bags to save money. Sturdy chips work best—thin chips break and fall into the dip. I like thick-cut restaurant-style chips.
Optional Add-ins:
Cilantro (¼ cup, chopped) — Fresh cilantro adds brightness. I throw it in if I have it. If you hate cilantro (genetic curse, I know), skip it.
Jalapeños (2 tbsp, diced) — For extra heat. I add these if I’m feeling spicy.
Avocado (1, diced) — Adds creaminess. I add this right before serving so it doesn’t brown.
Personal Tips
– Brand recommendations: I always use Fritos for the chips—they’re sturdy and flavorful. For salsa, I like Pace Medium Chunk.
– Shopping shortcuts: I buy pre-shredded cheese when I’m being lazy, but fresh tastes way better. If you’re in a pinch, pre-shredded works, just don’t expect it to melt as smoothly.
– Substitutions: No sour cream? Use Greek yogurt. It’s tangier but still creamy. I use Greek yogurt when I’m trying to be “healthy,” but honestly, sour cream tastes better.
– Storage: Shredded cheese keeps for weeks in the fridge. Salsa keeps for months unopened.
Equipment Needed
You don’t need fancy equipment for this. Here’s what I actually use.
Large serving bowl — I use a 9-inch glass pie dish or a shallow casserole dish. It needs to be wide enough to see all the layers. A deep bowl hides the layers, which is half the fun. I use a Pyrex dish because it’s easy to clean and looks nice.
Measuring cups and spoons — Pretty standard stuff. Dollar store versions work fine.
Knife — For slicing green onions and olives. Any sharp knife works.
Cutting board — Any size works. I use plastic for easier cleanup.
Spatula — For spreading the beans and sour cream. A rubber spatula works best because it gets into the corners.
Can opener — For the beans and salsa. Or just buy squeeze-pouch salsa to avoid this step.
Optional but nice:
– Food processor — If you’re shredding a lot of cheese, this saves time. But a box grater works fine for 2 cups.
– Small bowls — For holding toppings like olives and green onions while you assemble. Keeps things organized.
How to Make It: Step-by-Step
Alright, let’s make this! I’m walking you through exactly how I do it, including the little tricks I’ve picked up.
Step 1: Prep Your Ingredients (5 minutes)
Before you start assembling, rinse and drain the black beans. Pat them dry with a paper towel if they’re too wet—this keeps the layers distinct. Slice your green onions and olives. Shred your cheese if you haven’t already. Once you start assembling, things move fast, so have everything ready.
Step 2: Layer the Refried Beans (2 minutes)
Spread the refried beans evenly over the bottom of your serving dish. This is the base layer. Use a spatula to smooth it out. If the beans are too thick, you can stir in a tablespoon of water or milk to make them spreadable. You want a flat, even layer. This is crucial because it supports all the other layers.
Step 3: Add the Black Beans (2 minutes)
Spread the rinsed black beans over the refried bean layer. Distribute them evenly. You don’t need to mash them—just spread them out. This adds texture and protein. If you’re making this for kids, you can mash the black beans slightly so they’re less chunky, but most people prefer the texture.
Step 4: Sprinkle the Cheese (1 minute)
Spread half of the shredded cheese over the black beans. Use about 1 cup. The cheese acts as a barrier between the wet salsa and the sour cream, helping to keep the layers distinct. Don’t worry if it doesn’t look perfect—this is a rustic dip. Just try to cover the beans evenly.
Step 5: Add the Salsa (1 minute)
Spoon the salsa over the cheese layer. Use a spatula to spread it gently. Be careful not to mix it into the cheese too much—you want a distinct layer. If your salsa is very watery, you might want to drain it slightly first. I like medium-chunk salsa because it holds its shape.
Step 6: Spread the Sour Cream (2 minutes)
Spread the sour cream over the salsa. This is the white layer that makes the dip look pretty. Use a spatula to create a smooth, even layer. If you want, you can swirl it slightly with a knife for a decorative effect, but a flat layer is fine. This layer also helps to balance the acidity of the salsa.
Step 7: Top with Remaining Cheese and Garnishes (2 minutes)
Sprinkle the remaining cheese over the sour cream. Then, add the sliced green onions and black olives. If you’re adding jalapeños or cilantro, add them now. The green onions add a pop of color and freshness. Arrange them evenly so every bite has some garnish.
Step 8: Chill and Serve (10 minutes or overnight)
Refrigerate the dip for at least 10 minutes to let the flavors meld. If you have time, chill it overnight—the flavors get even better. Serve with tortilla chips on the side. I usually put the chips in a separate bowl to prevent them from getting soggy, but some people like to dip directly into the dish. Your call.
Total Time: About 15 minutes active, plus chilling time.
Expert Tips & Tricks
Here’s everything I’ve learned from making this dozens of times. These tips will save you from my mistakes.
Chill Before Serving
This is the #1 tip. Letting the dip chill allows the flavors to meld and the layers to set. I’ve made the mistake of serving it immediately, and it was just a mess of cold ingredients. Now I make it the night before. It tastes infinitely better after chilling.
Drain Your Beans
Wet beans make the dip soggy. Rinse the black beans thoroughly and pat them dry. If you skip this step, your dip will be watery. I learned this the hard way with a runny dip that looked awful.
Use Full-Fat Sour Cream
Light sour cream can separate and look greasy. Full-fat sour cream stays creamy and smooth. Trust me on this. If you’re worried about calories, use Greek yogurt, but the texture will be different.
Shred Your Own Cheese
Pre-shredded cheese has anti-caking agents that make it clumpy. Grate your own from a block—takes 3 minutes and makes a huge difference. My husband can tell when I’ve been lazy and used pre-shredded cheese.
Common Mistakes (and how to avoid them):
Mistake: Layers are mixed together
Fix: Make sure each layer is spread evenly and gently. Don’t mix them in. If you’re worried about mixing, add a layer of cheese between wet ingredients (like salsa) and creamy ingredients (like sour cream).
Mistake: Dip is too dry
Fix: Add more salsa or a splash of water to the refried beans. The dip should be moist but not runny.
Mistake: Chips are soggy
Fix: Serve chips on the side. If you put chips in the dip too early, they’ll get soggy. I usually put out a new bag of chips every hour during the party.
Pro Tricks I’ve Learned:
For Extra Flavor
Add a squeeze of lime juice over the top before serving. It brightens everything up. I do this when I have limes on hand.
For Better Texture
Toast the tortilla chips in the oven for 5 minutes before serving. They stay crispier longer. I do this for parties where the dip sits out for a while.
Make-Ahead Strategy
Make the dip up to 2 days ahead and store in the fridge. Add fresh garnishes (like green onions and cilantro) right before serving. This saves you stress during the party. I do this all the time.
Variations & Substitutions
Once you’ve nailed the basic version, here’s how you can mix it up. I’ve tried all of these.
Chicken Taco Dip
Add 2 cups diced cooked chicken (rotisserie works great) in the black bean layer. My husband prefers this version—makes it more filling and adds protein.
Vegetarian Version
Skip the chicken. This is already vegetarian if you use vegetarian refried beans. Add extra veggies like diced bell peppers or corn in the salsa layer for more texture.
Spicy Version
Use hot salsa and add diced jalapeños. I add these when I want a kick. My friend who loves spice requests this version.
Lighter Version
Use Greek yogurt instead of sour cream and low-fat cheese. It’s thinner but still good. I make this when I’m trying to be “healthy,” but honestly, full-fat tastes better.
Bean-Free Version
Skip the black beans and add extra refried beans or use a layer of seasoned ground beef. I won’t lie—it’s not the same, but it works if you’re avoiding beans.
Dietary Modifications:
Gluten-Free
Use gluten-free tortilla chips. Everything else is naturally gluten-free. I’ve used Kettle Brand chips and they work great.
Dairy-Free
Replace sour cream with coconut cream and cheddar with dairy-free cheese shreds. It’s different but still tasty. My lactose-intolerant friend requests this version.
Vegan
Use vegan refried beans, vegan cheese, and cashew sour cream. Add black olives and green onions for flavor. It’s surprisingly good.
Serving & Storage
How to Serve:
I usually serve this straight from the fridge at the dinner table—it looks rustic and colorful. But here are other ways I’ve enjoyed it:
Side Dishes:
– Tortilla chips (obviously)
– Warm flour tortillas (for taco-style dipping)
– Simple green salad with balsamic vinaigrette
– Roasted broccoli or green beans
Toppings Bar:
When I have guests, I put out: extra sour cream, hot sauce, diced avocado, crispy bacon bits. Everyone customizes their bowl. It’s fun and interactive.
Wine Pairing:
Not a wine expert, but my wine-snob friend says a crisp Sauvignon Blanc or a light red like Pinot Noir works great with this.
Storage Instructions:
Refrigerator:
Store in an airtight container or covered with plastic wrap for up to 3 days. The layers might settle a bit, but it’s still delicious.
Reheating:
This dip is best served cold or room temperature. If you want to warm it, bake it at 350°F for 15 minutes until the cheese is melted. But honestly, I prefer it cold.
Freezing:
Honestly, this doesn’t freeze well because of the dairy. The sour cream separates when thawed. Make it fresh or store in the fridge for up to 3 days.
Meal Prep:
Make the dip on Sunday, store in the fridge. Add fresh garnishes right before serving. Takes 10 minutes and tastes way better than fully reheated dip.
Nutrition Information
I’m not a nutritionist, but here’s the breakdown if you’re tracking.
Per Serving (based on 8 servings, ¼ cup each):
- Calories: 180
- Protein: 8g
- Carbs: 15g
- Fiber: 3g
- Sugar: 2g
- Fat: 10g
- Saturated Fat: 4g
- Cholesterol: 15mg
- Sodium: 350mg
- Calcium: 150mg
What’s Good:
- Decent protein from beans and cheese
- Calcium from the cheese
- Can add vegetables to boost nutrition
- More filling than it looks
What to Know:
- Higher in calories from cheese and sour cream
- Contains dairy and gluten (in chips)
- Moderate sodium (use low-sodium beans to reduce)
My Take:
Look, this is comfort food with cheese and sour cream. It’s not a diet recipe. But it’s way better than takeout, costs less, and I know exactly what’s in it. When I want to make it lighter, I use the Greek yogurt version and load up on vegetables. But usually? I just eat a reasonable portion and enjoy it.
Final Thoughts
So that’s my go-to seven layer taco dip for game day crowds! I’ve probably talked your ear off at this point, but when you make a recipe this often, you have a lot to say about it.
This has saved weeknight dinners more times than I can count. It’s my answer to “what’s for snack” when I’m tired, don’t want to cook, and still want something that tastes really good. My kids are happy, my husband’s happy, and I’m happy because I’m not stressed about cooking.
Make it yours! Try different add-ins, swap in your favorite vegetables, adjust the spice level. The best recipes are the ones you adapt to your family’s tastes. If you’re looking for more easy party snacks, check out my crispy air fryer mozzarella sticks for a cheesy alternative, or my high-protein chicken and quinoa bowl if you want something heartier.
If you make this, drop a comment and let me know what you think! I love hearing how recipes turn out in your kitchen. And if something doesn’t work, tell me that too—I’m here to help troubleshoot.
Happy cooking! And I hope your kitchen smells half as good as mine does right now.
Frequently Asked Questions
Can I use salsa verde instead of red salsa?
Yes, you can! Salsa verde has a tangier, more citrusy flavor. It works great if you like a brighter taste. Just make sure it’s not too watery. I’ve used salsa verde in this dip, and it was delicious.
My dip came out watery—what happened?
Usually means you didn’t drain the beans well enough, or the salsa was too wet. Rinse the black beans thoroughly and pat them dry. If your salsa is very liquidy, drain it in a sieve before using. Let the dip chill for a few hours to let the layers set.
Can I make this ahead for a dinner party?
Absolutely. Make the dip up to 2 days ahead and store in the fridge. Add fresh garnishes (like green onions and cilantro) right before serving. It won’t be quite as good as fresh, but it’s close and saves you stress during the party. I do this all the time.
Why did my layers mix together?
The layers mixed because you didn’t spread them evenly or gently. Make sure each layer is flat and distinct. If you’re worried about mixing, add a layer of cheese between wet ingredients (like salsa) and creamy ingredients (like sour cream). Also, chill the dip before serving to help the layers set.
Can I use ground beef instead of beans?
You can, but it changes the texture. If you want to use ground beef, cook it with taco seasoning and spread it over the refried bean layer. I won’t lie—it’s not the same, but it works if you’re avoiding beans.
How do I store leftovers without them getting dry?
Store in an airtight container or covered with plastic wrap. The layers might settle a bit, but it’s still delicious. If the dip looks dry, you can add a spoonful of sour cream or salsa to moisten it. It’s best eaten within 3 days.
Can I double this recipe?
Absolutely! Double everything and use a larger serving dish. The cooking times stay the same. I do this when I’m meal-prepping or feeding a crowd. Just make sure your dish is big enough for the layers—you might need a 9×13 baking dish.
Pin This Recipe!
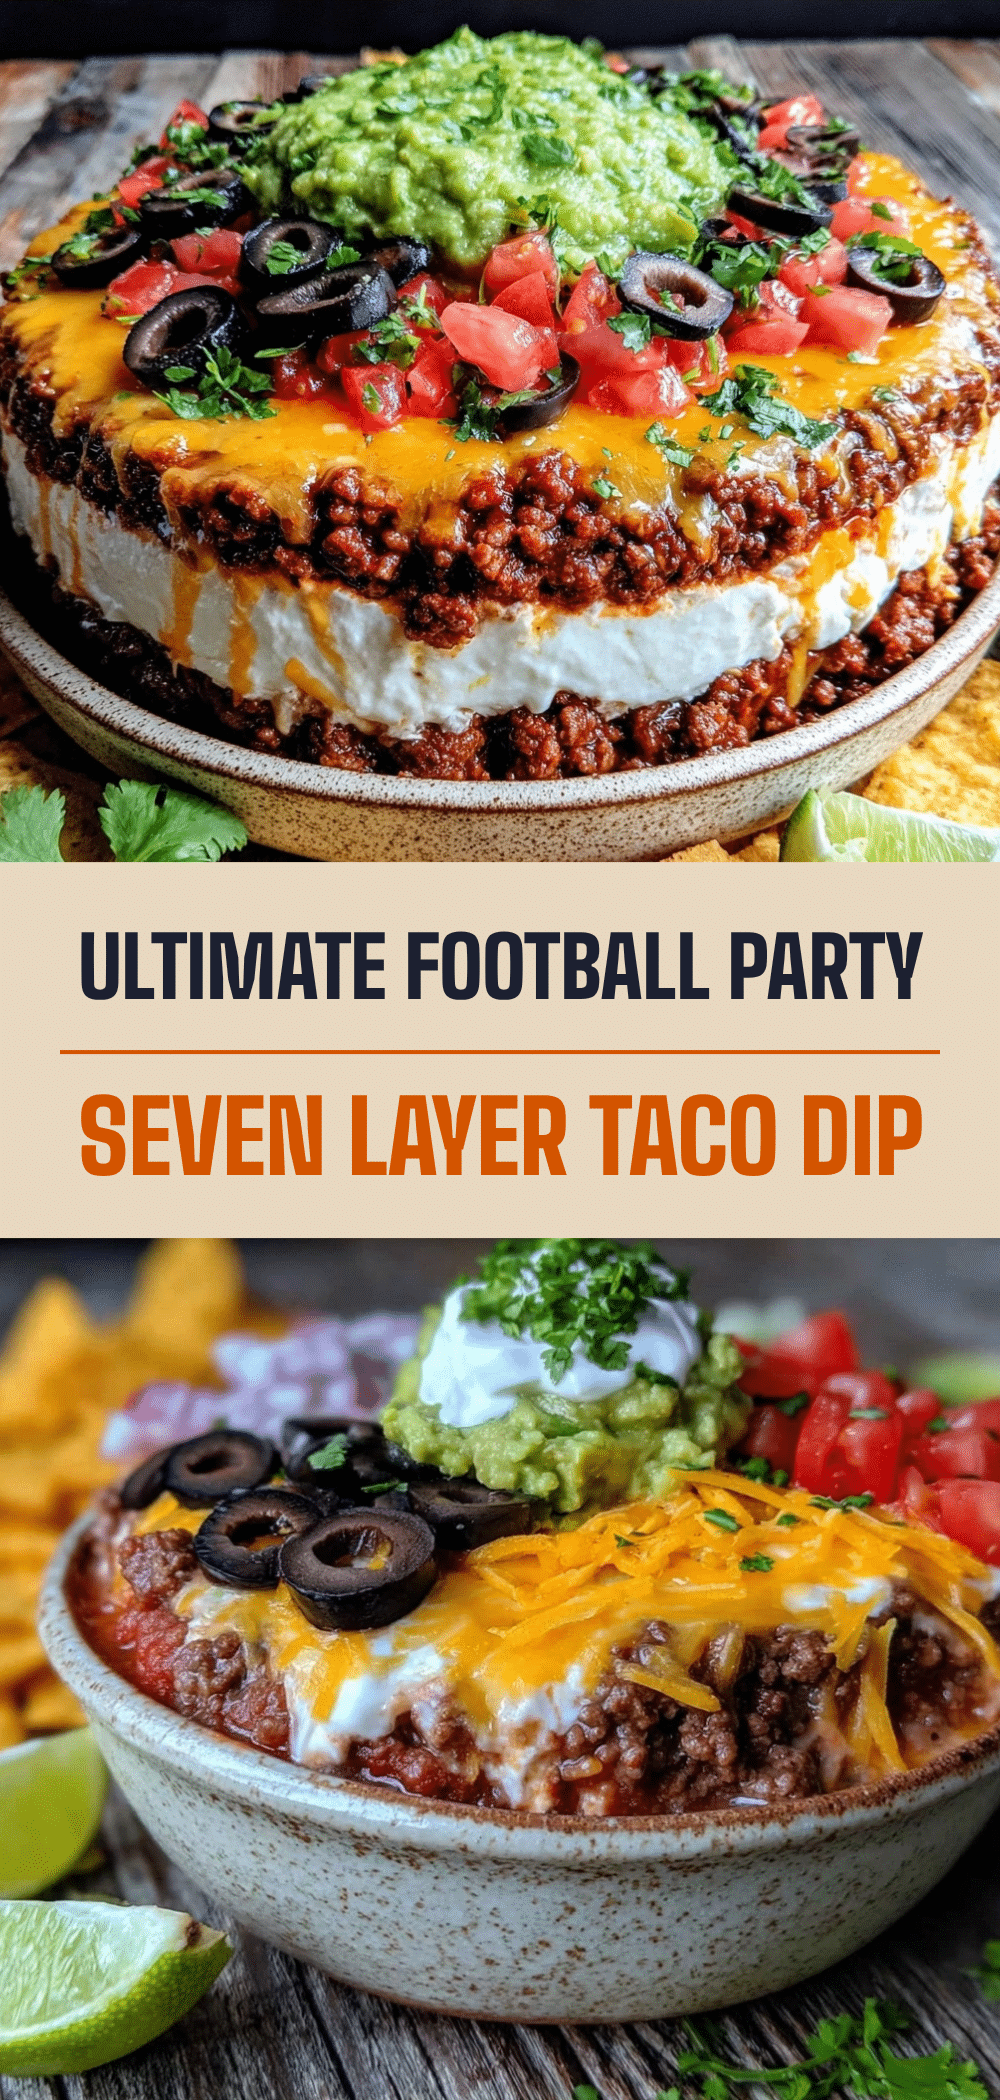

Seven Layer Taco Dip: 5 Ingredients for Budget Game Day
- Total Time: 15 minutes
- Yield: 8 servings 1x
Description
A quick, budget-friendly, and crowd-pleasing seven-layer taco dip that requires only pantry staples and 15 minutes of active prep time. Perfect for game days, parties, or easy weeknight snacks.
Ingredients
- 15 oz (425g) canned black beans, rinsed and drained
- 16 oz (450g) refried beans (vegetarian brand recommended)
- 2 cups (225g) sharp cheddar cheese, freshly shredded
- 16 oz (450g) medium-chunk salsa
- 1 cup (240g) full-fat sour cream
- 1 packet (28g) taco seasoning (or 2 tbsp homemade blend)
- 4 stalks green onions, sliced
- ½ cup (75g) black olives, sliced
- 1 large bag (13 oz / 368g) sturdy tortilla chips
Instructions
- Prep ingredients: Rinse and drain black beans, patting them dry to remove excess moisture. Slice green onions and olives. Shred cheddar cheese from a block.
- Layer refried beans: Spread the refried beans evenly over the bottom of a large serving dish (9-inch pie dish or shallow casserole) using a spatula.
- Add black beans: Spread the rinsed black beans evenly over the refried bean layer.
- Sprinkle cheese: Sprinkle half of the shredded cheese (about 1 cup) over the black beans to create a barrier.
- Add salsa: Spoon the salsa over the cheese layer and spread gently to keep layers distinct.
- Spread sour cream: Spread the sour cream evenly over the salsa layer.
- Top with remaining cheese and garnishes: Sprinkle the remaining cheese over the sour cream. Top with sliced green onions and black olives.
- Chill and serve: Refrigerate for at least 10 minutes to let flavors meld. Serve with tortilla chips on the side.
Notes
For best results, chill the dip overnight to allow flavors to meld. Ensure black beans are thoroughly drained and patted dry to prevent a watery dip. Use full-fat sour cream for better texture. Serve chips on the side to prevent sogginess. Can be made up to 2 days ahead; add fresh garnishes just before serving.
- Prep Time: 15 minutes
- Cook Time: 0 minutes
- Category: Appetizer
- Cuisine: Mexican
Nutrition
- Serving Size: ¼ cup per serving
- Calories: 180
- Sugar: 2
- Sodium: 350
- Fat: 10
- Saturated Fat: 4
- Carbohydrates: 15
- Fiber: 3
- Protein: 8
Keywords: taco dip, seven layer dip, game day snacks, budget recipes, easy appetizers, party food, vegetarian dip, crowd pleaser


